manuals.online logo
Brands
  1. Home
  2. •
  3. Brands
  4. •
  5. Russound
  6. •
  7. Touchscreen
  8. •
  9. Russound xts User manual

Russound xts User manual

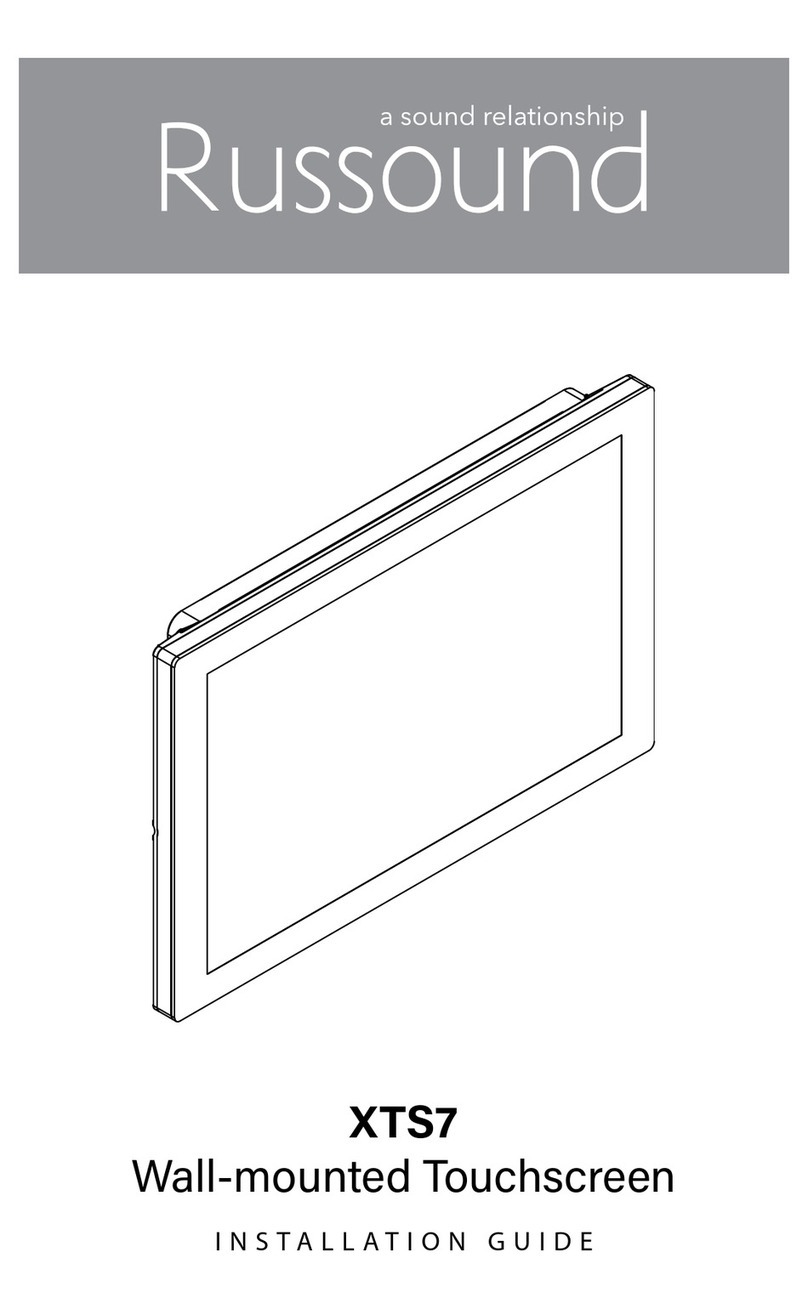
XTS
Wall-mounted Touchscreen
Installation Manual
Overview
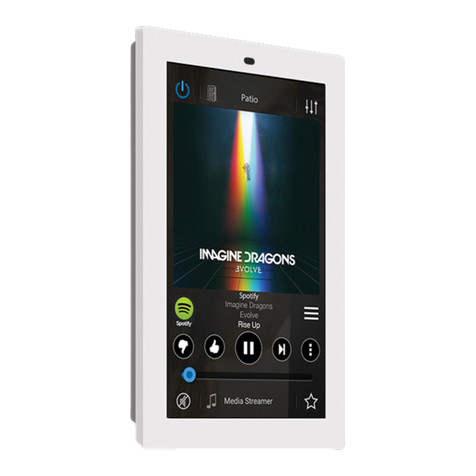
The Russound XTS is an elegant, in-wall
touchscreen with a 4.7” QHD display that is
designed to be a primary user interface for
controlling a compatible Russound audio system.
By running the MyRussound™ app, the XTS allows
full control of any zone in a Russound system and
provides metadata feedback from compatible
sources, including song titles, artist name, album
titles, and album art.
Russound, Inc.
1 Forbes Rd., Newmarket, NH 03857, USA
tel 603.659.5170 • fax 603.659.5388
www.russound.com
technical support: 866.888.7466
e-mail: [email protected]
Limited Warranty
The Russound XTS is guaranteed for one (1) year from
the date of purchase against all defects in materials
and workmanship. During this period Russound will
replace any defective parts and correct any defect in
workmanship without charge for either parts or labor.
For this warranty to apply, the unit must be installed
and used according to its written instructions. If service
is necessary, it must be performed by Russound.
Russound assumes no responsibility for defects
resulting from abuse or servicing performed by an
agency or person not specically authorized in writing
by Russound. Damage to or destruction of components
due to improper use voids the warranty. In these
cases the repair will be made at the owner’s expense.
Accidental damage and shipping damage are not
considered defects under the terms of the warranty.
To return for repairs, the unit must be shipped to
Russound at the owner’s expense, along with a
Return Authorization number and documentation
explaining the nature of the service required. Any
product returned without prior written permission will
be returned to sender. Russound sells products only
through authorized Dealers and Distributors to ensure
that customers obtain proper support and service. Any
Russound product purchased from an unauthorized
dealer or other source, including retailers, mail order
sellers and online sellers will not be honored or serviced
under existing Russound warranty policy. Any sale of
products by an unauthorized source or other manner
not authorized by Russound shall void the warranty on
the applicable product.
Copyright ©2016 Russound® All rights reserved.
All trademarks are the property of their respective
owners. Specications are subject to change without
notice.
Wall
Single gang
electrical box
CAT-5
Mounting bracket Screws
Step 3
Attach the Ethernet cable from the electrical box
to the rear of the XTS touchscreen. If using PoE
power, no other wiring connection is needed. If
using 12VDC power, connect the 12VDC terminal
to the rear of the XTS touchscreen as well.
Note: The XTS uses a dynamic DHCP network
address. A DHCP-reservation may be used on a
compatible router when a more permanent IP
address is required.
Step 4
Attach the XTS touchscreen to the mounting
bracket by inserting the prongs of the mounting
plate into the matching slots on the rear of the
XTS. Make sure that the XTS is oriented as shown
in the diagram below. There are two captive
mounting screws. Use a Phillips screwdriver to
tighten the screw at both the top and bottom of
the XTS to secure it in place.
Installation Instructions
Step 1
Install the electrical box or P-Ring. The typical
recommended mounting height for a wall-
mounted touchscreen is for the center of the
electrical box/p-ring to be at 59” (150cm) from
the oor height. This may be adjusted for user
preference, but the 59” height is recommended
to accommodate all users.
Note: The electrical box/P-Ring must be a
1-gang piece. Make sure that the box/P-ring is
mounted level and ush to the wall surface.
Step 2
Attach the XTS mounting plate to the electrical
box or P-ring using the supplied screws. The
plate should be mounted so that the two prongs
at either end are facing into the room. These
prongs will be used for attaching the XTS to the
mounting plate.
28-1399 11.29.16, Rev. 2
Portrait Orientation - Default setting
Landscape Orientation - The XTS may also be installed in a landscape orientation, set the “Screen
Orientation”setting in the Settings Menu to “Landscape”
High resolution QHD Display
The XTS uses a high performance 4.7” QHD IPS
LCD display with a maximum resolution of 540
x 960. The XTS display also features projected
capacitive technology, the latest touch
technology used in smartphones and tablets,
enhancing the XTS with a quicker response
time, high durability, and excellent optical
performance.
Control Always Available
By placing the powerful MyRussound™ app in a
permanent location on a wall, the XTS gives you
full control and easy access to your Russound
system, eliminating the need for your phone or
tablet to simply change the volume or switch
favorites. The XTS gives you not only the benet
of controlling your entire Russound system from
one interface but grants full access and control to
your Russound system at any time by placing the
MyRussound App in a permanent location.
One-touch access to Favorites
From the Now Playing screen, enjoy one-touch
access to your list of system favorites. As soon
as your favorite is selected, your Russound
audio system will automatically switch to the
appropriate source and begin playing your
selection.
Custom features available only on the XTS
While the XTS runs the MyRussound app, it has
been customized with additional features that
are needed for an in-wall touchscreen:
Selectable Screen Timeout Delay
The XTS provides several options for turning
o the display after you have stopped using
it. The options range from no timeout (display
is always active) to up to 10 minutes. There is
also an option called “Follow Zone Power” to
turn o the display immediately whenever the
zone being controlled is turned o. This setting
is useful for bedrooms when you would like the
XTS to turn o immediately at night when the
zone is turned o.
Clean Screen Mode
The XTS has a built-in cleaning mode that allows
you to clean the screen while the touchscreen
is active. Cleaning the screen while it’s active
can sometimes result in unwanted button
presses. The Clean Screen mode eliminates
Specications
Display size: 4.7” (120mm)
Display type: QHD
Power requirements: PoE Power, or 12VDC @ 2A
Mounting: Single gang (US)
Dimensions: 3”W x 5”H x 1.25”D
(76 x 127 x 32mm)
Weight: 3oz
Installation Requirements:
1-Gang Electrical Box or P-Ring – The XTS is
designed for mounting into a 1-gang plastic or
metal electrical box. The box must be mounted
so that the outer edges are ush with or recessed
from the wall surface. If using a P-ring with
existing construction, the use of a low-prole ring
such as the Arlington® LV1LP is recommended.
Wired Ethernet Connection -The XTS uses a wired
Ethernet connection in order to communicate
with other Russound equipment. The XTS must
be on the same network as your Russound
controller. The XTS uses DHCP for obtaining a
network address.
The XTS works with both EIA/TIA 568A and
568B wiring
Phillips Screwdriver (#0)
Used to tighten the captive locking screws
Phillips Screwdriver (#2)
Used to attach the XTS Mounting bracket to
the Electrical Box/P-Ring
Tools needed
this problem. Select CLEAN SCREEN in the
Settings Menu and all button presses will be
ignored until you press and hold the button
on the screen to exit cleaning mode. Use a soft,
slightly damp, lint-free cloth to clean your XTS.
Avoid getting moisture into openings. Don’t
use window cleaners, household cleaners,
compressed air, aerosol sprays, solvents,
ammonia, abrasives, or any cleaners containing
hydrogen peroxide.
Easy updates
Unlike some competitors’ products that run
custom software making it challenging to keep
up-to-date, the XTS makes it easy to keep your
interface up-to-date with the latest version of the
MyRussound app by performing a simple update
from the settings menu.
Networking
The XTS is an IP-networked device. It connects
to any available Ethernet connection on the
same network as the Russound Controller. The
XTS uses DHCP to connect to the network. If
a more permanent IP address is required, use
a DHCP reservation for the XTS in your router
conguration.
Multiple Power Options
The XTS is PoE-compatible and is designed to
connect directly to an 802.3af (PoE-compatible)
network router or switch located on the same
network as the Russound controller. By using
PoE (Power Over Ethernet), the XTS only
requires a single CAT5 connection for both data
transmission and power to the XTS. In order
to take advantage of PoE, the XTS must be
connected to an 802.3af router or switch or to a
PoE power injector.
For installations where using PoE power is not
desirable, the XTS includes a separate input
on the rear panel for connecting a 12VDC @2A
tip-positive power supply (not included).
Admin settings
To enter the Admin Settings menu, press and
hold the Settings icon from the Now Playing
Screen for 5 seconds until you see the Admin
Settings menu appear.
IP Address – This setting allows you to adjust
the IP address that the XTS uses to nd the
Russound controller on your network. This IP
address is normally discovered automatically
automatically (using DHCP) and does not
need to be adjusted. Russound recommends
not changing this setting unless instructed
to do so by Russound Technical Support. If a
permanent IP address for the XTS is desired, set
a DHCP reservation for the XTS in your router
conguration.
Enable Developer Options – This setting is for
use by Russound Technical Sta only.
Clear cache and data – This setting is used to
“refresh” the MyRussound app on the XTS. All
user preferences will be cleared, and the app
will restart automatically. User preferences
include display timeout settings, screen
brightness, etc. Using “Clear cache and data”
does NOT aect any information stored on
your Russound controller such as room names,
source names, favorites, or account settings
like usernames or passwords.
2
3
4
1
USB port (factory use only)
Power input12VDC
Reset button
Ethernet port
2
3
4
1
Back Panel

Other Russound Touchscreen manuals

Russound Sphere E Series User manual

Russound

Russound Sphere E Series User manual

Russound XTS7 User manual

Russound

Russound XTS7 User manual

Russound XTSPlus Technical manual

Russound

Russound XTSPlus Technical manual

Russound Sphere E Series User manual

Russound

Russound Sphere E Series User manual

Russound XTS5.5 User manual

Russound

Russound XTS5.5 User manual

Russound UNO-TS2 User manual

Russound

Russound UNO-TS2 User manual

Popular Touchscreen manuals by other brands

Elan TS7 user guide

Elan

Elan TS7 user guide

Fireye Plant Master Guide

Fireye

Fireye Plant Master Guide

ADS-tec VMT8000 series instruction manual

ADS-tec

ADS-tec VMT8000 series instruction manual

Kramer V-1000 user manual

Kramer

Kramer V-1000 user manual

Advantech POC-W242 user manual

Advantech

Advantech POC-W242 user manual

URC Total Control TKP-5600 owner's manual

URC

URC Total Control TKP-5600 owner's manual

Elo TouchSystems 2020L Product dimensions

Elo TouchSystems

Elo TouchSystems 2020L Product dimensions

Eizo DuraVision FDS1921T Setup manual

Eizo

Eizo DuraVision FDS1921T Setup manual

Universal Remote Control TOTAL CONTROL TKP-7500 owner's manual

Universal Remote Control

Universal Remote Control TOTAL CONTROL TKP-7500 owner's manual

Crestron TSW-732 Guide

Crestron

Crestron TSW-732 Guide

Asema E user manual

Asema

Asema E user manual

Olivetti Explor 200M Service manual

Olivetti

Olivetti Explor 200M Service manual

Faytech 7 Inch user manual

Faytech

Faytech 7 Inch user manual

Advantech TPC-660E user manual

Advantech

Advantech TPC-660E user manual

Elo Touch Solutions 2740L user manual

Elo Touch Solutions

Elo Touch Solutions 2740L user manual

TechNexion TEP-1560-BSW quick start guide

TechNexion

TechNexion TEP-1560-BSW quick start guide

iSMA iSMA-B-PD-10-TB user manual

iSMA

iSMA iSMA-B-PD-10-TB user manual

ASTOUCH A55-IWB01 user manual

ASTOUCH

ASTOUCH A55-IWB01 user manual

manuals.online logo
manuals.online logoBrands
  • About & Mission
  • Contact us
  • Privacy Policy
  • Terms and Conditions

Copyright 2025 Manuals.Online. All Rights Reserved.