manuals.online logo
Brands
  1. Home
  2. •
  3. Brands
  4. •
  5. Samson
  6. •
  7. Valve Positioner
  8. •
  9. Samson TROVIS 3793 User manual

Samson TROVIS 3793 User manual

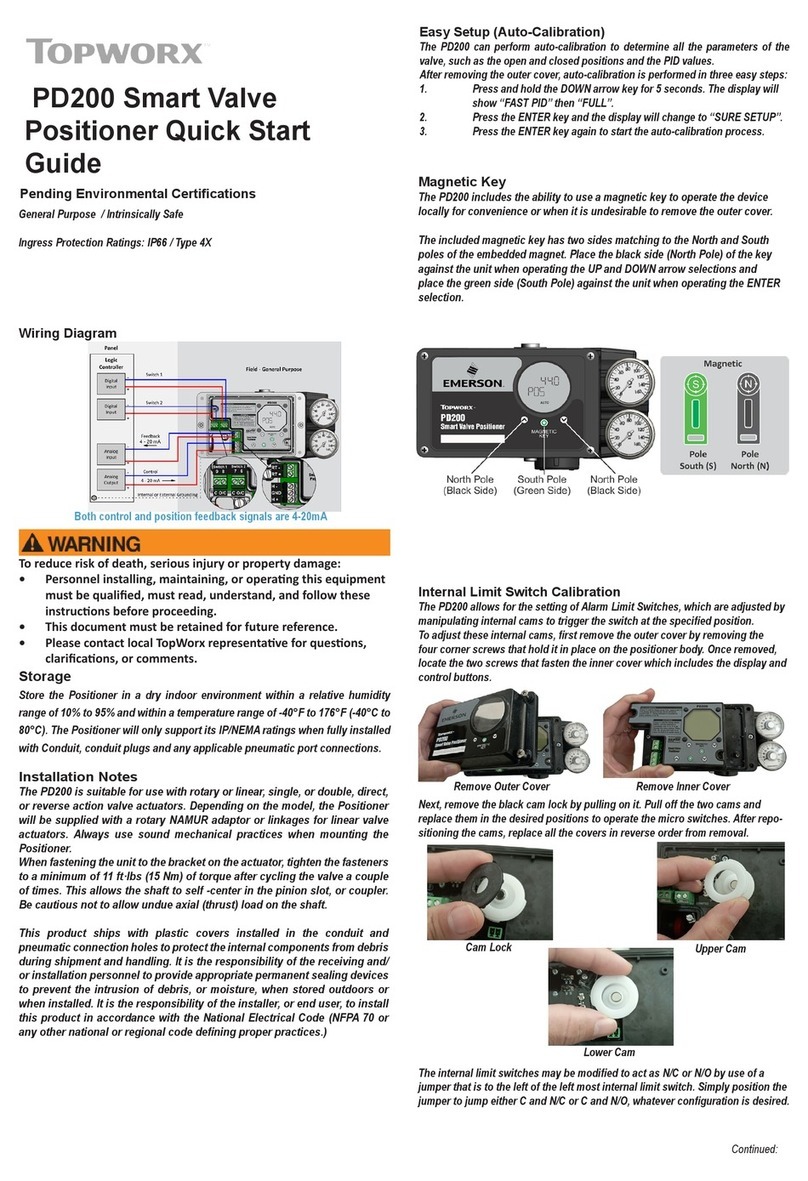
i/p Positioner TROVIS3793, TROVISSAFE3793
This Quick Guide does not substitute the mounting and operating
instructions delivered with the positioner. Observe the safety
instructions as well as warning and caution notes in the mounting and
operating instructions.
1 Mounting
Direct attachment to SAMSON Type3277 Actuator
Travel [mm] Actuator [cm²] Lever Pin positi-
on
15 240, 350 M35
30 355, 700, 750 M50
ÎTo mount the positioner, lift the lever so that the follower pin rests
on the follower clamp of the actuator stem. Make sure the lever
can move freely.
NAMUR attachment
Travel [mm] Actuator [cm²] Travel Pin position
7.5 and 15 240, 350, 355, 700, 750 M35
30 355, 700, 750 M50
30 1000, 1400, 2800 L70
60 1000, 1400, 2800 L100
120 1400, 2800 XL 200
250 1400 XXL 300
ÎDetermine the travel range of the control valve (closed position to
as far it will go in the other direction) by applying the max. supply
air to the actuator and then venting the actuator completely.
ÎFasten the lever with follower pin onto the shaft of the positioner.
Î
Fasten the NAMUR bracket onto the valve yoke so that it is aligned
centrally to the slot of the follower plate when the travel position
is at approx. 50%.
Î
Fasten the positioner to the NAMUR bracket, making sure that the
follower pin is in the slot of the follower plate. Make sure the lever
can move freely.
Attachment to rotary actuators
Lever Pin position
M90°
ÎPlace the valve to the closed position.
ÎPlace the follower plate on the slotted actuator shaft and fasten it
to the coupling wheel. Mount the top and bottom brackets to the
actuator.
ÎFasten the positioner on the bracket. Make sure that:
–
The lever with its follower pin engages into the slot of the coupling
wheel, while taking into account the opening direction.
–The lever in the mid valve position is parallel to the long side
of the positioner housing.
2 Preparing start-up
1. Connect the supply air (2.5 to 10bar).
2. Connect the input signal (4 to 20mA).
i/p-Stellungsregler TROVIS3793, TROVISSAFE3793
Die vorliegende Kurzanleitung ersetzt nicht die dem Gerät beiliegen-
de Einbau- und Bedienungsanleitung. Die in der Einbau- und Bedie-
nungsanleitung enthaltenen Sicherheits- und Warnhinweise sind zu
beachten.
1 Montage
Direktanbau an SAMSON-Antrieb Typ3277
Hub [mm] Antrieb [cm²] Hebel Stiftposition
15 240, 350 M35
30 355, 700, 750 M50
ÎZur Montage des Stellungsreglers den Hebel anheben, damit der
Abtaststift auf dem Mitnehmer der Antriebsstange zum Liegen
kommt. Auf freie Hebelbeweglichkeit achten.
NAMUR-Anbau
Hub [mm] Antrieb [cm²] Hebel Stiftposition
7,5 und 15 240, 350, 355, 700, 750 M35
30 355, 700, 750 M50
30 1000, 1400, 2800 L70
60 1000, 1400, 2800 L100
120 1400, 2800 XL 200
250 1400 XXL 300
Î
Hubbereich des Stellventils (Stellung ZU bis zum gegenüberlie-
genden Anschlag) durch volles Be- und Entlüften ermitteln.
ÎEntsprechenden Hebel mit Abtaststift auf der Welle des Stellungs-
reglers verschrauben.
ÎNAMUR-Winkel so am Ventiljoch festschrauben, dass er bei ca.
50% Hubstellung mittig zum Schlitz der Mitnehmerplatte steht.
Î
Stellungsregler am NAMUR-Winkel befestigen. Der Abtaststift
muss im Schlitz der Mitnehmerplatte liegen. Auf freie Hebelbe-
weglichkeit achten.
Anbau an Schwenkantriebe
Hebel Stiftposition
M90°
ÎVentil in ZU-Stellung bringen.
ÎMitnehmer auf die geschlitzte Antriebswelle aufstecken und zu-
sammen mit Kupplungsrad verschrauben. Untere und obere Be-
festigungswinkel am Antrieb montieren.
ÎStellungsregler am Winkel festschrauben. Darauf achten, dass
–
der Hebel mit seinem Abtaststift unter Berücksichtigung der
Öffnungsrichtung in den Schlitz des Kupplungsrads eingreift.
–der Hebel in der mittleren Hubstellung parallel zur Längsseite
des Stellungsreglergehäuses steht.
2 Inbetriebnahme vorbereiten
1. Pneumatische Hilfsenergie (2,5 bis 10bar) aufschalten.
2. Eingangssignal (4 bis 20mA) anschließen.
!
българскиезик[BG] · Čeština[CS] · Dansk[DA] · Deutsch[DE] · ελληνικά[EL]
English[EN] · Español[ES] · Eesti[ET] · Suomi[FI] · Français[FR]
Hrvatskijezik[HR] · Magyar[HU] · Italiano[IT] · 日本語 [JA]
Lietuviųkalba[LT] · Nederlands[NL] · Polski[PL] · Português[PT]
Română [RO] · Русский[RU] · Slovenčina[SK] · Slovenščina[SL] ·
Svenska[SV] · Türkçe[TR] · 中文[ZH]
Îwww.samson.de
Edition May 2018 Quick Guide KA 8493 EN
3 Operation
Turn () the rotary pushbutton to select menu items, parameters,
or values. Press ( ) the button to conrm the setting.
 for 2s to go back one level.
Conguration must be enabled before changing parameters:
1. to return to the main menu.
2. until the 'User level' appears.
3. and until 'On-site: write' appears.
4.  to conrm.
Refer to associated mounting and operating instructions for details:
uEB8493 for TROVIS3793
uEB8493S for TROVISSAFE3793
Icon Meaning
Automatic mode
Manual mode
Fail-safe position
Open-loop control mode
Function mode
Failure
Function check
Out of specication
Maintenance demanded
OK
Icon Meaning
Conguration enabled
Write protection
Option module in slot C
Option module in slot D
Binary contact 1 active
Binary contact 2 active
Binary contact 3 active
5 Initialization
WARNING! Risk of crushing! During initialization, the valve moves
through its entire travel range/angle of rotation.
Note: Before initialization, mount the positioner on the control valve.
Connect the air supply and input signal.
For normal operation, simply start initialization by pressing the INIT
key (mode: MAX, closed position: ATO).
ÎUse a thin, pointed object to press the initialization key: the posi-
tioner adapts itself automatically to the maximum travel range/
angle of rotation of the control valve.
Note: After changing the mounting situation, reset the positioner
before initialization (refer to mounting and operating instructions).
Tip: We recommend setting the software restriction in the positioner
for actuators with diaphragm areas ≤240cm² to 50% (start-up menu
7.21/7.22).
Refer to the mounting and operating instructions for other initializa-
tion modes and details.
4 Start-up
During the rst start-up, the wizard starts automatically:
1. to determine the reading direction of the display.
2.  (2x) to conrm.
3. to select language.
4.  (3x) to conrm. The positioner changes to the start screen.
5. Initialize the positioner (see section 5).
6 Display icons and their meaning
Ausgabe Mai 2018 Kurzanleitung KA 8493
3 Bedienung
Durch Drehen () des Dreh-/Druckknopfes werden Menüpunkte,
Parameter und Werte ausgewählt. Drücken () des Knopfes bestätigt
die Auswahl.  für 2s, um eine Ebene zurück zu wechseln.
Um Parameter zu ändern, muss vorher die Kongurationsfreigabe
aktiviert werden:
1.  , um ins Hauptmenü zu wechseln.
2. , bis „Benutzerebene” erscheint.
3. und  bis „Vor Ort: Schreiben” erscheint.
4.  , um zu bestätigen.
Einzelheiten vgl. zugehörige Einbau- und Bedienungsanleitung:
uEB8493 für TROVIS3793
uEB8493S für TROVISSAFE3793
Symbol Bedeutung
Automatikbetrieb
Handbetrieb
Sicherheitsstellung
Steuerungsmodus
Funktionsmodus
Ausfall
Funktionskontrolle
außerhalb d. Spezikation
Wartungsanforderung
OK
Symbol Bedeutung
Kongurationsfreigabe
Schreibschutz
Optionsmodul in Steckpl. C
Optionsmodul in Steckpl. D
Binärkontakt 1 aktiv
Binärkontakt 2 aktiv
Binärkontakt 3 aktiv
4 Inbetriebnahme
Bei Erstinbetriebnahme startet das Gerät mit dem Assistenten:
1. , um Leserichtung des Displays festzulegen.
2.  (2x), um zu bestätigen.
3. , um Menüsprache zu wählen.
4.  (3x), um zu bestätigen, Startbildschirm erscheint.
5. Stellungsregler initialisieren (vgl. Kapitel 5).
5 Initialisierung
WARNUNG! Quetschgefahr! Während der Initialisierung durchfährt
das Ventil den gesamten Hub-/Winkelbereich.
Info: Vor der Initialisierung den Stellungsregler montieren, pneuma-
tische Hilfsenergie aufschalten und Eingangssignal anschließen.
Für den Normalbetrieb reicht die Schnellinitialisierung über den Ini-
tialisierungstaster aus (Modus: MAX, Schließstellung: ATO).
ÎInitialisierungstaster mit einem dünnen, spitzen Gegenstand be-
tätigen: Der Stellungsregler adaptiert sich anschließend vollauto-
matisch auf den maximalen Hub-/Drehwinkelbereich des Stell-
ventils.
Info: Nach Änderung der Einbausituation, den Stellungsregler vor
der Initialisierung resetten (vgl. EB).
Tipp: SAMSON empehlt, bei Antrieben mit einer Membranäche
≤240cm² die Softwaredrossel des Stellungsreglers auf 50% einzu-
stellen (Inbetriebnahme-Menü 7.21/7.22).
Weitere Initialisierungsarten sowie Einzelheiten vgl. EB.
6 Displaysymbole und ihre Bedeutung

This manual suits for next models

1

Other Samson Valve Positioner manuals

Samson TROVIS 3730-3 User guide

Samson

Samson TROVIS 3730-3 User guide

Samson 3730-2 User manual

Samson

Samson 3730-2 User manual

Samson 4763 Service manual

Samson

Samson 4763 Service manual

Samson 3730 Series Service manual

Samson

Samson 3730 Series Service manual

Samson 3730 Series Service manual

Samson

Samson 3730 Series Service manual

Samson EB 8075 EN Service manual

Samson

Samson EB 8075 EN Service manual

Samson 3785 series Service manual

Samson

Samson 3785 series Service manual

Samson 3730-2 Service manual

Samson

Samson 3730-2 Service manual

Samson TROVIS 3730-1 Service manual

Samson

Samson TROVIS 3730-1 Service manual

Samson 3731-5 Service manual

Samson

Samson 3731-5 Service manual

Samson 3780 series Service manual

Samson

Samson 3780 series Service manual

Samson 4765 Service manual

Samson

Samson 4765 Service manual

Samson TROVIS 3730-3 Service manual

Samson

Samson TROVIS 3730-3 Service manual

Samson 3725 series User manual

Samson

Samson 3725 series User manual

Samson TROVIS SAFE 3730 Series User manual

Samson

Samson TROVIS SAFE 3730 Series User manual

Samson FOUNDATION 3730-5 Service manual

Samson

Samson FOUNDATION 3730-5 Service manual

Samson 3730-2 Service manual

Samson

Samson 3730-2 Service manual

Samson TROVIS 3730-3 User manual

Samson

Samson TROVIS 3730-3 User manual

Samson 3730 Series Service manual

Samson

Samson 3730 Series Service manual

Samson 3248-1 Service manual

Samson

Samson 3248-1 Service manual

Samson FOUNDATION 3730-5 Service manual

Samson

Samson FOUNDATION 3730-5 Service manual

Samson 3730 Series Service manual

Samson

Samson 3730 Series Service manual

Samson TROVIS 3730-3 Service manual

Samson

Samson TROVIS 3730-3 Service manual

Samson 4763 Service manual

Samson

Samson 4763 Service manual

Popular Valve Positioner manuals by other brands

Burkert 1067 instruction manual

Burkert

Burkert 1067 instruction manual

Vahle Apos KBH Series Installation and operation instruction manual

Vahle

Vahle Apos KBH Series Installation and operation instruction manual

tissin TS600 Series instruction manual

tissin

tissin TS600 Series instruction manual

Bray 6P Series Operation and maintenance manual

Bray

Bray 6P Series Operation and maintenance manual

Ytc YT-1000L installation manual

Ytc

Ytc YT-1000L installation manual

halstrup-walcher PS*3**SE series instruction manual

halstrup-walcher

halstrup-walcher PS*3**SE series instruction manual

GE BAKER HUGHES Masoneilan SVi 1000 quick start guide

GE

GE BAKER HUGHES Masoneilan SVi 1000 quick start guide

Genebre 5951 00 Installation, operation and maintenance manual

Genebre

Genebre 5951 00 Installation, operation and maintenance manual

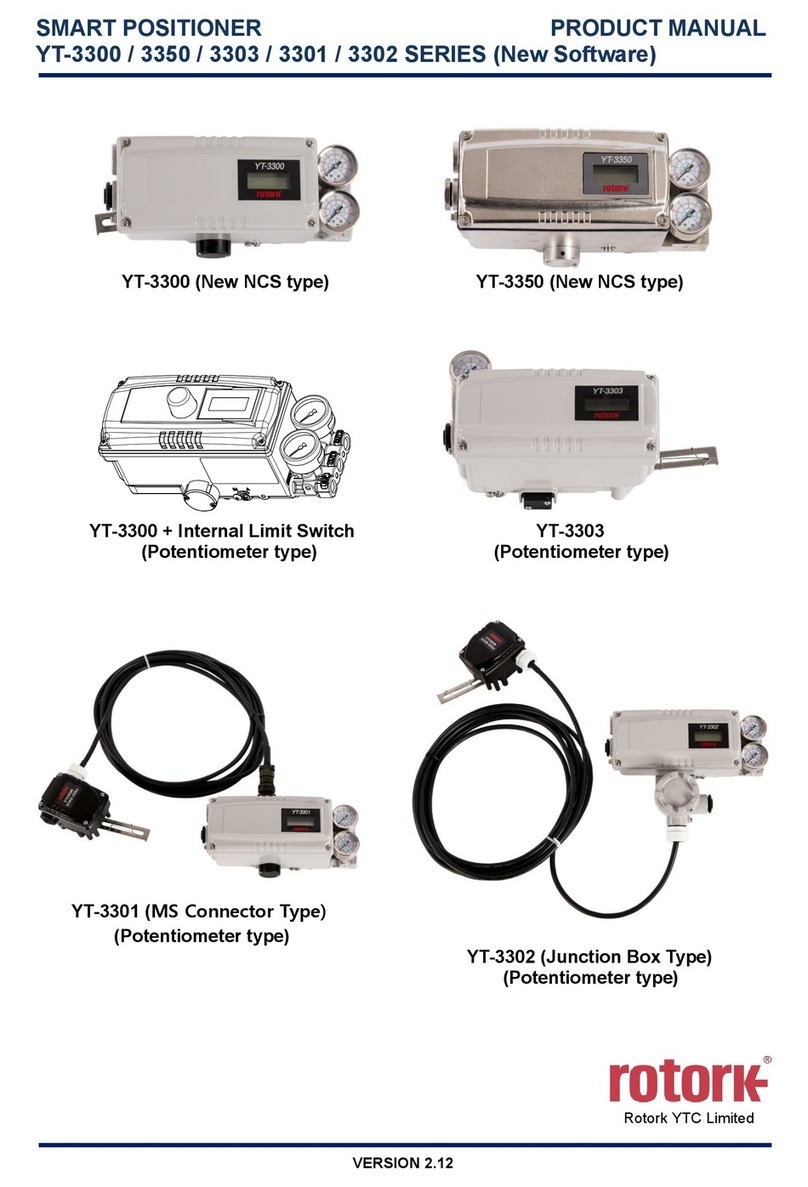
rotork YT-2600 Series product manual

rotork

rotork YT-2600 Series product manual

Pepperl+Fuchs PXV F200-B25-V1D Series manual

Pepperl+Fuchs

Pepperl+Fuchs PXV F200-B25-V1D Series manual

Aerotech ABL1000 Hardware manual

Aerotech

Aerotech ABL1000 Hardware manual

iXBlue GAPS maintenance

iXBlue

iXBlue GAPS maintenance

Aventics AB-1 Service information

Aventics

Aventics AB-1 Service information

PI P-587.6CD user manual

PI

PI P-587.6CD user manual

GEM 1434 mPos Installation, operating and maintenance instructions
GEM

GEM 1434 mPos Installation, operating and maintenance instructions
Siemens SIPART PS100 operating instructions

Siemens

Siemens SIPART PS100 operating instructions

PI P-62 Series user manual

PI

PI P-62 Series user manual

PMV P-1500 manual

PMV

PMV P-1500 manual

manuals.online logo
manuals.online logoBrands
  • About & Mission
  • Contact us
  • Privacy Policy
  • Terms and Conditions

Copyright 2025 Manuals.Online. All Rights Reserved.