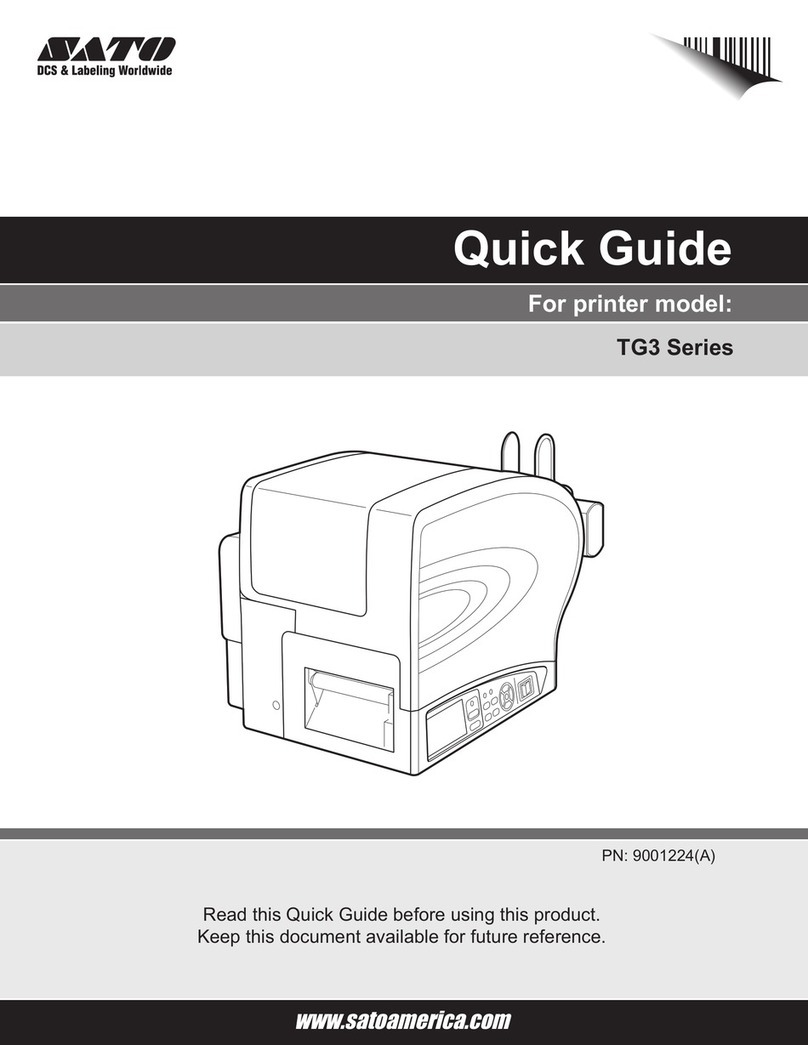
SATO TG3 Series User manual

German English
Chinese
Korean
TG3 Series
Quick Guide
TG3 Series
Quick Guide

2
Korean
English
27
Second Edition August, 2008 Q02466000
© 2008 SATO Corporation
Introduction
This manual is intended to help you become familiar with the basic operation ofTG3 series the barcode printer in a short time.
Please read this manual carefully to make full use of the functions of TG3 series.
Notes
1. Reproduction of all or part of this manual is prohibited without permission of the copyright owner.
2. The information in this manual is subject to change without notice.
3. If you find any ambiguous or erroneous information in this manual, please contact your nearest
dealer or service center.

3
English
Table of Contents
Introduction ................................................................................................................................................................................2
Notes..........................................................................................................................................................................................2
Safety Precautions .....................................................................................................................................................................4
Precautions for Installation and Handling...................................................................................................................................8
Unpacking ..................................................................................................................................................................................9
Parts Name ..............................................................................................................................................................................11
Setting Labels ..........................................................................................................................................................................14
Loading the Ribbon ..................................................................................................................................................................18
Turning On Power ....................................................................................................................................................................21
Basic Specifications of TG3 Series ..........................................................................................................................................24

4
English
WARNING
Safety Precautions
In this section, safety precautions about printer operation are explained to ensure proper care and usage.
Make sure to read these carefully before using your printer.
Markings and Symbols
The following symbols or markings are used in this manual and on the printer so that you can properly use the
printer, and to prevent any damage to property, harm or injury to yourself and others.
Make sure to read their explanations carefully to familiarize yourself with their meanings.
This symbol indicates information that, if ignored or applied incorrectly, creates the danger of
death or serious personal injury.
This symbol indicates information that, if ignored or applied incorrectly, creates the possibility
of personal injury or property damage.
Symbol examples
The triangle indicates something you should take absolute care with.The cautions are indicated
concretely within the symbol.The symbol on the left indicates a risk of electric shock.
A circle with a diagonal line indicates something you should not do.The symbol on the left indicates
that you should not try to take the unit apart.
A black circle with a picture inside indicates something you need to do.The symbol on the left indicates
that you should unplug the unit from the wall outlet.
WARNING
Place the printer on a surface that is flat and level
Do not leave the printer on unstable surfaces. If the printer falls and hits someone, it could cause
injury.
Do not expose the printer to liquids or moisture
Do not place objects filled with liquids, such as beverages, vases, or chemical product near the
printer. Also, do not place small metal objects near the printer. If the liquids have been spilled or
objects have fallen into the printer, turn off the power immediately, disconnect the power cord from
the power outlet, and contact your nearest dealer, service center or the store where you purchased
the printer. Continue use of the printer in this condition may cause fire or electric shock.
Do not insert foreign material into the printer
Do not insert or drop any metal objects or flammable objects into the openings (cable end). If the
foreign material has fallen into the printer, turn off the power immediately, disconnect the power cord
from the power outlet, and contact your nearest dealer or service center or the store where you
purchased the printer. Continue use of the printer in this condition may cause fire or electric shock.
CAUTION

5
English
WARNING
Use only the designated electrical power and voltage
Use the type of power source indicated on the printer. Different voltage may cause fire or electric
shock.
Connect ground wire
Make sure to connect the ground wire of the printer to the ground slot. Failure to do so may cause
electric shock.
Power cord
•Do not attempt to damage, break, or modify the power cord. Also, avoid placing a heavy object
on, heating, or pulling the power cord.This may damage the power cord causing fire and
electric shock.
•If the power cord becomes damaged in any way (exposed cable core, breaking of wire), contact
your nearest dealer, service center or the store where you purchased the printer. Continue use
of damaged power cord may cause fire or electric shock.
•Do not attempt to modify, jerk, knot, sharply bend, or otherwise abuse the power cord. Continue
use of damaged power cord may cause fire or electric shock.
In case of drop or damage
If the printer was dropped or damaged, turn off the power immediately, disconnect the power cord
from the power outlet, and contact your nearest dealer, service center or the store where you
purchased the printer.Continue use of the printer in this condition may cause fire or electric shock.
Do not use the printer in abnormal condition
In the case of abnormalities such as smoke or foul odors from the printer, stop using the printer
immediately. Continue use of the printer in this condition may cause fire or electric shock.Turn off
the power immediately, disconnect the power cord from the power outlet, and contact your nearest
dealer, service center or the store where you purchased the printer. Do not attempt to repair the
printer yourself.
Do not disassemble
Do not attempt to disassemble or modify the printer. Fire or electric shock may occur. For service
and repair of internal problem, please contact your nearest dealer or service center or the store
where you purchased the printer for assistance.
Cutter
Do not insert your hands or any other object inside the cutter.Such actions may result in injury.
Handling of the head cleaning fluid
•The head cleaning fluid is flammable. Never heat it or throw it into a fire.
•To prevent children from accidentally swallowing the cleaning fluid, store it in a location that is
out of their reach. If it is swallowed, consult a doctor immediately.

6
English
CAUTION
Do not use in locations with high humidity
Do not place the printer in any places where it will be subjected to high humidity or condensation.If
condensing, turn off the power switch immediately, stop using it and dry completely without using
any heat producing devices.Continued use under these conditions may cause electric shock.
Carrying the printer
•Disconnect the power cord from a power outlet before moving the printer to other places.
Leaving it connected and moving the printer will damage to the cord and connections.This may
cause fire or electric shock.
•Do not carry the printer when the label is set. If the label falls and hits someone, it could cause
injury.
•When placing the printer on the floor or the table, be careful not to get your fingers or hands
caught in the legs of the printer.
Power supply
Do not touch the power switch or plug-in/unplug the power cord with wet hands.This may cause
electric shock.
Power cord
•Keep the power cord out of any appliances that produce heat.This may melt the coating of
power cord and cause fire or electric shock.
•When disconnecting the power cord from the printer or a power outlet, pull on the plug. If not, it
may cause exposure of wire, breaking of wire, overheating, fire or electric shock.
• The power cord provided with this printer is for use with this printer only. It cannot be used with
other electrical devices.
Cover
When opening/closing the cover, be careful not to get your fingers caught.

7
English
CAUTION
Thermal head
•Thermal head will become hot during the printing process. When changing labels or when
cleaning after printing, be careful not to get burnt.
•Contact with the edge of thermal head with bare hands may cause injury.When changing
labels or when cleaning, be careful not to get injured.
•The customer should not replace the thermal head. Doing so may result in injury, burns or
electric shock.
Opening and closing thermal head
Do not insert foreign material other than labels when opening/closing the thermal head.This may
result in injury or malfunction.
Setting labels
When setting the roll labels, please be careful not to get your fingers caught between the label and
label supply spindle.
Cutter
This part contains a blade.Take care to avoid cutting your hands.
When unused for long periods of time
Disconnect the power cord from a power outlet when unused for long periods of time.
Maintenance and cleaning
Disconnect the power cord from a power outlet when maintaining or cleaning the printer.
*Compliance Statements for Acoustic Noise – Equipment and Product Safety Act (3rd version - GPSGV).The emitted sound
pressure resulted in 70 dB(A) or less per EN ISO 7779.
* This device is not intended for use at a video workstation in compliance with BildsharbV.
*Do not replace a fuse yourself.
*If a fuse has blown, contact the retailer, dealer, or support center.

8
English
This printer requires an AC power supply.
Be sure to connect the printer to an AC
power supply.
Failure to do so may result in miss
operation or a malfunction.
Connect the power cord to a grounded
power outlet.
Make sure to have the facility
equipped with the ground slot.
Precautions for Installation and Handling
Printer operation can be affected by the printer environment.
Refer to the following instructions for installation and handling of this printer.
Select a Safe Location
Place the printer on a surface that is flat and
level.
If the surface is not flat and level, this
may result in poor print quality.This
may also cause malfunction and
shorten the life span of the printer.
Do not place the printer on a location that
produces vibration.
Do not carry the printer when the roll
label is set. Giving serious vibration
or shock to the printer may cause
malfunction and shorten the life span
of the printer.
Do not place the printer near crane or
pressing machine.
Machineries such as crane and
pressing machine require large
amount of power.This may cause
electrical noise or voltage reduction.
Avoid such locations to reduce the
risk of malfunction or damage to the
printer.
Keep the printer out of high temperature and
humidity.
Avoid locations subject to extreme or
rapid changes in temperature or
humidity. Exposure to these condi-
tions may cause electrical problems
within the printer.
Do not place the printer in a location subject
to water or oil.
Do not place the printer in a location
where it will be splashed with water or
oil.Water or oil entering inside the
printer may cause a fire, electric
shock, or malfunction.
Avoid dust.
Dust buildup may result in poor print
quality.This may cause not only
malfunction but also shorten the life
span of the printer.
Keep out of direct sunlight.
This printer has a built-in optical
sensor. Exposure to direct sunlight
will make the sensor less responsive
and may cause the label to be sensed
incorrectly. Close the cover when
printing.
Power Supply
Provide a stable source of electricity to the
printer.
Do not share the power outlets with other appliances such
as a heater and refrigerator requiring a measurable amount
of power.Also, avoid using the power outlet near where
such appliances are plugged into.This may cause voltage
reduction and malfunction.
Ground

9
English
Unpacking
Unpack the printer and place it in the designated location. First of all, open the box.
Next, remove the printer and place it in the designated location.
Printer
Box of accessories
Cushioning material
Box
* The shape of the cushioning material (cushions that holds the printer in place) may differ from that shown.

10
English
Accessories
Make sure you have received all of the following items in this package. If there are any accessories missing, contact your
nearest dealer or the store where you purchased the printer.
About the box
Please retain both the box in which the printer was packed and the cushioning material
(cushions that hold the printer in place). If you need to send the printer in for repair,
repack it in this box.
Leaflet (Warranty)
Quick
Guide
Quick Guide
Boss securing screws
Power cord
Bosses

11
English
Parts Name
Label ejection
1 Cover
Front panel
5Boss
8AC input power terminal
6 Interface slot
4 Roll paper stopper
Rear panel
7 External connector terminal
2Display panel 3 Power ON/OFF switch

12
English
Interior
0 Ribbon take-up spindle
C Head lock lever
B Roll paper
supply spindle
A Ribbon supply spindle
4 Roll paper stopper
Interior
0 Ribbon take-up spindle A Ribbon supply spindle
E Sliding guide
Guide screw
9 Platen roller
D Keypad connector terminal*
Lid latch
*For the optional keypad only. Never connect any other devices, as a computer-RS-232C communication is not enabled.

13
English
C Head lock lever
F Thermal head
Interior
Name and Function of Controls
1Cover
Open and close this cover to load the paper, ribbon
and other items.
2Display panel
Displays an error message and instructions.
3Power ON/OFF switch
Turns power ON or OFF.
4Roll paper stopper
Set to meet the size of the label used.
5Boss
Attach the boss to suit the size of the paper core used.
6Interface slot
Optional interface slot for connection to a PC or other
device.
7External connector terminal
Interface connector for external signals.
8AC input power terminal
Used to connect the power cord.
9Platen roller
This roller feeds the paper. Perform maintenance at
regular intervals.
0Ribbon take-up spindle
ARibbon supply spindle
Used to load the ribbon.
BRoll paper supply spindle
Used to load the roll paper.
CHead lock lever
Used to open and close the thermal head.
DKeypad connection terminal
Used to connect the optional keypad (simple input
device).
ESliding guide
Used to hold down the paper.
FThermal head
This component is used to print on the paper. Perform
maintenance at regular intervals.
Interior

14
English
1Open the cover.
Boss attachment position
Attachment hole 1, 2
Attachment hole 2, 3
Attachment hole 3
Paper width
Up to 40 mm
Up to 50 mm
50 mm to 80 mm
2If the inner diameter of the roll is 100 mm, attach
the boss at the roll paper supply spindle. If the
inner diameter of the roll is 75 mm, proceed to
Step 4.
3Using the boss attachment positions given in the
following table as a guide, attach the boss and
then fasten it in place with the screw.
2
Boss
Roll paper supply spindle
1
Setting Labels
Setting Roll Paper
3

15
English
4Load the paper.
Push the roll firmly toward the inside of the printer until it
touches the back of the spindle.
5Attach the roll paper stopper.
When using a large quantity of paper (Ø 100 outer diameter
core), attach the extension guide plates.
Roll paper stopper
6Close the cover.
When closing the cover, please be careful not to
get your fingers caught in the cover.
Setting the Standard Cutter Unit Paper
1Turn the power ON.
“PAPER END” is displayed on the LCD.
2Turn the head lock lever counterclockwise and then clockwise to lock the head.
The ONLINE LED goes OFF and the paper type is displayed on the LCD.
3Press the PAPER button until the paper you want to use is displayed on the LCD.
4If you use tag stock, adjust the cutter sensor position. If you use label paper, proceed to Step 5.
Loosen the adjustment screw to move the cutter sensor according to the scale on the gauge and then tighten the adjustment
screw.
CAUTION

16
English
5Use the guide screw to secure the sliding guide
according to the paper width.
6Push the paper underneath the paper lid.
7Lift your hand off the paper when the paper begins to be pulled automatically.
Guide screw
Sliding guide
Ribbon
Paper
Paper route diagram
8After confirming that paper is cut, close the cover.
CAUTION
Take care not to get your fingers caught when closing the cover.

17
English
Automatic Feeding Function
The automatic feeding function automatically transports paper detected with the jump hole sensor to the head position when
paper is loaded in the printer.
When paper is inserted in the lid latch part while the printer is in the offline state after the head and lid latch are opened/
closed, this function uses the jump hole sensor to detect the paper and then performs the automatic feed operation.
If the head and lid latch are opened/closed, paper is loaded manually, and then the Online key or Feed key is pressed, the
feed operation is performed in order to position the paper, but this operation differs from the automatic feed operation.
Cutting withoutWasting FirstTag/Label
When using the tag/label longer than its maximum length in automatic feeding function, the printer feeds out a blank tag/label.
Tag/Label specification not to issue a blank tag/label.
Tag/Label Type
Center Hole Tag
I-Mark Tag/Label
Side Hole Tag
R-Corner Tag
Label with Gap
Maximum Length
140 mm/5.51 inches
65 mm/2.55 inches
200 mm/7.87 inches
65 mm/2.55 inches
70 mm/2.75 inches

18
English
Do not pass the carbon ribbon underneath the
sensor.
Loading the Ribbon
4Check that the ribbon take-up reel is fixed to the
ribbon take-up spindle.
If not, push the ribbon take-up reel against the rear and turn the
purple color knob clockwise to lock it.
Setting Carbon Ribbon
1Open the cover.
Perform the procedure shown in Step 1 of “Setting Roll Paper”(See page 14).
2Rotate the purple head lock lever in the
counterclockwise direction.
The thermal head opens.
• Be sure to use only carbon ribbon supplied by SATO with this printer.
•Do not use a non-standard carbon ribbon.
3Open the carbon ribbon package, and then load
the ribbon on the ribbon supply spindle.
Confirm that the winding direction is correct, and push the ribbon
toward the inside of the printer.
Head lock lever
CAUTION

19
English
5From the ribbon supply spindle, pass the carbon ribbon underneath the thermal head to the
ribbon take-up spindle.
Wind the ribbon around the take-up reel several times in the direction of the arrow.
Confirm that the ribbon has been loaded as shown in the figure below when viewed from the side.
• The thermal head and the surrounding area will become hot immediately after a printing operation.Take
care not to burn yourself if you need to replace the carbon ribbon immediately after a printing operation.
•Touching the edge of the thermal head with your bare hands may result in injury.
CAUTION
Figure showing the paper and ribbon path
Paper
Ribbon

20
English
Removing the Carbon Ribbon
Remove the supply side carbon ribbon in the direction indicated
by the arrow.
For the wound-up carbon ribbon, turn the purple color knob
counterclockwise to unlock the take-up reel and then remove the
ribbon in the direction indicated by the arrow.
• Be sure to remove the wound-up carbon ribbon when the end of each roll of carbon ribbon is reached.
•You may get ink on your hands when you remove the carbon ribbon.
6Lock the head-lock lever, and then close the
cover.
Take care not to get your fingers caught when
closing the open cover. Head lock lever
Cover
CAUTION
CAUTION
Don’t dispose of the empty ribbon take-up reel after removing it from the Ribbon feed spindle. Instead, transfer
it to the Ribbon Rewind spindle so that used ribbon can be wound around it after a new ribbon roll has been
loaded.
NOTE
Other manuals for TG3 Series
3
This manual suits for next models
2
Table of contents
Languages:
Other SATO Label Maker manuals

SATO
SATO LM408 User manual

SATO
SATO SG112-ex User manual

SATO
SATO s84ex User manual

SATO
SATO CL4NX RIDF Instruction sheet
SATO
SATO Argox O4-250 User manual
SATO
SATO GY412 User manual
SATO
SATO CT400i Series User manual
SATO
SATO M10e Series User manual
SATO
SATO s84ex User manual
SATO
SATO CG408 DT/TT User manual
