HST-DIRECTORLITE - Quick Reference Guide | 009-2247-02 2 of 3 45 Perseverance Way, Hyannis MA 02601
Copyright ©2023 Savant Systems, Inc | 230503 www.savant.com | 508.683.2500
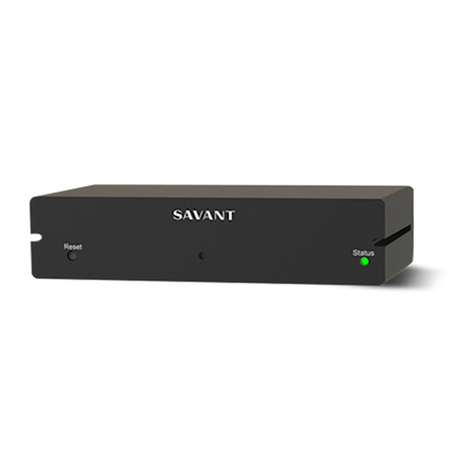
Savant Director Lite
Quick Reference Guide
Installation
Rack Mount
Wall Mount
Rear Panel (cont)
1. Position the mounting plate onto the wall where the Director Lite
will be located. Position the bracket, so the tabs are positioned
horizontally.
2. Mark the two mounting holes on the wall.
3. Install wall anchors and screw mounting plate to the wall.
4. Snap the Director Lite into the bracket, ensuring the mounting
bracket’s tabs seat into the slots on the side panels.
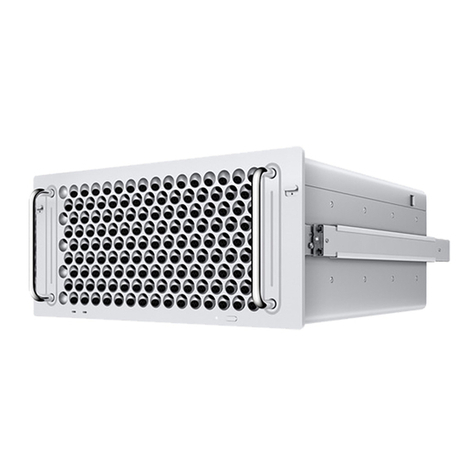
The optional RCK-3000 provides a ventilated shelf for mounting. This
rack is compatible with all standard 19-inch National Manufacturers
Association (NEMA) rack mounts.
A mounting plate (074-0577-xx) is supplied in the box. This plate
is used to mount the Director Lite to a wall or existing structure. To
mount, follow the instructions below.
The Director Lite can be placed on a solid flat surface such as a table,
cabinet, rack, or shelf or mounted onto a wall or similar structure
using the supplied mounting bracket. Install the chassis in a dry, well
ventilated place that is out of direct sunlight. Both Rack and Wall
mounting instructions are oered below. When installing, place the
Director Lite within 6 ½feet and in direct line of sight of the power
and lighting modules.
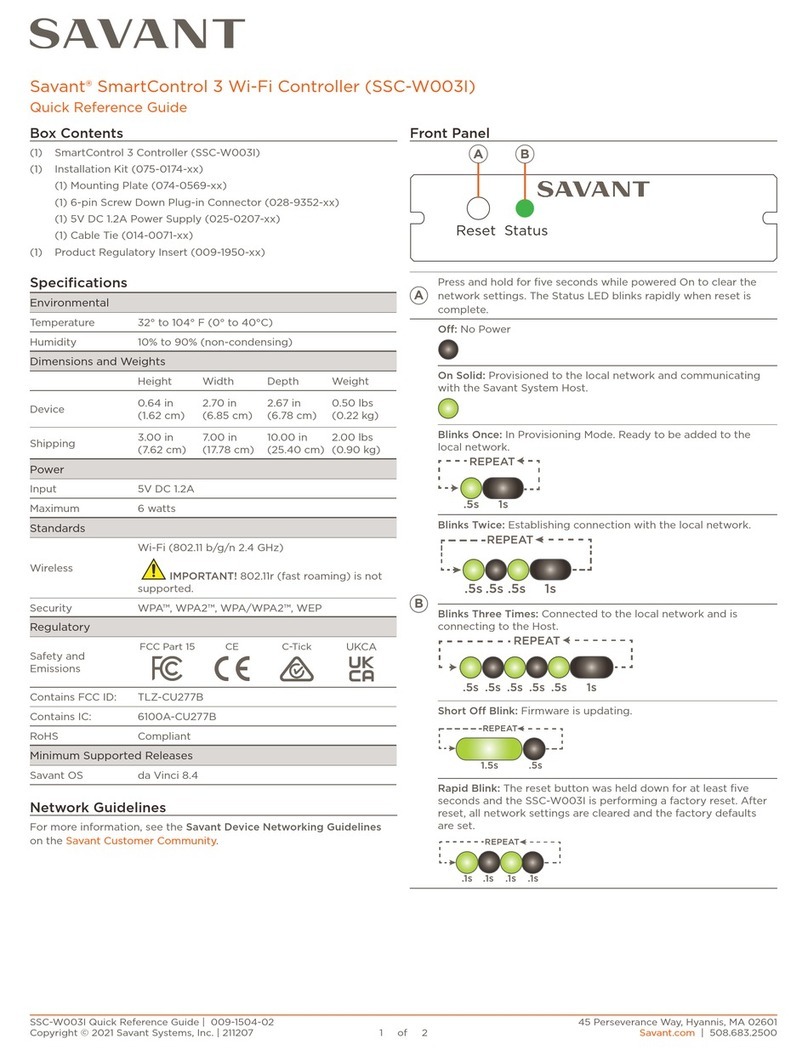
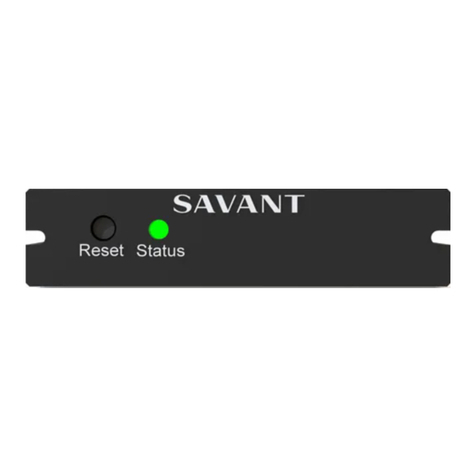
B
Pair
(Button)
Press and Release - Launches On-Device Pairing. In this
mode, the Director Lite locates any power or lighting
modules in pairing mode, and connects with them.
Press and Hold - Press and hold for 5 seconds, then
release to clear the configuration running on the
Director Lite and then initiate a reboot.
NOTE: A gear icon on a power or lighting module’s LCD
screen indicates the module is in pairing mode.
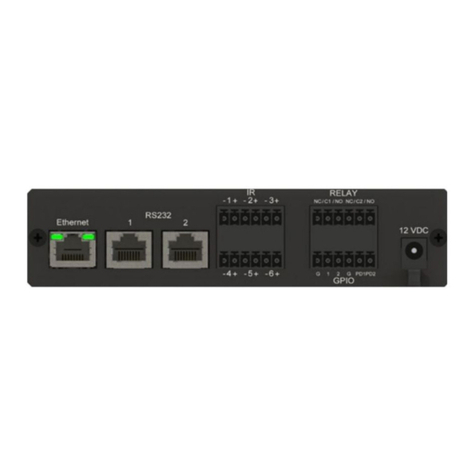
C
WiFi
Status
(LED)
O - The Director Lite is not provisioned to Wi-Fi and
Access Point (Local) Mode is O.
Amber - Access Point (Local) Mode is enabled.
Green - The Director Lite is provisioned and
communicating with Wi-Fi. NOTE: The Savant Power &
Light app configures the wireless interface.
Red - The Director Lite is provisioned to Wi-Fi but
unable to communicate with that network.
Red Blinking (fast) - The reset button was pressed and
held for 10 seconds. See the description in the Reset
(Button) field described in an earlier section.
D
Local
Mode
(Button)
Press and release - Press and release to put the Director
Lite into Access Point (Local) Mode. Press and release
again to take it out of this mode. Local Mode times out
after 30 minutes.
–In Local Mode the Director Lite functions as an
Access Point and can communicate directly with the
Savant Power & Light App over Wi-Fi.
–Local Mode is disabled when the Director Lite is
provisioned to Wi-Fi.
E
Ethernet
Ethernet Port
–8-pin RJ-45 port
–10/100/1000 Base-T auto negotiating port with
link/activity LEDs.
F
Link LED
Solid Yellow - Network Speed = 100/1000 Mbps
O - Network Speed < 100 Mbps
G
Activity
LED
Green Blinking - Tx/Rx activity
O - No activity. Verify the Ethernet cable is plugged
securely into the local Ethernet switch.
H
Power
(Input)
Connect the supplied power supply between the 5V
DC input and a surge protected 120-240V AC 50/60 Hz
source.
Director Lite
Mounting
Bracket
Tab fits
into slot
