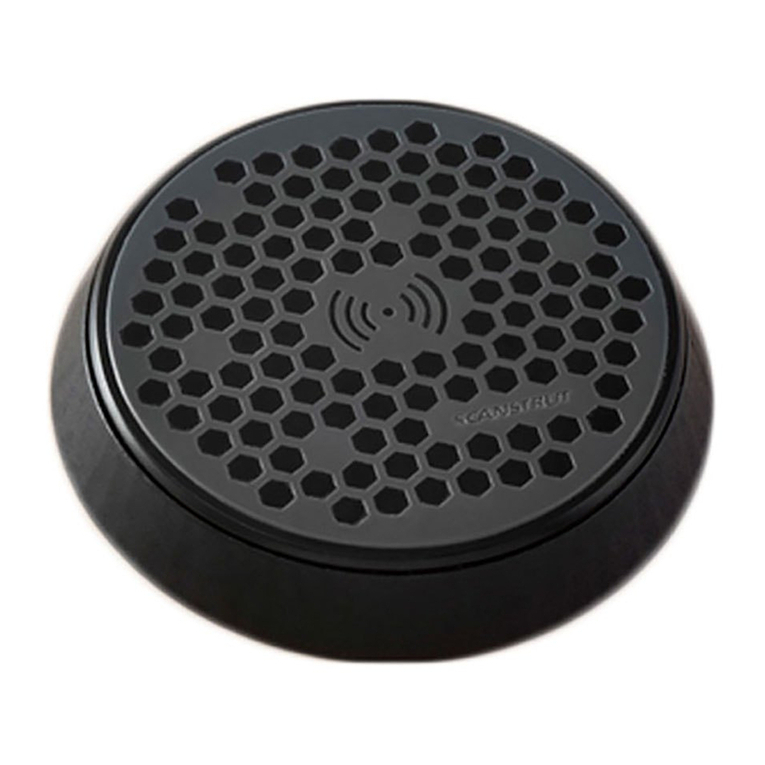
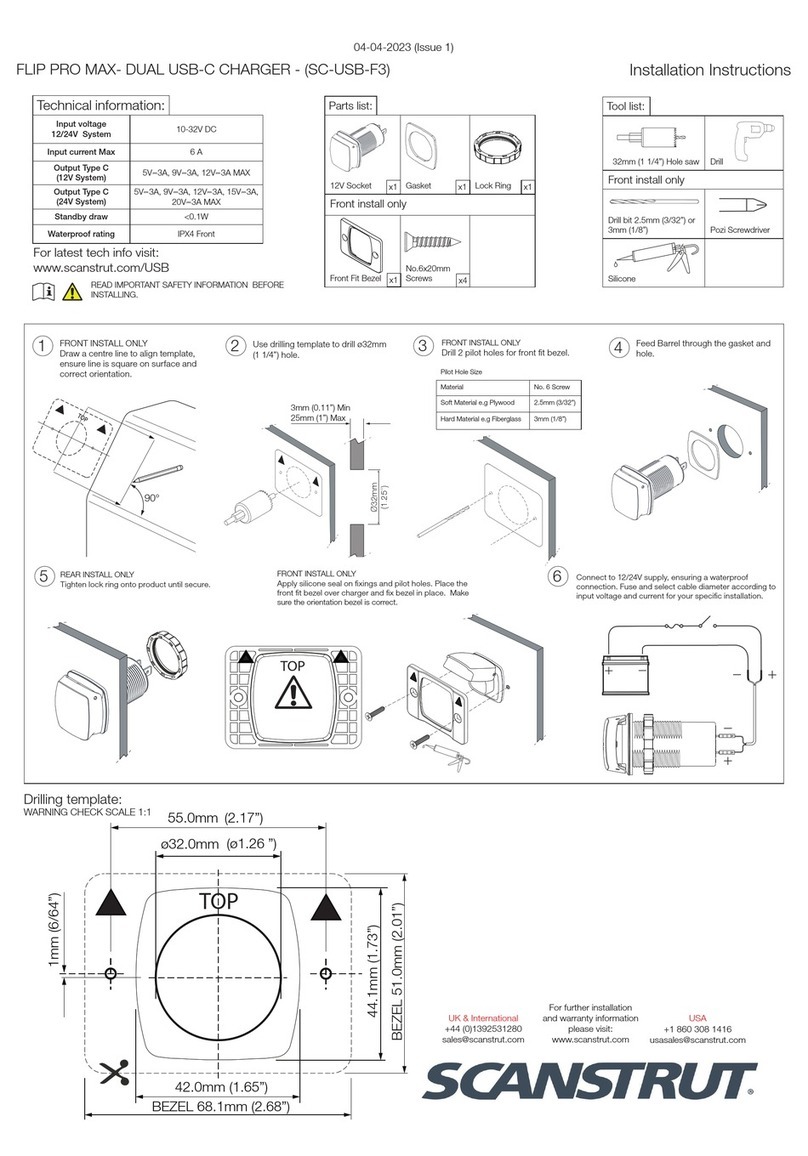
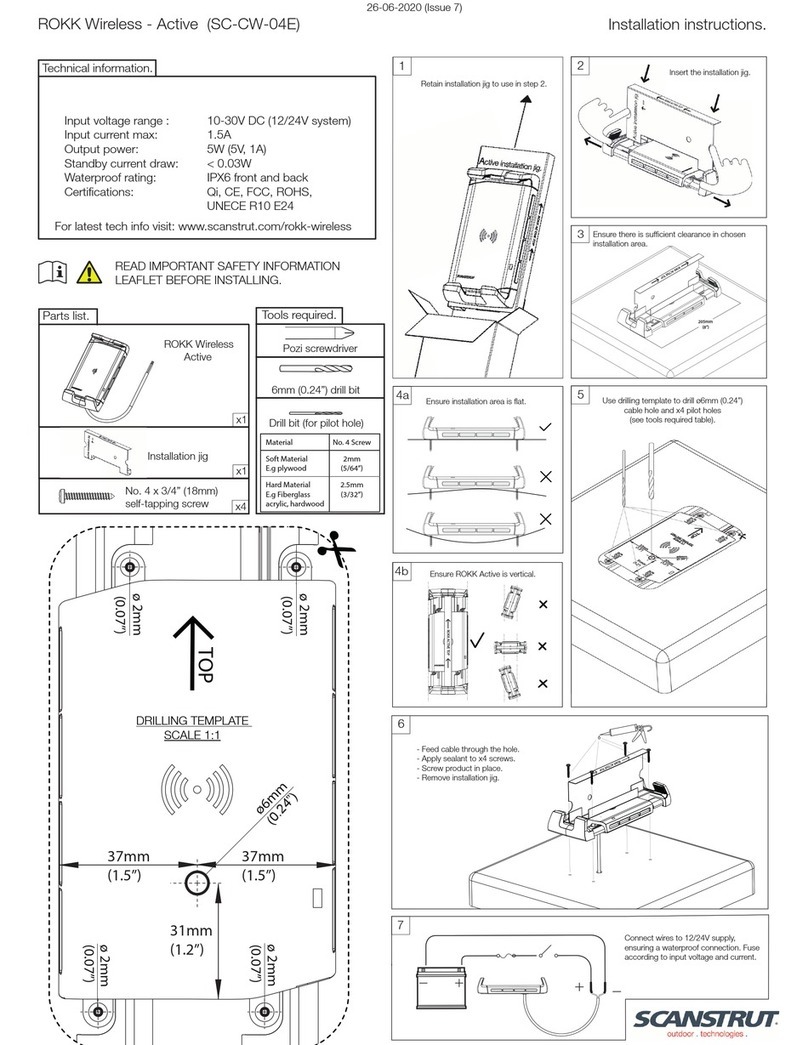
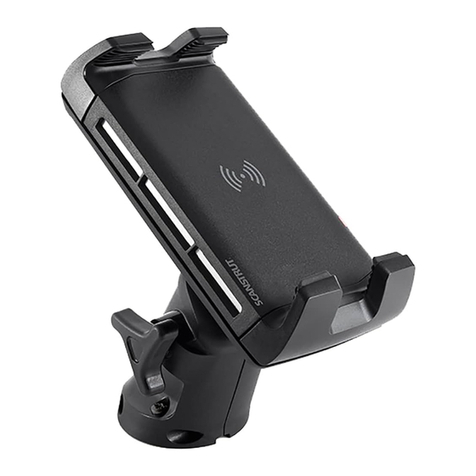
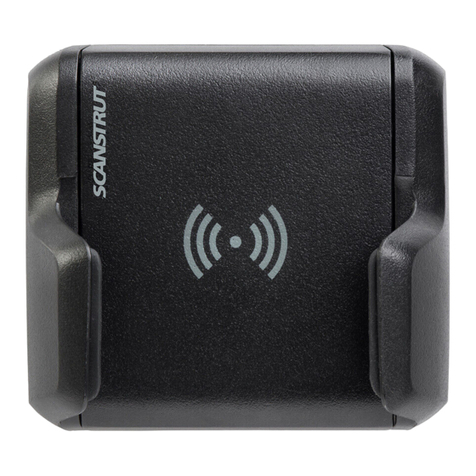
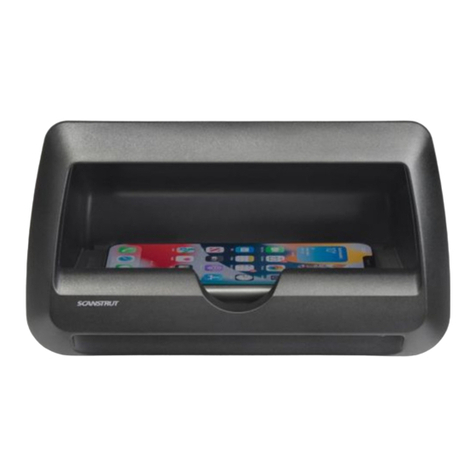
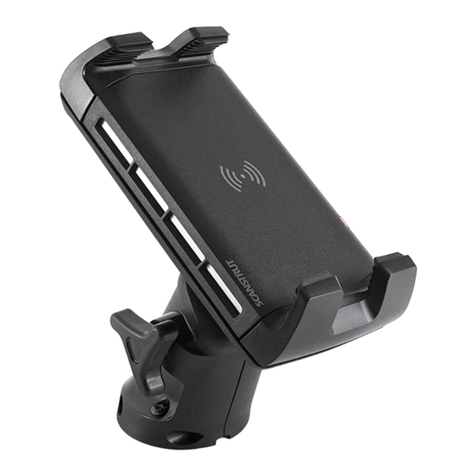
Scanstrut ROKK SC-CW-01 E User manual

+
+
SCANSTRUT.
outdoor . technologies .
WI
RE
LESS.
SC-CW-01
E
SC-CW-02E
SC-CW-03E
(ENG)
READ
THESE
INSTRUCTIONS
BEFORE
INSTALLING
THE
PRODUCT
(DE)
LESEN
SIE
DIESE
ANLEITUNG
DURCH
,
BEVOR
SIE
MIT
DER
INSTALLATION
BEGINNEN
(ES)
LEA
ESTAS
INSTRUCCIONES
ANTES
DE
INSTALAR
EL
PRODUCTO
(FR)
VEUILLEZ
PRENDRE
CONNAISSANCE
DE
CES
INSTRUCTIONS
(IT)
AVANT
DE
PROCEDER
A L'
INSTALLATION
(FIN)
LUE
NAMA
OHJEET
ENNEN
TUOTTEEN
ASENTAMISTA
(SWE)
LAS
DESSA
INSTRUKTIONER
INNAN
PRODUKTEN
INSTALLERAS

The product
must
be installed in accordance
with
the instructions provided. Failure
to
do
so could result in personal injury, damage
to
yourvessel/vehicle and/or
product
failure.
Scanstrut recommends installation is carried
out
by
a qualified electrician. No liability
is accepted
for
damage and/orinjurycaused
by
incorrect installation.
~
WARNING
•This
product
is
to
be fitted
to
a 12VDC
or
24V
DC
battery/power source only.
•The
power supply mustbe switched
off
before installation.
•An appropriate fuse
or
circuit breaker must
be
used in-line between the battery/
powersource and the product.
•Check
for
correct polarity
of
all wiring before switching the poweron.
•This
product
may contain high voltages. Do
not
tamperwith
the
product.
•This
product
is
NOTapproved
for
use in hazardous/flammable atmospheres. Do
NOTinstall in a hazardous/flammable atmospheree.g. engine rooms.
•Before drilling any holes, ensure
the
area behind the mounting location is clear
of
wires, fuel
and
all otherhazardous objects.
•Ensure any holes
cut
will
not
significantly weaken
the
structure
of
the
surface.
•If
the
product
needs
to
be mounted outside,
it
must
be
mounted in a location safely
above
the
waterline, where
it
is
not
at
risk
of
being submerged.
•The
product cannot charge through a metallic surface.
Lt.CAUTION
•The
product
is specifically
for
the charging
of
Qi compatible devices.
•The cable
must
be
retained and
not
interfere with mechanical systems.
•This
product
contains
no
userserviceable components. Do NOT attempt
to
repair
or
alter
the
product
in any
way.
•The
highfriction
top
surface does
not
ensure
the
device will
not
slipduring extreme
operating environments such as high acceleration and deceleration.
•
If
a phonecase which is thickerthan 3mm
is
used
the
device may
not
charge.
•When
usedin a high ambienttemperature/direct sunlightthe productmay
temporarily shut down, this is a safetyfeature
of
the
electronics.
•The
IP rating isonlyvalid
if
correctly installed using the instructions and
on
a
perfectly
flat
non-porous smooth surface.
•When selecting a mounting location, avoid places exposed
to
heat-radiating
appliances and poorly-ventilated areas.
EMC
INSTALLATION
GUIDELINES
Scanstrut products conform
to
Electromagnetic Compatibility(EMC) regulations,
to
ensure
that
electromagnetic interference between equipment isminimised.
Correctinstallation is required
to
ensure
that
electromagnetic interference is kept
to
a minimum. Itis advisable
that
the productis
not
installed within 1
m/3
'
to
any vital
safetyequipmentsuch as VHF radios, cables and antennas carrying radio signals. The
product should also
not
be
installed less than 2m/6' from the path
of
a radarbeam.
WIRING
When extending
the
cablefrom your battery/powersource
to
the product, ensure there
is a minimum
of
10V being provided
to
the
productcontinuously. We recommend a
wiregauge
of
18AWG (0.82mm
2)
for
any length
of
cable extension.
This schematic is
to
illustrate howthe product should
be
connected
to
a 12V
DC
or
24V DC battery/powersupply.
ENVIRONMENTAL
PROTECTION
Wasteelectrical products should
not
be
disposed
of
with household
waste. Please recycle where facilities exist. Checkwith yourLocal
Authority
or
retailer
for
recycling advice.
12
Remove self-adhesive backing
3Use alcohol wipe to ensure surface is free from dirt
or grease and insert into hole.
Connect wires to 12-24V supply, ensuring a waterproof
connection. Fuse appropriately according to input voltage
and current, check product is functioning correctly.
4
READ THE IMPORTANT SAFETY INFORMATION
LEAFLET BEFORE INSTALLING
Install options and cut out dimensions
ø64/65mm (2.5”)
ø97mm (3.82”)
2.5mm
(0.10”)
2.5mm
(0.10”)
ø64/65mm (2.5”)
Optional threaded locking ring available seperately if
self-adhesive is not suitable for mounting surface.
Part #: SC-CW-LOCK-01
Overlay your choice of non-metallic surface,
including wood, fabric or marine traction surface.
(Not provided). Maximum thickness ≤3mm. Ensure
charge logo is concentric over charger.
3mm
(0.12”)
MAX
5
Straight router
Tools Required
Power drill
64/65mm (2.5”)
Hole Saw)
Alcohol wipe
OR
Parts List
Charger
x1
Techinical Information
x1
Input voltage range : 10-30V DC (12/24V system)
Input currant max: 1.5A
Output power: 5W (5V, 1A)
Standby current draw: < 0.03W
Certications: Qi, CE, FCC, ROHS
Waterproof rating: IPX6 front and back
Installation Instructions
ROKK Wireless Sub (SC-CW-07E)
17-09-20 Issue 2
®


,~
::surface, hidden
from
view
but
always ready
to
charge.
Engineered
to
be
installed
under
the surface, leaving the
top
clean
and un-cluttered. Simply etch
in
your logo
or
anti-slip device
locator
included
to
identify
the
charge location.
Ideal
for
GRP
or
wood,
the
charger
can
be
installed under
tables, cabinets, consoles or
worktops
and
works
with a
variety
of
panel
depths
and materials. Pocket install
c:=:>
required for
Router
~
pocket install
Bonded install
EAN
Technical:
Input voltage range: 10-30V DC (12/24V system)
Input current max: 1.5A
Output
power: 5W (5V 1
A)
Standby
power
draw: < 0.03W
Waterproof rating: IPX6 front and
back
-Works with
phone
cases
up
to
3mm
-
Not
for
use on metal surfaces
Safety:
Foreign
obiect
detection system
Thermal management system
Certifications: Q1, CE, FCC, ROHS
RoHS
CE
R£
UPC
IIII I
5
11
0b O114 797 2 22 SC-CW-01E J
,9505
lUJJ
1111a
A
.Made
i11Qhina

r
TechinLca_l
information1
Input voltage range :
Input currant
max:
Output power:
Standby power draw:
Certifications:
Waterproof rating·
Tools Required
D
Pozi
Screwdriver
10-30VDC(12/24V system)
1.5A
5W(5V, 1A)
<0.03W
Qi,
CE.
FCC,
ROHS
IPX6
front and back
==B
Straight
Router
IParts List I
~
I Magnet i
0
~
Installation
Tool
~
with x2 Magnets
I
@i
01
Locking
Ring
0
Charger
I >
Sikaflex
292-i
(recommen
ded
)
x1
(pie
SelfAdhesive
EPDM
Rubber
[x1
No6 x 1/2"
Self
Tapp
ing Screw
r--
x3
o Alcohol
Wipe
r7?]
4 READ THE IMPORTANT SAFETY INFORMATION
L--1.:!J
L..ll LEAFLET BEFORE INSTALLING
x1
1 If mounting surface is thinner than
3mm
go
to
step 2. If greater than
3mm, rout a pocket
67mm
(2.6")
diameter till
3mm
thickness is
achieved.
.!
<3mm
..t.
♦
T
♦
t----670mm
---1
2 I Screw
or
bond
locking ring
in
correct orientation
to
underside
of
surface according
to
the measured
material thickness (Sikaflex 292-i recommended
).
3-9mm
~
___,
or
9-18mm
or
>18mm
3 IOption 1 -
CNC
etch
logo onto
top
surface.
Do not exceed 0.5mm.
4 I Option 2 - Use adhesive EPDM
rubber and align with magnet tool
provided. Use Alcohol wipe
to
ensure
surface is free from dirt
or
grease.
<<
<
>>::>
5 I Screw
in
charger
until firm,
do
not
over tighten.
Do not use tool.
FCCW;wning
Statement
~
~
.2J
Connect wires
to
12/24V supply,
ensuring a waterproof
connection. Fuse
according
to
input voltage
and current.
Changes
or
modiicat,ons not
expressly~
by
the
perty responsble for
~
crud
voo
lt'Ml
user~
authontyto
operate
the
OQUlln18!11
Tho
equpmenl
For
fu
rt
her
installatlOfl
has
i-,
testedandtwodtoconl)lyWllhlhelmlSfora aa..Bdigtalde',!ce,
pur9t8lt
lO~
1501
the
FCC
Rules.
Theselm!saredeslgned!O
pr0Ylde
reesonatlle
protecbOn
agar,si
~tu
flterference
fl
a
residentoal
l'lStalabon Ths
equpment
Q(J181'ates
uses
and
can
radiate
raoofr9quency
etllll(lt
and. d
not
r.staled and
used
n
8CXXlfdalce
w1111
the
nstructJoos.
may
cause
harmfu
nterterence
10
raooconmncaoons.
However.
them
;,;
no guaraitee
that
fllerference
w11
informa
t
ion
please
visit.
oot ocarfla
par1,cu1ar
nstalat,on. K
1lis
equpmenl does
cause
tamfu
nta1erence
10
radio
or
t_,
recept,on,
whoch
can
be
delemw>od
by
lu'nng
tt'Ml
www.
scanstrut.corn/ro
kk
-Wt
re
less
~
equpment
off
and
on.
the
user
,s encxxnged
lo
tryto
correc1
the
flter1erence
by
one
or
more
of
the
folow,ig
measures
-
Raor-alt
or
ralocate
the
l9C8MlQ
iruenna
••
lnCre8se
the
seperabon
-
lhe
equ,pmonl
and
1'8C$V8f.
•·
Comect
lhe
equpment
into
ao
outlel
on
a
CIClJII
different
from
that
to
whoch
mo
roceM9I';,;
comected.
•·
Consul
the
-
or
lWl
8X!)81'18f1C8d
radlolTV
tec:hnicm
for
help
UK& 1~
ina
l
+44 (0)1392 531280
us.-.
+1
8603081416
_A
/I

,,.
Disclaimers and important notes
•This ROKK wireless charger is only designed to
be
fitted
to
a 12/24Vsystem
(10-32V input). Connecting this product
to
a voltage supply which is greater
than specified may cause irreversible damage
to
the product.
•The
power
supply must
be
switched
off
before installing the product.
•The charger
draws
a max current
of
1.5A
and
an appropriate fuse must
be
used
in line between the battery and the product
to
protect the
power
supply.
•The cable
must
be adequately retained
in
order
to
prevent damage.
•
No
liability is accepted for damagecaused
by
incorrect installation.
•Producthas been designed specifically for the charging of Qi compatible devices.
•The high friction
top
surface does not ensure the device will not slip
during extreme operating environments such as high
acceleration and deceleration.
•Ifa phone case which
is
thickerthan
3mm
is used
it
may cause either the device
to
not charge at all or
the product to temporarily shut down, this is a
safety feature which protects the electronics
from
over-
heating.
•When used in a high ambient
temperature the product may
temporarily shut
down,
this is a safety
feature which protects the electronics
from over-heating. This safety feature
may also
be
seen
on
the phone
where it will
stop
accepllng charge;
this is
common
forall smart phone
devices.
•This product must
be
installed
according to the instructions
provided. Failure to
do
so could
result in personal injury
or
damage
to
the product and surrounds.
•Scanstrut recommends the
installation
to
be
earned
out
by
a
qualified marine electronics installer.
•This product is
not
approved for use in
hazardous
or
flammable environments.
This manual suits for next models
2
Table of contents
Other Scanstrut Batteries Charger manuals

Scanstrut
Scanstrut ROKK SC-CW-04E User manual

Scanstrut
Scanstrut ROKK User manual

Scanstrut
Scanstrut ROKK Wireless Edge 10W User manual

Scanstrut
Scanstrut ROKK Charge Pro User manual

Scanstrut
Scanstrut ROKK Wireless Nano User manual

Scanstrut
Scanstrut ROKK Wireless Edge User manual

Scanstrut
Scanstrut ROKK Bezel User manual

Scanstrut
Scanstrut SC-CW-09F User manual

Scanstrut
Scanstrut FLIP PRO MAX-DUAL User manual

Scanstrut
Scanstrut ROKK Wireless - Active User manual