manuals.online logo
Brands
  1. Home
  2. •
  3. Brands
  4. •
  5. Schacht
  6. •
  7. Weaving
  8. •
  9. Schacht WOLF PUP 8.10 HEIGHT EXTENDER User manual

Schacht WOLF PUP 8.10 HEIGHT EXTENDER User manual

WOLF PUP 8.10
HEIGHT EXTENDER
Assembly InstructIons
For more information: schachtspindle.com
Schacht Spindle Company, 6101 Ben Place, Boulder, CO 80301
p. 303.442.3212 f. 303.447.9273
© 2017 Schacht Spindle Company, Inc. 08.17
– 2 – – 3 –
WOLF PUP 8.10 HEIGHT EXTENDER
PARTS INCLUDED FOR
HEIGHT EXTENDER
6 - ¼-20 x 1-¾” Truss head bolts
2 - ¼-20 x 1-½” Truss head bolts
2 - ¼-20 x 2-½” Truss head bolts
1- 3
/8x 3-½” Hex head bolt
8 - ¼” Flat washers
8 - ¼” Wing nuts
2 - Extended outside treadles*
8 - Extended inside treadles*
10 - Extended treadle aid tie-ups*
80 - Extended tie-ups*
REUSED PARTS
4 - Barrel nuts
2 - ¼-20 x 3” Truss head bolts
REQUIRED TOOLS
Phillips screw driver
9
/
16” (or adjustable) wrenches
Assembly InstructIons
= These parts are included in the kit
for adding a height extender. If you ordered
your loom with the height extender, these
parts will arrive attached to your loom.
*
treadles
treadle
support
lower left
front leg
upper left
front leg
brake
advance
lever
lower right
front leg
upper right
front leg
wheel
beater side
brake cord
warp beam
crank handle
fold bars
fold knob
beam knob
brake release
pedal
right rear
leg
left rear leg
beater top reed
shafts
castle side
warp beam
rear beam
slide lock (visible from rear)
cloth beam
lamms
tie-up
cords
plastic
spacer
wooden
spacer
treadle
block
front beam
extension
front beam
front leg
sandwich block
rear leg brace
front leg
sandwich
block
FIGURE 1
– 2 – – 3 –
barrel nut
washer
wing nut
lock nut
truss head (TH) machine screw
snap ring
REQUIRED TOOLS
Phillips screw driver
9
/
16” (or adjustable) wrenches
1. Unfold the loom on a at surface.
Tighten the black fold knobs so the loom
is fully extended and locked(gure 1).
2. Match each height extender with the
appropriate leg (see gure 2, page 4).
3. Remove the arrow peg that is pushed
through the brake cord underneath the
brake release pedal. Using a pair of 9/16”
wrenches, remove the 3
/8x 3” bolt holding
the brake release assembly to the right
rear leg. Save all of the parts except for
the bolt, you will need them when you re-
attach the brake release assembly.
4. Remove the bolts holding the rear leg
brace. These are the bolts closest to the
oor on each leg. Set aside the 3” bolts
and barrel nuts for re-use. Remove the
rear leg brace.
5. With the rear leg brace removed from
the loom, attach the height extenders by
inserting the tenon of the
brace into the mortise
of the extender (see:
detail A). Secure the
height extenders using
the 3” bolts inserted
through the bottom
hole and threaded into
a barrel nut.
6. Attach the newly assembled height
extender to the left rear leg by inserting
a 1-¾” truss head bolt from the inside out
(top hole of the height extender, 2nd hole
from the bottom of the leg). Secure the
bolt with a washer and wing nut on the
outside of the leg.
7. Re-attach the brake release pedal
to the right rear leg using the 3
/8x 3-½”
Truss head bolt from the outside in (top
hole of the height extender, 2nd hole
from the bottom of the leg). Attach in this
order: bolt, washer, brake release pedal,
washer, spacer, washer, right rear height
extender, right rear leg, washer, locknut.
Replace the brake cord and arrow peg to
their original positions
8. Finish securing the height extenders
by inserting a 1-½” truss head bolt from
the inside out of both rear legs (bot-
tom hole of the leg, middle hole of the
extender). Secure with washers and wing
nuts.
9. At the front, remove the bolts and
barrel nuts from each side of the treadle
support and set aside the barrel nuts for
later use. Spread the front legs apart and
remove the treadle assembly.
10. If you purchased your Wolf Pup as a Height
Extender loom, skip ahead to step 15.
11. There are two kinds of treadles on the
Wolf Pup 8.10; inside treadles (IT) and out-
side treadles (OT). Outside treadles have
metal eyebolts screwed in to them, and
inside treadles have a slot cut into them.
Pay attention (or take a picture) of the
order, and direction the treadles lay out on
the treadle bar, you will be replacing them
with the included extended treadles.
12. Using a Phillips head screw driver un-
screw and remove the treadle blocks from
the treadle support. Remove the treadle
bar from the treadle support. Remove
and save the plastic spacer (PS), wooden
treadle blocks (TB), and wooden spacers
(WS) from the treadle bar.
13. Install the new height extender trea-
dles on to the treadle support bar in the
same sequence it arrived from the factory
in (from left to right of the loom front): PS,
OT, WS, IT, WS, IT, TB, IT, WS, IT, TB, IT,
WS, IT, TB, IT, WS, IT, WS, OT, PS.
14. Re-attach the treadle bar to treadle
support by screwing the treadle blocks
back to the support.
15. Attach the height extenders to the
treadle assembly by inserting the metal
pins into the appropriate
holes (see: detail B). In-
sert the saved barrel
nuts into the treadle
support and thread
the new 2-½” truss
head bolts into them
from the outside.
Tighten and secure
the treadle support.
16. Attach the height extenders to the
legs by inserting a 1-¾” truss head bolt
through the top holes from the inside of
the leg and secure with a washer and wing
nut. Repeat for the middle holes using
1-½” truss head bolts.
DETAIL B
bolt hole metal
pin
DETAIL A
tenon
mortise
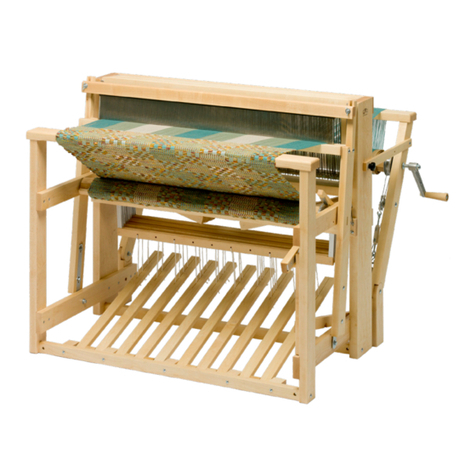
ADDITIONAL WEAVING ACCESSORIES
Wolf Loom Raddle
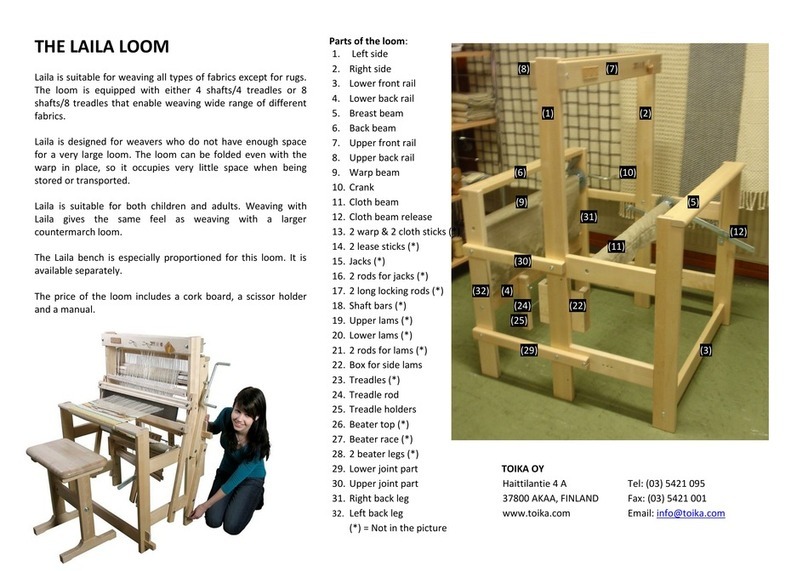
Wolf Trap
Wolf High Castle Tray
Wolf Sectional Beam
FIGURE 2
Inside Leg Height Extenders
Left Right
Outside Leg Height Extenders
Bottom
hole
Top
hole
Middle
hole
Left Right

Other Schacht Weaving manuals

Schacht BABY WOLF FL3001 User manual

Schacht

Schacht BABY WOLF FL3001 User manual

Schacht Wolf Pup User manual

Schacht

Schacht Wolf Pup User manual

Schacht TL1105 User manual

Schacht

Schacht TL1105 User manual

Schacht BABY WOLF FL3001E User manual

Schacht

Schacht BABY WOLF FL3001E User manual

Schacht WOLF PUP & PUP LT User manual

Schacht

Schacht WOLF PUP & PUP LT User manual

Schacht MIGHTY WOLF FL3002E User manual

Schacht

Schacht MIGHTY WOLF FL3002E User manual

Schacht CRANBROOK User manual

Schacht

Schacht CRANBROOK User manual

Schacht TABLE LOOM User manual

Schacht

Schacht TABLE LOOM User manual

Schacht WOLF PUP 8.10 LOOM User manual

Schacht

Schacht WOLF PUP 8.10 LOOM User manual

Schacht Wolf Pup 8.10 User manual

Schacht

Schacht Wolf Pup 8.10 User manual

Schacht FL3053 User manual

Schacht

Schacht FL3053 User manual

Schacht Wolf Pup Installation guide

Schacht

Schacht Wolf Pup Installation guide

Schacht CRICKET QUARTET User manual

Schacht

Schacht CRICKET QUARTET User manual

Schacht SL2225 User manual

Schacht

Schacht SL2225 User manual

Schacht Wolf Pup User manual

Schacht

Schacht Wolf Pup User manual

Schacht FL3109 User manual

Schacht

Schacht FL3109 User manual

Schacht CRICKET QUARTET SL2045-05 User manual

Schacht

Schacht CRICKET QUARTET SL2045-05 User manual

Schacht FLATIRON BULKY PLYER FLYER HEAD Quick start guide

Schacht

Schacht FLATIRON BULKY PLYER FLYER HEAD Quick start guide

Schacht CRICKET LOOM User manual

Schacht

Schacht CRICKET LOOM User manual

Schacht CRANBROOK LOOM User manual

Schacht

Schacht CRANBROOK LOOM User manual

Schacht Wolf Pup User manual

Schacht

Schacht Wolf Pup User manual

Schacht TL1105 User manual

Schacht

Schacht TL1105 User manual

Schacht WOLF SECTIONAL BEAM User manual

Schacht

Schacht WOLF SECTIONAL BEAM User manual

Schacht WOLF PUP 8.10 STROLLER User manual

Schacht

Schacht WOLF PUP 8.10 STROLLER User manual

manuals.online logo
manuals.online logoBrands
  • About & Mission
  • Contact us
  • Privacy Policy
  • Terms and Conditions

Copyright 2025 Manuals.Online. All Rights Reserved.