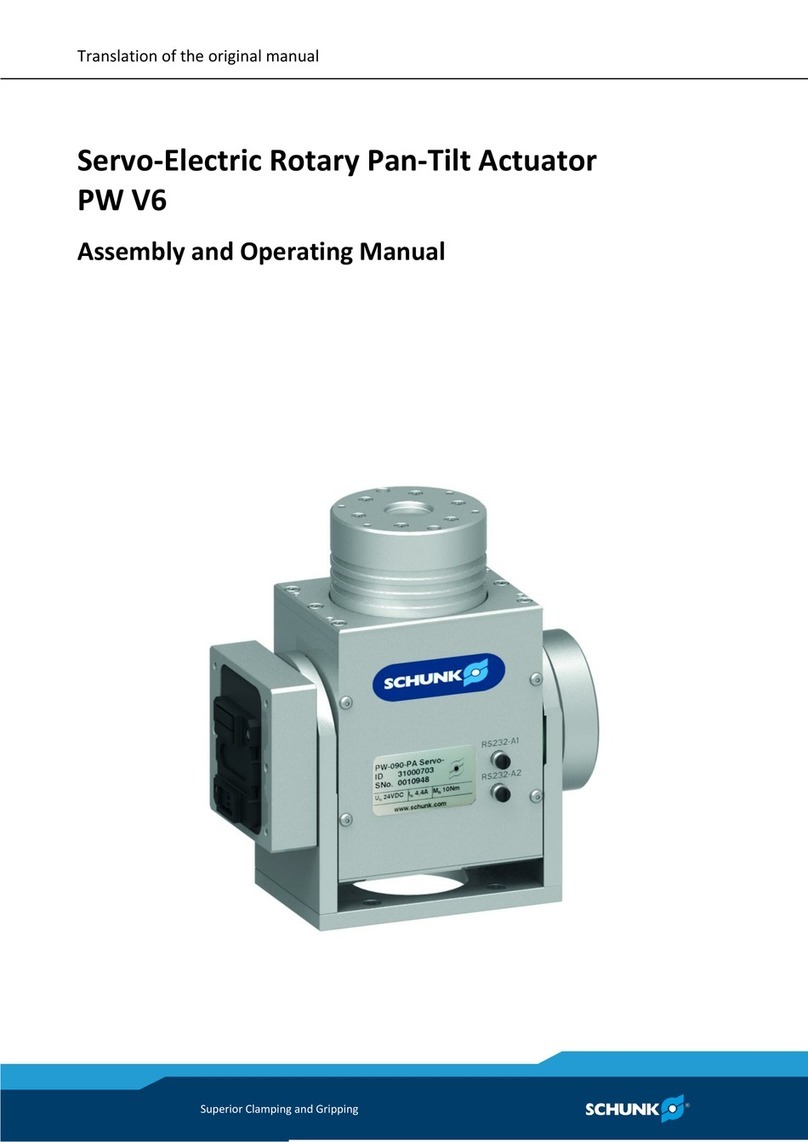
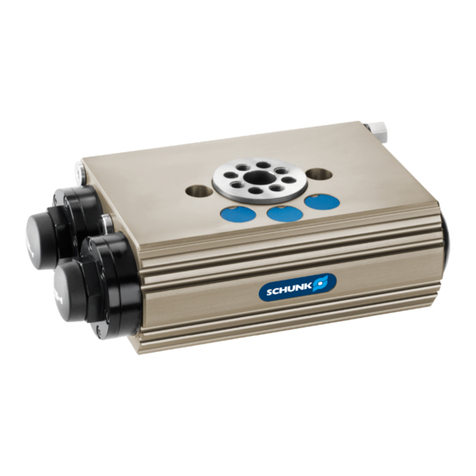
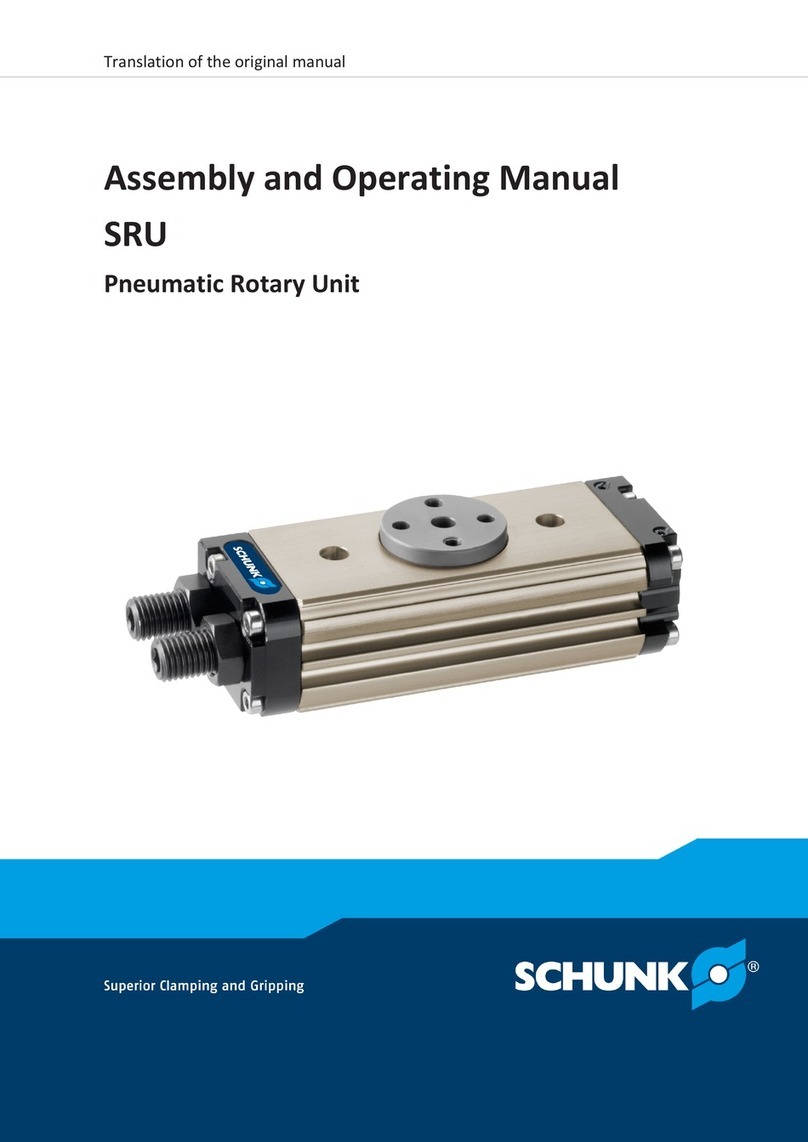
SCHUNK SRU-plus EDF Series User instructions

Translation of the original operating manual
Pneumatic Swivel Unit plus with electrical
feed-through
SRU-plus EDF 20 - 60
Assembly and Operating Manual
Superior Clamping and Gripping
www.comoso.com

Imprint
2 01.05|SRU-plus EDF 20 - 60|en
Imprint
Copyright:
This manual remains the copyrighted property of SCHUNK GmbH & Co. KG. It is solely
supplied to our customers and operators of our products and forms part of the product.
This documentation may not be duplicated or made accessible to third parties, in particu-
lar competitive companies,
without our prior permission.
Technical changes:
We reserve the right to make alterations for the purpose of technical improvement.
Document number: 0389443
Edition: 01.05 |16/01/2014|en
© SCHUNK GmbH & Co. KG
All rights reserved.
Dear customer,
congratulations on choosing a SCHUNK product. By choosing SCHUNK, you have opted for
the highest precision, top quality and best service.
You are going to increase the process reliability of your production and achieve best
machining results – to the customer's complete satisfaction.
SCHUNK products are inspiring.
Our detailed assembly and operation manual will support you.
Do you have further questions? You may contact us at any time – even after purchase.
Kindest Regards
Yours SCHUNK GmbH & Co. KG
Spann- und Greiftechnik
Bahnhofstr. 106 – 134
D-74348 Lauffen/Neckar
Tel. +49-7133-103-0
Fax +49-7133-103-2399
www.schunk.com
www.comoso.com

Table of contents
01.05|SRU-plus EDF 20 - 60|en
3
Table of contents
1 About this manual .................................................................................................... 5
1.1 Warnings................................................................................................................... 5
1.1.1 Key words...................................................................................................... 5
1.1.2 Symbols ......................................................................................................... 5
1.2 Variants..................................................................................................................... 6
1.3 Applicable documents .............................................................................................. 8
2 Basic safety notes .................................................................................................... 9
2.1 Intended use............................................................................................................. 9
2.2 Not intended use ...................................................................................................... 9
2.3 Environmental and operating conditions................................................................. 9
2.4 Product safety......................................................................................................... 10
2.4.1 Protective equipment ................................................................................. 10
2.4.2 Constructional changes, attachments, or modifications............................ 10
2.5 Personnel qualification........................................................................................... 10
2.6 Using personal protective equipment.................................................................... 11
2.7 Notes on particular risks......................................................................................... 11
3 Warranty................................................................................................................. 13
4 Scope of delivery ..................................................................................................... 13
5 Technical data ......................................................................................................... 14
6 Assembly................................................................................................................. 15
6.1 Mechanical connection .......................................................................................... 15
6.1.1 Assembly of the unit on an adapter plate (robot-side) .............................. 15
6.1.2 Assembly of the unit on an adapter plate (tool-side)................................. 16
6.2 Air connection ........................................................................................................ 17
6.3 Adjusting the limit positions................................................................................... 20
6.3.1 Basic setting 0° and 180°............................................................................. 20
6.3.2 Shock absorber stroke fine adjustment 0° and 180° .................................. 21
6.3.3 Adjusting the center position (variant M) .................................................. 23
6.3.4 Adjusting the center position (variant VM) ................................................ 24
6.4 Sensors.................................................................................................................... 25
6.4.1 Magnetic switch MMS 22 ........................................................................... 26
6.4.2 Inductive proximity switch IN 80 ................................................................ 26
6.5 Cable assignments .................................................................................................. 30
6.5.1 Connection overview, SRU-plus 20-60 EDF ................................................ 30
6.5.2 Pin allocation for SRU-plus 20-60 EDF ........................................................ 31
6.5.3 Connection overview, SRU-plus 20-35 Version D....................................... 32
www.comoso.com

Table of contents
4 01.05|SRU-plus EDF 20 - 60|en
6.5.4 Pin allocation for SRU-plus 20-60 EDF Version D........................................ 33
7 Function and handling ............................................................................................. 35
7.1 Base unit ................................................................................................................. 35
7.2 Center position (variant M).................................................................................... 36
7.3 Locked center position (variant VM)...................................................................... 37
7.3.1 Mounting the separating sleeve ................................................................. 39
7.3.2 Version VM with separate piston chambers .............................................. 40
8 Troubleshooting ...................................................................................................... 43
8.1 Module does not move? ........................................................................................ 43
8.2 The module does not travel through the entire stroke? ....................................... 43
8.3 Torque drops? ........................................................................................................ 44
8.4 The module rotates abruptly?................................................................................ 44
8.5 Module does not move smoothly to the limit positions?...................................... 44
9 Maintenance and care ............................................................................................. 45
9.1 Notes....................................................................................................................... 45
9.1.1 Maintenance and lubrication interval for EDF............................................ 45
9.2 Lubricants/Lubrication points (basic lubrication) ................................................. 46
9.3 Dismantling the module ......................................................................................... 46
9.3.1 Dismantling the rotary actuator ................................................................. 46
9.3.2 Disassembling the center position (variant M and VM) ............................. 47
9.3.3 Replacing a shock absorber ........................................................................ 47
9.3.4 Shock absorber types and shock absorber overlap (h) .............................. 52
9.3.5 Servicing and assembling the module ........................................................ 54
9.3.6 Maintaining the module ............................................................................. 54
10 Assembly drawing ................................................................................................... 55
10.1 Basic components and media feed-through.......................................................... 56
10.2 EDF with distributor plate 20-60 ........................................................................... 59
11 Sealing kit................................................................................................................ 64
12 Accessory pack ........................................................................................................ 65
13 Wear parts SRU-plus 20 - 60 .................................................................................... 66
14 Translation of original declaration of incorporation................................................. 68
www.comoso.com

About this manual
01.05|SRU-plus EDF 20 - 60|en
5
About this manual
This instruction is an integral part of the product and contains im-
portant information for a safe and proper assembly, commission-
ing, operation, maintenance and help for easier trouble shooting.
Before using the product, read and note the instructions, especial-
ly the chapter "Basic safety notes".
Warnings
The following key words and symbols are used to highlight dan-
gers.
Key words
DANGER Dangers for persons.
Non-compliance will inevitably cause irreversible injury or death.
WARNING Dangers for persons.
Non-compliance may cause irreversible injury or death.
CAUTION Dangers for persons.
Non-observance may cause minor injuries.
NOTICE Information about avoiding material damage
Symbols
Warning about a danger point
Warning about hand injuries
General mandatory sign to prevent material damage
1
1.1
1.1.1
1.1.2
www.comoso.com

About this manual
6 01.05|SRU-plus EDF 20 - 60|en
Variants
This operating manual applies for the following variations
•SRU-plus
•SRU-plus Rotating angle 90°
•SRU-plus Rotating angle 180°
•SRU-plus End position adjustability 3°
•SRU-plus End position adjustability 90°
•SRU-plus With media feed-through
•SRU-plus With pneumatic center positioning
•SRU-plus With locked center position
1.2
www.comoso.com

About this manual
01.05|SRU-plus EDF 20 - 60|en
7
Fig. 1 Type designation
Fig. 2 Overview of SRU-plus EDF
1 SRU-plus with MDF 4 Sensor holder with sen-
sor
7 Distributor plate (stan-
dard)
2 EDF flange (standard) 5 Monitoring with
movable cam
3 EDF flange (version "D") 6 Monitoring with fixed
cam
8
Distributor plate (version
"D")
www.comoso.com

About this manual
8 01.05|SRU-plus EDF 20 - 60|en
Applicable documents
•SCHUNK catalog Rotary modules
•Assembly and Operating manuals of the accessories
•General terms of business
The documents listed here, can be downloaded on our homepage
www.schunk.com
1.3
www.comoso.com

Basic safety notes
01.05|SRU-plus EDF 20 - 60|en
9
Basic safety notes
Intended use
The product was designed to swivel permissible attachments or
workpieces.
For use with the robot for applications with endless movement
and feed-through of electrical signals and pneumatics
The product is intended for installation in a machine/system. The
requirements of the applicable guidelines must be observed and
complied with.
The product may be used only in the context of its defined applica-
tion parameters (5, Page 14).
The product is designed for industrial use.
To use this unit as intended, it is also essential to observe the
technical data and installation and operation notes in this manual
and to comply with the maintenance intervals.
Not intended use
Use which is not specified as an intended use is for instance when
the product is for example used as a pressing tool, stamping tool,
lifting tool, guide for tools, cutting tool, tensioning mean, boring
tool.
Environmental and operating conditions
•The module may be used only in the context of its defined ap-
plication parameters. (5, Page 14)
•Make sure that the module is a sufficient size for the applica-
tion.
•Make sure that the environment is clean and the ambient tem-
perature corresponds to the specifications per the catalog. Ob-
serve Maintenance and lubrication intervals (9, Page 45).
•Make sure that the environment is free from splash water and
vapors as well as from abrasive or processing dust. Exceptions
are modules that are designed specially for contaminated envi-
ronments
2
2.1
2.2
2.3
www.comoso.com

Basic safety notes
10 01.05|SRU-plus EDF 20 - 60|en
Product safety
Dangers arise from the module, if e.g.:
•the module is not used in accordance with its intended pur-
pose.
•the module is not installed or maintained properly.
•the safety and installation notes are not observed.
Avoid any manner of working that may interfere with the function
and operational safety of the module.
Wear protective equipment.
NOTE
More information is contained in the relevant chapters.
Protective equipment
Provide protective equipment per EC Machinery Directive.
Constructional changes, attachments, or modifications
Additional drill holes, threads, or attachments that are not offered
as accessories by SCHUNK may be attached only with permission
of SCHUNK.
Personnel qualification
The assembly, initial commissioning, maintenance, and repair of
the product may be performed only by trained specialist person-
nel. Every person called upon by the operator to work on the
product must have read and understood the complete assembly
and operating manual, especially the chapter "Basic safety notes"
(2, Page 9). This applies particularly to personnel only used oc-
casionally, such as maintenance personnel.
2.4
2.4.1
2.4.2
2.5
www.comoso.com

Basic safety notes
01.05|SRU-plus EDF 20 - 60|en
11
Using personal protective equipment
When using this product, observe the relevant industrial safety
regulations and use the personal protective equipment (PPE) re-
quired!
•Use protective gloves, safety shoes and safety goggles.
•Observe safe distances.
•Minimal safety requirements for the use of equipment.
Notes on particular risks
Generally valid:
•Remove the energy supplies before installation, modification,
maintenance, or adjustment work.
•Make sure that no residual energy remains in the system.
•Do not move parts by hand when the energy supply is con-
nected.
•Do not reach into the open mechanism or the movement area
of the unit.
•Perform maintenance, modifications, and additions outside the
danger zone.
•Secure the product during all operations against uncontrolled
activation.
•Take a precautionary approach by maintenance and disassem-
bly.
•Only specially trained staff should disassemble the product.
2.6
2.7
www.comoso.com

Basic safety notes
12 01.05|SRU-plus EDF 20 - 60|en
WARNING
Risk of injury from objects falling and being ejected
•The danger zone must be surrounded by a safety fence during
operation.
WARNING
Risk of injury when the machine/system moves unexpectedly
due to failure of the energy supply or malfunction of the con-
troller.
WARNING
Risk of injury due to rotating components!
Avoidance: The danger zone must be surrounded by a safety
fence during operation.
WARNING
Risk of injury due to loosened parts and destruction of the swi-
velling unit due to damaged shock absorbers!
Avoidance: Regular inspection of the individual components on
wear and damage.
WARNING
Note that suitable emergency-off strategies (e.g. controlled shut
down) and restarting strategies (e.g. pressure build-up valves,
appropriate valve switching sequences) are needed for all
pneumatic actuators.
Cutting off the pressure in an uncontrolled manner could lead to
undefined states and behavior.
www.comoso.com

Warranty / Scope of delivery
01.05|SRU-plus EDF 20 - 60|en
13
Warranty
The warranty is valid for 24 months from the delivery date to the
production facility under the following conditions:
•Intended use in 1-shift operation
•Observe the mandatory maintenance and lubrication intervals
•Observe the environmental and operating conditions
Parts touching the work piece and wear parts are not part of the
warranty.
Scope of delivery
The scope of delivery includes:
•Electrical feed-through SRU-plus in the ordered model.
•Accessory pack
3
4
www.comoso.com

Technical data
14 01.05|SRU-plus EDF 20 - 60|en
Technical data
Basical data
Designation Value
Noise emission [dB(A)] ≤70
Pressure medium Compressed air, compressed air quality according to
ISO 8573-1:7 4 4
Min. pressure [bar] See data sheet
Max. pressure [bar] See data sheet
Basic data of the EDF
Designation Value
Ambient temperature
Min. [°C]
Max. [°C]
5
60
Connection possibility Drive side
•4x/8x sensors M8 (3-pin)
•2x/1x sensors M8 (4-pin)
Screw-on side
•Feed line M16 (12-pin)
U max. [V] 24
I max per wire [A] 1
Transmission rate for profibus Max. 1.5 Mbaud
Further technical data can be found in the catalog data sheet.
The most recent version applies.
5
www.comoso.com

Assembly
01.05|SRU-plus EDF 20 - 60|en
15
Assembly
Mechanical connection
Assembly of the unit on an adapter plate (robot-side)
Fig. 3 Mounting of the SRU-plus with EDF-plus at the adapter plate
1 Use thread on the base side of the rotary actuator SRU-plus.
2 The centering sleeves from the accessory pack have to be used
for positioning the unit.
Mounting material (*provided by customer / ** contained in the accessory pack)
Item Designation 20 25 30 35 40 50 60
1 * Screw M8 M8 M8 M8 M10 M12 M12
2 ** Centering
sleeve
Ø12 Ø12 Ø12 Ø12 Ø14 Ø16 Ø16
3 ** Adapter plate
6
6.1
6.1.1
www.comoso.com

Assembly
16 01.05|SRU-plus EDF 20 - 60|en
Assembly of the unit on an adapter plate (tool-side)
13 1
242
Fig. 4 Connections at the rotating distributor
1 In case the direct air acceptance is used, the
set-screws (2) have to be removed and the hose connections
have to be replaced by
seal plugs (accessory pack) at the lateral
air connections (1).
2 Place O-rings Ø4.5x1 (accessory pack) into the counterbores
(2).
3 Two centering sleeves (accessory pack) have to be used
for positioning the unit. Position the adapter plate
with the two centering sleeves (3) and fasten with four
screws (4).
The screws are not included in the scope of delivery.
Thread size of the four mounting screws
EDF 20-25 EDF 35 EDF 40 EDF 50-60
M5 M6 M8 M10
6.1.2
www.comoso.com

Assembly
01.05|SRU-plus EDF 20 - 60|en
17
•The electronics can now be connected.
Air connection
DANGER
Danger of explosion in explosion risk areas!
•Follow the instructions in supplementary sheet "Installation
and operating instructions - EX" for modules in explosion-
resistant versions (EX)!
WARNING
Risk of injury when the machine/system moves unexpectedly!
Remove the energy supplies.
Make sure that no residual energy remains in the system.
NOTICE
Observe the requirements for the air supply.
(5, Page 14)"Technical Data"
•Only open the air connections required.
•Seal air connections not required using
the locking screws from the enclosed pack.
•For hose-free direct connections use the two O-rings from the
enclosed pack.
6.2
www.comoso.com

Assembly
18 01.05|SRU-plus EDF 20 - 60|en
1
2
34
6
5
7
8
Fig. 5 compressed air connections A, B, C and D
Item Designation Description Function
1 b Hose-free
direct connection
Swiveling 90° - 0° / 180° - 0°
2 a Swiveling 0° -90° / 0° - 180°
3 d Approach center position (M)
Extend locking piston (VM)
4 c
5 C Hose connection Approach center position (M)
Extend locking piston (VM)
6 D
7 A Swiveling 0° -90° / 0° - 180°
8 B Swiveling 90° - 0° / 180° - 0°
Pay attention to the following table when using throttles.
www.comoso.com

Assembly
01.05|SRU-plus EDF 20 - 60|en
19
1 The air connections labeled "C" and "D" must be pressurized
together (with intersection).
NOTICE
In the variant with locked center position, this can cause
malfunctions!
•Do not install an exhaust air throttle.
•Observe table
(
6.2, Page 19).
NOTE
The operating pressure of the lock must be between 4 and 6 bar.
1 In addition, air connections that are marked "C" and "D"
are available (6.2, Page 18).
2 The lock can be engaged smoothly using a supply
air throttle. Table (6.2, Page 19)
1 Connections marked with numbers are provided for feed-
through of the media on the pinion (19) and the flange (20) ---
FEHLENDER LINK ---.
Use of throttles
Module variant A B C D
Without center positi-
on
Exhaust air
throttle
Exhaust air
throttle
- -
With center position
(M)
Exhaust air
throttle
Exhaust air
throttle
Supply air
throttle
Supply air
throttle
With locked center
position (VM)
Supply air throttle Supply air throttle Supply air
throttle
Supply air
throttle
With locked
center position (VM)
and separate
main piston chambers
A1
Exhaust
air
throttle
A2
Supply
air
throttle
B1
Exhaust
air
throttle
B2
Supply
air
throttle
Supply air
throttle
Supply air
throttle
Air connection for
variants with
center position (M)
Air connection for
variants with
locked
center position (VM)
Variant with
media feed-through
www.comoso.com

Assembly
20 01.05|SRU-plus EDF 20 - 60|en
Adjusting the limit positions
Basic setting 0° and 180°
Fig. 6 Basic setting
1 Stop A 2 Hexagon socket
screw
3 Stop B
1 Unscrew the screw (2) with hexagon socket wrench (SRU-
plus20-40:
4; SRU-plus50-60: 5) about one rotation.
2 Actuate air connection "B". The module swivels to stop A (1).
3 Set the desired end position by turning stop A (1).
(For SRU-plus 50-60; reduce pressure before adjusting)
4 Check the setting: Ventilate air connection "B" and actuate it
again.Adjust the end positions if necessary.
(7.1, Page 35)Base unit
NOTICE
Components can come loose if the limit positions are not ad-
justed properly:
•Only trained staff may perform these actions.
•Use a 19 (SRU-plus 20-25) or 32 (SRU-plus 30-60) and
apply to the hexagon screw on the limit stop cover.
6.3
6.3.1
Basic setting 0°
www.comoso.com
This manual suits for next models
7
Table of contents
Other SCHUNK Controllers manuals

SCHUNK
SCHUNK ERD Series User instructions

SCHUNK
SCHUNK ECG Series User instructions

SCHUNK
SCHUNK EVG 55 User instructions

SCHUNK
SCHUNK PSK 40-N Series User instructions

SCHUNK
SCHUNK ECM User instructions

SCHUNK
SCHUNK PW V6 User instructions

SCHUNK
SCHUNK PGN-plus-P 64 User instructions

SCHUNK
SCHUNK SRH-plus 20 User instructions

SCHUNK
SCHUNK SRU 63 User instructions

SCHUNK
SCHUNK UWG Series User manual