SolarWall HD Multiviewers Quick Start Guide
SD-EN-007 V01
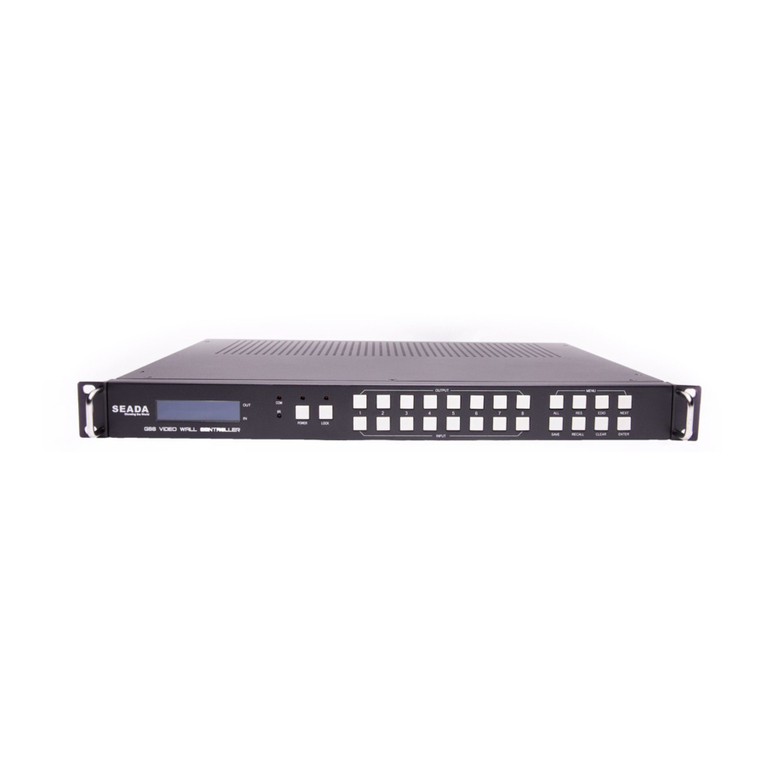
4. Connect through IP (Port 3 in Figure 1)
Connect the unit with PC using the provided ethernet cable. The default IP address for SW Multiviewer is
192.168.1.65, Port:1024. Users need to change the IP address of control PC to the same IP group of SW
Multiviewer.
•Change the ‘Obtain an IP address automatically’ to ‘Use the following IP address’ to set up a static
IP address of TCP/IPv4 in Ethernet Properties
➢IP address: any address between 192.168.1.2 and 192.168.1.254 except the address
which has been taken by the SW Multiviewer
➢Subnet mask: 255.255.255.0, Default Gateway: 192.168.1.1
•Once the control PC IP address having been set up, press the Connect in software (Figure 2)button
to connect the device.
5. Connect through Serial Port (COM, Port 4 in Figure 1)
Connect the unit with PC using the provided Serial to
Ethernet Cable. Press ‘Communication Setting’
Button in software (Figure 1) to open communication
setting dialog. And choose the COM connection,
choose the COM port No. matching your PC and
BaudRate of 115200.
And then press the Connect in software (Figure 2)
button to connect the device.
6. Display Input Videos onto Screens.
Use the mouse to select the required input in Signal Management (Figure 3-B) and then drag & drop to a
preferred position on the Display Area (Figure 3-C) in the software.
Users can change the size/position of the windows, open windows side by side/Picture in Picture, add text on
each window (OSD), save preset layouts, switch between the layouts, loop the layouts and so on.
•Note: The PCB Icon in Signal Management (Figure 3-B) will turn green if there is an input and turn grey if
no input connection
Figure 3
This quick start guide provides basic instructions for setting up SEADA SW Multiviewers. For more information
about how to use the controllers, please refer to the SW Multiviewer User Manual (SD-EN-008), which is
available on the CD included in this package.
