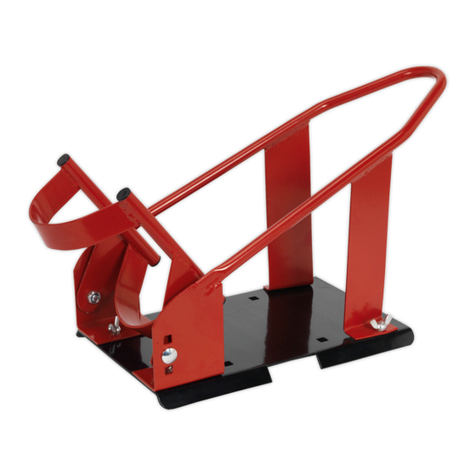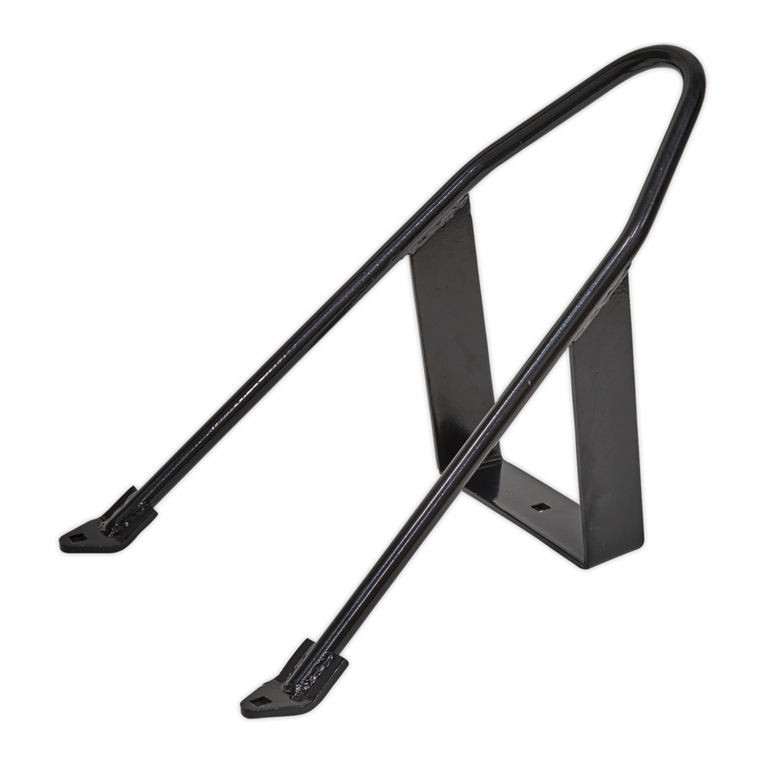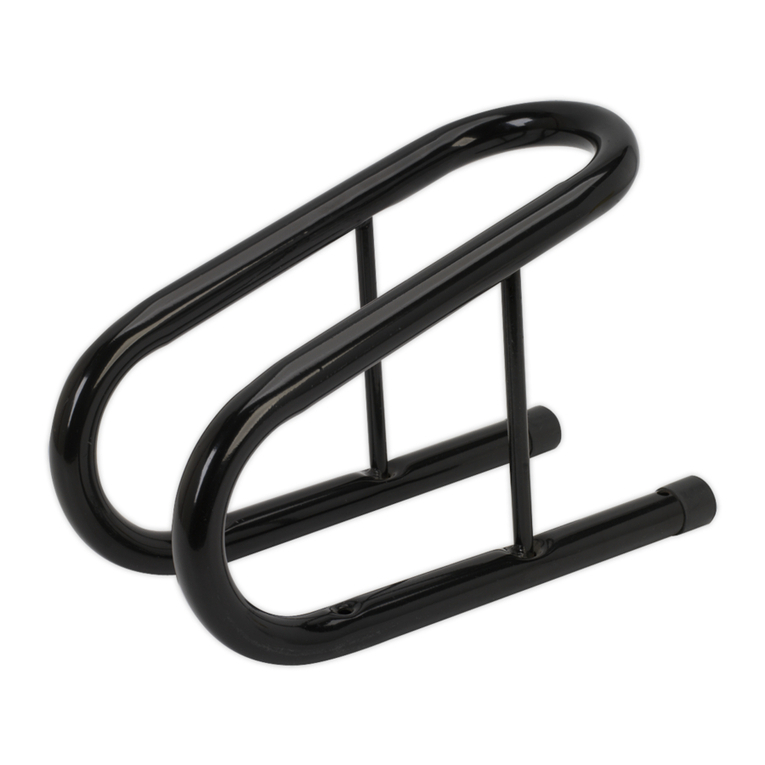
4. ASSEMBLY
4.0.1. Connecttyrestopupperpole(3)andlowerpole(4),aligningtheholesinthedesiredposition.SecureinplacewiththeRclipfor
poleconnection(6).(g.1).
4.0.2. Securethetyrestoplowerpole(4)tothebase(9)usingthefourboltsandspringwashers(8).(g.2).
4.0.3. Placethetyrestop(1)onupperpole(3),aligningtheholesinthedesired position. Secure in place with the tyre stop bolt, lock
washerandnut(2).(g.3).
4.0.4. Placethewheelcradle(12)atthebottomendofthebase(9),aligningtheholesinthedesiredposition.Secureinplacewiththe
wheelcradlepin(10)andRclipforwheelcradle(11).(g.4).
5. INSTALLATION
5.1. MOUNTING POINTS. (fig.5).
5.1.1. Identifythechockmountingpoints.
5.2. PERMANENT INSTALLATION.
5.2.1. Choosetheinstallationsitecarefullysothatthereisgoodaccesstoboth
insert and extract the motorcycle from the chock.
5.2.2. Ensure that the motorcycle and chock DO NOT become a hazard.
5.2.3. Use anchor bolt fixings to secure the chock to a solid concrete surface.
5.3. INSTALLATION FOR TRANSPORTATION.
5.3.1. When used for the transportation of motorcycles, the chock must be
firmlyboltedtothefloorofthevehicleusingsuitablefixings.Checkthe
underside of the floor panel before drilling any holes. Make sure that
you DO NOT strike any important vehicle parts.
5.3.2. Ensure that the vehicle has the capacity to take the weight of the
motorcycle(s) plus the chock(s).
5.3.3. When using the chock for transportation purposes, the front wheel of the
motorcycle must be securely strapped to the chock.
5.3.4. For additional security, consideration should also be given to securing the rear wheel.
6. OPERATION
6.1. ADJUSTING THE CLAMPS (FIG.5).
6.1.1. Theupperclamphas2lockingpositionsandthepivotclamphas5lockingpositions.Toadjusttheclamps,extractthe‘R’clipand
withdrawthepin.Movetheclamptothedesiredposition,insertthepinandretainwiththe‘R’clip.
6.1.2. To obtain the optimum fit for differing sizes of motorcycle wheel, adjust the positions of the clamps and then test as necessary.
6.2. POSITIONING MOTORCYCLE IN THE CHOCK.
6.2.1. Withthepivotclampintheopenpositionasshowninfig.5,alignthemotorcyclewiththechock.
6.2.2. Push the motorcycle firmly into the chock so that the front tyre runs through the tapered part of the pivot clamp.
6.2.3. As the weight of the wheel passes over the pivot clamp, it will cause the clamp to flip over. The front of the tyre will be supported by
the upper clamp and the rear of the tyre by the pivot clamp.
6.2.4. Checkthatthemotorcycleisstablewithinthechockbeforeleavingit.Ifthewheelisloose,ortoohighinthechock,extractthe
motorcyclefromthechockandadjustthepositionsoftheclampsuntiltheoptimumfitisachieved(seesection4.3).
6.3. REMOVING MOTORCYCLE FROM THE CHOCK.
6.3.1. More effort will be required to remove the motorcycle from the chock. Ensure that the space into which the motorcycle will move is free
g.3
g.5
g.1 g.2
g.4
FPS7.V2Issue106/09/18
Original Language Version
© Jack Sealey Limited
