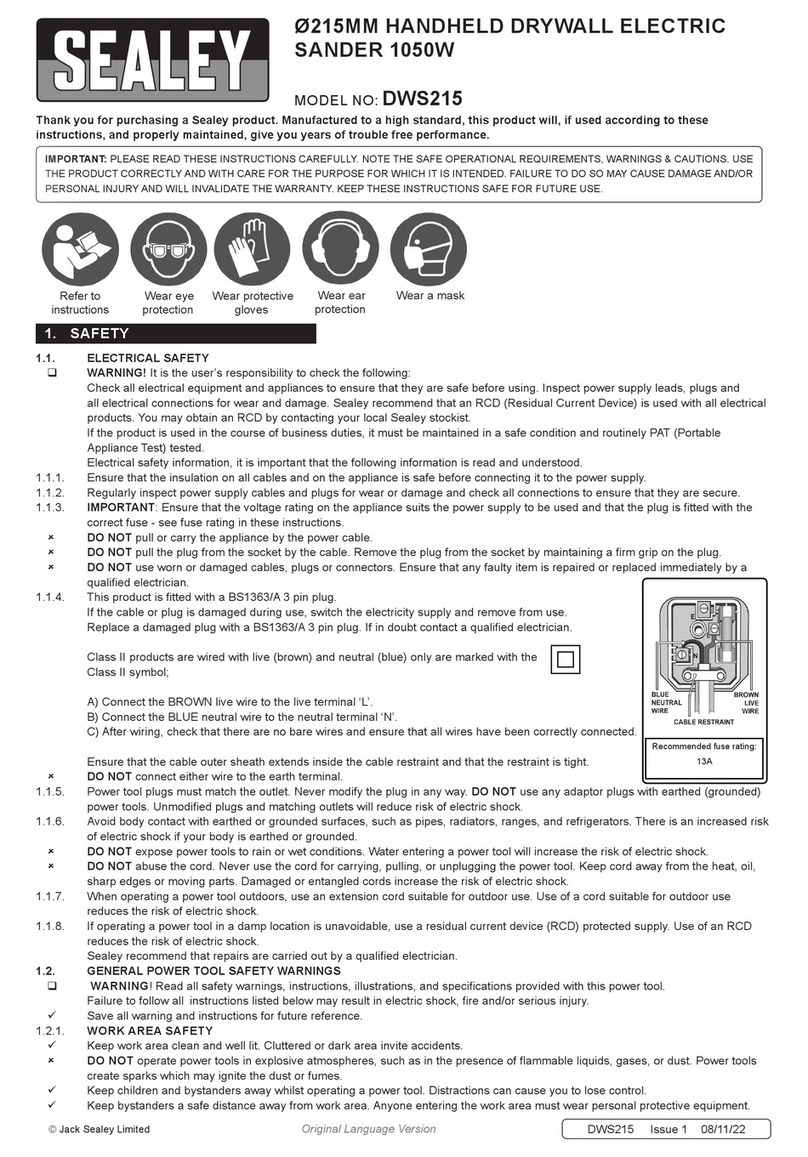
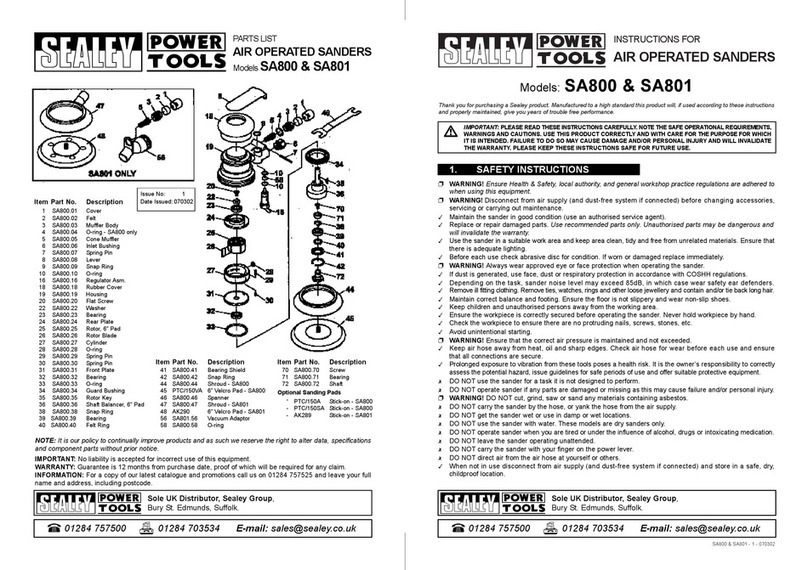
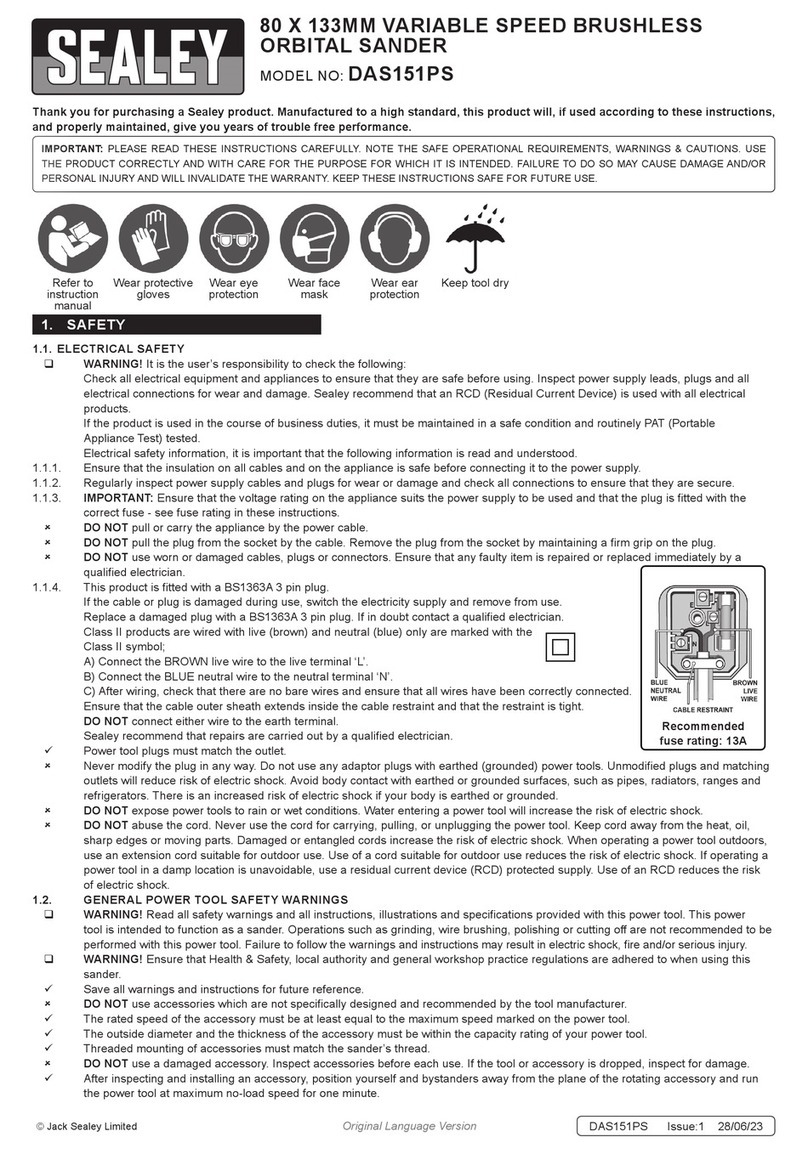
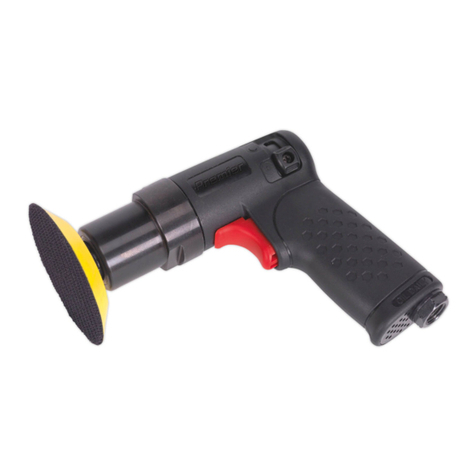
Sealey CP18VRP User manual

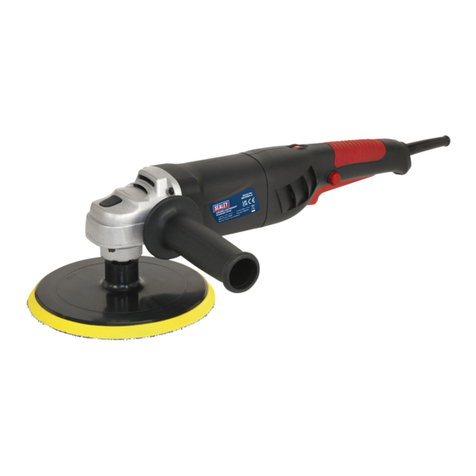
Ø150MM 18V CORDLESS ROTARY POLISHER
MODEL NO: CP18VRP
Thank you for purchasing a Sealey product. Manufactured to a high standard, this product will, if used according to these instructions,
and properly maintained, give you years of trouble free performance.
IMPORTANT: PLEASE READ THESE INSTRUCTIONS CAREFULLY. NOTE THE SAFE OPERATIONAL REQUIREMENTS, WARNINGS & CAUTIONS. USE
THE PRODUCT CORRECTLY AND WITH CARE FOR THE PURPOSE FOR WHICH IT IS INTENDED. FAILURE TO DO SO MAY CAUSE DAMAGE AND/OR
PERSONAL INJURY AND WILL INVALIDATE THE WARRANTY. KEEP THESE INSTRUCTIONS SAFE FOR FUTURE USE.
1. SAFETYi
1.1. ELECTRICAL SAFETY
WARNING! It is the user’s responsibility to check the following:
Check all electrical equipment and appliances to ensure that they are safe before using. Inspect power supply leads, plugs and
all electrical connections for wear and damage. Sealey recommend that an RCD (Residual Current Device) is used with all electrical
products. You may obtain an RCD by contacting your local Sealey stockist.
If the used in the course of business duties, it must be maintained in a safe condition and routinely PAT (Portable Appliance Test)
tested.
Electrical safety information, it is important that the following information is read and understood.
9Ensure that the insulation on all cables and on the appliance is safe before connecting it to the power supply.
9Regularly inspect power supply cables and plugs for wear or damage and check all connections to ensure that they are secure.
9 Ensurethatthevoltageratingontheappliancesuitsthepowersupplytobeusedandthattheplugisttedwiththecorrectfuse-see
fuse rating in these instructions.
8DO NOT pull or carry the appliance by the power cable.
8DO NOTpulltheplugfromthesocketbythecable.Removetheplugfromthesocketbymaintainingarmgripontheplug.
8DO NOT use worn or damaged cables, plugs or connectors. Ensure that any faulty item is repaired or replaced immediately by a
qualiedelectrician.
ThisproductisttedwithaBS1363/A13Amp3pinplug.
If the cable or plug is damaged during use, switch off the electricity supply and remove from use.
ReplaceadamagedplugwithaBS1363/A13Amp3pinplug.Ifindoubtcontactaqualiedelectrician.
Class II products are wired with live (brown) and neutral (blue) only are marked with the Class II symbol;
A)ConnecttheBROWNlivewiretotheliveterminal‘L’.
B)ConnecttheBLUEneutralwiretotheneutralterminal‘N’.
C) After wiring, check that there are no bare wires and ensure that all wires have been correctly connected.
Ensure that the cable outer sheath extends inside the cable restraint and that the restraint is tight.
8DO NOT connect either wire to the earth terminal.
Sealeyrecommendthatrepairsarecarriedoutbyaqualiedelectrician.
1.2. BATTERY CHARGER SAFETY INSTRUCTIONS
WARNING! DO NOT use the charging base to charge any battery other than that required for the tool. Other types of batteries may
explode!
9Inspect the plug, cable and the charging base for wear and damage to ensure items are safe before connecting to the mains power
supply. If worn or damaged DO NOTuse,immediatelyreplace,orcontactaqualiedelectrician.
9Check cables are always protected against short circuit and overload.
9 Uncoilthepowercablebetweentheplugandthechargingbasebeforeuse.
8DO NOT pull or carry the charging base by the charger power lead, or pull the plug from the mains socket by the power lead.
8DO NOT use any other type of transformer with the charging base.
8DO NOTtrytoopenordis-assembletheplugorchargingbase.
8DO NOT use the plug to power any other electrical item.
9Disconnect the charging base from the mains power supply when not in use.
8DO NOT expose the charging base to damp or wet conditions (for indoor use only).
8DO NOT operate the charging base if it has been dropped, or has received a sharp knock, or is damaged. Contact an authorised
service agent.
8DO NOT dismantle the charging base as this may cause damage or personal injury and will invalidate your warranty.
8DO NOT insert foreign objects or material into the slot reserved for the battery.
8DO NOTimmediatelychargeasecondbattery.Consecutivechargingwilloverheatthechargingbase.Allowtheunittocoolfor15
minutes before charging the next battery.
9Ensure that the insulation on all cables and on the appliance is safe before connecting it to the power supply.
9Ensure that cables are always protected against short circuit and overload.
8DO NOT use worn or damaged cables, plugs or connectors. Immediately have any faulty item replaced by a qualified electrician.
Recommended fuse rating:
3 AMP
CP18VRPIssue128/10/19
Original Language Version
© Jack Sealey Limited
Refer to
instruction
manual
Wearprotective
gloves
Weareye
protection
Wearface
mask
Wearear
protection
Wearprotective
clothing

1.3. BATTERY SAFETY PRECAUTIONS
WARNING!BatterycontainsLithium-ionwhichisdangerous.Handlewithcaretoavoiddamage,re,corrosionorpersonalinjury.
9 Chargebatterypriortoitsrstuse.Thebatterywillhavebeenshippedinalowchargestate.Toreducetheriskofburnsorre:
8DO NOT Attempt to open, disassemble, modify or service the battery pack.
8DO NOTCrush,puncture,shortexternalcontactsordisposeofinreorwater.
8DO NOTExposetotemperaturesabove40°C(104°F).
9Replace only with the battery pack designated for this product.
9 Useonlythesuppliedchargingbaseprovidedtochargethebattery.
8DO NOT attempt recharging the battery by means of an engine generator or a DC power source.
WARNING!DisposeofspentbatteriescorrectlyastheycontainLithium-ion.DANGER! DO NOT attempt to disassemble the
battery.ForsafetyandenvironmentalreasonsDO NOT discard in domestic waste or by burning. ONLY discard or recycle
according to local authority regulations.
WARNING! DO NOT allow a leaking battery to contact your person.
1.4. GENERAL SAFETY
9Disconnect the polisher from the battery unit before changing accessories, servicing or performing any maintenance.
9Maintain the polisher and battery in good condition. Check moving parts alignment on a regular basis.
9 Replaceorrepairdamagedparts.Useanauthorisedserviceagentandrecommendedpartsonly.Unauthorisedpartsmaybe
dangerous and will invalidate the warranty.
9Ensure the polisher is switched off before installing the battery pack.
9Keep the polisher and charger clean for best and safest performance.
9 Removeillttingclothing.Removeties,watches,ringsandotherloosejewelleryandcontainlonghair.
9 Evaluateyourworkingareabeforeusingthepolishere.g.ceilings,oorsandenclosuresmaycontainelectricalitemsorwaterpiping.
9Ensure battery pack is correctly inserted into the polisher handle and securely in place before attempting to switch on polisher.
9Secure loose work pieces with a clamp, vice or other adequate holding device.
9Avoid unintentional starting.
9 Wearapprovedsafetyeyeprotection(standardspectaclesarenotadequate).
9 Maintaincorrectbalanceandfooting.Ensuretheoorisnotslipperyandwearnon-skidshoes.
9Keep children and unauthorised persons away from the working area.
9 Keeppolisherandchargerinthecaseandstoreinasafe,drychildproofareawherethetemperaturewillnotexceed104°F(40°C).
8DO NOTusethepolisherwherethereareammableliquids,solidsorgases,suchaspaintsolvents,etc.
8DO NOT allow children to operate the polisher.
8DO NOToperatethepolisherifanypartsaremissingasthismaycausefailureand/orpersonalinjury.
8DO NOT hold unsecured work piece in your hand.
8DO NOT leave the polisher operating unattended.
8DO NOTcarrythepolisherwithyourngeronthepowerswitch.
8DO NOT use the polisher for a task it is not designed to perform.
8DO NOToperatethepolisherwhenyouaretiredorundertheinuenceofalcohol,drugsorintoxicatingmedication.
8DO NOT get the polisher, battery or battery charger wet or use in damp or wet locations.
2. INTRODUCTION
Poweredby18V4AhLithium-ionbattery.Digitaldisplayandvariablespeedcontrolfrom500-2800rpm.Featuresaslidebuttonon/
off switch allowing for a smooth comfortable main handle grip. Spindle lock for fast and easy pad changes. Double injection composite
housingwithrubbergripforaddedcomfort.SuppliedwithØ150mmbackingpadandsidehandle.Includesmainscharger.Coveredby
Sealey three year warranty*.
3. SPECIFICATION
Model No.:.............................................................CP18VRP
Battery(CP18VBP) .........................................18V4AhLi-ion
Free speed...................................................... 500-3000rpm
Pad size .................................................................. Ø150mm
Thread size ......................................................... M14x2mm
Noise power .............................................................85dB(A)
Noise pressure..........................................................74dB(A)
Backing pad .................................................PTC/150VA/M14
Charging base........................................................ CP18V/11
Battery ................................................................... CP18VBP
4. OPERATION
WARNING: Removebatterybeforetting/removingpadsormaintenanceiscarriedout.
NOTE: Whennew,thebatteriesmayhavebeenshippedinalowchargestate.Fullychargethebatteriesbeforeusingyourtool.
4.1. Ensurethatyouhaveread,understoodandcomplywithallthesafetyinstructionsinSection1.
4.2. BATTERY CHARGER
4.2.1. To remove the battery from the equipment, depress the spring loaded tab on the front of the battery pack. Remove the battery pack by
sliding it out. DO NOT touch the metal battery terminals.
4.2.2. Thebatteryisdesignedtotintothechargeronewayonly.Insertthebatteryfullyandrmlytoseatthebatteryintothechargingbase.
4.2.3. Take the base charger and plug it into the mains, switch on the power and the LED on the charger will illuminate.
4.2.4. WhenthebatteryisonchargetheredLEDonthechargerwillilluminate.
4.2.5. WhenthegreenLEDonthechargerilluminatespermanentlythebatteryisfullycharged.
4.2.6. Thebatteryhas3LEDchargelevelindicatorsthatshowfullorpartialchargeslevels.
4.2.7. The battery charge state can be determined, when not being charged, by depressing the tab next to the LED display on the battery.
4.2.8. Remove the battery from the charger. Switch off and remove the plug from the mains.
Original Language Version
© Jack Sealey Limited CP18VRPIssue128/10/19

4.3. POLISHING (fig.1)
4.3.1. Holdingthepolisherrmlyoperatetheon/offswitch.
4.3.2. To set the rotational speed of the polisher use the +/- buttons. To increase speed,
press‘+‘,todecreasepress‘-‘.
4.3.3. There are 7 speed settings available and the current one being used is shown in the
speed setting display window.
Thevaluesdisplayedare5,8,10,15,20,25,and30.EachstepindicatesanRPMof
approximately100timesthevalueshown.
4.3.4. Whenpolishing,DO NOT apply too much pressure, the weight of the polisher should
besufcient.AlsoDO NOT work for too long in one area or you may damage the
surface being worked on.
4.4. BACKINGPADEXCHANGE(g.2)
WARNING: Removebatterybeforetting/removingpadsormaintenanceiscarriedout.
4.4.1. To remove the backing pad, press down chuck locking button and manually unscrew the pad clockwise (when viewed from above).
5. MAINTENANCE
WARNING: Always disconnect the battery before carrying out any inspection, maintenance or cleaning.
5.1. GENERAL INSPECTION
5.1.1. Regularlycheckthatallthexingscrewsaretight.
5.1.2. Repairs should be carried out by an authorised service centre.
5.2. CLEANING
WARNING: Always wear protective equipment including eye protection and gloves when cleaning this tool.
5.2.1. Keep your tool clean at all times. Dirt and dust will cause internal parts to wear quickly and shorten the device’s service life.
5.2.2. Clean the body of your machine with a soft brush, or dry cloth.
5.2.3. Neverusecausticagentstocleanplasticparts.Ifdrycleaningisnotsufcient,amilddetergentonadampclothisrecommended.
5.2.4. Watermustnevercomeintocontactwiththetool.Ensurethetoolisthoroughlydrybeforeusingit.
5.2.5. If available, use clean, dry compressed air to blow through the ventilation holes (where applicable).
5.3. LUBRICATION
5.3.1. Lightly lubricate all moving parts at regular intervals with a suitable lubricant.
5.4. STORAGE
5.4.1. Store this tool carefully in a secure, dry place out of the reach of children.
WARNING! – Risk of Hand Arm Vibration Injury.
Original Language Version
© Jack Sealey Limited CP18VRPIssue128/10/19
Sealey Group, Kempson Way, Suffolk Business Park, Bury St Edmunds, Suffolk. IP32 7AR
01284 757500 01284 703534 sales@sealey.co.uk www.sealey.co.uk
ENVIRONMENT PROTECTION
Recycle unwanted materials instead of disposing of them as waste. All tools, accessories and packaging should be sorted, taken to
arecyclingcentreanddisposedofinamannerwhichiscompatiblewiththeenvironment.Whentheproductbecomescompletely
unserviceable and requires disposal, drain any fluids (if applicable) into approved containers and dispose of the product and fluids
according to local regulations.
Note: It is our policy to continually improve products and as such we reserve the right to alter data, specifications and component parts without prior
notice.Ifyourequiredocumentationforalternativeversions,pleaseemailorcallourtechnicalteamontechnical@sealey.co.ukor01284757505.
Important: No Liability is accepted for incorrect use of this product.
Warranty:Guaranteeis36monthsfrompurchasedate,proofofwhichisrequiredforanyclaim.
WEEE REGULATIONS
DisposeofthisproductattheendofitsworkinglifeincompliancewiththeEUDirectiveonWasteElectricalandElectronicEquipment
(WEEE).Whentheproductisnolongerrequired,itmustbedisposedofinanenvironmentallyprotectiveway.Contactyourlocalsolid
waste authority for recycling information.
fig.2
fig.1

WARNING! – Risk of Hand Arm Vibration Injury.
This tool may cause Hand Arm Vibration Syndrome if its use is not managed adequately.
ThistoolissubjecttothevibrationtestingsectionoftheMachineryDirective2006/42/EC.
This tool is to be operated in accordance with these instructions.
Measured vibration emission value (a):...........8.27 m/s²
Uncertainty value (k):.......................... 1.5 m/s²
Please note that the application of the tool to a sole specialist task may produce a different average vibration emission. We recommend that a
specific evaluation of the vibration emission is conducted prior to commencing with a specialist task.
A health and safety assessment by the user (or employer) will need to be carried out to determine the suitable duration of use for each tool.
NB: StatedVibrationEmissionvaluesaretype-testvaluesandareintendedtobetypical.
Whilstinuse,theactualvaluewillvaryconsiderablyfromanddependonmanyfactors.
Such factors include; the operator, the task and the inserted tool or consumable.
NB: ensure that the length of leader hoses is sufficient to allow unrestricted use, as this also helps to reduce vibration.
The state of maintenance of the tool itself is also an important factor, a poorly maintained tool will also increase the risk of Hand Arm Vibration
Syndrome.
Health surveillance.
Werecommendaprogrammeofhealthsurveillancetodetectearlysymptomsofvibrationinjurysothatmanagementprocedurescanbemodified
accordingly.
Personal protective equipment.
Wearenotawareofanypersonalprotectiveequipment(PPE)thatprovidesprotectionagainstvibrationinjurythatmayresultfromthe
uncontrolleduseofthistool.Werecommendasufficientsupplyofclothing(includinggloves)toenabletheoperatortoremainwarmanddryand
maintaingoodbloodcirculationinfingersetc.Pleasenotethatthemosteffectiveprotectionisprevention,pleaserefertotheCorrectUseand
Maintenancesectionintheseinstructions.GuidancerelatingtothemanagementofhandarmvibrationcanbefoundontheHSCwebsite
www.hse.gov.uk-Hand-ArmVibrationatWork.
Original Language Version
© Jack Sealey Limited CP18VRPIssue116/09/19

EC DECLARATION
OF CONFORMITY
Description and Function:������������������������������������������������������������������������������������������������������������������������������������������������������������������������
Model/Type:���������������������������������������������������������������������������������������������������������������������������������������������������������������������������������������������
Manufacturing Date/Serial Number where applicable: ����������������������������������������������������������������������������������������������������������������������������
This declaration of conformity is issued under the sole responsibility of the manufacturer:
Jack Sealey Ltd, Kempson Way, Suffolk Business Park, Bury St Edmunds, Suffolk. IP32 7AR
Declaration of Conformity in accordance with the above Directive(s)�
Technical le compiled by: Jack Sealey Ltd
Being the responsible person appointed by the manufacturer.
Signed�������������������������������������������������������������������������������������������
Date�����������������������������������������������������������������������������������������������
Name���������������������������������������������������������������������������������������������
Position�����������������������������������������������������������������������������������������
Place: Bury St Edmunds
Cordless Rotary Polisher Ø150mm 18V Li-ion
CP18VRP v1
2014/30/EU EMC Directive
2006/42/EC Machinery Directive
2011/65/EU RoHS Directive
References to harmonised standard(s)
EN 55014-1:2017 �������������������������������������������������������������������������
EN 55014-2:2015 �������������������������������������������������������������������������
EN 60745-1:2009+A11:2010 ��������������������������������������������������������
EN 60745-2-3:2011+A13:2015�����������������������������������������������������
������������������������������������������������������������������������������������������������������
������������������������������������������������������������������������������������������������������
������������������������������������������������������������������������������������������������������
������������������������������������������������������������������������������������������������������
������������������������������������������������������������������������������������������������������
������������������������������������������������������������������������������������������������������
������������������������������������������������������������������������������������������������������
������������������������������������������������������������������������������������������������������
������������������������������������������������������������������������������������������������������
������������������������������������������������������������������������������������������������������
15 October 2019
Steve Buckle�
Marketing Director�
XVII2813
Sealey Group, Kempson Way, Suffolk Business Park, Bury St Edmunds, Suffolk. IP32 7AR
01284 757500 01284 703534 sales@sealey.co.uk www.sealey.co.uk

CP18VRP Issue ! 4/09/19
Sealey Group, Kempson Way, Suffolk Business Park, Bury St Edmunds, Suffolk. IP32 7AR
01284 757500 01284 703534 sales@sealey.co.uk www.sealey.co.uk
Page 1 of 2
NOTE: It is our policy to continually improve products and as such we reserve the right to alter data, specifications and component parts without prior notice.
There may be alternative versions of this product, please contact us should you require this information.
IMPORTANT: No liability is accepted for incorrect use of product. Spare parts must be fitted by a competent person
WARRANTY: Guarantee is 12 months from purchase date, proof of which will be required for any claim.
Parts Information:
Cordless Rotary Polisher Ø150mm 18V Li-
ion
Model No: CP18VRP

CP18VRP Issue ! 4/09/19
Sealey Group, Kempson Way, Suffolk Business Park, Bury St Edmunds, Suffolk. IP32 7AR
01284 757500 01284 703534 sales@sealey.co.uk www.sealey.co.uk
Page 2 of 2
NOTE: It is our policy to continually improve products and as such we reserve the right to alter data, specifications and component parts without prior notice.
There may be alternative versions of this product, please contact us should you require this information.
IMPORTANT: No liability is accepted for incorrect use of product. Spare parts must be fitted by a competent person
WARRANTY: Guarantee is 12 months from purchase date, proof of which will be required for any claim.
Parts Information:
Cordless Rotary Polisher Ø150mm 18V Li-
ion
Model No: CP18VRP
Item Part No. Description
1 CPVRP. Output Shaft
2 CPVRP. Woodruff Key (3x3.5x10)
3 SFS.S Hex Head Flange Bolt M4 X 14 Zinc
4 CPVRP. Front Cover
5 B/RS Bearing 6201-2rs
6 DAST.V Rd Head S/T Screw M4 X 12 Black
7 CPVRP. Gear (Large)
8 CPVRP. Axis Circlip 12mm
9 B/ZZ Bearing 696zz
10 ERP.V Rd Head S/T Screw M4 X 16 Black
11 CPVOP. Gear Case
12 CPVRP. O-Ring
13 CPVOP. Self-Lock Button Spring
14 CPVOP. Self-Lock Button
15 CPVRP. Self-Lock Button Clip
16 B/RS Bearing 608-rs
17 CPVRP. Middle Cover
Item Part No. Description
18 CPVOP. Rotor
19 CPVOP. Stator
20 ERP.V Rd Head S/T Screw M3 X 8 Black
21 CPVOP. Seal for Switch Button
22 CPVOP. Switch Button
23 CPVOP. PCB Transparent Cover
24 CPVOP. PCB
25 CPVOP. Switch Button '+'
26 CPVOP. Switch Button '-'
27 CPVOP. Battery Connectioin Plate
28 CPVOP. Housing, Right Side
29 CPVOP. Housing, Left Side
30 CPVRP. Backing Pad (Velcro)
31 POLISHING MOP Refer to catalogue For Options
32 CPVRP. Side Handle
33 CPVBP Power Tool Battery 18V 4Ah Li-ion
34 CPV.C Battery Charger for CP18VOP & CP18VRP
Table of contents
Other Sealey Sander manuals

Sealey
Sealey SA721 User manual

Sealey
Sealey SA35.V2 User manual

Sealey
Sealey CP2518L User manual

Sealey
Sealey POWER TOOLS SA35.V2 User manual

Sealey
Sealey MS900PSEU User manual

Sealey
Sealey SV12 Series User manual

Sealey
Sealey SA701.V2 User manual

Sealey
Sealey CP108VSPBO User manual

Sealey
Sealey SA722.V2 User manual

Sealey
Sealey CP20VOP User manual

Sealey
Sealey MS925PS User manual

Sealey
Sealey SA355A User manual

Sealey
Sealey SA1003 User manual

Sealey
Sealey SM31.V3 User manual

Sealey
Sealey GSA08 User manual

Sealey
Sealey SA22.V4 User manual

Sealey
Sealey SA800.V3 User manual

Sealey
Sealey MS850PS User manual

Sealey
Sealey SA800.V4 User manual

Sealey
Sealey SA22.V3 User manual