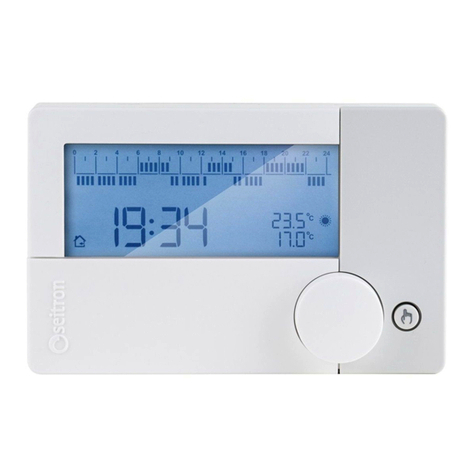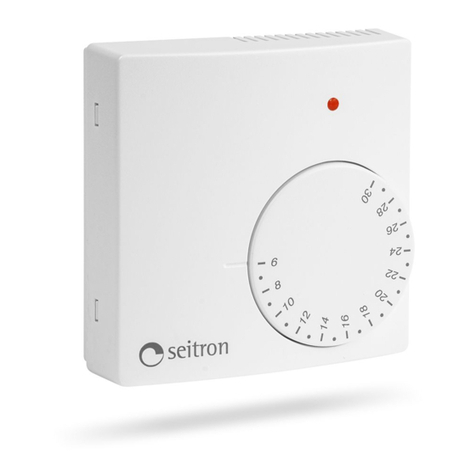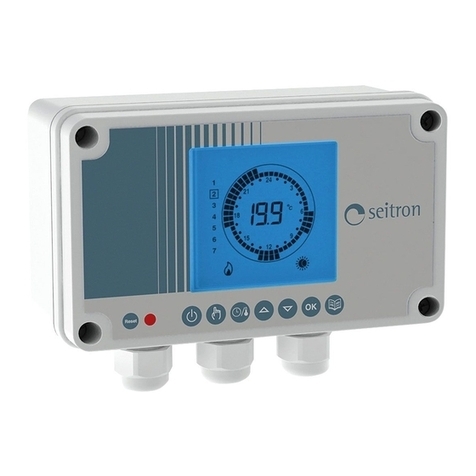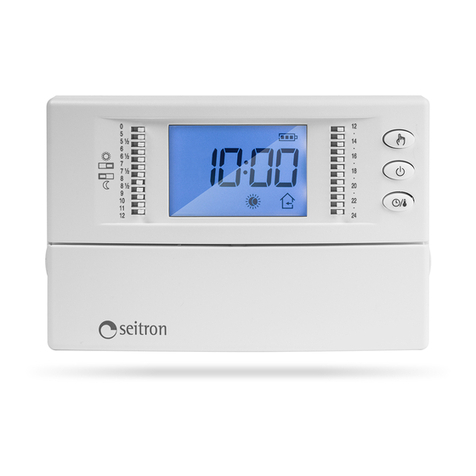
ATTENZIONE! / WARNING!
• Prima di effettuare i collegamenti accertarsi che la rete elettrica sia scollegata.
• L’installazione ed il collegamento elettrico del dispositivo devono essere eseguiti da personale qualicato
ed in conformità alle leggi vigenti.
• Before making any connections, make sure the mains power is disconnected.
• Device installation and electrical connections must be carried out by qualied personnel and must comply
with current normative standards.
INSTALLAZIONE / INSTALLATION
Scarica l’App Seitron Smart.
Download the Seitron Smart App.
9
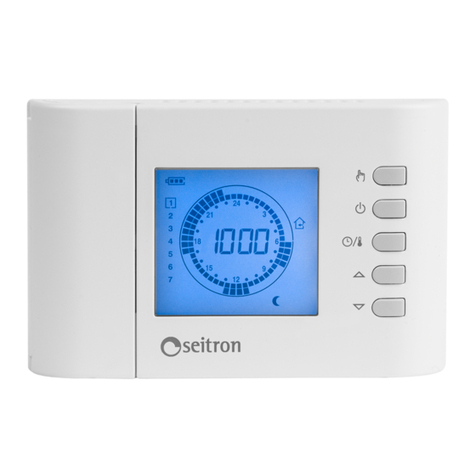
Il display visualizza l’icona‘ ‘ lampeggiante.
The display shows the blinking icon ‘ ‘.
8
Avviare l’App, Registrare il nuovo utente ed eseguire il Login.
Successivamente completare la congurazione del Wi-Time.
Start the App, login and complete the Wi-time conguration.
10
Ridare tensione al cronotermostato.
Reconnect the mains power to the programmable thermostat.
7
Togliere la tensione elettrica.
Cut off mains power.
1
Nel caso di SOSTITUZIONE di un cronotermostato già presente, proseguire al Punto 2.
Se si tratta di una NUOVA installazione andare al Punto 3.
If a programmable thermostat is already present and it needs to be REPLACED, go to Point 2.
If it is a NEW installation skip to Point 3.
Sganciare il vecchio cronotermostato dal muro e
scattare la foto del cablaggio:
i cavi di alimentazione solitamente sono blu e marrone,
quelli di controllo caldaia solitamente sono neri o grigi.
Una volta individuati i cavi, scollegarli e rimuovere il
vecchio cronotermostato.
Unhook the old programmable thermostat from the
wall and take a picture of the wirings:
the power wires are usually blue and brown, the boiler
control ones are usually black or gray.
Once the wires are located, unplug them and remove
the old programmable thermostat.
2
Rimontare la mascherina inserendola prima,
sui ganci presenti sulla parte alta della base (1)
e successivamente agganciandola sulle clip in
basso (2).
Place back the cover by rst hooking it to the
upper side of the plastic base (1) and then locking
it to the lower side clips (2).
61
1
2
Sganciare e rimuovere la mascherina del Wi-Time, dalla
base sottostante, facendo pressione sulle 2 clip presenti sulla
parte bassa del cronotermostato e alzando la mascherina
verso l’alto.
Unhook and remove the front cover of the Wi-Time, from
its plastic base underneath, applying pressure on the 2 clips
located on the bottom side of the programmable thermostat
and lifting the cover towards the upper side.
3
Inserire e ssare a muro il cronotermostato
Wi-Time utilizzando le viti in dotazione.
Insert and x the Wi-Time programmable
thermostat to the wall using the provided
screws.
5
Collegare i cavi come indicato nell’esempio
riportato per il collegamento alla caldaia:
Connect the wires as shown on the example of
the boiler wiring:
4: Comune Caldaia / Common to Boiler
6: Normalmente Aperto Caldaia
Normally open to Boiler
7: Fase (di solito marrone)
Phase (Usually brown)
8: Neutro (di solito blu)
Neutral (Usually blue)
1-2: Sonda temperatura ambiente remota (Opzionale)
Remote room temperature sensor (Optional)
4
NL
N
O
N
C
Per le altre modalità di collegamento vedere il
manuale istruzione completo
For more wiring options, see the complete
instruction manual
C
