manuals.online logo
Brands
  1. Home
  2. •
  3. Brands
  4. •
  5. SelectBlinds
  6. •
  7. Indoor Furnishing
  8. •
  9. SelectBlinds Fabric Roman Shades with Cordless Controls User manual

SelectBlinds Fabric Roman Shades with Cordless Controls User manual

Installation Instructions for
Fabric Roman Shades
with Cordless Controls
Congratulations on
the purchase of your new
Fabric Roman Shade with
Cordless Controls!
It is recommended that Fabric Roman Shades
be vacuumed periodically with a drapery
hose attachment.
Professional cleaning is recommended for all
Fabric Roman Shades. A professional drapery
cleaner may be found in the yellow pages or
on the internet.
Young children can STRANGLE in
cord and bead chain loops. They
can also wrap cords around their
necks and STRANGLE.
• Always keep cords and bead
chains out of children’s reach.
• Move cribs, playpens, and other furniture
away from cords and bead chains. Children
can climb furniture to get to cords.
• Do not tie cords together. Make sure cords
do not twist together and create a loop.
• Attach tension device to wall or oor. This
can prevent children from pulling cords and
bead chains around their necks. Fasteners
provided with the tension device may not
be appropriate for all mounting surfaces. Use
appropriate anchors for the mounting surface
conditions.
•
Do not remove looped cord from cord shroud.
Care and Cleaning Warning
!
Releasing a Locked Shade
Dressing the Shade
A shade may become stuck in the down
position if pulled with excessive force.
To release if locked in the down position:
If the adjustment wheel is
on the LEFT, turn it 1/4 of a
turn in this direction.
If the adjustment wheel is
on the RIGHT, turn it 1/4 of
a turn in this direction.
Steaming the Shade
Like every fabric
treatment, a brand
new window fashion
right out of the box
may have wrinkles.
Many of the wrinkles will simply hang out after
a few days. However, for best results, we
recommend steaming your shade once it is
installed.
If a professional steamer is unavailable, a
standard iron with a steam button will work
just as well.
Dressing the Shade
Part of the beauty of a fabric shade is the
folding of the pleats. Often, a pleat on a new
shade will fold in an unusual way.
Once the shade is raised, a little dressing
of the pleats (pulling them into the desired
position) may be necessary.
“L” Brackets are an alternative outside mount
bracket; not recommended for shades with
a 6” classic valance.
(Waterfall Only)
1. Install the Brackets:
Install the top of ‘L’
bracket 3/4” down from
where the top of the
shade measurement
was taken. Make sure all
the brackets are level.
One bracket should
be mounted 5” from
each end of the shade.
Intermediate brackets
should be spaced evenly in between.
2. Secure the Shade:
Place the headrail on
top of the mounted
“L” brackets and then
secure the shade to
the brackets using the
provided 3/4” screws.
New York Brackets are standard for all inside
and outside mount installations.
1. Prepare the Headrail:
The headrail of your shade has been slotted
for New York brackets.
2. Install The Brackets:
Install the New York
Brackets in the
window to line up
with the slots in the
headrail. Make sure
all the brackets are
level with each other.
Remove the wing nuts from the “New York”
brackets and slide the
shade into position by
sliding the shafts of the
brackets into the slots
cut into the top of the
headrail.
3. Secure the Shade:
While holding up the shade, reattach the
wing nuts to the “New
York” brackets and
tighten.
Note: Extended New
York Brackets are
available for outside
mounted shades and project the shade out
an extra 3/4”
New York Bracket Installation
“L” Brackets Installation (Waterfall Only)
2” screws are a quick and easy alternative
inside mount installation method.
1. Insert the Mounting Screws:
With the shade down,
insert the mounting
screws from the
bottom side of the
headrail. One screw
should be mounted
5” from each end
of the shade.
Intermediate screws
should be spaced
evenly in between.
2. Position the Shade:
Hold the shades up and position it in the
window opening. Drive the mounting screws
up through the headrail into the inside of the
window opening, soft, or ceiling.
Always use the control ring
to operate your shade.
Just like a spring roller
shade, a simple quick tug
will get it started.
Never pull on the hem to
operate your shade.
The tension of your shade can be adjusted to
make it go up faster or slower with the white
adjustment wheel at the end of the drive tube.
2” Screws Installation (IM Only) Cordless Controls
Adjusting Spring Tension
If your adjustment wheel
in on the LEFT side of
your shade follow these
directions.
1. Raise the shade fully
to the top.
2. Grasp the tube with
your right hand making
sure it does not rotate.
3. Referring to the
pictures below, turn
the white ribbed wheel
in the direction of the
arrow one full rotation.
4. Test the shade.
Repeat if necessary.
If your adjustment wheel
in on the RIGHT side of
your shade follow these
directions.
1. Raise the shade fully
to the top.
2. Grasp the tube with
your left hand making
sure it does not rotate.
3. Referring to the
pictures below, turn
the white ribbed wheel
in the direction of the
arrow one full rotation.
4. Test the shade.
Repeat if necessary.
INCREASE
Tension
DECREASE
Tension
INCREASE
Tension
DECREASE
Tension

Other SelectBlinds Indoor Furnishing manuals
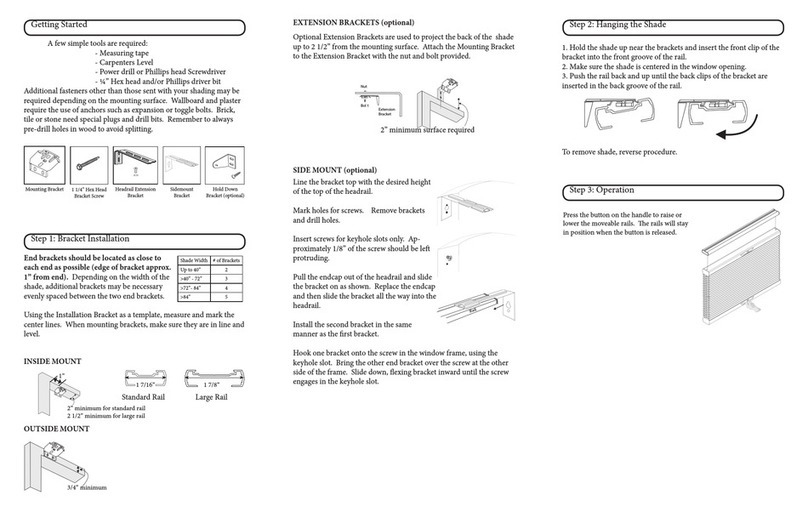
SelectBlinds Cellular Push Button Cordless Honeycomb... User manual

SelectBlinds

SelectBlinds Cellular Push Button Cordless Honeycomb... User manual

SelectBlinds Roller Shade Operation manual

SelectBlinds

SelectBlinds Roller Shade Operation manual

SelectBlinds Cordless Honeycomb Shades User manual
SelectBlinds

SelectBlinds Cordless Honeycomb Shades User manual

SelectBlinds Cordless Cellular Fabric Shade User guide
SelectBlinds

SelectBlinds Cordless Cellular Fabric Shade User guide

SelectBlinds RollEase User manual

SelectBlinds

SelectBlinds RollEase User manual
SelectBlinds Inside Mount Spring Roller User manual
SelectBlinds

SelectBlinds Inside Mount Spring Roller User manual

SelectBlinds Dual E Series User manual
SelectBlinds

SelectBlinds Dual E Series User manual

SelectBlinds Roller Shade User manual

SelectBlinds

SelectBlinds Roller Shade User manual
SelectBlinds Cordless Honeycomb Shades Manual
SelectBlinds

SelectBlinds Cordless Honeycomb Shades Manual

SelectBlinds Custom Woven Natural Shades User guide
SelectBlinds

SelectBlinds Custom Woven Natural Shades User guide

SelectBlinds Banded Fabric Loop Roller Shade User guide
SelectBlinds

SelectBlinds Banded Fabric Loop Roller Shade User guide

SelectBlinds Cordless Roller Shades User manual
SelectBlinds

SelectBlinds Cordless Roller Shades User manual

SelectBlinds Classic Roman Shades User manual
SelectBlinds

SelectBlinds Classic Roman Shades User manual

SelectBlinds ROMAN User manual

SelectBlinds

SelectBlinds ROMAN User manual

SelectBlinds Cordless Cellular Fabric Shade User guide
SelectBlinds

SelectBlinds Cordless Cellular Fabric Shade User guide

SelectBlinds Architect Roman Shades User manual
SelectBlinds

SelectBlinds Architect Roman Shades User manual

SelectBlinds Cordless Roller Shades User manual

SelectBlinds

SelectBlinds Cordless Roller Shades User manual

SelectBlinds Classic Roman Shades User manual
SelectBlinds

SelectBlinds Classic Roman Shades User manual

SelectBlinds STANDARD RECTANGULAR CORDLESS LIFT & LOCK HONEYCOMB... User manual

SelectBlinds

SelectBlinds STANDARD RECTANGULAR CORDLESS LIFT & LOCK HONEYCOMB... User manual
SelectBlinds Sheer Horizontal Window Shadings User manual

SelectBlinds

SelectBlinds Sheer Horizontal Window Shadings User manual

SelectBlinds Architect Roman Shades User manual

SelectBlinds

SelectBlinds Architect Roman Shades User manual

SelectBlinds CORDLESS LIFT SYSTEM HONEYCOMB SHADE User manual

SelectBlinds

SelectBlinds CORDLESS LIFT SYSTEM HONEYCOMB SHADE User manual

Popular Indoor Furnishing manuals by other brands
Cooper Lighting 1433 Specification sheet

Cooper Lighting

Cooper Lighting 1433 Specification sheet

Draper SKYLIGHT 2 FLEXSHADE instructions

Draper

Draper SKYLIGHT 2 FLEXSHADE instructions

Venjakob 3753 Assembly instructions

Venjakob

Venjakob 3753 Assembly instructions

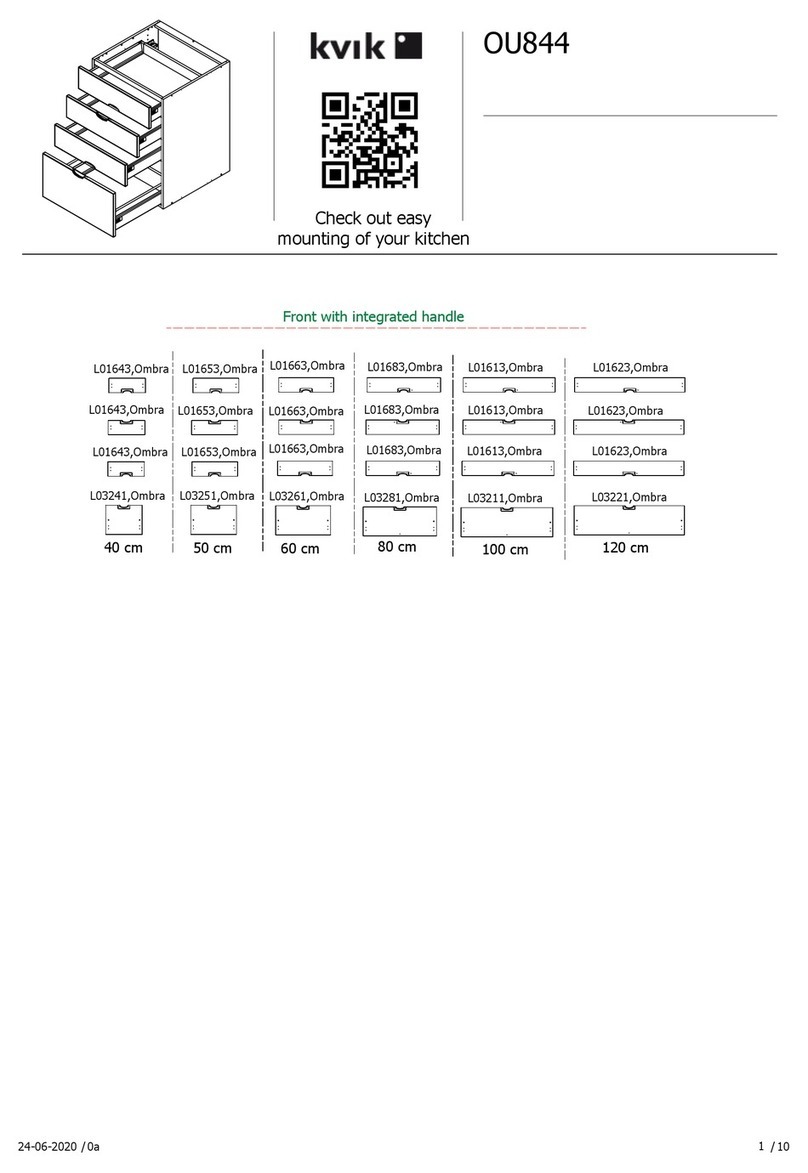
Kvik OU844 manual

Kvik

Kvik OU844 manual

RiverRidge 16-031 Assembly instructions

RiverRidge

RiverRidge 16-031 Assembly instructions

National Alloy Assembly instruction

National

National Alloy Assembly instruction

Argos 875/3775 Assembly instructions

Argos

Argos 875/3775 Assembly instructions

Seatcraft Vienna Assembly & general use guide

Seatcraft

Seatcraft Vienna Assembly & general use guide

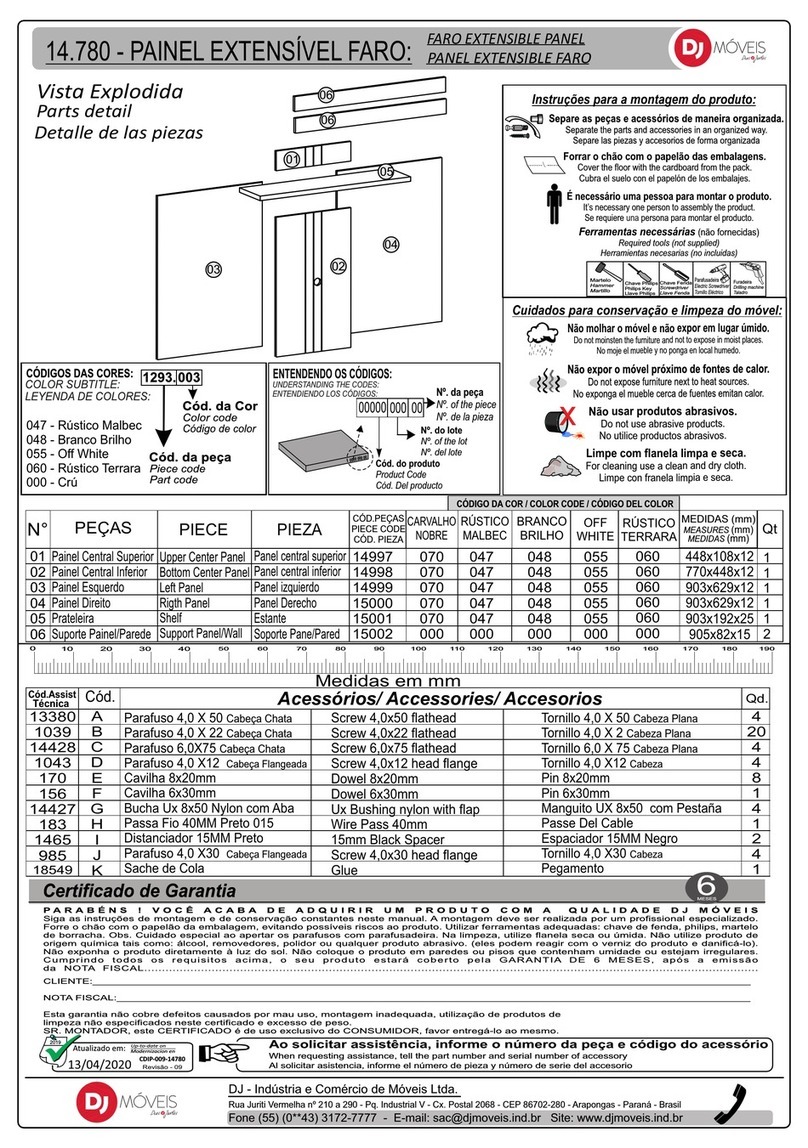
Dj MOVEIS FARO 14.780 manual

Dj MOVEIS

Dj MOVEIS FARO 14.780 manual

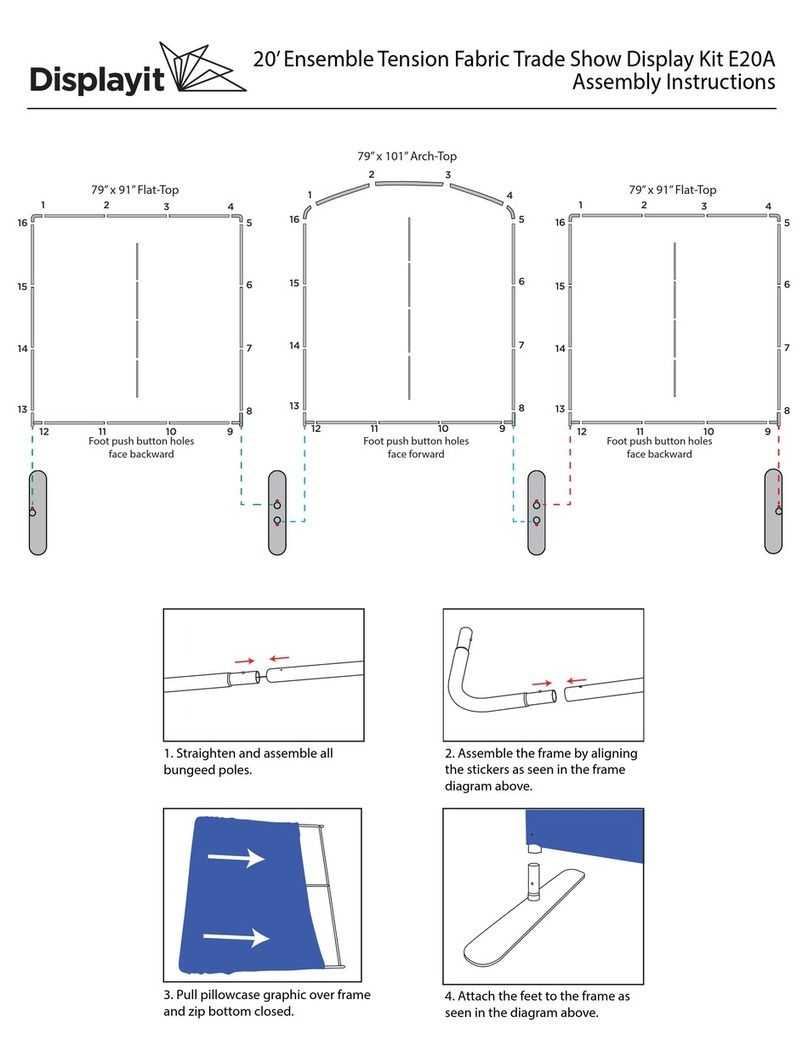
displayit E20A Assembly instructions

displayit

displayit E20A Assembly instructions

Jysk NYSTED 712-16-1004 manual

Jysk

Jysk NYSTED 712-16-1004 manual

HAG HÅG Capisco Puls Assembly guide

HAG

HAG HÅG Capisco Puls Assembly guide

GrainWood Shaker Assembly instructions

GrainWood

GrainWood Shaker Assembly instructions

Furniture of America Lennart CM7386C Assembly instructions

Furniture of America

Furniture of America Lennart CM7386C Assembly instructions
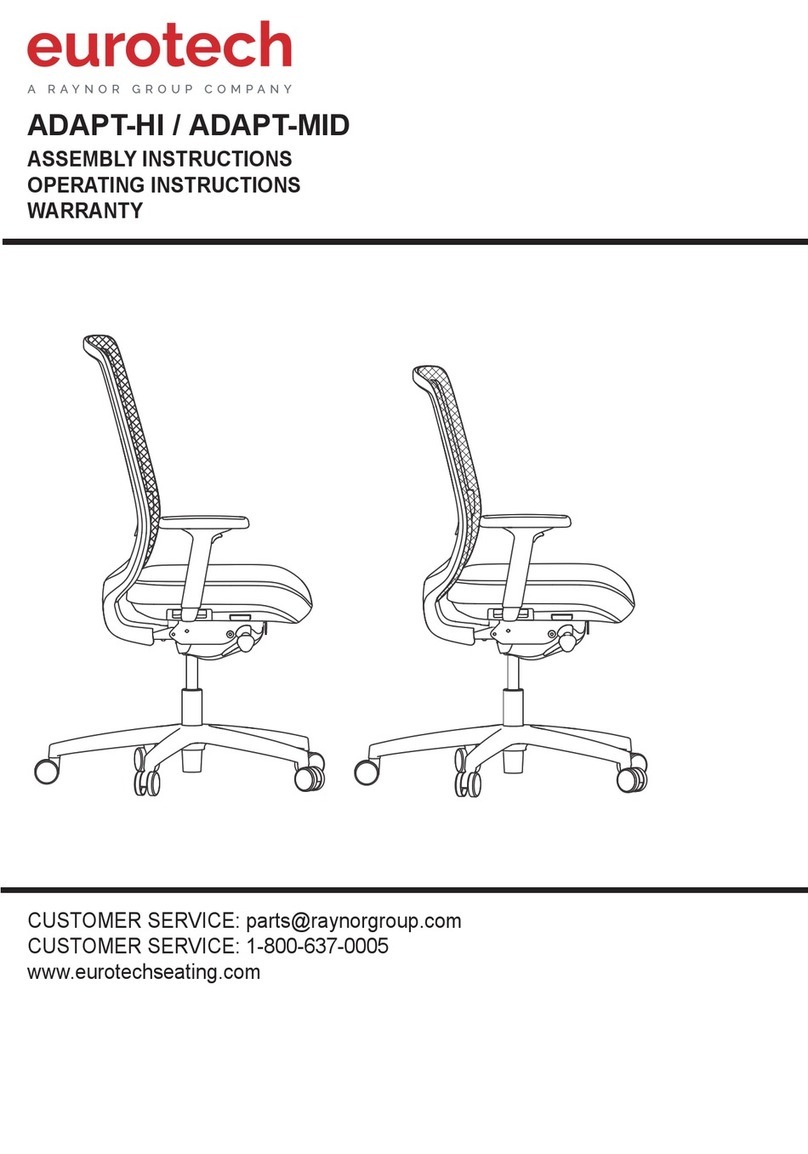
Raynor eurotech ADAPT-HI Assembly instructions/Operating instructions

Raynor

Raynor eurotech ADAPT-HI Assembly instructions/Operating instructions

Costway HU10481-T manual

Costway

Costway HU10481-T manual

Habitat Radus manual

Habitat

Habitat Radus manual

Vente Unique HALIA 7099-3S Product description

Vente Unique

Vente Unique HALIA 7099-3S Product description

manuals.online logo
manuals.online logoBrands
  • About & Mission
  • Contact us
  • Privacy Policy
  • Terms and Conditions

Copyright 2025 Manuals.Online. All Rights Reserved.