manuals.online logo
Brands
  1. Home
  2. •
  3. Brands
  4. •
  5. SelectBlinds
  6. •
  7. Window Blind
  8. •
  9. SelectBlinds Basswood Blind User manual

SelectBlinds Basswood Blind User manual

2” & 2 1/2” Basswood & Fauxwood
Blind Installaon Instrucons
Please follow these Installaon Instrucons
You will need a pencil, tape measure, drill, screwdriver, pliers, and appropriate fasteners.
Step 1: Choose the Correct Fastener
1 ½” #8 Hex Head
Wood Screws (Included)
Alternave fasteners should be used for aluminum or
concrete installaons
(Not Included with Blinds)
End Box
Installaon Brackets
Center Support
Bracket
Use the following # of Center Support Installaon Brackets based on the Blind Width:
Up to 24” 24 ⅛” - 36” 36 ⅛” - 60 Greater than 60”
0123
Valance Clips Needed
Up to 47.99” 48” - 71.99” 72” - 95.99” 96” - 119.99” 120” +
2 3 4 5 6
For your convenience, extra valance clips are included.
Step 3: Mark the Bracket Locaons
Step 2: Prepare Brackets
Prepare box brackets for installaon:
Open the front of the bracket by
pressing on the boom of the
bracket to release the locking
tab while liing the front gate.
(For Outside Mount Installaons)
Posion the box brackets at each end of the headrail. When using a
single center support bracket, center it between the box brackets. For
more than one center support bracket, space the support brackets
evenly, not more than 30” apart. Make sure the brackets will not
interfere with the cord mechanism or any other internal parts. Mark
the bracket for mounng hole locaons, making sure they are square
and equally spaced. For outside mount installaons, use a level to
check for levelness.
For Inside Mount Installaons)
Posion the box brackets at each end of the headrail. Depending on the
installaon locaon, box brackets can be aached using the top, back,
or side holes. When using a single center support bracket, center it
between the box brackets. For more than one center support bracket,
space the support brackets evenly, not more than 30” apart. Make sure
the brackets will not interfere with the cord mechanism or any other
parts. Mark the locaon of the desired bracket mounng holes, making
sure that they are square and equally spaced.
(For Outside Mount Installaons)
Screw brackets into wall as shown.
(For Inside Mount Installaons)
Screw brackets in window frame as shown.
Step 5: Valance Installaon
Step 4: Bracket Installaon
Window Depth Recommended Mount
3.25" or deeper Flush Inside Mount, No Returns
2" to 3" Inside Mount with 1 1/4" Returns or
Outside Mount with 2 1/4" Returns
1" to 2" Inside Mount with 2 1/4" Returns or
Outside Mount
Less than 1" Outside Mount Only
1 1/4” Return
Valance
Outside Mount
Valance
No Return
Valance
3.25 or bigger
window depth
When placing the order indicate depth of the window
2” or bigger
window depth
1” or bigger
window depth
1” or smaller
window depth
2 1/4” Return
Valance
2” & 2 1/2” Basswood & Fauxwood
Blind Installaon Instrucons
Step 1 Step 2
Step 1. Aach the loose plasc Valance Clips to the front of the headrail, one at each end. Space any remaining clips
evenly. Press the slot in the Valance against the boom post of the Valance Clip and rotate it upwards.
Step 2. Push the Valance against the Valance Clip. The two parts should snap together.
To lower the blind, pull the cord down and towards the center of the shade to unlock the cord. Then, slowly release the cord unl the shade reaches the
desired locaon. Move the cord past the outer edge of the shade and let go to lock the cord. Guide the blind down with hand.
To raise the blind, pull the cord straight down unl the shade reaches the desired locaon. Move the cord past the outer edge of the shade and let go to
lock the cord. Pull blind up simultaneously as you pull cord to ease pressure.
Operang Instrucons:
Find a convenient place about 1” out from the side of the
shade where the pull cords are located and about one quarter
of the way up from the bottom of the shade. Hold the cord
safety cleat parallel with the window frame. With a pencil,
make a mark through the holes. Screw the cord safety clip to
the wall.
To avoid strangulation and entanglement keep
all cords out of reach of children by installing
safety cleats that limit access to the cord and /or
chain.
With the hold-down brackets aached to the boom rail, lower the blind to the
hold down bracket mounng surface and mark the bracket locaons. Aach the
hold down brackets at the boom of the window or door with the included
screws as shown. To aach the boom rail, gently pull the brackets out slightly,
and insert the pins into the holes on the boom rail of the blinds.
Step 7: Safety Cleat Installaon
Step 8: Aach Hold Down Brackets
(Oponal—Typically used for door installaons)
Step 6: Blind Installaon
Align the headrail with the center support and box brackets. The headrail
should have the lt mechanism facing toward the room. Be careful not to
trap the top slat in the brackets and slide the headrail straight back unl it
is snug in the brackets. If the headrail can slide from side to side in the
box brackets, you can use a at head screwdriver to bend out the tabs on
the end of the unl it is snug.
Lower the front gate of each
box bracket and press unl
the locking tab clicks into
place.
2” & 2 1/2” Basswood & Fauxwood
Blind Installaon Instrucons

This manual suits for next models

1

Other SelectBlinds Window Blind manuals
SelectBlinds Classic User manual

SelectBlinds

SelectBlinds Classic User manual

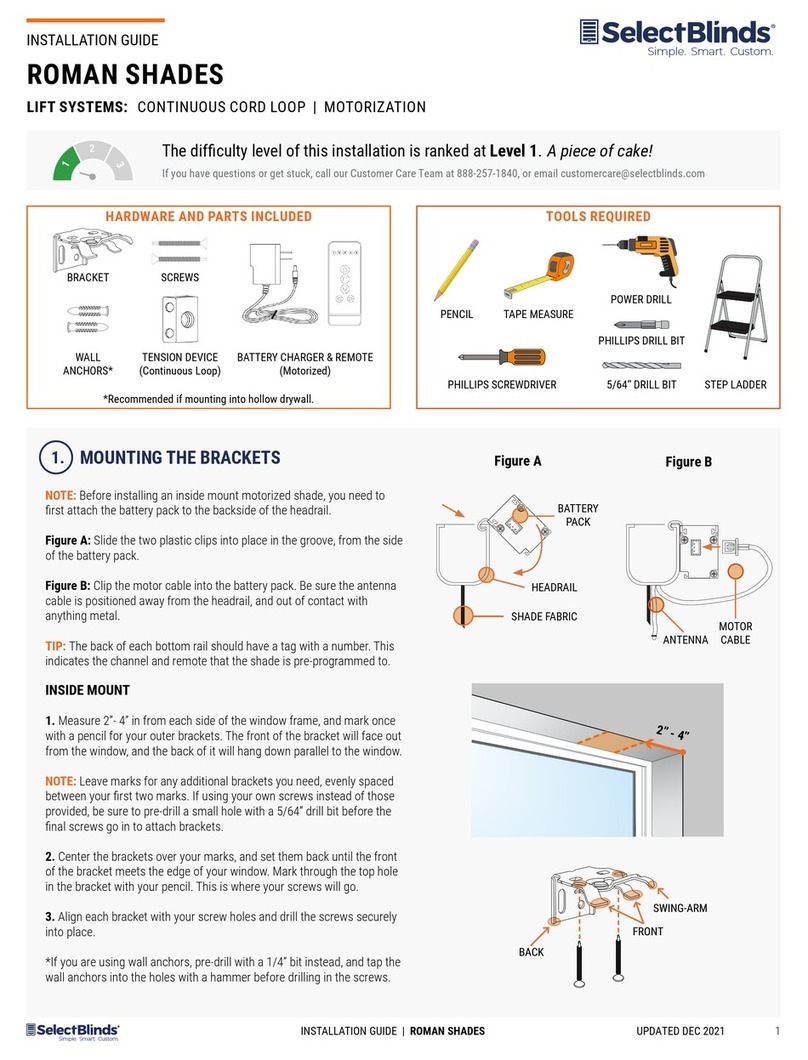
SelectBlinds Fashion Color Power Touch Series Installation guide
SelectBlinds

SelectBlinds Fashion Color Power Touch Series Installation guide

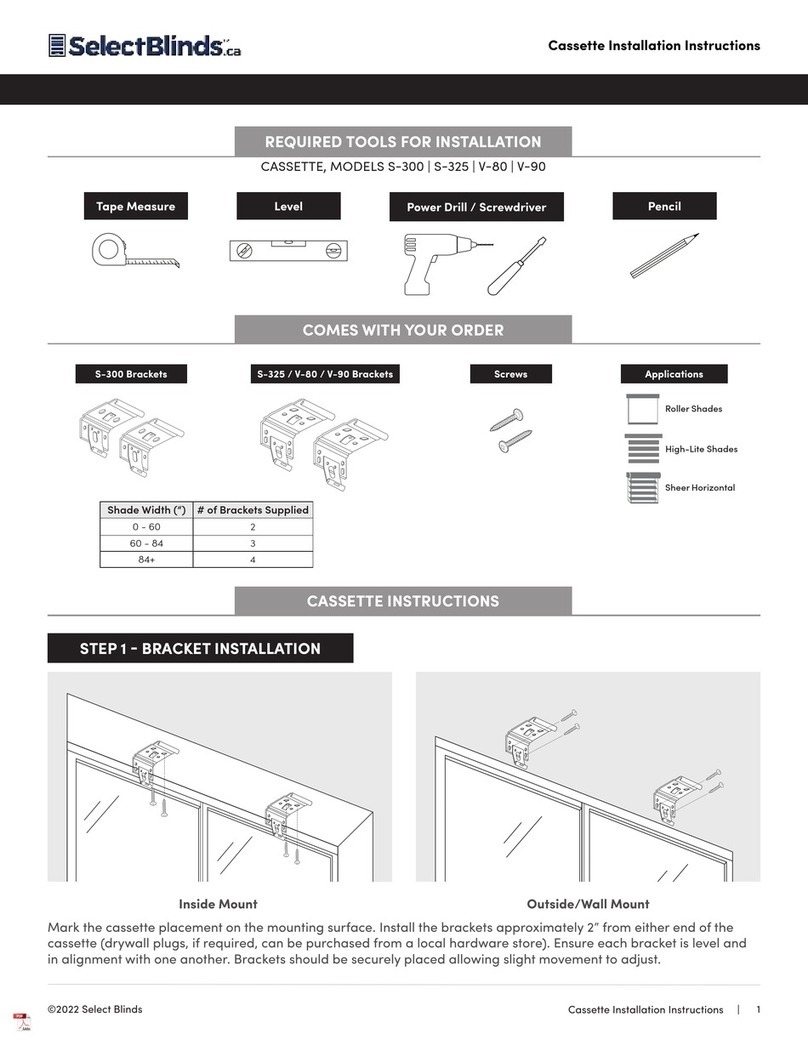
SelectBlinds S-300 User manual

SelectBlinds

SelectBlinds S-300 User manual

SelectBlinds Cordless Roller Shades User manual
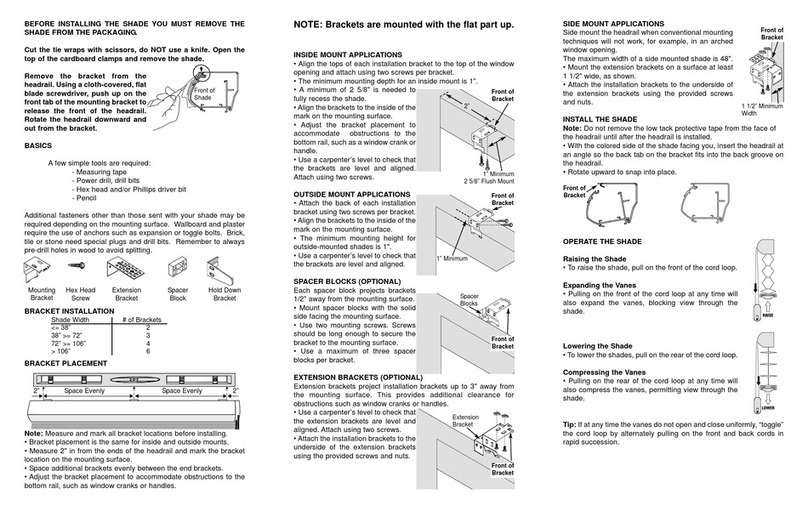
SelectBlinds

SelectBlinds Cordless Roller Shades User manual

SelectBlinds Odysee User manual

SelectBlinds

SelectBlinds Odysee User manual
SelectBlinds Aluminum Blind User manual
SelectBlinds

SelectBlinds Aluminum Blind User manual

SelectBlinds Fauxwood Blind User manual
SelectBlinds

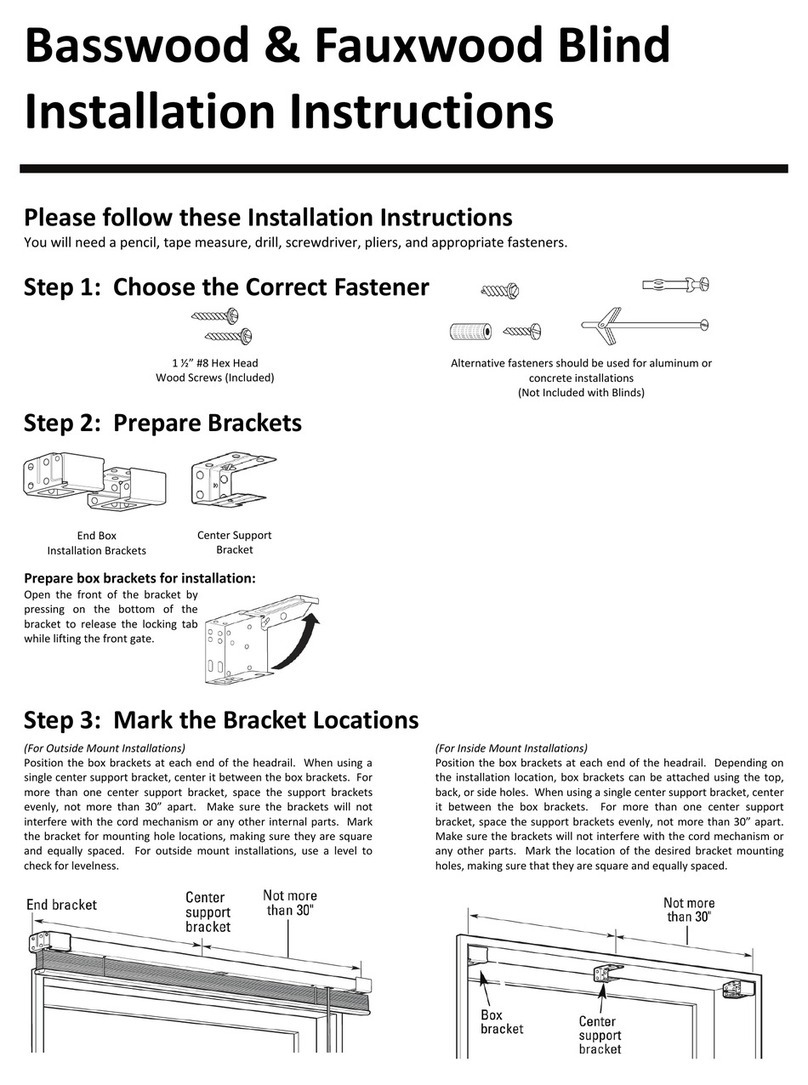
SelectBlinds Fauxwood Blind User manual

SelectBlinds Architect User manual

SelectBlinds

SelectBlinds Architect User manual
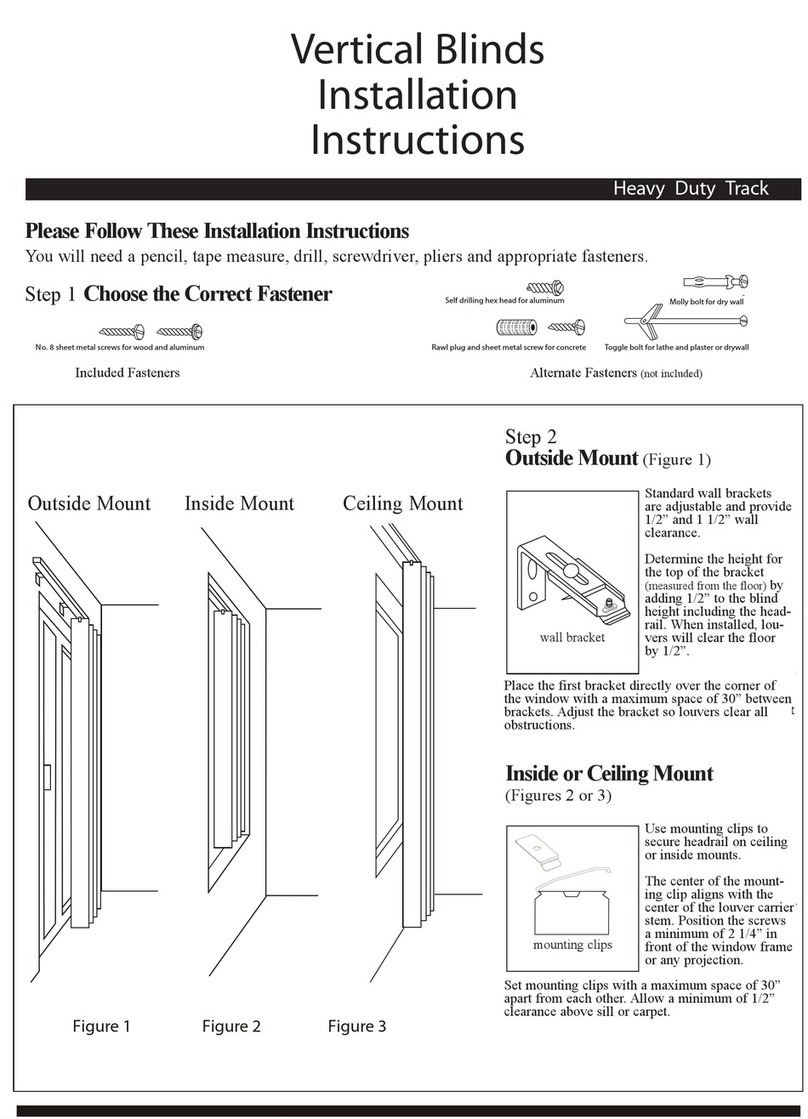
SelectBlinds Vertical Blinds User manual
SelectBlinds

SelectBlinds Vertical Blinds User manual

SelectBlinds Classic Grommet Custom Made Drapes User manual

SelectBlinds

SelectBlinds Classic Grommet Custom Made Drapes User manual

SelectBlinds Basswood Horizontal Blind User manual
SelectBlinds

SelectBlinds Basswood Horizontal Blind User manual

SelectBlinds OPEN ROLL Z-125 User manual
SelectBlinds

SelectBlinds OPEN ROLL Z-125 User manual

SelectBlinds CORDLESS Installation guide
SelectBlinds

SelectBlinds CORDLESS Installation guide

SelectBlinds Architect Roman Shades User manual
SelectBlinds

SelectBlinds Architect Roman Shades User manual

SelectBlinds Lift & Lock User manual

SelectBlinds

SelectBlinds Lift & Lock User manual
SelectBlinds Honeycomb Cordless User manual

SelectBlinds

SelectBlinds Honeycomb Cordless User manual

SelectBlinds Deluxe Aluminum Blinds User manual
SelectBlinds

SelectBlinds Deluxe Aluminum Blinds User manual

SelectBlinds Skylight Installation guide
SelectBlinds

SelectBlinds Skylight Installation guide

SelectBlinds Cordless Honeycomb Shades User manual
SelectBlinds

SelectBlinds Cordless Honeycomb Shades User manual

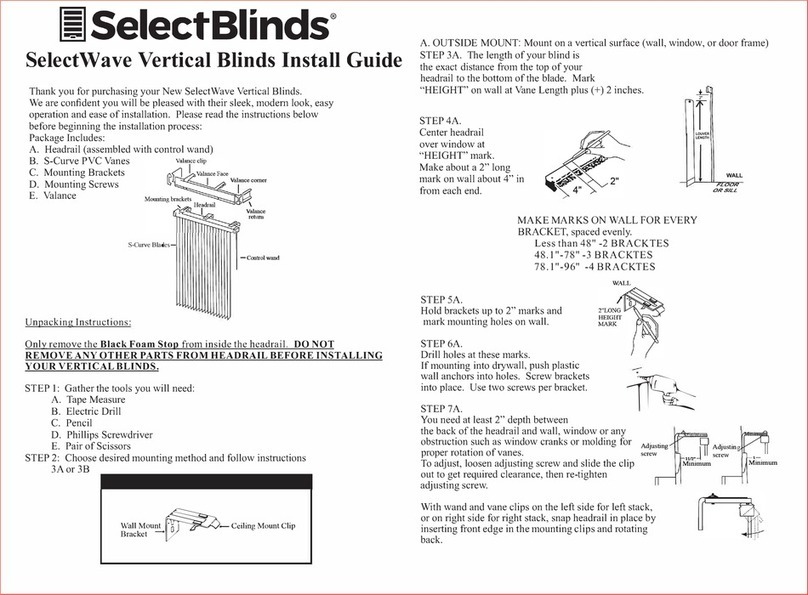
SelectBlinds SelectWave User manual

SelectBlinds

SelectBlinds SelectWave User manual

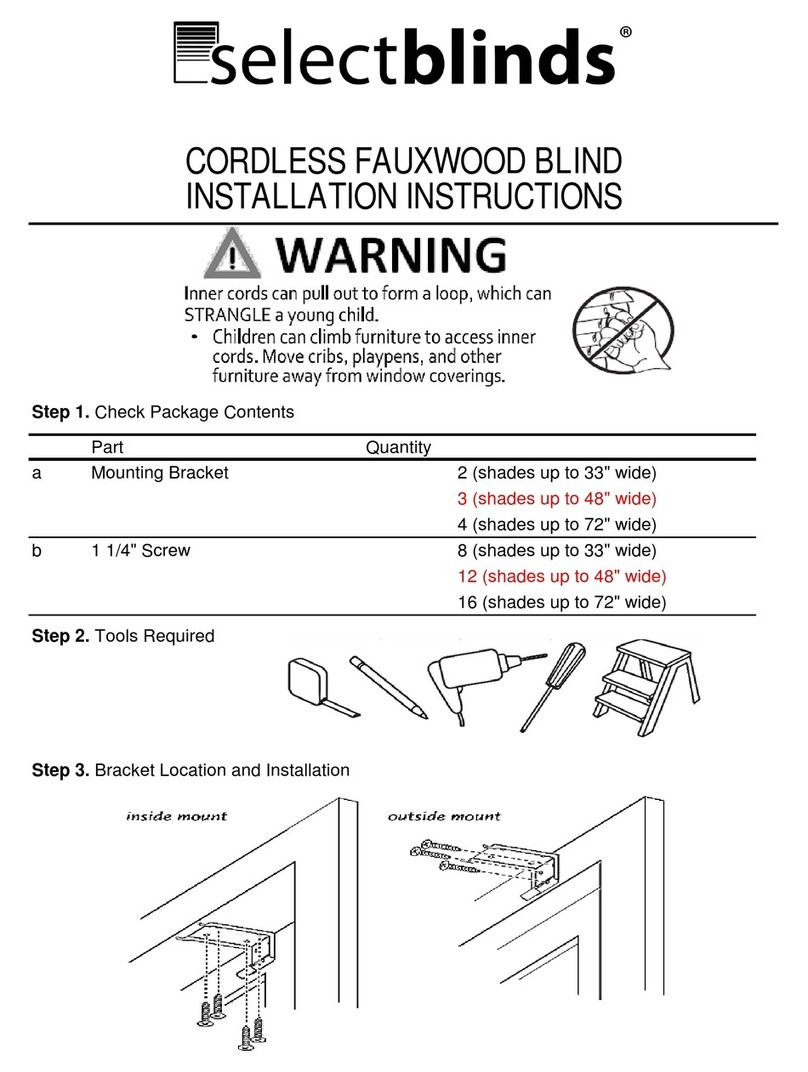
SelectBlinds CORDLESS FAUXWOOD BLIND User manual

SelectBlinds

SelectBlinds CORDLESS FAUXWOOD BLIND User manual

Popular Window Blind manuals by other brands

Pella INSYNCTIVE DESIGNER Series Product guide

Pella

Pella INSYNCTIVE DESIGNER Series Product guide

MaxxMar Cool Motion Operation & Programming Instructions
MaxxMar

MaxxMar Cool Motion Operation & Programming Instructions

Benthin RR36 Electrical installation

Benthin

Benthin RR36 Electrical installation
Blinds Direct Sunwood Bottom Bar installation guide

Blinds Direct

Blinds Direct Sunwood Bottom Bar installation guide

ODSIF Luxury roller blind system user guide

ODSIF

ODSIF Luxury roller blind system user guide

MHZ NOVELL installation instructions

MHZ

MHZ NOVELL installation instructions

TOSO DUAL 100 instruction manual

TOSO

TOSO DUAL 100 instruction manual

Roto ZJA M installation manual

Roto

Roto ZJA M installation manual
Graywind 58436 instruction manual

Graywind

Graywind 58436 instruction manual
HOMEDEPOT Designer's Touch 1702 quick start guide
HOMEDEPOT

HOMEDEPOT Designer's Touch 1702 quick start guide

HunterDouglas RB 500 Manual Installation
HunterDouglas

HunterDouglas RB 500 Manual Installation

HunterDouglas Standard Hardware System Installation operation care
HunterDouglas

HunterDouglas Standard Hardware System Installation operation care

HunterDouglas Pirouette PowerView+ Gen 3 Automation Installation operation care

HunterDouglas

HunterDouglas Pirouette PowerView+ Gen 3 Automation Installation operation care
MOTION BLINDS CM-09 user manual

MOTION BLINDS

MOTION BLINDS CM-09 user manual

HunterDouglas Pirouette Installation operation care

HunterDouglas

HunterDouglas Pirouette Installation operation care

HunterDouglas Skyline Installation operation care
HunterDouglas

HunterDouglas Skyline Installation operation care

Freedom Beaumont Privacy Blind installation instructions
Freedom

Freedom Beaumont Privacy Blind installation instructions

PALAGINA K.ZIP Series Use and maintenance

PALAGINA

PALAGINA K.ZIP Series Use and maintenance

manuals.online logo
manuals.online logoBrands
  • About & Mission
  • Contact us
  • Privacy Policy
  • Terms and Conditions

Copyright 2025 Manuals.Online. All Rights Reserved.