3
English Español Français
Tool Use Uso de la Herramienta
Utilisation de l’Outil
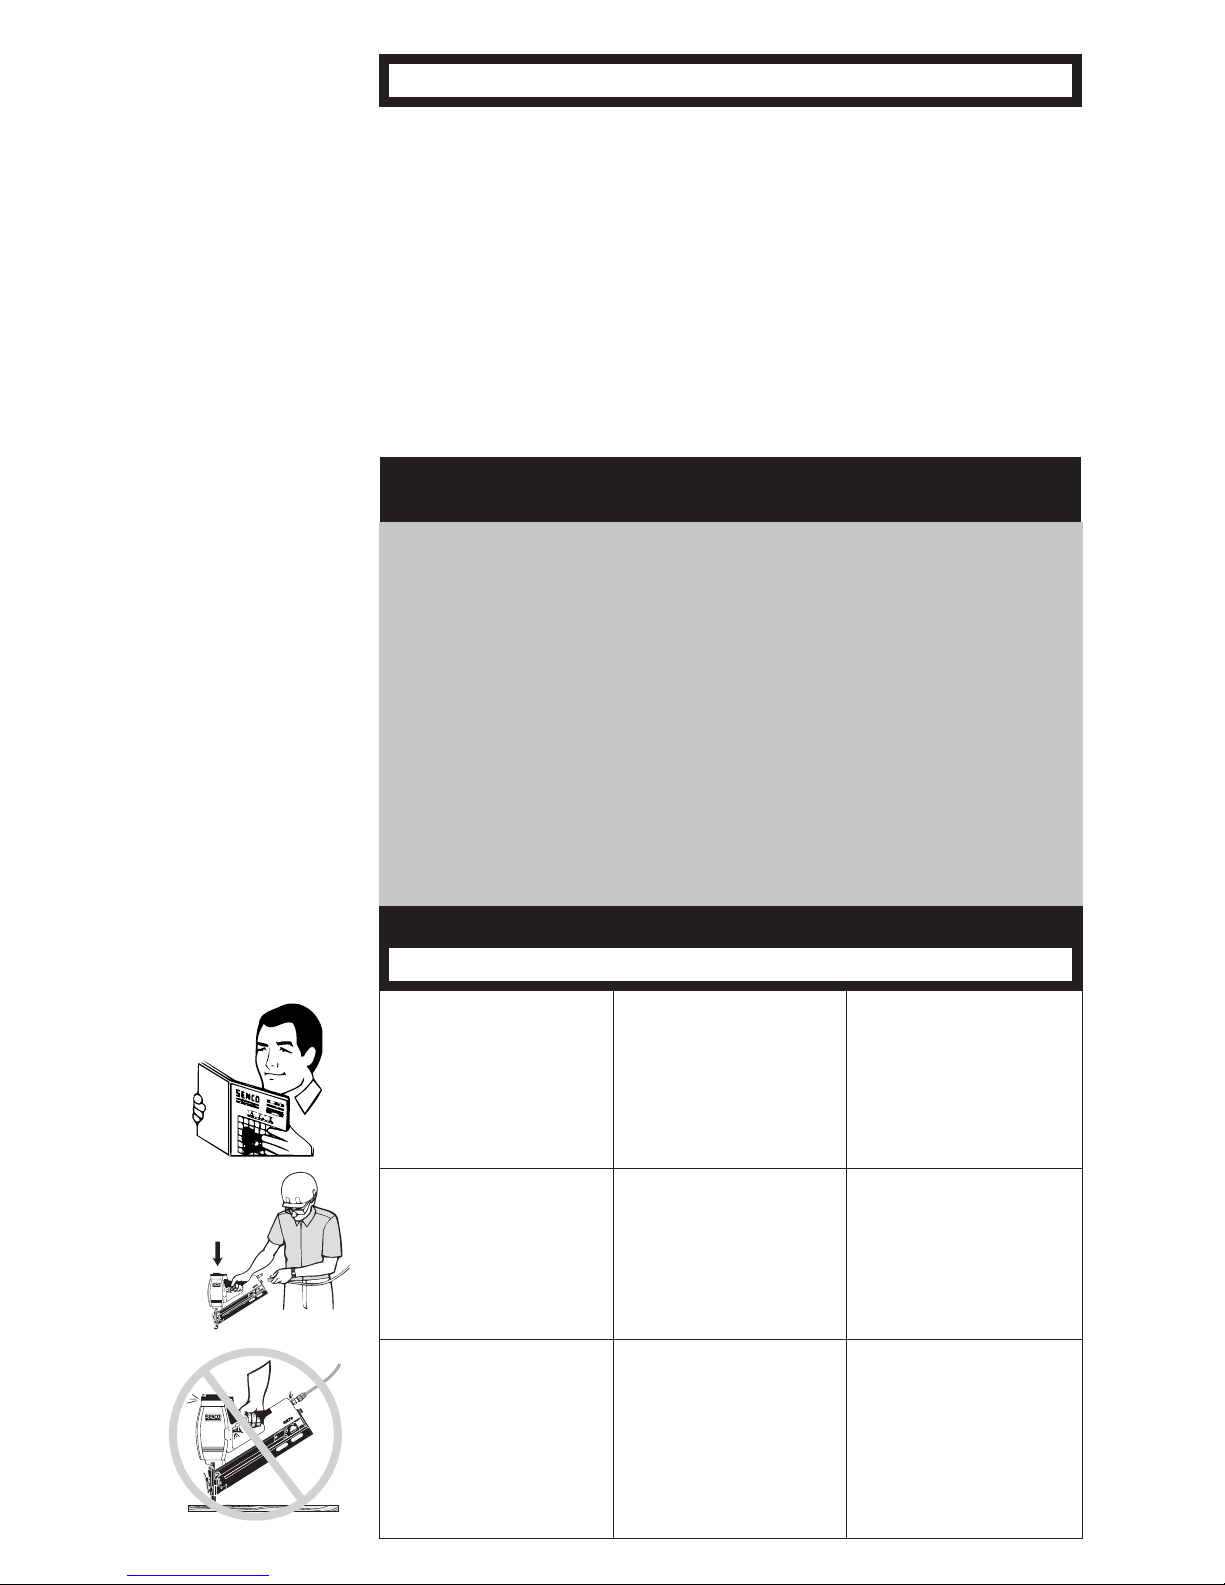
To Load:
Insert strip of nails into rear of
magazine. Use only genuine
SENCO fasteners. Do not load
with workpiece contact (safety
element) or trigger depressed.
Para cargar:
Inserte la tira de clavos en
la parte de atrás del área de
almacenamiento. Use solamente
sujetadores SENCO auténticos.
No cargue con el disparo o la
seguridad oprimidos.
Pour charger :
Introduisez une bande de clous
dans la partie arrière du maga-
sin. Utilisez uniquement les
véritables clous SENCO. Veillez
à ne pas appuyer sur le palpeur
de sécurité ou sur la détente
quand vous chargez.
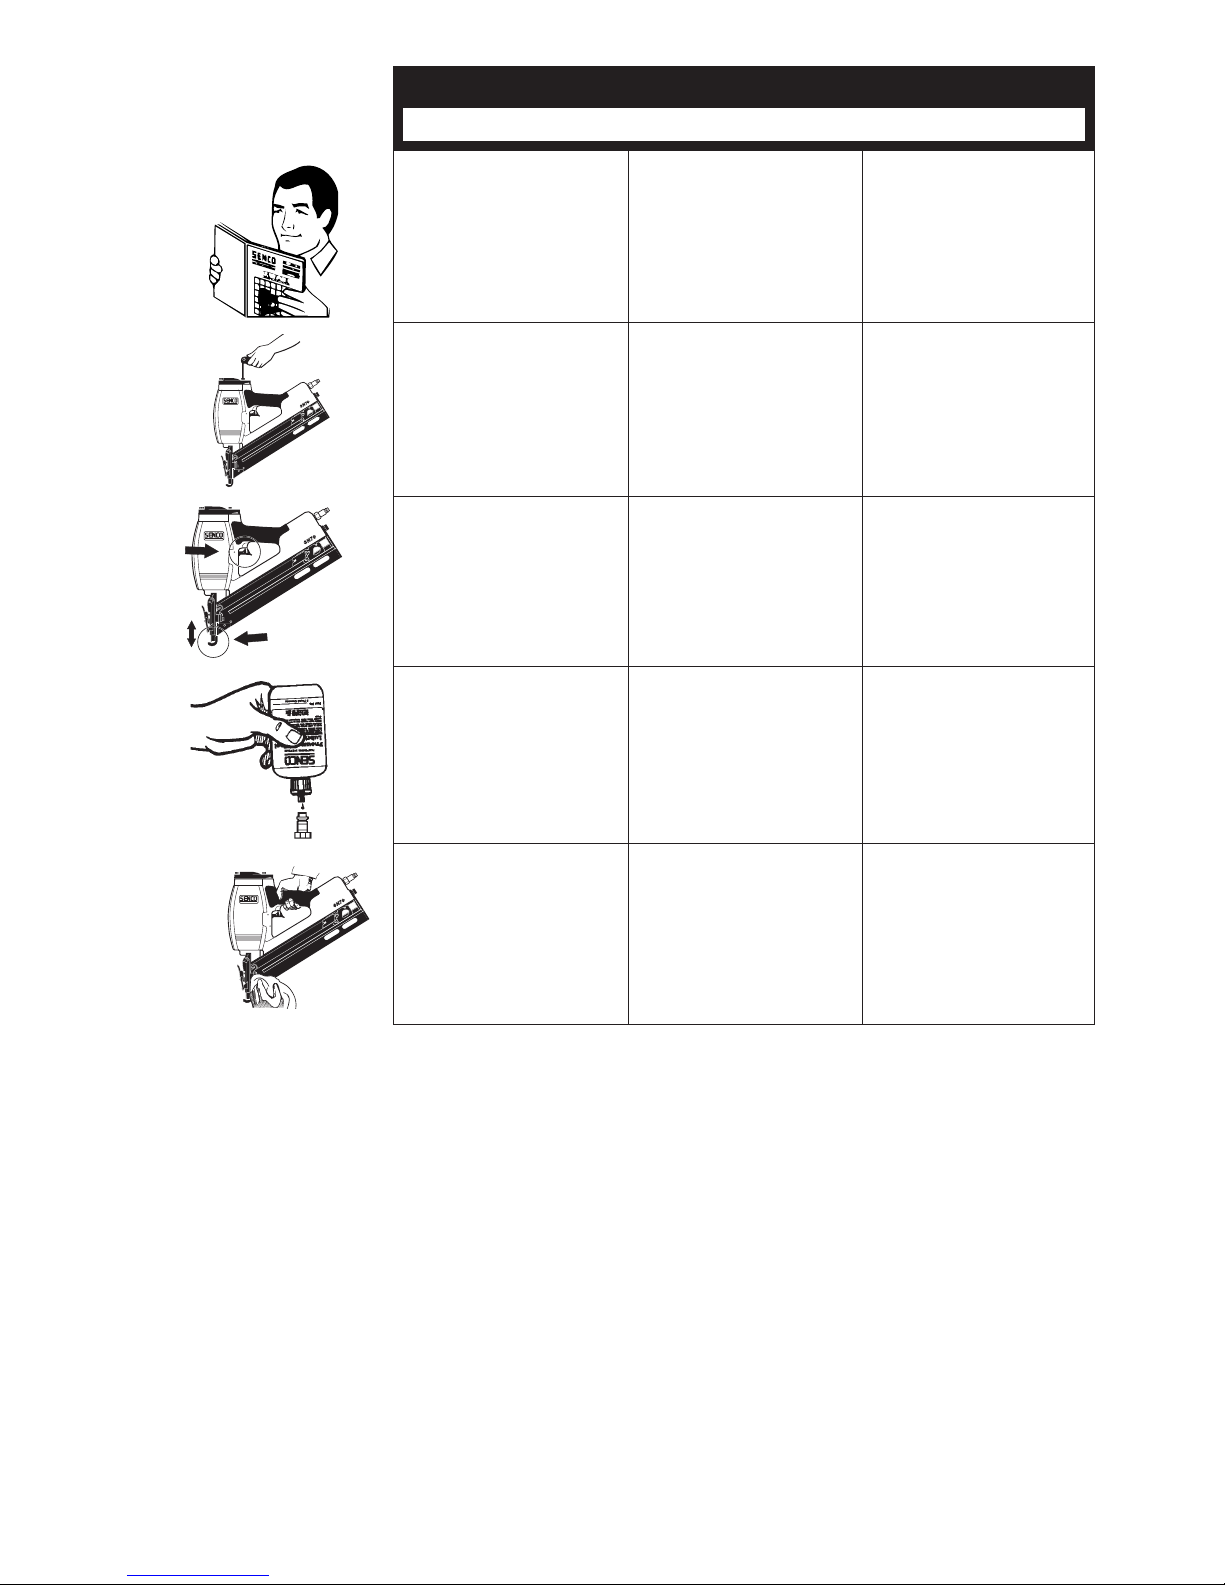
Nail Guide (GC0631) should
be installed when driving nails
shorter than 2 1/2" in length.
Se recomienda instalar la Guia
Para Clavos (GC0631) cuando
se pretenda disparar clavos
menores de 2 1/2" de largo.
Le guide clous (GC0631) doit
être installé lorsque l’on veut
passer des clous plus courts
que 2 1/2" (65 mm) en longueur.
With a Contact Actuation trigger,
nails can be driven two ways:
a) Position workpiece contact
(safety element) against work
surface and pull trigger...“Trigger
Fire.”
b) To drive a nail, pull trigger
and push workpiece contact
against work surface. Each time
the workpiece contact is pushed
against the work surface a nail
willbedriven.This“bottom-re”
mode of operation is preferred
when high production, rapid
fastener placement is desired.
Las herramientas con gatillo
de accion doble pueden ser
disparadas de dos maneras:
a) Oprima el seguro contra la
superciedetrabajoyaprieteel
gatillo...Disparo de gatillo.
b) Para impulsar un clavo,
oprima el disparador y deprima
el elemento de seguridad contra
lasuperciedetrabajo.Cada
vez que deprima el elemento de
seguridadcontralasupercie
de trabajo, impulsará un clavo.
Estemododeoperaciónde
“disparo inferior” o “por rebote”
es el preferido cuando se desea
alta productividad y rápida colo-
cacióndelclavo.
Les appareils équipés de
déclenchement “au touché / par
gâchette” peuvent être utilisés
de 2 façons différentes :
a) Déclenchement par “gâchette”
: Appliquer le palpeur de
sécurité de l’appareil à l’endroit
désiré et activer la gâchette.
b)Pour planter un clou, tirez sur
la détente et poussez l’élément
de sécurité contre la surface
de travail. Chaque fois que
l’élément de sécurité est poussé
contre la surface de travail un
clou est planté. Le mode de
fonctionnement en “tir continu”
est préférable si vous désirez
placer des attaches rapidement
avec forte productivité.
Pull feeder shoe back. Tire la zapata del alimentador. Tirez le poussoir en arrière.
With a Single Sequential trigger,
nails can only be driven one way.
1) First depress workpiece con-
tact (safety element) against work
surface 2) then pull trigger. This
feature is helpful when precise
fastener placement is required.
Read the “Customer Satisfaction
and Safety Reminder” (CSSR)
in the tool and fastener boxes
for safety information regarding
the Dual Action and Restrictive
triggers. Under certain conditions,
the Restrictive trigger may reduce
the possibility of injury to you or
to others working with you.
Las herramientas con “Ga-
tillo Restringido” solamente se
pueden disparar con el gatillo. 1)
Primero presione el elemento de
seguridadcontralasuperciede
trabajo y 2) después apriete el
gatillo. Ésta característica es útil
cuandoserequiereprecisiónen
lacolocacióndelossujetadores.
Lea el “Recordatorio de Segu-
ridadySatisfaccióndelCliente”
(CSSR) en las cajas de sujeta-
dores y de las herramientas para
informaciónsobreseguridadde
los Gatillos Restringido y de Ac-
ciónDual.Bajociertascondicio-
nes, el Gatillo Restringido puede
reducir la posibilidad de heridas a
su persona o a otros que trabajen
con usted.
Avec une gachette “restrictive”,
les clous ne peuvent être tirés
que dans une seule direction. 1)
Appuyer d’abord le palpeur de
sécurité sur la surface de travail,
2) puis tirer sur la gachette.
Cette fonction est utile pour un
placement précis de projectiles.
Lire le “Rappel de Sécurité et
Satisfaction du Client” (CSSR)
dans les boites à outils et
xationspourlesinformations
de sécurité concernant les
Détentes à Double Action et
à Restriction. Dans certaines
circonstances, la Détente à
Restriction peut réduire la
possibilité de se blesser ou de
blesser d’autres personnes.
Should a nail jam occur,
disconnect air supply.
Si se produce un altascamiento
de un clavo, desconecte el
suministro de aire.
Au cas ou il se produirait un
coinçage de clous, coupez
l’alimentation en air.