03/1/31 XL-HP600E(E)1.fm
2
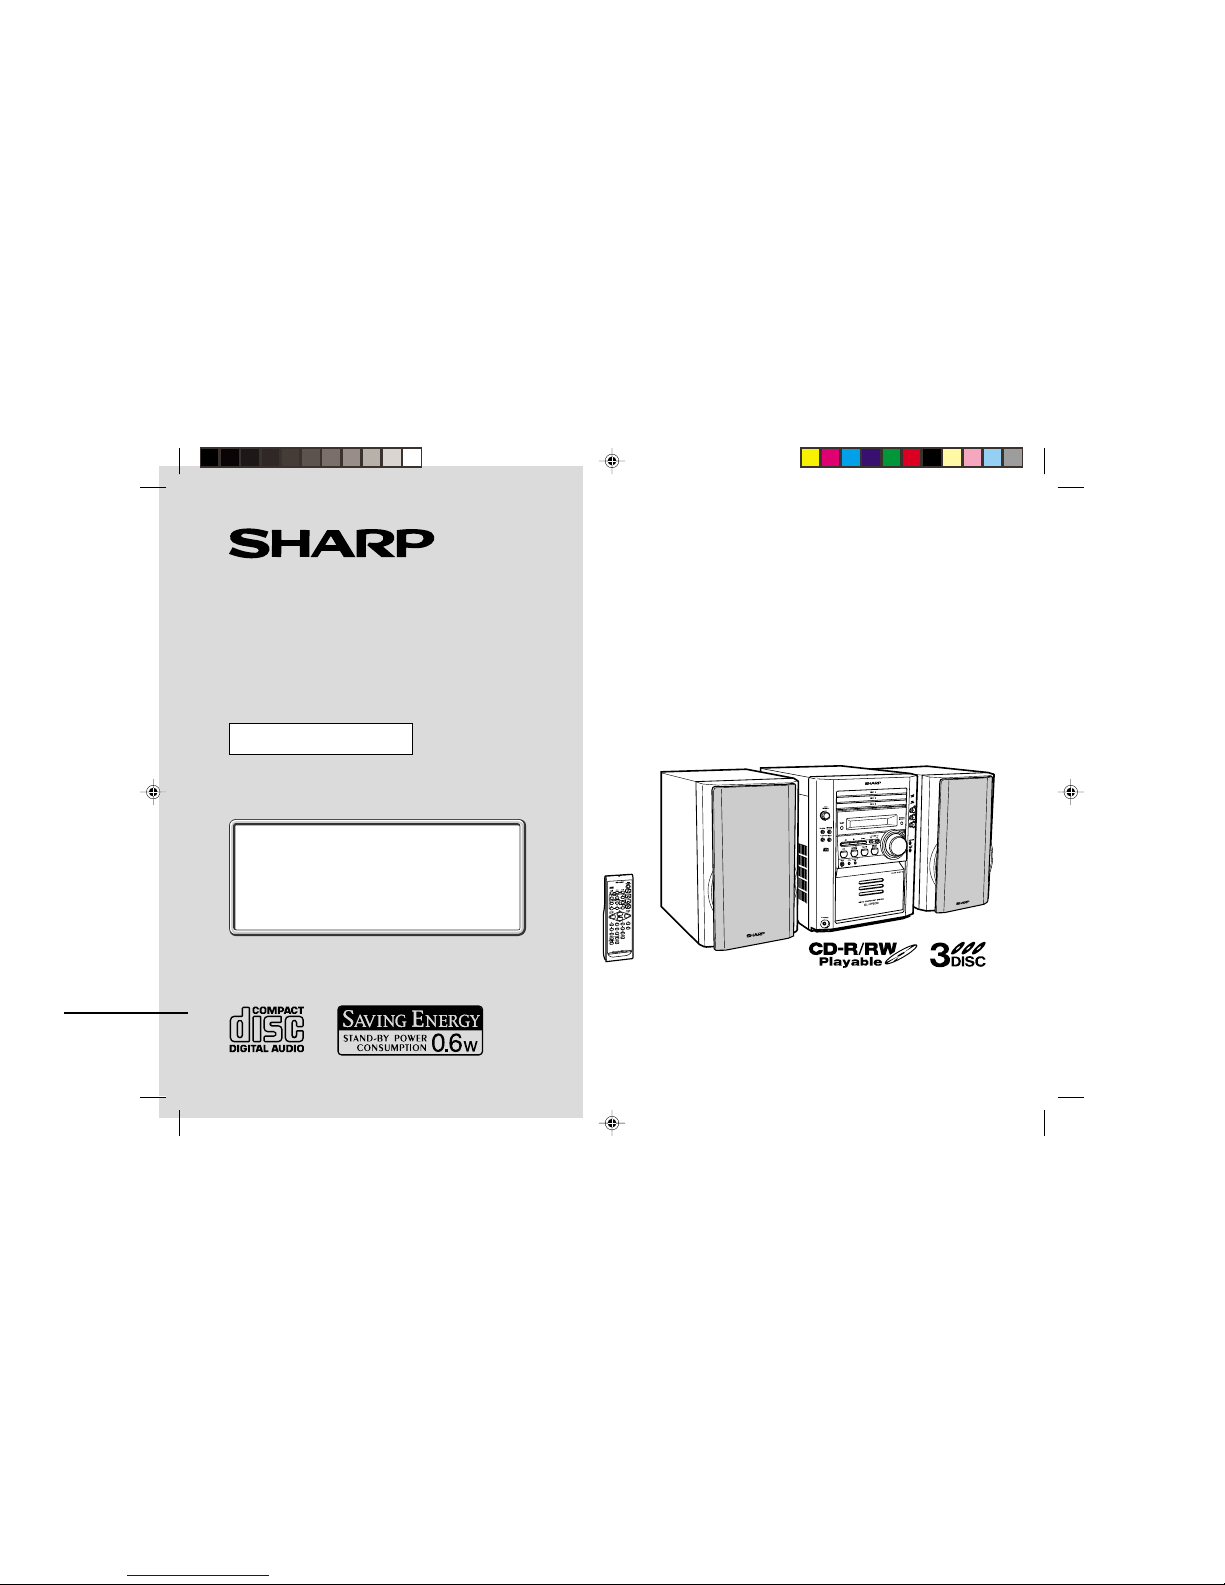
XL-HP600E
Important Instruction
Special notes
NOTES FOR USERS IN THE U.K. AND IRELAND
The mains lead of this product is fitted with a non-rewireable
(moulded) plug incorporating a 3A fuse. Should the fuse need to
be replaced, a BSI or ASTA approved BS 1362 fuse marked or
and of the same rating as above, which is also indicated on
the pin face of the plug must be used.
Always refit the fuse cover after replacing the fuse. Never use
the plug without the fuse cover fitted.
In the unlikely event of the socket outlet in your home not being
compatible with the plug supplied, cut-off the mains plug and fit
an appropriate type.
DANGER:
The fuse from the cut-off plug should be removed and the cut-off
plug destroyed immediately and disposed of in a safe manner.
Under no circumstances should the cut-off plug be inserted else-
where into a 13A socket outlet as a serious electric shock may
occur.
To fit an appropriate plug to the mains lead, follow the instruc-
tions below:
IMPORTANT:
The wires in the mains lead are coloured in accordance with the
following code:
Blue : Neutral
Brown : Live
As the colours of the wires in the mains lead of this product may
not correspond with the coloured markings identifying the termi-
nals in your plug, proceed as follows:
●The wire which is coloured blue must be connected to the plug
terminal which is marked N or coloured black.
●The wire which is coloured brown must be connected to the
plug terminal which is marked L or coloured red.
Ensure that neither the brown nor the blue wire is connected to
the earth terminal in your three pin plug.
Before replacing the plug cover, make sure that:
●If the new fitted plug contains a fuse, its value is the same as
that removed from the cut-off plug.
●The cord grip is clamped over the sheath of the mains lead
and not simply over the lead wires.
IF YOU HAVE ANY DOUBT, CONSULT A QUALIFIED ELEC-
TRICIAN.
SERVICE INFORMATION
In the unlikely event of your equipment requiring repair, please
contact the dealer or supplier from whom it was purchased. Where
this is not possible, please visit our web-site www.sharp.co.uk/
customersupport.
Customers without internet access may telephone 08705
274277 during office hours (or (01) 676 0648 if telephoning
from lreland).
Please note; all calls will be charged at local rate.
Certain replacement parts and accessories may be obtained from
our main parts distributor.
WILLOW VALE ELECTRONICS LTD.
0121 766 5414
In the unlikely event of this equipment requiring repair during the
guarantee period, you will need to provide proof of the date of
purchase to the repairing company.
Please keep your invoice or receipt, which is supplied at the
time of purchase.
0301

 User manual")