ShowPro Atomizer Pro Hazer User manual

Atomizer Pro Hazer
USER MANUAL

●Introduction:
Thank you for choosing this hazer. Now you are own the most advanced
high-performance haze machine. We kindly suggest you read this manual carefully before
using the unit. Abiding by all the instructions will ensure you long-term stable and
satisfactory effects.
Please follow these operation, safety and maintenance instructions to ensure the
machine’s normal work and prolong its usage life.
◆Important environmental information about this product
◆This symbol on the device or the package indicates that disposal of the device after its
life cycle could harm the environment.
◆Do not dispose the unit or batteries as unsorted municipal waste; it should be taken to a
specialized company for recycling.
◆This device should be returned to your distributor or to a local recycling service.
◆Respect the local environmental rules.
◆If there are any doubts, contact with your local waste disposal authorities.
◆Thank you for choosing the Atomizer Pro Hazer. if the device was damaged in transit,
don’t install or use it and contact with your dealer.
●Products Description:
Atomizer Pro Hazer is a haze machine different from the traditional hazer. It adopts
high-pressure atomization technology. No need for heating and can be used directly when
power on. The machine uses professional matched liquid. it is suitable for various indoor
performance and pup.
Features:
·Adopts high-pressure atomization technology
·Sprays drying and thin haze which spreads fast
·Sprays with power on, no need to heat up.
·With angle adjustable fan, adjustable wind speed
·Matched with professional to function

●Notes Before Use:
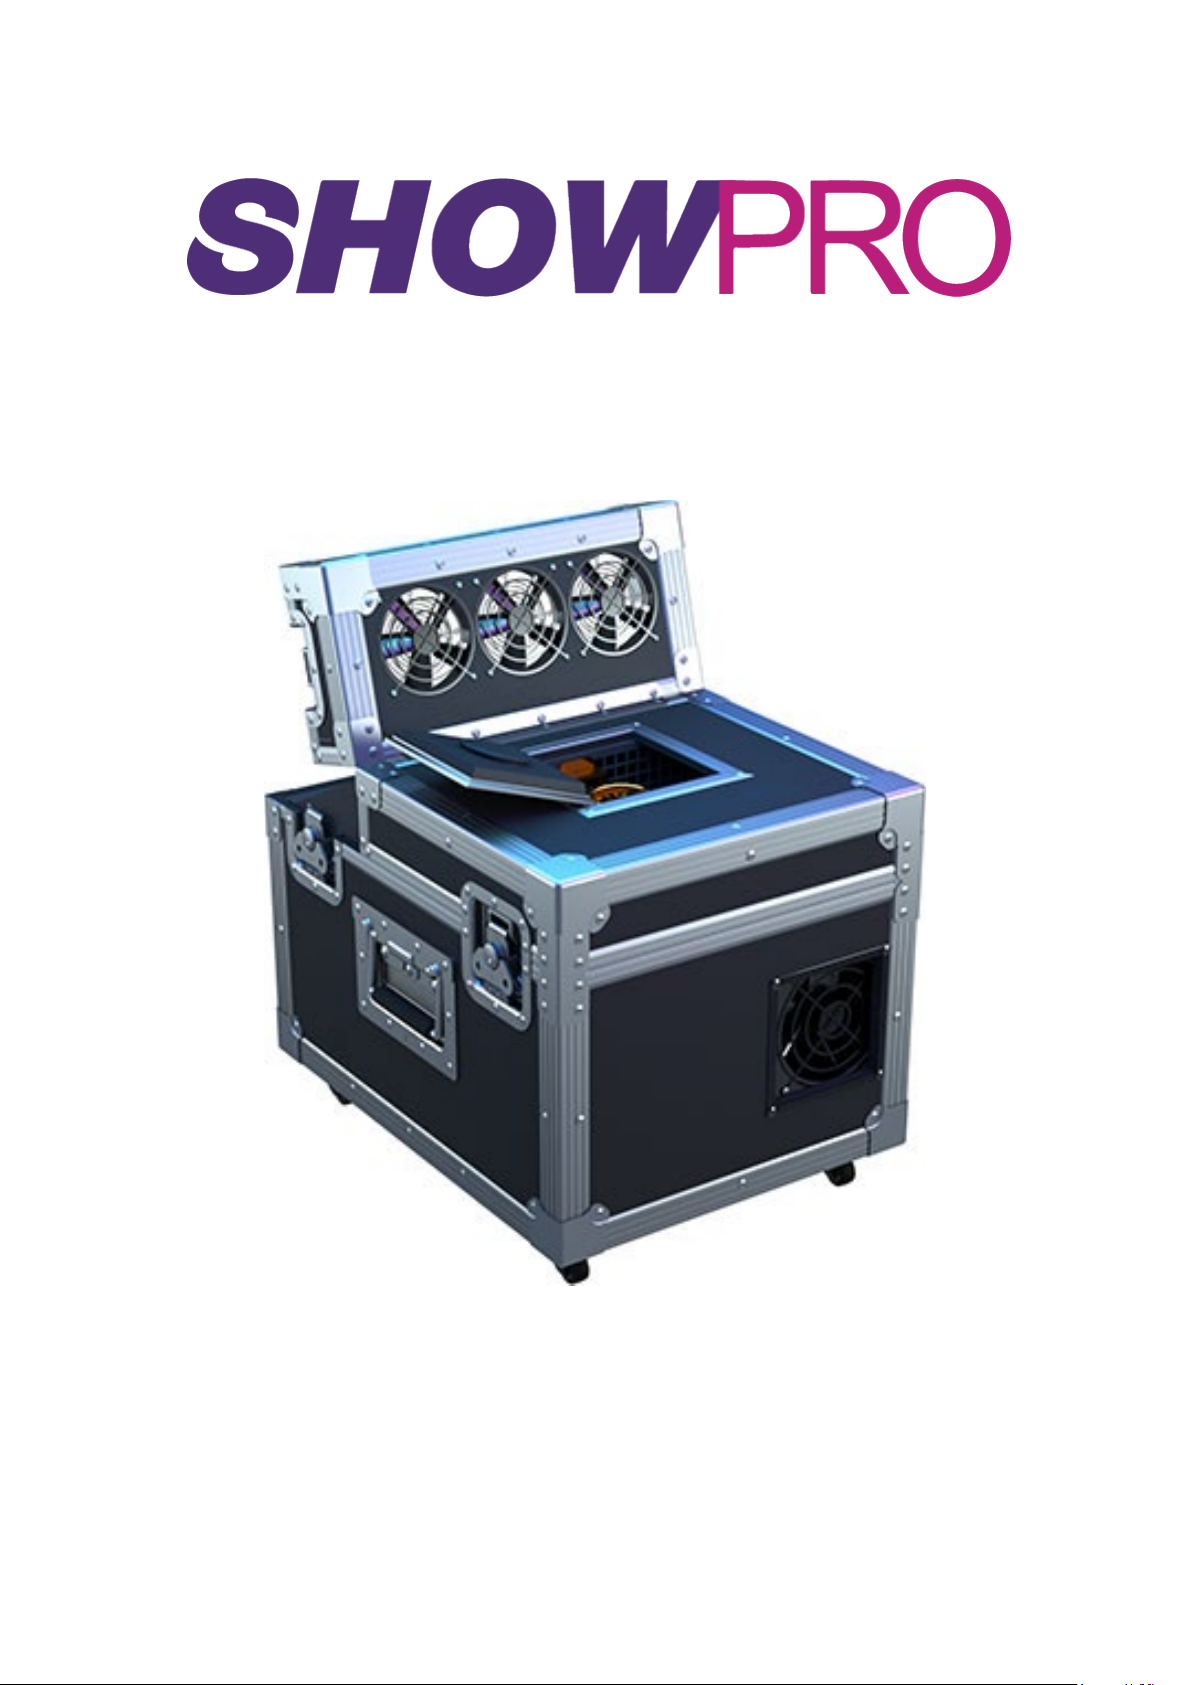
1. Place the Atomizer Pro Hazer horizontally, and check whether it is damaged or not. if
damaged, please contact with the supplier at once. Unscrew the lid of the oil tank to
pour in the high-quality smoke liquid, and then fasten the lid.
2. Before power on, please verify that the supply voltage is in conformity with the rated
voltage of the smoke machine. The power supply should be connected to the
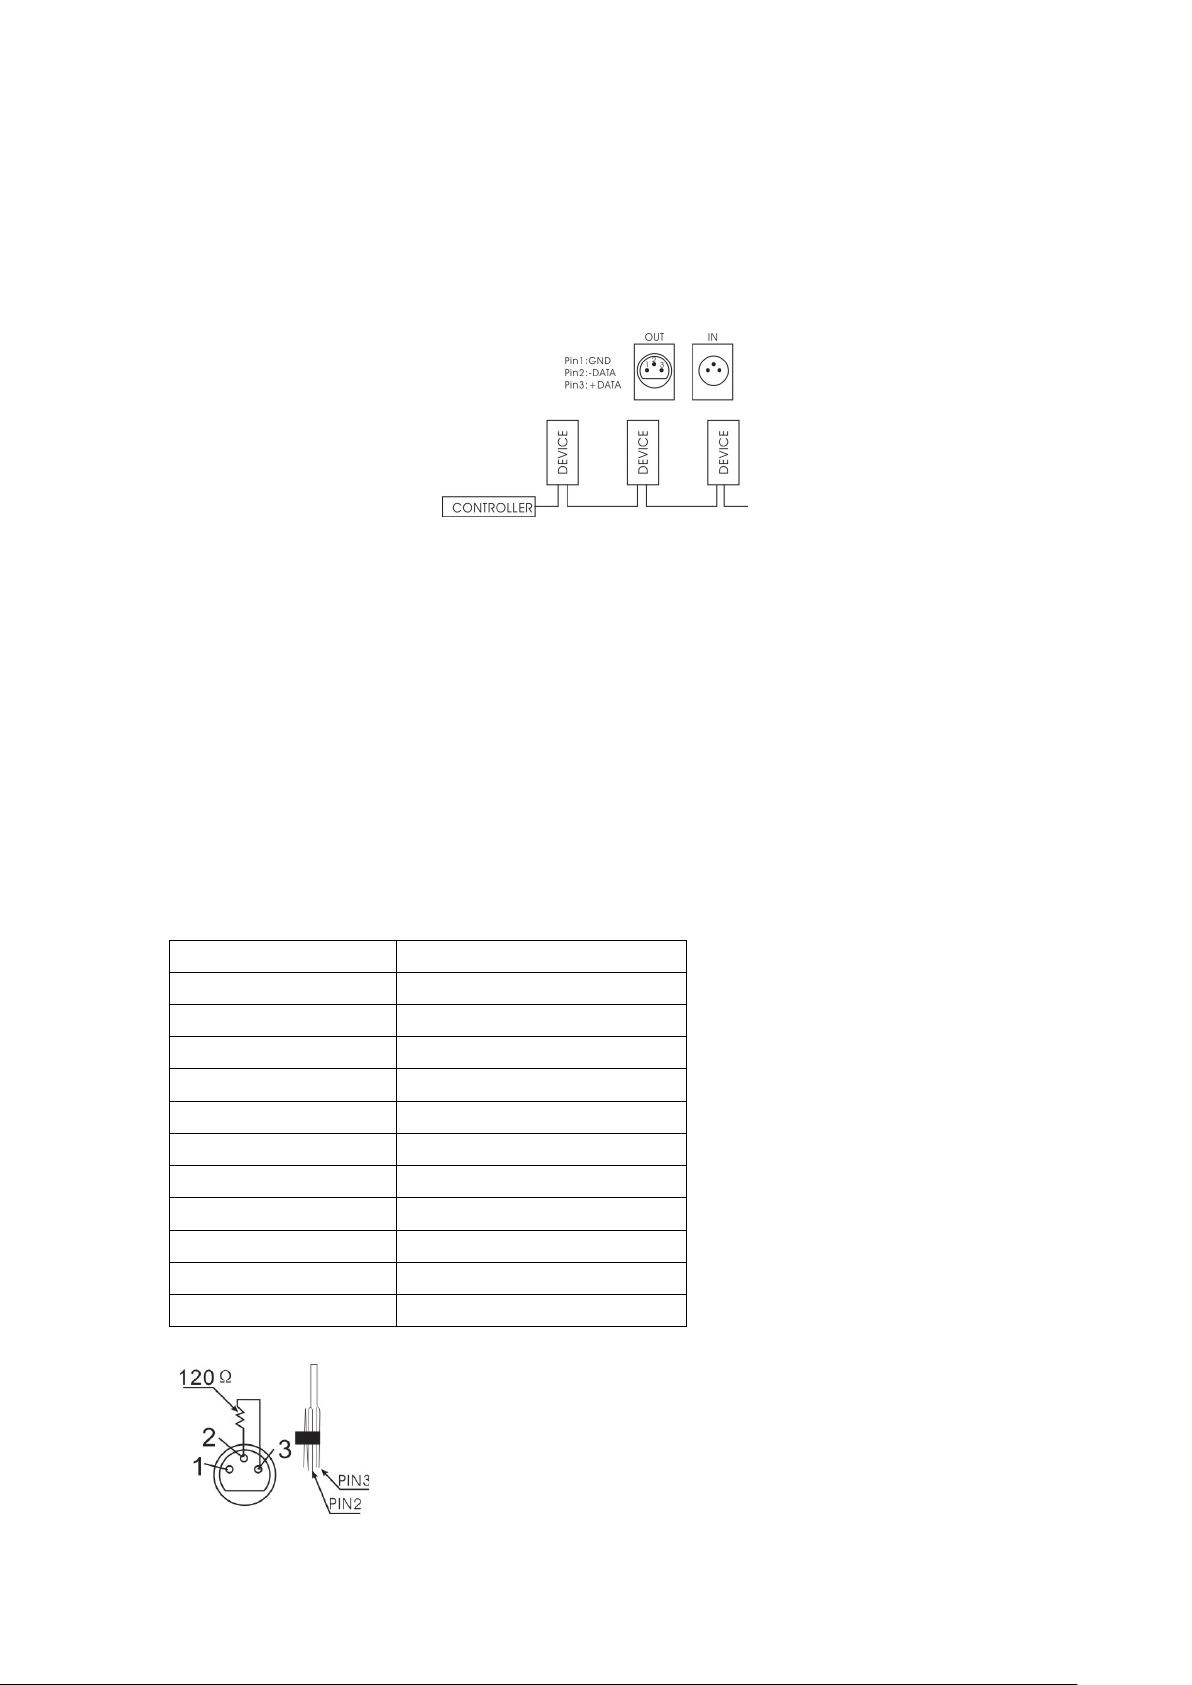
grounding wire. When power on, the indicator light will turn on, and the smoke
machine will begin to work. Connect the machine to different controllers for different
controls.
3. At the first time, it is normal if the smoke machine creates just a little smoke or some
steam, just take it easy.
4. Please place the Atomizer Pro Hazer in the ventilated place but not in a cave,
otherwise the machine’s temperature fuse will disconnect and cause the unit to stop
heating.
5. Place the Atomizer Pro Hazer on the ground horizontally or install it on the hanger, but
not aslant. The machine should keep a minimum 30-centimeter distance all around.
Keep it off kid, flams, flammable and explosive materials. Also keep at least 40cm
away from the nozzle to avoid scalding.
6. Please add liquid in time. If the smoke machine keeps running when the liquid is used
up, it will cause the pump and heater damaged. Turn off the power before adding
liquid and operate carefully for fear that the liquid might overflow to cause short circuit.
7. In case that the smoke machine is diminished, or there is noise from pump, or the
machine stops smoking, please disconnect the power at once, and check the liquid
deposit, fuse, cable, and power plug. If the problems are still not solved, please
contact with the supplier.
8. In unmanned case, please stop running the machine. Keep it off kids. Do not add
inflammable liquids, such as oil, gas or spice. Do not touch the wire when the machine
is running for fear of electrical shock.
9. Due to condensation, vapor or moisture might gather around the nozzle of the
machine. There might be some surplus smoke ejected from any smoke machines
during operation or after shutdown.
10. Please make sure there is no liquid and metals inside machine before turning on the
power each time. Do not modify or repair the machine by yourself. If there are any
problems, please contact the supplier.

●Safety Instruction
◆Be very careful during the installation: touching lives can cause life-threatening
electroshocks.
Do not touch the device during operations the housing heats up.
◆Keep this device away from rain and moisture.
◆Unplug the mains lead before opening the housing.
◆Damage caused by disregarding of certain guidelines in this manual is not covered by
the warranty and the de3aler will not bear responsibility for any ensuing defects or
problems.
◆A qualified technician should install and service this device.
◆Do not switch the device on immediately after it has been exposed to changes in
temperature.
◆Protect the device against damage by leaving it switched off until it has reached room
temperature.
◆This device falls under protection class one; it is therefore essential that the device be
grounded.
◆Have a qualified person carry out the electric connection.
◆Make sure that the available voltage does not exceeds the voltage stated in the
specification of this manual.
◆Do not crimp the power cord and protect it against damage. Have an authorized dealer
replace it if necessary.
◆Disconnect the device from the mains to clean it or when it is not in use. Handle the
power cord by the plug only.
◆Note that damages caused by user’s modification to the device is not covered by the
warranty.
◆Keep the device away from children and unauthorized users.

●General Guidelines
◆This device is designed for professional use on the stage, in disco, theaters, etc. the
device should only be used indoors with an alternating current of max. 230V AC/50 HZ/
◆Do not shake the device. Avoid brute force when installing or operating the device.
◆Select a location where the device is protected against extreme heat, dust and moisture.
◆Familiarize yourself with the functions of the device before actually using it. Do not allow
operation by unqualified people. Any damages that may occur will most probably be due
to unprofessional use of the device.
◆Use the original packaging if the device is to be transported.
◆All modification of the device are forbidden for safety reasons.
◆Only use the device for its intended purpose. All other usages may lead to short circuits,
burns, electroshocks, crash, etc. using the device in an unauthorized way will void the
warranty.
◆This device is not suited for permanent operation. Frequent operation breaks will protect
the life span of your smoke machine.
●Installation
◆Have the device installed by a qualified person, respecting EN-60598-2-17 and all other
applicable norms.
◆The carrying construction must be able to support the weight 10 times as heavy as the
device for 1 hour without deforming.
◆Never stand straight below the device when it is being mounted, removed or serviced.
Have a qualified technician check the device once a year and before you bring it into
service.
◆Install the device in a location with few passers-by that is inaccessible to unauthorized
persons.
◆Adjusted the desired inclination angle via the mounting bracket and tighten the bracket
screws.
◆Make sure there is no inflammable material with a 50 cm radius of the device.
◆Connect the device to the mains with the power plug.
◆The installation must be approved by an expert before the device being taken into
service.
●Use
The smoke machine is controlled by 2 DMX channel:
Channel 1 = haze output channel
Channel 2= wind output channel

a. DMX 512 Connections
Connect the provided XLR cable to the female 3-pin XLR output of your controller and the
other side to the male 2-pin input of the Atomizer Pro Hazer. Multiple Atomizer Pro’s can
be linked through serial linking. The linking cable should be two core, screened cable with
XLR input and output connectors, please refer to the diagram at the right.
b. DMX 512 Chain with Termination
A DMX terminator is recommended for installation where the dmx cable has to run a long
distance or is in an electrically noisy environmental (e.g. discos). The terminator prevents
corruption of the digital control signal by electrical noise. The dmx terminator is simply an
XLR plug with a 120ohm resistor between pins 2 and 3, which is then plugged into the
XLR output socket of the last device in the chain. Please see illustrations to the right.
Technical Specifications
Power required AC 220V-240V 50/60HZ
Fuse 5A/250V
Power 500W
Pre-heating time 0min
Smoke output 3000cuft/min
Tank capacity 3.6L
Oil consumption rate 25h/L
Controller LCD controller
Fan angle & Wind speed Adjustable
Weight 35kg
Package size 510*400*360(mm)
DMX-512 Supported
Table of contents
Other ShowPro Dj Equipment manuals

ShowPro
ShowPro ALLIGATOR User manual

ShowPro
ShowPro LED PixPar 3 IP65 RGBW Zoom User manual

ShowPro
ShowPro PLUTO 2000 User manual

ShowPro
ShowPro LED House Light User manual

ShowPro
ShowPro Atomizer Pro Hazer User manual

ShowPro
ShowPro Fusion IP Profile FC User manual

ShowPro
ShowPro NEPTUNE 200 BEAM User manual

ShowPro
ShowPro LEDMOV640 User manual

ShowPro
ShowPro Pro Haze 3500 User manual

ShowPro
ShowPro LEDFRE131 User manual