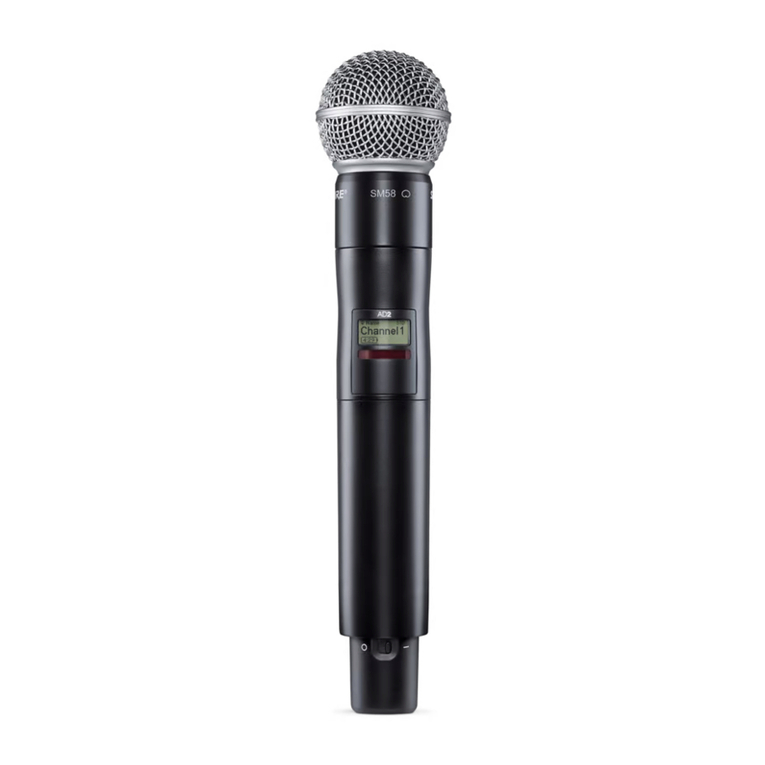
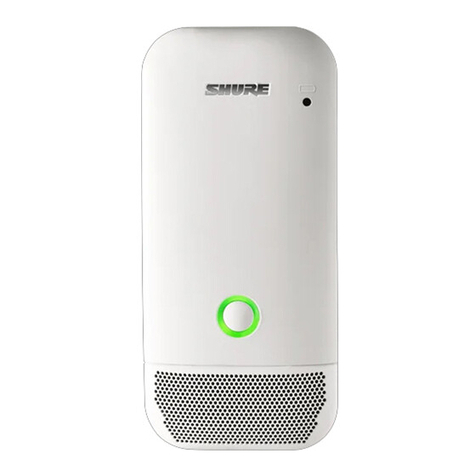
Shure AD2 User manual

9/8/17, 2)16 PMShure Publications | User Guides | AD2
Page 1 of 32http://pubs.shure.com/guide/AD2/en-US
AD2
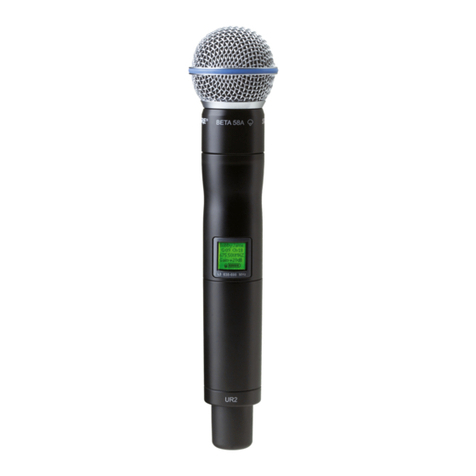
Handheld Transmitter
WARNING
Battery packs may explode or release toxic materials.
Risk of fire or burns. Do not open, crush, modify,
disassemble, heat above 140°F (60°C), or incinerate.
Follow instructions from manufacturer
Only use Shure charger to recharge Shure
rechargeable batteries
WARNING: Danger of explosion if battery incorrectly
replaced. Replace only with same or equivalent type.
Never put batteries in mouth. If swallowed, contact
your physician or local poison control center
Do not short circuit; may cause burns or catch fire
Do not charge or use battery packs other than Shure
rechargeable batteries
Dispose of battery packs properly. Check with local
vendor for proper disposal of used battery packs.
Batteries (battery pack or batteries installed) shall not
be exposed to excessive heat such as sunshine, fire
or the like
Note: Use only with the included power supply or a Shure-
approved equivalent.
WARNING: Danger of explosion if incorrect battery
replaced. Operate only with AA batteries.
Please follow your regional recycling scheme for batteries,
Publications User Guides AD2 (English)
Search Publications
› ›
Download PDF
English
Table of Contents
WARNING
AD2 Handheld Transmitter
Features
Included Components
Optional Accessories
Transmitters
Transmitter Controls
Home Screen Display
Locking the Controls
Battery Installation
Updating Firmware
Shure SB900A Rechargeable
Battery
Menu Parameters
IR Sync
Setting the Frequency
Manually

9/8/17, 2)16 PMShure Publications | User Guides | AD2
Page 2 of 32http://pubs.shure.com/guide/AD2/en-US
packaging, and electronic waste.
WARNING: This product contains a chemical known to the State
of California to cause cancer and birth defects or other
reproductive harm.
֗ۑሲ櫮ူ斻櫮䱛ᓕቘ旰ဩ
ᒫ܈ԫ䬈
妿ࣳୗ扯挨ݳ໒ԏ֗ۑሲ毱櫮䱛҅ᶋ妿战ݢ҅لݪࠟ彚
ֵአᘏ࣐ӧᛔ捧ๅ毱ሲےۑሲ捧ๅܻ戔懯ԏᇙ
݊ۑᚆ ᒫ܈ࢥ䬈
֗ۑሲ毱櫮䱛ԏֵአӧ段汜ᛯق݊ଗ䣁ݳဩ᭗מҔ
妿咳匍ํଗ䣁匍䦒҅䛑ᒈܨ؊አ҅㪔ද࠺ᛗ僻ଗ䣁䦒ො
媣媲ֵአڹ殻ݳဩ᭗מׁ҅櫮מဩ憒֢䮣ԏ僻娄櫮᭗
מ֗ۑሲ毱櫮䱛殾தݑݳဩ᭗מૡ䮣ᑀ䋊݊朙咅አ
櫮ူ斻櫮䱛戔㯪ԏଗ䣁
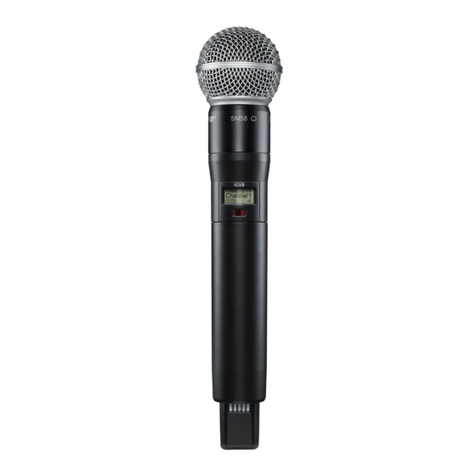
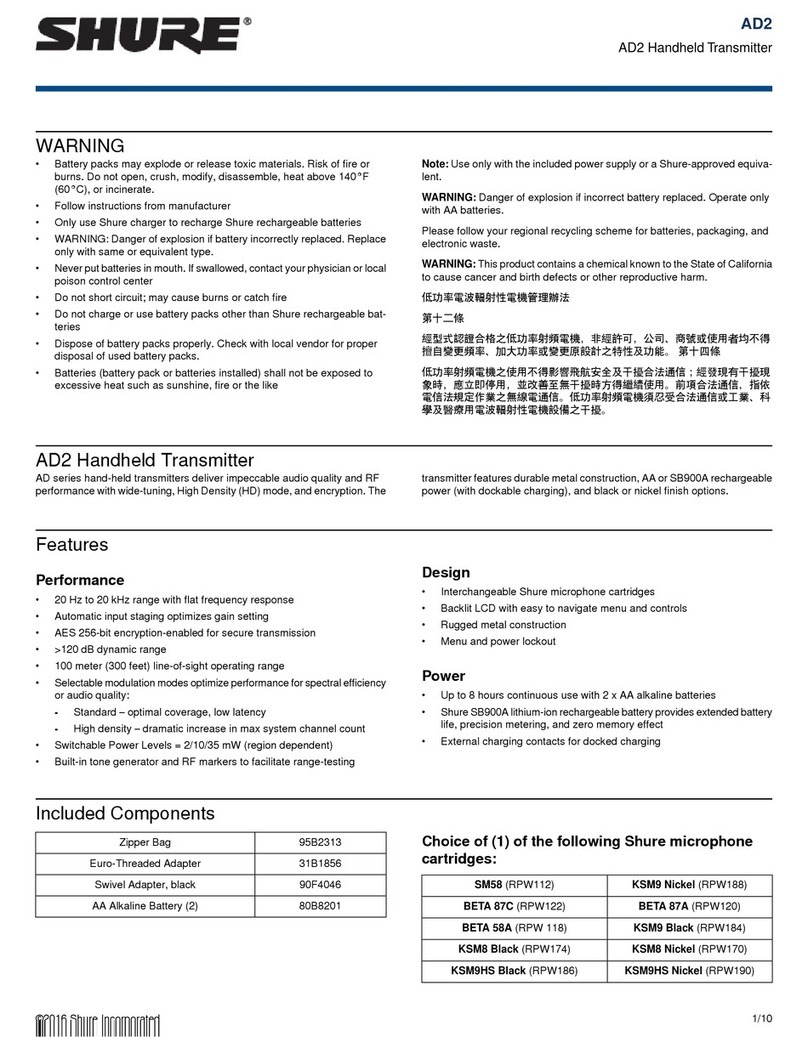
AD2 Handheld Transmitter
AD series hand-held transmitters deliver impeccable
audio quality and RF performance with wide-tuning, High
Density (HD) mode, and encryption. The transmitter
features durable metal construction, AA or SB900A
rechargeable power (with dockable charging), and black
or nickel finish options.
Features
Performance
20 Hz to 20 kHz range with flat frequency response
Automatic input staging optimizes gain setting
AES 256-bit encryption-enabled for secure
transmission
>120 dB dynamic range
Manually
RF Mute
Power-on RF Mute
Input Overload
Tone Generator
Matching Audio Levels with
Offset
Specifications
Frequency Bands and
Transmitter RF Power
Certifications

9/8/17, 2)16 PMShure Publications | User Guides | AD2
Page 3 of 32http://pubs.shure.com/guide/AD2/en-US
100 meter (300 feet) line-of-sight operating range
Selectable modulation modes optimize performance
for spectral efficiency or audio quality:
Standard – optimal coverage, low latency
High density – dramatic increase in max system
channel count
Switchable Power Levels = 2/10/35 mW (region
dependent)
Built-in tone generator and RF markers to facilitate
range-testing
Design
Interchangeable Shure microphone cartridges
Backlit LCD with easy to navigate menu and controls
Rugged metal construction
Menu and power lockout
Power
Up to 8 hours continuous use with 2 x AA alkaline
batteries
Shure SB900A lithium-ion rechargeable battery
provides extended battery life, precision metering,
and zero memory effect
External charging contacts for docked charging
Included Components
Zipper Bag 95B2313
Euro-Threaded Adapter 31B1856
Swivel Adapter, black 90F4046
AA Alkaline Battery (2) 80B8201

9/8/17, 2)16 PMShure Publications | User Guides | AD2
Page 4 of 32http://pubs.shure.com/guide/AD2/en-US
Choice of (1) of the following Shure
microphone cartridges:
SM58 (RPW112) KSM9 Nickel (RPW188)
BETA 87C (RPW122) BETA 87A (RPW120)
BETA 58A (RPW 118) KSM9 Black (RPW184)
KSM8 Black (RPW174) KSM8 Nickel (RPW170)
KSM9HS Black (RPW186) KSM9HS Nickel (RPW190)
Optional Accessories
SB900A Rechargeable lithium-ion
battery
SB900A
Radome Color ID Kit for AD2 WA617M
Battery Contact Cover for AD2 WA618
Microphone stand adapter WA371
Optional Shure microphone cartridges:
SM58 (RPW112)
SM86 (RPW114)
SM87A (RPW116)
BETA 58A (RPW118)
BETA 87A (RPW120)
BETA 87C (RPW122)
VP68 (RPW124)
KSM9 Nickel (RPW188)

9/8/17, 2)16 PMShure Publications | User Guides | AD2
Page 5 of 32http://pubs.shure.com/guide/AD2/en-US
KSM9HS Nickel (RPW190)
KSM9 Black (RPW184)
KSM9HS Black (RPW186)
Transmitters
ɠ
Microphone
Cartridge
See Optional Accessories for a list of
compatible cartridges.
ɡ Display View menu screens and settings. Press
any control button to activate the
backlight.
ɢ Infrared
(IR) Port
Align with the receiver IR port during
an IR Sync for automated transmitter
programming.
ɣ Menu
Navigation
Buttons
Use to navigate through parameter
menus and change values.
ɤ Battery
Compartment
Requires Shure SB900A rechargeable
battery or 2 AA batteries.
ɥ AA Battery
Adapter
Remove to accommodate a Shure
SB900A battery.
ɦ On/Off
Switch
Powers the unit on or off.
ɧ Battery
Door
Latch to secure batteries.
ɨ Handle Unscrew to access controls and
batteries.

9/8/17, 2)16 PMShure Publications | User Guides | AD2
Page 6 of 32http://pubs.shure.com/guide/AD2/en-US
Transmitter Controls
Use to navigate through parameter menus and change
values.

9/8/17, 2)16 PMShure Publications | User Guides | AD2
Page 7 of 32http://pubs.shure.com/guide/AD2/en-US
exit Acts as a 'back' button to return to previous
menus or parameters without confirming a value
change
enter Enters menu screens and confirms parameter
changes
∨∧ Use to scroll through menu screens and to
change parameter values
Home Screen Display
The home screen shows transmitter information and
status.
Tip: There are four options to choose the information
shown on the home screen. Use the arrow buttons to
select one of the following choices:
Name
Frequency Setting
Group (G) and Channel (C)
Device ID

9/8/17, 2)16 PMShure Publications | User Guides | AD2
Page 8 of 32http://pubs.shure.com/guide/AD2/en-US
The following icons appear to indicate transmitter
settings:
Battery runtime in hours and minutes or bar display
Key: Displayed when encryption is enabled
Lock: Displayed when controls are locked
STD: Standard Transmission Mode
HD: High Density Transmission Mode
Box: When the box has an "x", Mute Mode is on and
engaged. If the box is empty, Mute Mode is on, but
not engaged.
Locking the Controls
Lock transmitter controls to prevent accidental or
unauthorized changes to parameters. The lock icon is
shown on the home screen when the control lock in
enabled.
1. From the Utilities menu, navigate to Lock and select
one of the following:
Locked: Locks the controls
Unlocked: Unlocks the controls
2. Press enter to save.

9/8/17, 2)16 PMShure Publications | User Guides | AD2
Page 9 of 32http://pubs.shure.com/guide/AD2/en-US
Tip: To quickly unlock a transmitter: Press enter, select
Unlocked, and press enter.
Battery Installation
ɠ Accessing
the Battery
Compartment
Unscrew the cover on the transmitter as
shown to access the battery
compartment.
ɡ Installing
Batteries
AA Batteries: Place batteries (note
polarity markings) and AA Adapter as
shown. Close the door to secure the
batteries.
Shure SB900A Battery: Place battery
as shown (note polarity markings).
Remove the AA adapter and stow it
in the door. Close the door to secure
the battery.
Note: If using AA batteries, set the battery type
using the transmitter menu.
Setting the AA Battery Type
To ensure accurate display of transmitter runtime, set the
battery type in the transmitter menu to match the
installed AA battery type.
Note: If a Shure SB900A rechargeable battery is installed,

9/8/17, 2)16 PMShure Publications | User Guides | AD2
Page 10 of 32http://pubs.shure.com/guide/AD2/en-US
selecting a battery type is not necessary and the battery type will
display Shure.
1. Navigate to the Utilities and select Battery.
2. Use the ▼ buttons to select the installed battery
type:
Alkaline = Alkaline
NiMH = Nickel Metal Hydride
Lithium = Lithium Primary
3. Press enter to save.
Updating Firmware
Firmware is embedded software in each component that
controls functionality. Periodically, new versions of
firmware are developed to incorporate additional features
and enhancements. To take advantage of design
improvements, new versions of the firmware can be
uploaded and installed using the Shure Update Utility.
The Shure Update Utility is available for download from
http://www.shure.com/.
Firmware Versioning
When performing an update, download firmware to the
receiver first, and then update transmitters to the same
firmware version to ensure consistent operation.
The firmware numbering for Shure devices uses the
following format: MAJOR.MINOR.PATCH (e.g., 1.2.14). At
a minimum, all devices on the network (including

9/8/17, 2)16 PMShure Publications | User Guides | AD2
Page 11 of 32http://pubs.shure.com/guide/AD2/en-US
transmitters), must have the same MAJOR and MINOR
firmware version numbers (e.g., 1.2.x).
Updating the Transmitter
1. To upload the firmware to the transmitter, go to
Device Configuration > Tx Firmware Update on the
receiver.
2. Place the transmitter on its side and align the IR
ports.
3. Press ENTER on the receiver to begin the download
to the transmitter. IR ports must be aligned for the
entire download, which can take 50 seconds or
longer.
Shure SB900A Rechargeable
Battery
Shure SB900A lithium-ion batteries offer a rechargeable
option for powering the transmitters. Batteries quickly
charge to 50% capacity in one hour and reach full charge
within three hours.
Single chargers and multiple bay chargers are available to
recharge the Shure batteries.
Caution: Only charge Shure rechargeable batteries with a Shure
battery charger.
Shure SB900A Runtime
2 mW 10 mW 35 mW
Up to 9 hours Up to 9 hours Up to 5 hours

9/8/17, 2)16 PMShure Publications | User Guides | AD2
Page 12 of 32http://pubs.shure.com/guide/AD2/en-US
Checking Battery Info
When using an SB900A rechargeable battery, the receiver
and transmitter home screens display the number of hours
and minutes remaining.
Detailed information for the battery is displayed Battery
menu of the transmitter: Utilities > Battery
Battery: The chemistry type of for the installed
battery (Shure, Alkaline, Lithium, NiMH)
Bars: Indicates the number of bars displayed
Time: Battery runtime
Charge: Percentage of charge capacity
Health: Percentage of current battery health
Cycle: Record of the number of charging cycles for
the installed battery
Temp: Battery temperature in Fahrenheit and Celsius
Important Tips for Care and Storage of
Shure Rechargeable Batteries
Proper care and storage of Shure batteries results in
reliable performance and ensures a long lifetime.

9/8/17, 2)16 PMShure Publications | User Guides | AD2
Page 13 of 32http://pubs.shure.com/guide/AD2/en-US
Always store batteries and transmitters at room
temperature
Ideally, batteries should be charged to approximately
40% of capacity for long-term storage
Periodically clean the battery contacts with alcohol to
maintain ideal contact
During storage, check batteries every 6 months and
recharge to 40% of capacity as needed
For additional rechargeable battery information, visit
www.shure.com.
AA Batteries and Transmitter Runtime
Transmitters are compatible with the following AA battery
types:
Alkaline
Nickel Metal Hydride (NiMH)
Lithium Primary
A 5-segment battery indicator representing the charge
level of the transmitter battery is displayed on the screens
of the transmitter and receiver. The following tables
contain the approximate remaining transmitter runtime in
hours:minutes.
Note: Battery runtimes vary by manufacturer, battery age, and
environmental conditions.
AA Batteries and Transmitter Runtime
Alkaline
Battery Indicator Approximate
Runtime
Remaining
(hours:minutes)

9/8/17, 2)16 PMShure Publications | User Guides | AD2
Page 14 of 32http://pubs.shure.com/guide/AD2/en-US
8:00 - 6:00
> 4:00
> 1:45
≦ 1:45
≦ 0:45
≦ 0:15
NiMH (2700 mAh)
Battery Indicator Approximate Runtime
Remaining (hours:minutes)
11:00 - 8:00
> 5:00
> 2:00
≦ 2:00
≦ 0:45
≦ 0:15
Lithium Primary (3500 mAh)
Battery Indicator Approximate Runtime
Remaining (hours:minutes)
14:00 - 10:00
> 6:00
> 2:00
≦ 2:00

9/8/17, 2)16 PMShure Publications | User Guides | AD2
Page 15 of 32http://pubs.shure.com/guide/AD2/en-US
≦ 0:45
≦ 0:15
Menu Parameters
The Main menu organizes the available transmitter
parameters into three categories:
Radio
Audio
Utilities
Tips for Editing Menu Parameters
To access the menu options from the home screen,
select enter. Select enter again to access the menu
parameters.
A menu parameter will blink when editing is enabled
To increase, decrease or change a parameter, use the
arrow buttons
To save a menu change, select enter
To exit a menu without saving a change, select exit

9/8/17, 2)16 PMShure Publications | User Guides | AD2
Page 16 of 32http://pubs.shure.com/guide/AD2/en-US
Menu Map

9/8/17, 2)16 PMShure Publications | User Guides | AD2
Page 17 of 32http://pubs.shure.com/guide/AD2/en-US
Radio Menu
G: and C:
Group and
Channel
Press the enter button to enable editing of
a group (G:) or channel (C:). Use the arrow
buttons to adjust the values.
Frequency Press the enter button once to edit the
first 3 digits, or twice to edit the second 3
digits.
RF Power Higher power settings can extend the

9/8/17, 2)16 PMShure Publications | User Guides | AD2
Page 18 of 32http://pubs.shure.com/guide/AD2/en-US
range of the transmitter.
RF Output On: RF signal is active
Mute: RF signal is inactive
Audio Menu
Offset Adjust Offset level to balance mic levels
when using two bodypacks for frequency
diversity.
MuteMode When enabled, the power switch is
configured as a mute switch for the audio:
Power switch on: audio signal on
Power switch off: audio signal muted
Tone Transmitter will generate a continuous test
tone. The tone can be set to 400 Hz or
1000 Hz.
Level When enabled, allows for adjustment of
the output level of the test tone.
Utilities Menu
Dev ID Assign a device ID of up to 9 letters or
numbers.
Lock Locks the transmitter controls and power
switch.
Marker When enabled, press the enter button to
drop a marker in Wireless Workbench.
Battery Displays battery information:
Battery: The chemistry type of for the
installed battery (Shure Rechargeable,
Alkaline, Lithium, NiMH)

9/8/17, 2)16 PMShure Publications | User Guides | AD2
Page 19 of 32http://pubs.shure.com/guide/AD2/en-US
Bars: Indicates the number of bars
displayed
Time: Battery runtime
Charge: Percentage of charge
capacity
Health: Percentage of current battery
health
Cycle: Record of the number of
charging cycles for the installed
battery
Temp: Battery temperature in
Fahrenheit and Celsius
About Displays transmitter information:
FW: Installed firmware
HW: Hardware version
SN: Serial number
Reset All Restores all transmitter parameters to
factory settings.
IR Sync
Use IR Sync to form an audio channel between the
transmitter and receiver.
Note: The receiver band must match the band of the transmitter.
1. Select a receiver channel.
2. Tune the channel to an available frequency using
group scan or manually turn to an open frequency.
3. Power on the transmitter.
4. Press the SYNC button on the receiver.
5. Align the IR windows between the transmitter and
the receiver so that the IR LED illuminates red. When
complete, Sync Success! appears. The transmitter and
receiver are now tuned to the same frequency.

9/8/17, 2)16 PMShure Publications | User Guides | AD2
Page 20 of 32http://pubs.shure.com/guide/AD2/en-US
Note:
Any change to the encryption status on the receiver
(enabling/disabling encryption) requires a sync to send
the settings to the transmitter. New encryption keys for
the transmitter and receiver channel are generated on
every IR sync, so to request a new key for a transmitter,
perform an IR sync with the desired receiver channel.
Setting the Frequency Manually
The transmitter can be manually tuned to a specific
frequency, group, or channel
1. Navigate to the Radio menu.
2. To manually select a frequency, scroll to G: and C: to
edit the group and channel, or to the frequency
parameter .
3. Press enter to enable editing.
4. Use the ∧∨ buttons to adjust the group, channel, or
frequency.
5. Press enter to save, and then press exit when
finished.
Other manuals for AD2
3
Table of contents
Other Shure Transmitter manuals

Shure
Shure AD3 User manual

Shure
Shure P4T User manual

Shure
Shure UC1L User manual

Shure
Shure ADX2/K8N User manual

Shure
Shure P4T User manual

Shure
Shure ULXD6 User manual

Shure
Shure AXIENT AXT100 User manual

Shure
Shure UR1M Installation and operating instructions

Shure
Shure AD1 User manual

Shure
Shure P4T User manual
Popular Transmitter manuals by other brands

Radio Systems
Radio Systems TR-6000 operating instructions

OTS
OTS HD-SDI Series Quick installation guide

NKE
NKE STBD-PR user manual

Emerson
Emerson Rosemount 2090P Reference manual

KLAY-INSTRUMENTS
KLAY-INSTRUMENTS DP-4000 Series instruction manual

R.V.R. Electronica
R.V.R. Electronica SCML1+1SL Series user manual