Dynamic 4 Installation Manual – DRAFT
3
Unpacking
Each screen is carefully packaged in our factory to ensure that it reaches you in perfect condition.
The parts may be screwed down the crate they are shipped in and these screws must be removed
prior to removal from the crate.
Do not unpack each piece from its protective packaging until you are ready to install it. This
will ensure that you do not damage any of the velvet finished pieces accidentally during installation.
Note that the Dynamic 4 is designed and recommended to be assembled on the wall so that a
clear floor area big enough to build the screen is not required. However, it can also be built on the
floor if preferred you will just need to follow the same instructions but substitute the wall for the
floor then lift and attach the screen to the wall once built. DO NOT build the screen face down on
the floor under any circumstances as this will result damage to the screen and mechanism.
The top and bottom masks will ship fastened to the rear top and bottom screen sections to
ensure that they are protected during transit. In order to remove them from the crate and for
installation remove each of the M8 locking bolts (6 in each). You will need to keep these bolts and
washers for re-installation.
.
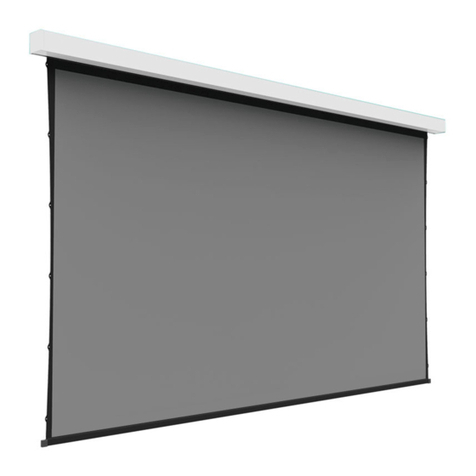
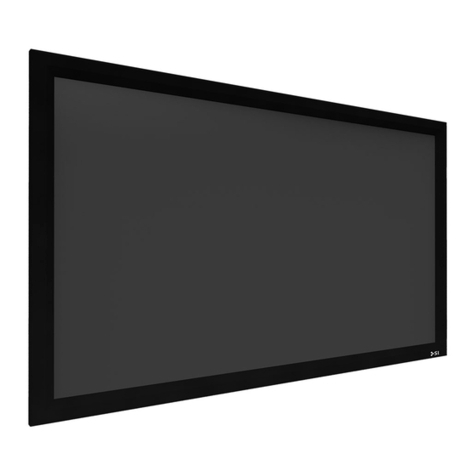
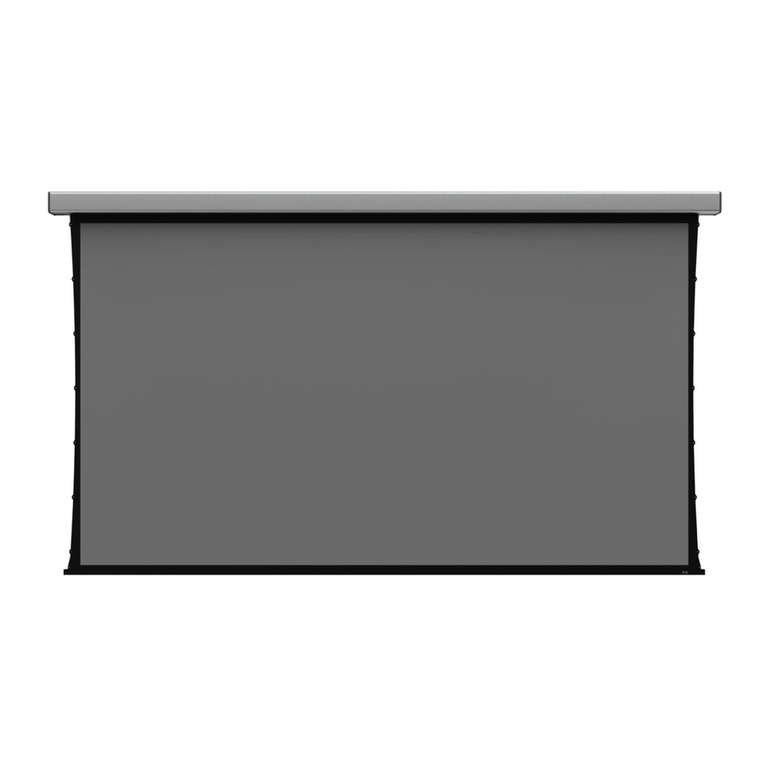
The screen is a 8 part frame. Two ‘C’ sections (the left and right mask), a top and bottom section.
(These together with the left and right fit to the wall to form the basis of the screen. The top and
bottom masks then attach to the rest of the frame to create the full screen. The Velvet covers then
go over the screen frame to complete the installation.

