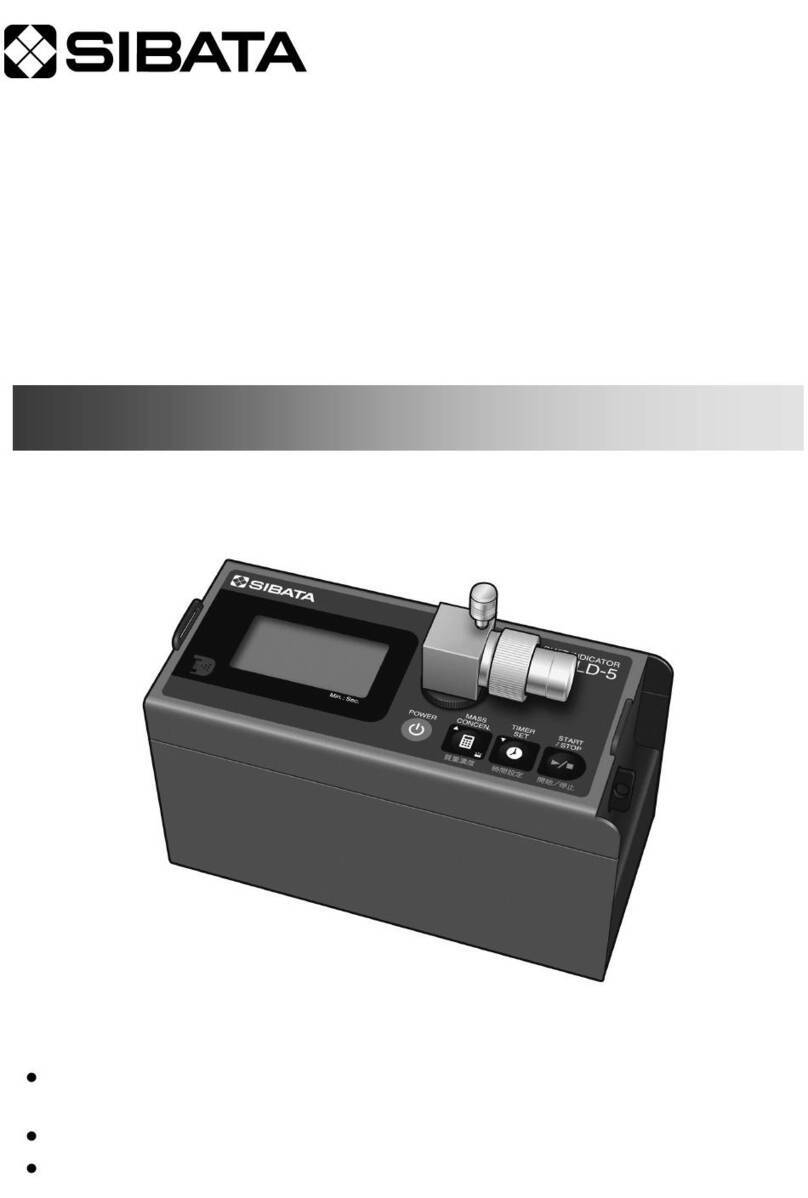
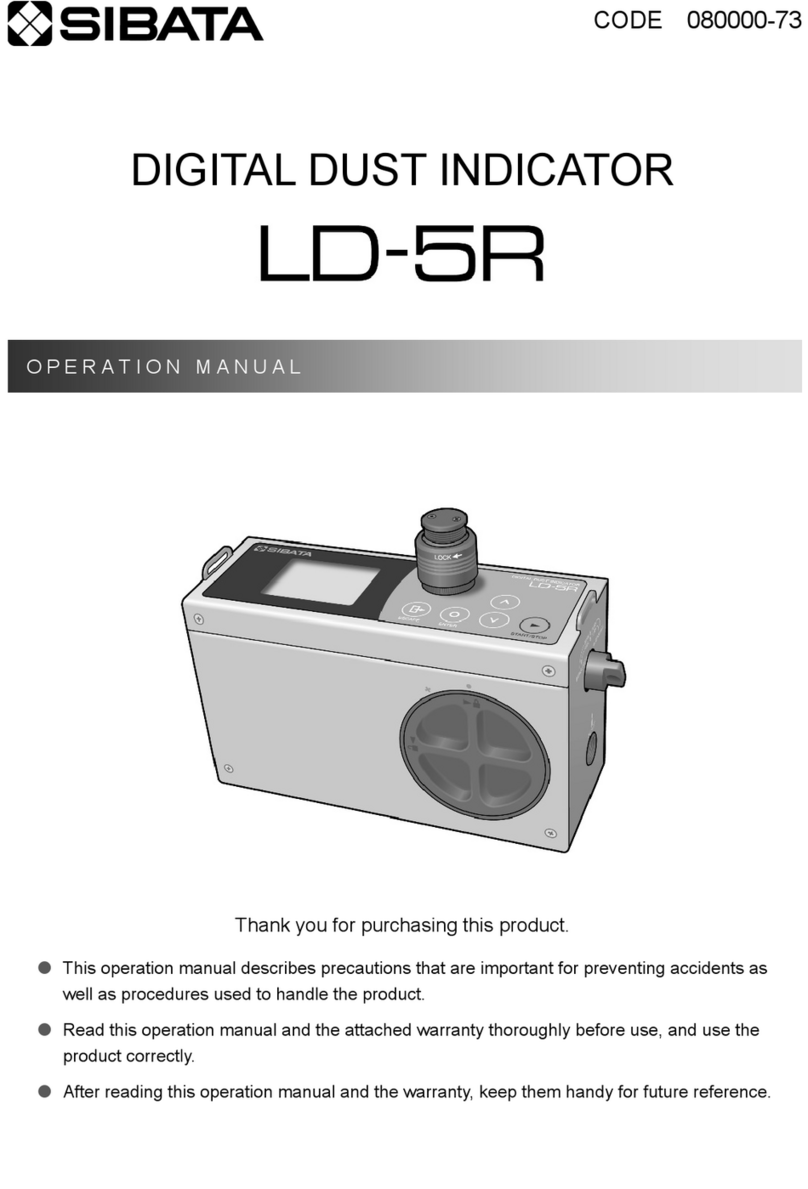
Sibata LD-6N2 User manual

CODE 080170-22
— Communication Software —
Thank you for purchasing this product.
•This operation manual describes precautions that are important for preventing accidents as well as
procedures used to handle the product.
•Read this operation manual and the attached warranty thoroughly before use, and use the product
correctly.
•After reading this operation manual and the warranty, keep them handy for future reference.
OPERATION MANUAL


3
Table of Contents
1 Precautions .........................................................................4
2 Functions.............................................................................6
3 Specifications......................................................................6
4 Composition ........................................................................6
5 Installing the Software........................................................7
Installing the Software ............................................................7
Installing the USB Drivers.....................................................10
Connecting the LD-6N/LD-6N2 and PC ...............................13
Checking the Communication Port.......................................14
6 Uninstalling the Software .................................................16
7 Starting Up the Software ..................................................18
Connecting the LD-6N/LD-6N2 and PC ...............................18
Starting Up the Software ......................................................18
8 Operations After the Software Starts Up ........................21
Logging Data ........................................................................21
Reading In Data..............................................................21
Deleting Data ..................................................................24
Basic Settings.......................................................................25
System Settings ...................................................................27
Closing the Software ............................................................30
9 Warranty ............................................................................31
10 Disclaimers .....................................................................31

4
1 Precautions
Read this operation manual carefully to the end before using the product and make
sure it is used correctly. Also, keep this manual handy.
Cautions Related to the Communication Software
Using the Software for the LD-6N/LD-6N2
Attention
This software may be used only when you agree to all terms of this User
Acceptance Agreement. By installing the software packet, you agree to be bound by
the terms of this agreement.
Please thoroughly read this User Acceptance Agreement before starting installation.
If you do not accept the terms of this User Acceptance Agreement, you may not use
this software. Promptly return all software items (if included in a set, all items
included in the set) to SIBATA SCIENTIFIC TECHNOLOGY LTD., or the distributor
where you purchased the product, and delete any preloaded or embedded
software.
Advance Notice
You need to install this software, perform initial operating procedures, and setup
your personal computer for this software by yourself.
SIBATA SCIENTIFIC TECHNOLOGY LTD. and distributors selling our product are
forbidden from directly operating your personal computer in regards to this software.
(There is a possibility of occurrence of problems regarding compensation for data in
the event that an accident occurs when a person from SIBATA SCIENTIFIC
TECHNOLOGY LTD. or its sales representative carries out installation of the
software. To prevent such problems, please perform installation and setup changes
by yourself.)
If you are not sure how to install software, or operate your computer, please read
the operation manual for your personal computer, or relevant parts of the operation
manual of this software.
User Acceptance Agreement and Warranty
Authorized Items
You may use one copy of the installation CD or working software or related
attached file obtained from an applicable product on only one computer at a time.
You may make one copy of the software solely for backup purposes. Or, you may
transfer the software to a single hard disk provided you keep the original for
backup purposes.

5
Forbidden Items
You may not copy or distribute this software or the written materials included with
this software, such as the Operation Manual.
You may not partially or wholly transfer the rights of this software.
You may not research the source code of this software, or reverse engineer,
decompile, modify, or translate this software with intentions of producing copies of
this product.
You may not use a previous version of the software after you have received any
medium for upgrading this software.
Warranty
This software has been inspected and has no functional defects. However, this
software may not operate in all personal computer and peripheral environments.
In this case, SIBATA SCIENTIFIC TECHNOLOGY LTD. will do our utmost to help
use the software on your computer by providing revised versions that address any
problems that may arise. (SIBATA SCIENTIFIC TECHNOLOGY LTD. will not
support functional defects that occur on computers due to the operating system.)
This warranty does not necessarily warrant any customer satisfaction by using
this software. It also does not warrant that this software is free of errors.
Damage Liability
Regardless of this User Acceptance Agreement and Warranty items, in no event
shall SIBATA SCIENTIFIC TECHNOLOGY LTD. be liable for any damages
whatsoever for any special or indirect damages, or damages caused by the
installation or use of this software. Damages include, loss of profits, loss of data
arising from its use, or the inability to use it. SIBATA SCIENTIFIC TECHNOLOGY
LTD. shall not be liable for damages even though SIBATA SCIENTIFIC
TECHNOLOGY LTD. has warned the public of such possible damages.
In no case shall SIBATA SCIENTIFIC TECHNOLOGY LTD's liability exceed the
purchase price of the software.
The disclaimers and limitations set forth above will apply regardless of whether or
not you return the software.

6
2 Functions
This software for the LD-6N/6N2 (hereinafter "software") provides a program for
communication with a personal computer for the LD-6N/LD-6N2 Digital Dust
Indicator (hereinafter "PC").
Using this software will enable setup information to be forwarded from the PC to the
LD-6N/LD-6N2 or data collected on the LD-6N/LD-6N2 to be forwarded to the PC.
The PC and LD-6N/LD-6N2 system are connected using the provided or a
commercially available USB cable (A-miniB type).
3 Specifications
●Operating System Windows* 8.1 / 10
(Hereinafter "OS") *Windows is a registered trademark of Microsoft
Corporation.
●Personal Computer PC operating with above OS
●CD drive A single CD drive is necessary (for installation).
●Communication port USB A connector 1 port necessary
The communication port must function normally on
a computer.
●Other peripheral equipment Operation has been completely confirmed under
the above OS.
This software has been confirmed to operate on standard personal computers and
peripheral equipment. However, there may be certain models where the software
does not operate normally. Please be informed that there may be changes made to
specifications which will not affect the characteristic or functionality without any prior
notice.
4 Composition
The Communication Software consists of the following components, which are
packaged together with the LD-6N2.
Please confirm that you have all the parts that are included with this package after
purchasing this product.
"Communication Software for the LD-6N/LD-6N2" CD-ROM 1
USB cable A-mini B Type 1
Operation Manual — Communication Software — (this manual) 1

7
5 Installing the Software
Installing the Software
Depending on your OS, administrator authority may be required.
Installation automatically starts when the "Communication Software for the LD-6N/
LD-6N2" CD-ROM is inserted into the CD drive of the PC. If it is not automatically
installed due to the setting on your PC, follow the following procedures to install the
software. (If installation is automatically performed, skip to (4).)
If the software needs to be reinstalled or upgraded, it is necessary to uninstall
(delete) your current software. (Please refer to 6 Uninstalling the Software.)
The following procedures are for Windows 10. Display may be different depending
on your PC settings or OS.
(1) Insert the "Communication Software for the LD-6N/LD-6N2" CD-ROM into the
CD drive and use Explorer to select the drive.
(2) Double click [Install].
(3) When the following screen is displayed, check that the verified publisher is
"SIBATA SCIENTIFIC TECHNOLOGY LTD.", then click [Yes] to continue
installation.

8
(4) The installation program starts up. Click [Communication Software].
(5) Installation starts, and the Wizard screen appears.
(6) Click [Next >].

9
(7) Click [Next >] to install to the displayed default folder, or click [Change…] to
install to a different folder.
(8) Installation starts.
(9) When the following screen is displayed, installation is complete. Click [Finish].

10
(10) The USB driver needs to be installed next. Do not remove the CD-ROM and
proceed to 5.2 Installing the USB Drivers.
In case that the USB driver has been installed, remove the CD-ROM and
keep it in a safe place.
Installing the USB Drivers
The LD-6N/LD-6N2 Digital Dust Indicator is equipped with a USB interface.
To enable communications, the USB drivers must be installed on the PC.
Once installed, you will be able to use them without being aware of them after the
second time.
The following procedures are for Windows 10. Display may be different depending
on your PC settings or OS.
(1) In the installation program screen, click [USB Driver].
Do not connect the LD-6N/LD-6N2 to a PC before the USB
drivers are installed. Make sure that the USB drivers have
been installed before the LD-6N/LD-6N2 is connected to
the PC.

11
(2) Click [Next >].
(3) When the following screen is displayed, check that the verified publisher is
"SIBATA SCIENTIFIC TECHNOLOGY LTD.", then click [Install] to continue
installation.
LD-6N Bus/D2XX Driver
The procedure is the same for the LD-6N VCP Driver.
(4)The drivers are installed.

12
(5) When installation is complete, the following screen is displayed.
Click [Finish] to complete the installation process.
The following two USB drivers are installed:
•SIBATA LD-6N Bus/D2XX Driver
•SIBATA LD-6N VCP Driver
(6) In the installation program screen, click [Exit].
(7) Click [Yes] to close the installation program.
(8) Remove the CD-ROM, and keep it in a safe place.

13
Connecting the LD-6N/LD-6N2 and PC
The following procedures are for Windows 10. Display may be different depending
on your PC settings or OS.
Connect the PC and LD-6N/LD-6N2 using the USB cable, and turn ON the LD-6N/
LD-6N2.
At this point, the final step in the installation of the device drivers will be performed
and completed by the PC.
During the installation, a message indicating that installation is in progress appears
on the taskbar.
Click this taskbar icon to display the status of the installation.
When it is no longer displayed on the taskbar, the final step in the installation has
finished.

14
Checking the Communication Port
The following procedures are for Windows 10. Display may be different depending
on your PC settings or OS.
(1) Connect the PC and LD-6N/LD-6N2 using the USB cable, and turn ON the LD-
6N/LD-6N2.
(2) On the Start menu, click [Control Panel] - [Hardware and Sound].
(3) Click [Device Manager] to display the [Device Manager] screen.

15
(4) Check that [LD-6N USB Serial Port (COM5)] is displayed under [Ports (COM
& LPT)]. If items under [Ports (COM & LPT)] are not displayed, click .
Here, the "5" in "COM5" refers to the COM port number.
In this case, specify "COM 5" for [COM Port No.] in the [Network] tab page of
the Communication Software.
(5) Close the [Device Manager] screen and the Control Panel.
●The COM port number may change if the PC environmental settings are
changed. Therefore, it is recommended that you check it each time the
LD-6N/LD-6N2 is connected. (The COM port number cannot be checked
unless the LD-6N/LD-6N2 is connected.)

16
6 Uninstalling the Software
If you need to uninstall (delete) the Software for the LD-6N/LD-6N2 due to upgrades
etc., use the following procedures.
The following procedures are for Windows 10. Display may be different depending
on your PC settings or OS.
(1) On the [Start] menu, select [Control Panel] - [Uninstall a program].
(2) Select [LD6NE] and click [Uninstall].
(3) Click [Yes] to start uninstallation.

17
(4) If the screen for user account control is displayed, click [Yes].
(5) When the [LD6NE] screen closes, uninstallation is complete.

18
7 Starting Up the Software
Connecting the LD-6N/LD-6N2 and PC
(1) Connect one end of the USB cable included with the LD-6N/LD-6N2 to the
USB connector on the side of the control unit, and then turn ON the LD-6N/
LD-6N2.
(2) Connect the other end of the USB cable to the USB port on the PC. If you are
connecting the LD-6N/LD-6N2 to this PC for the first time, the USB drivers
must be installed. See 5.2 Installing the USB Drivers.
Starting Up the Software
(1) Click [Start], point to [All Programs] - [SIBATA] - [LD6NE], and click [LD6NE].
(2) If [LD6NE] is not listed when you click [Start] - [All Programs] - [SIBATA] -
[LD6NE], then start up the program as per the following procedures.
If you did not change the installation destination when the program was installed,
the program to run is installed at:
32 bit edition, C:¥Program Files¥SIBATA¥LD6NE
64 bit edition, C:¥Program Files(x86)¥SIBATA¥LD6NE
In this folder, double-click "LD6NE.exe."
If the installation destination was changed when the program was installed,
double-click "LD6NE.exe" in the specified installation folder.
Initial "LD6NE.exe" Startup Screen
(The screens below are for Windows 10, but the details are the
same for other OS versions.)
(3) Click .

19
(4) Select the LD-6N/LD-6N2 COM port number confirmed in 5.4 Checking the
Communication Port." Then click [Apply].
Here, only the actual and available COM port numbers are displayed.
COM ports currently in use and COM ports that do not exist are displayed in
parentheses.
USB Cable Connections
The USB cable can be removed/inserted while the Software for the LD-
6N/6N2 is running. Wait at least 5 seconds however before inserting it. Also,
it may take 30 seconds or longer for the LD-6N/LD-6N2 to be recognized,
depending on the PC environment.
During this time, do not click any buttons in the Software for the LD-6N/6N2.
If it cannot reconnect even after 1 minute, remove/insert the USB cable
again, close the Software for the LD-6N/6N2, and restart it.
(5) If the connection with the LD-6N/LD-6N2 is successful, the connection icon
changes to color.
(6) It is necessary to select the port when connecting for the first time only.
Thereafter the [LOG] tab page is displayed. During the second and
subsequent startups, the connection is established automatically if the LD-6N/
LD-6N2 is connected correctly, and the [LOG] tab page is displayed.
If the software starts up when the LD-6N/LD-6N2 is not connected, "COM"
(the previously used COM port number) is displayed in parentheses. If the LD-
6N/LD-6N2 is connected correctly, the connection is established automatically,
and the [LOG] tab page is displayed.
The connection icon
changes to color.

20
While the LD-6N/LD-6N2 is measuring, or while carrying out basic settings or
function settings, or when there is a communication error, the setting values
are blank. When the measurements or settings are complete, or when
communications are restored, the setting values will be displayed.
This manual suits for next models
1
Table of contents
Other Sibata Measuring Instrument manuals

Sibata
Sibata VB-3T User manual

Sibata
Sibata 080150-066 User manual

Sibata
Sibata PMP-001 User manual

Sibata
Sibata AQUAB User manual

Sibata
Sibata Aquab AQ-202 User manual

Sibata
Sibata MT-05U User manual

Sibata
Sibata AQUAB AQ-201 User manual

Sibata
Sibata AW-1 User manual

Sibata
Sibata LB-6N2 User manual

Sibata
Sibata LD-5D User manual
Popular Measuring Instrument manuals by other brands

Valmet
Valmet TS Installation and owner's manual

Henry Schein
Henry Schein 570-0606 Safety instructions

BROWIN
BROWIN 185609 manual

Emerson
Emerson Rosemount 8600 Series Reference manual

Dwyer Instruments
Dwyer Instruments Slack Tube 1211-8 Instructions and operation

Extech Instruments
Extech Instruments MO750 user guide