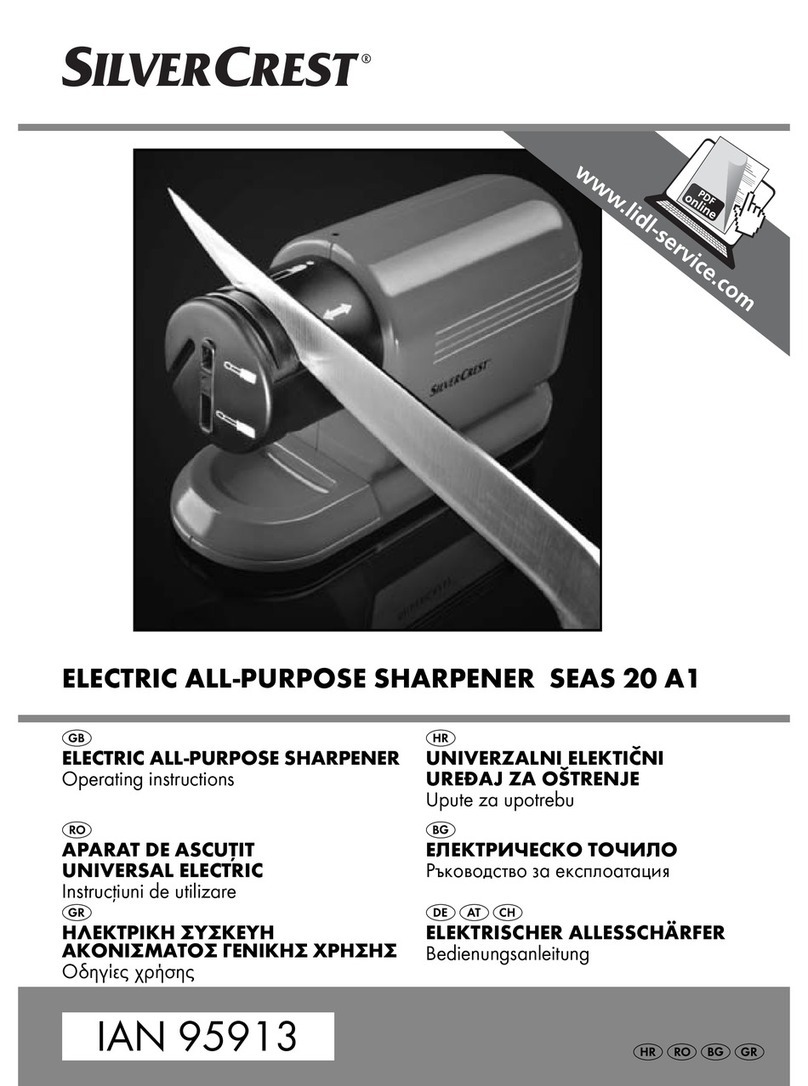
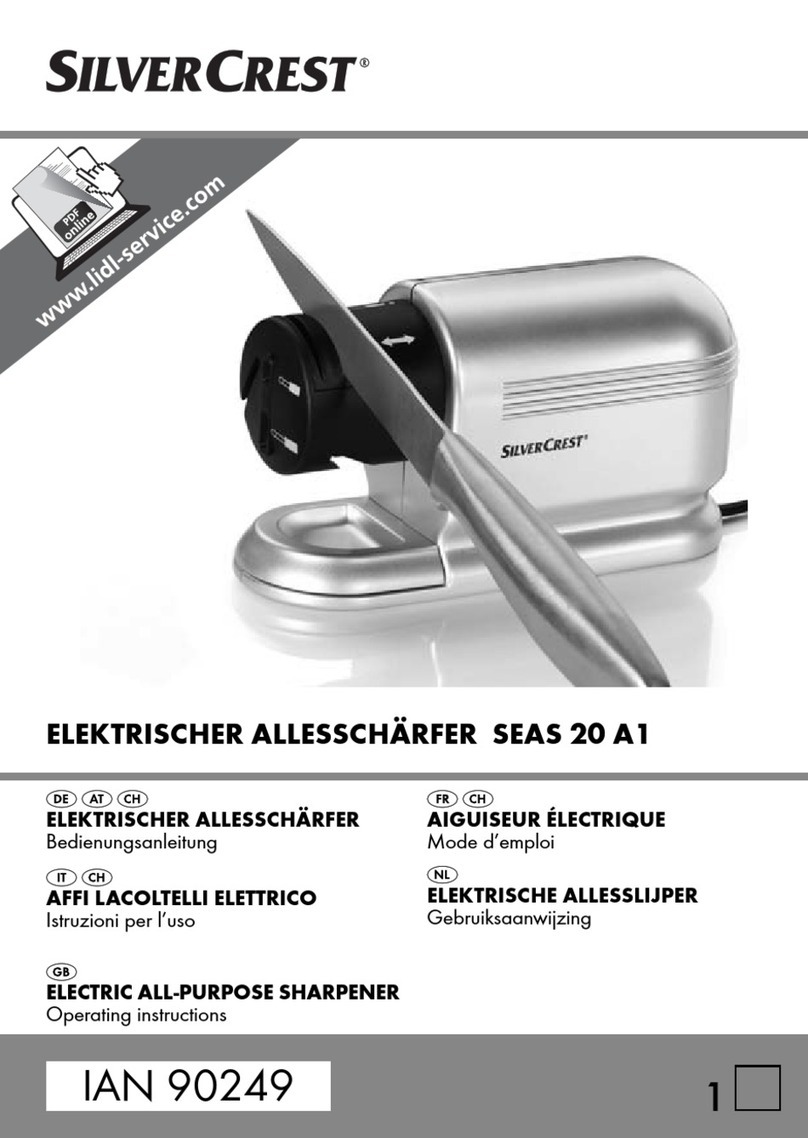
Silvercrest SEAS 20 A1 User manual

ELECTRIC ALL-PURPOSE SHARPENER SEAS 20 A1
ELECTRIC ALL-PURPOSE
SHARPENER
Operating instructions
ELEKTRISK SLIBER
Betjeningsvejledning
ELEKTRISK SLIPMASKIN
Bruksanvisning
ELEKTRISCHER ALLESSCHÄRFER
Bedienungsanleitung
IAN 95913

GB / IE Operating instructions Page 1
SE Bruksanvisning Sidan 11
DK Betjeningsvejledning Side 21
DE / AT / CH Bedienungsanleitung Seite 31
Before reading, unfold the page containing the illustrations and familiarise
yourself with all functions of the device.
Vik ut bildsidan och ha den till hands när du läser igenom anvisningarna och
gör dig bekant med apparatens / maskinens funktioner.
Før du læser, vend siden med billeder frem og bliv bekendt med alle appara-
tets funktioner.
Klappen Sie vor dem Lesen die Seite mit den Abbildungen aus und machen
Sie sich anschließend mit allen Funktionen des Gerätes vertraut.

C
A
E
B
D
F

- 1 -
INDEX PAGE
Introduction 2
Intended use 2
Items supplied 2
Technical data 2
Appliance description 3
Safety instructions 3
Unpacking 5
Placement 5
Adjustment 5
Sharpening 6
Cleaning and Care 7
Maintenance 8
Disposal 9
Importer 9
Warranty and Service 9

- 2 -
Introduction
Congratulations on the purchase of your new appliance.
You have clearly decided in favour of a quality product. These operating in-
structions are a part of this product. They contain important information in re-
gard to safety, use and disposal. Before using the product, familiarise yourself
with all of these operating and safety instructions. Use the product only as de-
scribed and only for the specified areas of application. In addition, pass the-
se documents on, together with the product, to any future owner.
Intended use
This appliance is intended for the sharpening of knives, screwdrivers and scissors
in domestic households. This appliance is not intended for commercial or in-
dustrial applications.
Items supplied
1 x Electric All-Purpose Sharpener
1 x Operating Instructions
Technical data
Power consumption : 20 W max.
Mains voltage: 230 V ~, 50 Hz
Revolutions: 3000 min-1
Protection class: II
C.O. Time: 3 min.

- 3 -
The C.O. Time (Continuous Operation) details how long an appliance may be
used without the motor overheating and being damaged. When the specified
C.O. Time has been reached, the appliance must be switched off until the
motor has cooled itself down to room temperature (approx. 30 minutes).
Appliance description
qFunction “Knife with smooth edge”
wFunction “Knife with serrated edge”
eFunction “Scissor sharpening”
rGrinder openings for slot-screwdrivers
tGrindstone
yFunction and protective cap
uAbrade collector
iSwitch
Safety instructions
To avoid potentially fatal electric shocks:
• Protect the appliance against moisture. Use it only in
dry rooms, do not use it outdoors or in damp areas.
• Ensure that the power cable cannot be damaged when
the appliance is in use, particularly not by sharpened
knife or scissor blades.
• Arrange for defective power plugs and/or cables to be
replaced as soon as possible by a qualified technician
or by our Customer Service Department to avoid the
risk of injury.
• NEVER open any housing components, other than those
specified herein.

- 4 -
• After use or during extended absences, ALWAYS remove
the plug from the power socket. For as long as the plug
is inserted in the wall socket the appliance itself is under
electrical power.
• Ensure that the power plug is at all times easily accessible,
so that it can be quickly and easily removed in the
event of potential danger or risk.
To
avoid the risks of accidents and personal injuries:
• Always check to ensure that the appliance is in a service-
able condition before taking it into use. If there is reco-
gnisable damage to the appliance it may not be used.
Arrange for it to be safety-checked by Customers Services
before using it again.
• Take steps to ensure that hair, loose clothing and parts
of the body do not come into contact with the revolving
grindstone t.
• Wear protective gloves so as to avoid injury from sharp
blades, or, if you are operating the knife sharpener with
the function and protective cap yremoved.
• This appliance may not be used by children.
• This appliance may be used by children aged 8 over
and by persons with reduced physical, sensory or men-
tal capabilities or lack of experience and knowledge,
provided that they are under supervision or have been
told how to use the appliance safely and are aware of
the potential risks. Children must not play with the appli-
ance. Cleaning and user maintenance tasks must not
be carried out by children unless they are supervised.
- 5 -
• The appliance should always be disconnected from the
mains when not supervised and before assembly, disas-
sembly or cleaning.
• The appliance and its connecting cable must be kept
away from children.
Unpacking
• Check that all items listed are available and that they show no signs of
visible damage.
• Remove all parts from the packaging and all packaging remnants from
the items.
• Retain the packaging, either for storing the appliance or for reuse in the
event of posting it to Customer Services for repair.
• Before the first usage thoroughly clean all component parts as described
in the section "Cleaning and care".
Placement
• Place the appliance on a stable and slip-free surface.
• Then insert the plug into the power socket.
Adjustment
• To select the required sharpening function q w e, turn the function
and protective cap yuntil the cap perceptibly engages.
• In position w"Knife with serrated edge", the corresponding symbol points
to the grinder opening (See Fig. C) – however, the cap engages at the
point at the end of the symbol.
• Hold the switch ipressed down. The grindstone trevolves continuous-
ly until the switch iis released.

- 6 -
Sharpening
• First present the blade when the grindstone tis revolving.
• Always draw the knife or scissors back, from the blade stop, in an even
movement, not in a repetitive back and forth movement – otherwise the
result will be an uneven sharpening.
• Do not apply any great pressure and always sharpen only clean blades,
so as to avoid a premature wearing-out of the grindstone.
• Always sharpen knives and scissors so that the blade is at an acute angle
to the grindstone (as alluded to in the shape of the opening). Sharpening
at the false angle can destroy any blade.
• After sharpening, remove any possible grinding remnants that may be on
the blade with a moist cloth.
Knife with smooth edge
If you have selected the setting "Knife with smooth edge" q (Fig. B):
• Always sharpen knives with a smooth edge on both sides – for this, left
and right side sharpening guides are available.
• In the left guide hold the knife inclined to the left, and in the right guide
inclined to the right, whilst drawing the blade through.
Knife with serrated edge
If you have selected the setting "Knife with serrated edge" w (Fig. C):
• Sharpen these only on the side with the serration – the draw through
direction for the knife is dependant on which side of the blade this is on.
The side with the serrated edge must be pointing in the direction of the
grindstone t during sharpening.
• In general, serrated blades can only be sharpened up to a point. Knifes
with a fine sawtoothing (e.g. table knives) do not require sharpening.

- 7 -
Scissor sharpening
If you have selected the setting "Scissor sharpening" e (Fig. D):
• Sharpen both scissor blades one after the other. For this, open the scissors
out and draw both blades, one after the other, through the guide.
Flat-head screwdriver
Should you wish to grind a slot-screwdriver rflat (Fig. E):
• This is possible in every position of the function and protective cap y.
Appropriate to its width, insert the screwdriver through one of the two grin-
ding openings ron the front of the function cap (see fold-out side). The
end face of the screwdriver will now be ground level and flat.
Grinding directly on the grindstone
Certain edges can possibly be more easily sharpened directly on the grind-
stone t, without the function and protective cap y: For these cases, the
function and protective cap y is removable (Fig. F):
• Turn the function and protective cap yuntil the arrow is at the top.
You can now take off the function and protective cap y.
• To replace the function and protective cap y, hold it so that the arrow
is once again at the top. You can now push the function and protective
cap yon and secure it by turning it to the left or right.
Cleaning and Care
To avoid risks of personal injury and damage:
• Before carrying out any maintenance work, first remove the plug from the
wall socket.
• NEVER submerse the appliance in water or other liquids! These could
damage the appliance. Additionally, there is a potentially fatal risk of
electric shock should moisture come into contact with electrical components.

- 8 -
Cleaning the appliance:
• Turn the function and protective cap y, until the arrow is at the
top. You can now remove the function and protective cap y and clean
the area around the grindstone twith a dry brush.
• Dismantle the abrade collector uand clean it with a brush and, if
necessary, a lightly moistened cloth.
• Clean the remaining parts of the appliance also with a lightly moistened
cloth, not with abrasive or aggressive detergents. They can damage the
surfaces.
• To replace the function and protective cap y, hold it so that the arrow
is once again at the top. You can now push the function and protective cap y
cap on and secure it by turning it to the left or right. To conclude, reassem-
ble the abrade collector u into the appliance.
Maintenance
• The appliance is maintenance-free. No form of maintenance, either on
or in the appliance, is intended for execution by the user. In the event of
malfunction or apparent damage, make contact with Customer Services.
• For storage, wrap the power cable around the appliance housing (Fig. A).

- 9 -
Disposal
Do not dispose of the appliance in your normal domestic
waste. This product is subject to the European guideline
2012/19/EU.
Dispose of the appliance through an approved disposal centre or at your
community waste facility. Observe the currently applicable regulations.
In case of doubt, please contact your waste disposal centre.
Dispose of all packaging materials in an environmentally friendly
manner.
Importer
KOMPERNASS HANDELS GMBH
BURGSTRASSE 21
44867 BOCHUM
GERMANY
www.kompernass.com
Warranty and Service
The warranty for this appliance is for 3 years from the date of purchase. The
appliance has been manufactured with care and meticulously examined
before delivery.
Please retain your receipt as proof of purchase. In the event of a warranty
claim, please make contact by telephone with our Service Department. Only
in this way can a post-free despatch for your goods be assured.

- 10 -
The warranty covers only claims for material and manufacturing defects, but
not for transport damage, for wearing parts or for damage to fragile compo-
nents, e.g. buttons or batteries. This product is for private use only and is not
intended for commercial use.
The warranty is void in the case of abusive and improper handling, use of
force and internal tampering not carried out by our authorized service branch.
Your statutory rights are not restricted in any way by this warranty.
The warranty period will not be extended by repairs made under warranty.
This applies also to replaced and repaired parts. Any damage and defects
extant on purchase must be reported immediately after unpacking the appliance,
at the latest, two days after the purchase date. Repairs made after the expira-
tion of the warranty period are subject to payment.
Service Great Britain
Tel.: 0871 5000 720 (£ 0.10/Min.)
E-Mail: [email protected]
Service Ireland
Tel.: 1890 930 034
(0,08 EUR/Min., (peak))
(0,06 EUR/Min., (off peak))
E-Mail: [email protected]
Hotline availability:
Monday to Friday 08:00 - 20:00 (CET)
IAN 95913
IAN 95913

INNEHÅLLSFÖRTECKNING SIDAN
Inledning 12
Föreskriven användning 12
Leveransens omfattning 12
Tekniska data 12
Beskrivning 13
Säkerhetsanvisningar 13
Uppackning 15
Uppställning 15
Inställning 15
Slipa 16
Rengöring och skötsel 17
Skötsel 18
Kassering 19
Importör 19
Garanti och service 19
- 11 -

- 12 -
Inledning
Sydämellinen onnittelumme uuden laitteesi johdosta.
Olet valinnut laadukkaan tuotteen. Käyttöohje on osa tätä tuotetta. Se sisäl-
tää tärkeitä turvallisuutta, käyttöä ja hävittämistä koskevia ohjeita. Tutustu
kaikkiin käyttö- ja turvaohjeisiin ennen tuotteen käyttöä. Käytä tuotetta vain
kuvatulla tavalla ja vain mainittuihin käyttötarkoituksiin. Anna myös kaikki
asiakirjat edelleen luovuttaessasi tuotteen eteenpäin.
Föreskriven användning
Den här produkten ska användas för att slipa knivar, skruvmejslar och saxar
i privata hem. Den är inte avsedd för yrkesmässigt eller industriellt bruk.
Leveransens omfattning
1 Elektrisk slipmaskin
1 Bruksanvisning
Tekniska data
Effektförbrukning: 20 W max.
Nätspänning: 230 V
~, 50 Hz
Rotation: 3000 min-1
Skyddsklass: II
Kontinuerlig driftkapacitet: 3 min.

- 13 -
Den kontinuerliga drifttiden anger hur länge apparaten kan användas i sträck
utan att motorn överhettas och skadas. När den tiden är slut måste apparaten
stängas av och får inte sättas på igen förrän motorn kommit ner i rumstempe-
ratur (ca 30 minuter).
Beskrivning
qFunktion "Slät egg"
wFunktion "Vågtandad egg"
eFunktion "Sax"
rÖppningar för spårskruvmejslar
tSlipsten
yFunktions- och skyddskåpa
uDammuppsamlare
iPåkopplingsknapp
Säkerhetsanvisningar
För att minska risken för elchocker:
• Skydda produkten från fukt. Använd den endast i torra
utrymmen och aldrig utomhus.
• Se till så att kabeln inte kan skadas, särskilt av vassa
knivar och saxar, när du använder apparaten.
• Låt genast en auktoriserad yrkesman eller kund-tjänst
byta ut skadade elkablar eller kontakter för att inte ut-
sätta dig för onödiga risker.
• Öppna aldrig några delar på höljet om det inte uttryck-
ligen anges.

- 14 -
• Dra alltid ut kontakten när du använt apparaten färdigt
eller när du inte ska vara i närheten av den. Det finns
spänning kvar i produkten så länge kontakten sitter i ett
eluttag.
• Se till att kontakten alltid är lätt att komma åt så att du
snabbt kan dra ut den vid nödsituationer.
För att undvika olyckor och personskador:
• Kontrollera apparatens skick varje gång innan du an-
vänder den. Om du upptäcker några skador på appa-
raten får du inte använda den längre. Lämna i så fall in
den till kundtjänst för en säkerhetskontroll.
• Akta så att inte hår, löst sittande kläder eller kroppsdel-
ar kommer i kontakt med den roterande slipstenen t.
• Använd skyddshandskar så att du inte skär dig på de
vassa eggarna och alltid när du använder knivsliparen
utan funktions- och skyddskåpa y.
• Den här produkten får inte användas av barn.
• Den här produkten kan användas av barn som är minst
8 år och av personer med begränsad fysisk, sensorisk
eller mental förmåga eller bristande erfarenhet och/eller
kunskap, om de hålls under uppsikt eller har instruerats
i hur produkten används på ett säkert sätt och inser vilka
risker det innebär. Barn får inte leka med produkten.
Rengöring och allmän service får bara göras av barn
om någon vuxen håller uppsikt.

- 15 -
• Produkten får aldrig vara anslutet till elnätet när den
inte hålls under uppsikt, när den tas isär eller sätts ihop
eller när den rengörs.
• Produkten och dess anslutningsledning ska hållas på
avstånd från barn.
Uppackning
• Kontrollera att produkten är komplett och i felfritt, oskadat skick.
• Ta bort alla delar och rester av förpackningen från produkten.
• Ta vara på förpackningen så att du kan förvara apparaten i den när den
inte används eller när du skickar in den för reparation.
• Rengör alla delar så som beskrivs i kapitel "Rengöring och skötsel" innan
du börjar använda apparaten.
Uppställning
• Ställ apparaten på ett stabilt och halkfritt underlag.
• Sätt sedan kontakten i ett eluttag.
Inställning
• Skruva på funktions- och skyddskåpan ytills den snäpper fast för att väl-
ja önskad slipfunktion q w e.
• I läge w"Vågtandad egg" pekar symbolen mot slipöppningen (se bild C) –
men kåpan låser ändå fast vid slutet av symbolen.
• Håll påkopplingsknappen iinne. Slipstenen tsnurrar tills du släpper
knappen iigen.

- 16 -
Slipa
• Lägg inte eggen mot slipstenen tförrän den snurrar.
• Dra alltid knivar och saxar mot slipstenen i en enda, likformad rörelse
med början vid skaftet, inte fram och tillbaka – annars blir eggarna
ojämnt slipade.
• Tryck inte eggen mot slipstenen och slipa bara rena eggar, annars nöts
slipstenen ut i förtid.
• Slipa alltid knivar och saxar med eggen i spetsig vinkel mot slipstenen
(så som framgår av öppningens form). Om du slipar i fel vinkel kan eggen
förstöras.
• Torka bort ev. sliprester från kniven eller saxen med en fuktig trasa när du
slipat färdigt.
Slät egg
Om du valt läge q"Slät egg" (bild B):
• Knivar med slät egg ska alltid slipas på båda sidorna – därför finns en
slipöppning både till höger och till vänster.
• Luta kniven så mycket det går åt vänster när du använder den vänstra
öppningen och åt höger när du drar den genom den högra.
Vågtandad egg
Om du valt läge w"Vågtandad egg" (bild C):
• Slipa bara den tandade sidan – åt vilket håll du ska dra igenom kniven
beror på vilken sida det är.
Den vågkantade sidan måste peka mot slipstenen tnär du slipar.
• Bara vissa vågtandade knivar kan efterslipas. Fintandade knivar behöver
inte slipas.

- 17 -
Sax
Om du valt läge e"Sax" (bild D):
• Slipa en sida i taget. Fäll ut saxen och för först den ena och sedan den
andra klingan genom slipöppningen (se uppfällbar sida).
Spårskruvmejsel
Om du vill planslipa spetsen på en spårskruvmejsel r (bild E):
• Det spelar ingen roll vilket läge funktions- och skyddskåpan ystår på.
Stick in spetsen på skruvmejseln i den slipöppning rpå funktionskåpans
framsida som passar till skruvmejselns bredd (se uppfällbar sida). Skruv-
mejselns spets blir nu jämnt planslipad.
Slipa direkt på slipstenen
Vissa eggar kan eventuellt slipas utan funktions- och skyddskåpan y, direkt mot
slipstenen t. Därför kan funktions- och skyddskåpan ytas av (bild F):
• Skruva funktionskåpan ytills pilen befinner sig där uppe.
Ta sedan av funktions- och skyddskåpan y.
• För att sätta på funktions- och skyddskåpan yigen håller du den så att
pilen åter hamnar där uppe. För sedan på funktions- och skydds-
kåpan yoch skruva den åt höger eller vänster tills den snäpper fast.
Rengöring och skötsel
För att minska risken för olyckor och skador:
• Dra alltid ut kontakten innan du gör några arbeten på apparaten.
• Doppa aldrig ner apparaten i vatten eller andra vätskor. Då kan vissa
delar skadas. Det finns även risk för livsfarliga elchocker om det kommer
in vätska i apparaten.
Other manuals for SEAS 20 A1
7
This manual suits for next models
1
Table of contents
Languages:
Other Silvercrest Power Tools manuals

Silvercrest
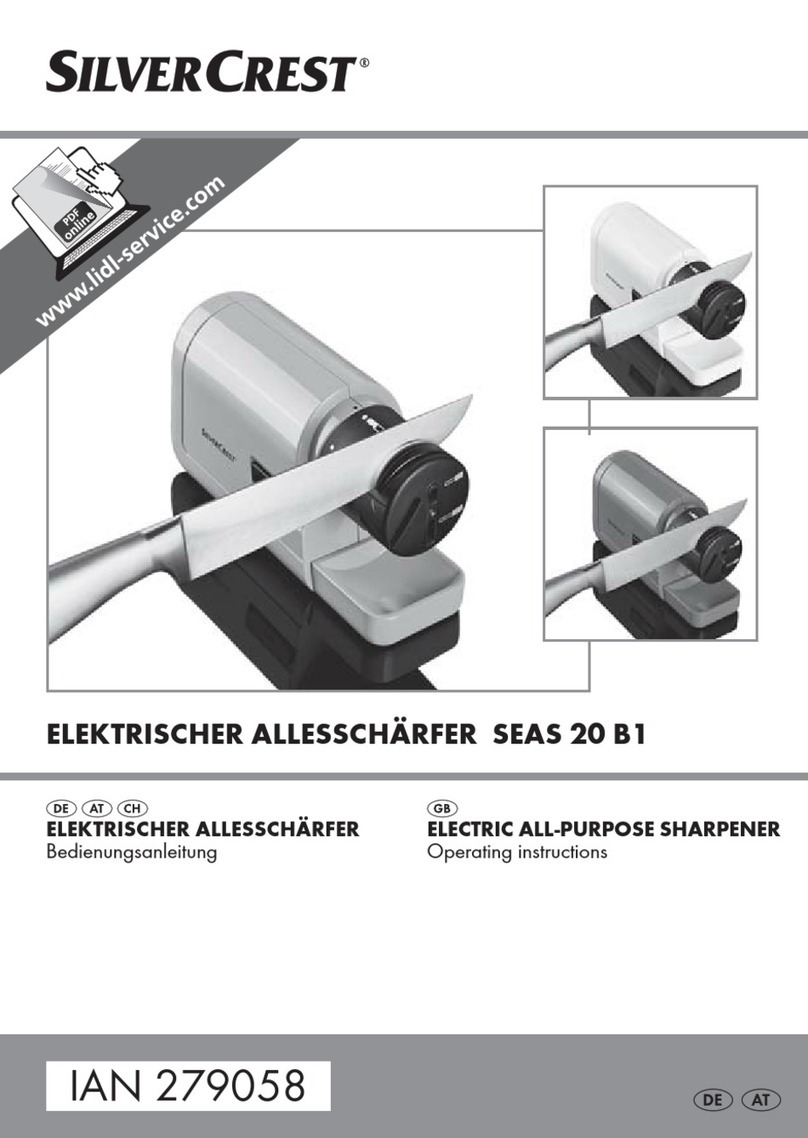
Silvercrest SEAS 20 B1 User manual

Silvercrest
Silvercrest 274344 User manual

Silvercrest
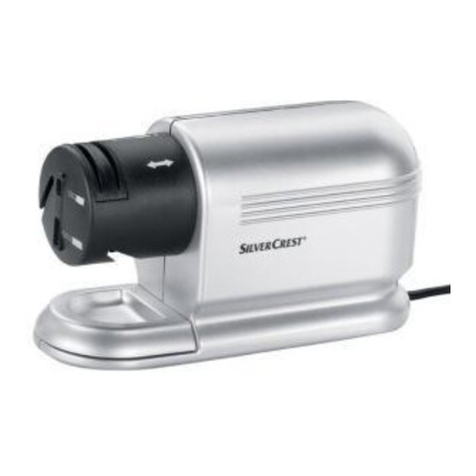
Silvercrest SEAS 20 A1 User manual

Silvercrest
Silvercrest 75468 User manual

Silvercrest
Silvercrest SEMS 12 A1 User manual

Silvercrest
Silvercrest HG01100 User manual

Silvercrest
Silvercrest SGP 28 A1 User manual

Silvercrest
Silvercrest SEAS 20 A1 User manual

Silvercrest
Silvercrest SEAS 20 B1 User manual

Silvercrest
Silvercrest 90249 User manual