Sinbo DZ-280/A User manual

Distributed By:
Doug Care Equipment, Inc.
PO Box 1058 Springville CA 93265
559 539-3076 FAX: 559 539-3077
email: doug@dougcare.com

SAFETY FIRST
CAREFULLY READ ALL INSTURCTIONS BEFORE OPERATING
AND SAVE FOR FUTURE USE. YOUR SAFETY IS
IMPORTANT! FAILURE TO COMPLY WITH PROCEDURES
AND SAFEGUARDS MAY RESULT IN SERIOUS INJURY OR
PROPERTY DAMAGE.
•Always disconnect sealer from
power source before servicing,
changing accessories or cleaning the
unit
•Do not use the vacuum sealer if the
power cord, plug or any other parts
are damaged. If the power cord or
the vacuum sealer is damaged, call one
of our distributors. Do not attempt
to replace the cord. Check that all
parts are operating properly and
perform the intended functions
•Reduce risk of unintentional starting
by making sure the power switch is in
•Do not overheat the machine. If
sealer overheats, machine will stop
working. Allow machine to cool
before turning on again
•Do not use vacuum sealer outdoors
•Protect your fingers when closing the
sealer lid
•Do not attempt to operate the sealer
by any other method other than those
described in the instructions
•Keep the sealer clean. Use a mild
detergent to clean the unit surface.
TROUBLESHOOTING
PROBLEM ACTION
SINBO does not turn
on
1. Check and ensure sealer is connected to the power outlet
2. Check power outlet
3. Check the heating element wire
4. Check to see if the machine has overheated. If so, allow
machine to cool before restarting
SINBO is not pulling a
vacuum
1. Ensure the lid is locked in place
2. Check that the bag is not overfilled or too empty
3. Check that the nozzle is not blocked by the bag
4. Clean and check the nozzle
5. Check for any leaks in the bag
6. For DZ-280/2SE, ensure the canister lid is tight and secure
A proper seal is not
taking place
1. Ensure the bag is flat
2. Check that the sealer is locked and a “click” is heard
3. Check that the seal bar pressed down fully
4. Check that the seal time is correct for your bag – increase or
decrease settings as needed
5. Make sure pressure on the seal bar is constant and equal
across the seal bar
6. Check the heating element and PTFE adhesive. Change if
needed
SAFETY
1.
Clean the machine using a mild detergent
by making sure the power switch is in
the “OFF” position before attaching
to the power source
•To protect against electric shock do
not immerse the sealer in water or
any other liquid
•Do not place the sealer near the edge
of bench of table during operation.
Ensure the surface is level, clean and
free of water, residue, etc
•Do not leave the sealer unattended
when in use. Disconnect the vacuum
sealer from the power source before
leaving the work area
•The sealer is not intended for use by
children
detergent to clean the unit surface.
Never rinse the sealer under the tap
•Do not seal any liquids unless you are
using the DZ-280/2SE model
•Always attach the filter canister when
sealing liquids (DZ-280/2SE only)
•Do not reuse bags after using with raw
meat or poultry
•Do not reuse vacuum bags with raw
meat, fish, or poultry or after heating
the bags (microwaved or simmered)
SAFETY
PRECAUTIONS
1.
Clean the machine using a mild detergent
2. Do not overheat. When machine overheats, turn off
machine and allow machine to cool before using again
3. Do not place liquids or powdery substances
4. As machine warms up, seal time should get shorter. Check
the seal time and adjust accordingly
SPECIFICATIONS
DZ-280/A DZ-280/2SD DZ-280/2SE
Seals Liquids No No Yes
Power Supply 110V or 220V 110V/60Hz 110V/60Hz
Vacuum Capacity 0.035 Mpa 0.045 Mpa 0.06 Mpa
Length of Seal 11”
Seal Width 2 line seal – 2mm 1 line – 4mm 1 line – 4mm
Seal Time Adjustable
Dimensions 14” x 5” x 3”
Weight 7lbs

GETTING TO KNOWYOUR SINBO
SINBO is a simple and effective vacuum sealer and the ONLY household unit that
can seal standard vacuum bags instead of the expensive channel vacuum bags.
DZ-280/2SE – ALL IN ONE SEALER
Our DZ-280/2SE is equipped with a filter canister which allows liquids and some
powder to be vacuumed sealed. In order to use the vacuum sealer, please note that
set up instructions differ slightly from our other sealer models.
Vacuum Sealing Liquids and Powders
1. Attach each long tube to the attachments at the back of the sealer. Connect the
tubes to the filter canister. Attach jar holder to the back attachments and
tighten to stabilize the jar holder
2. Make sure the filter canister lid is tightened fully
TIPS & NOTES
•Empty filter canister before the canister is
half full
•Clean the nozzle and canister after each
use
•Tighten canister lid fully for proper
vacuum
Power Switch
Turn on when
you are ready to
start the vacuum
process
Seal Time Counter
Adjust seal time
based on your
bag thickness
Lock
To unlock and open , press both
sides on the lock
Nozzle Slide Switch
Switch allows you
to bring nozzle
forward
Seal & Vacuum Light
Flashing light
indicates either
sealing or vacuum
mode
Sealing Bar
Pushing the
Power Cord
Always check your power
source for the correct voltage
Vacuum Sealing - General
1. Connect the two hose attachments at the back of the sealer with the short tube
sides on the lock
To lock and close, press down on
both sides of the lock
“Click” will signal unlock and lock
Nozzle
Nozzle draws the air out
of your vacuumed bag.
Nozzle should be
inserted in your bag
Pushing the
bar down
will end the
vacuum
process and
initiate the
sealing
process.
Follow our
“Double
Press”
method for
best sealing
results
PTFE Adhesive
PTFE adhesive ensures a smooth
seal. Replace adhesive and wire
underneath occasionally for best
sealing results
Lid Latch
Locks the lid
to the base
Leak Prevention Pads
The upper and lower
pads assist in the
vacuum sealing
process.
TIPS & NOTES
•DO NOT seal liquids or powders without
the filter canister as that will damage your
sealer

OPERATINGYOUR SEALER
Step 1. Turn the Power Switch Off
Open the top cover by lifting the lid. If the
lid is locked, push down on both left and
right corner spots marked “lock” to
release the cover.
Step 2. Set the Seal Time
Set the seal time by adjusting the seal time
by pressing “+” or “-” based on bag
thickness. We suggest starting at either 3
or 4.
b. Place bag to be vacuumed so that
nozzle is fully inserted into the bag.
c. Bring the lid down and lock in place.
You should hear a “click” on both
right and left sides when the lid is
locked.
TIPS & NOTES
•
Note that after sealing a few packages,
MAINTENANCE INSTRUCTIONS
Installing the New Wire & PTFE
Adhesive
1. Replacing Heating Element. Attach
the new element to the spring hook
and run the element along the jaw
of the vacuum sealer. Attach the
other end of the element to the
spring hook on the other side. The
wire that juts from the heating
element is then wrapped around the
post.
Wrap wire
around the
post
Step 3. Start the Vacuum Process
a. Extend the snorkel (nozzle) forward
by pulling the snorkel slide forward
until it locks into place.
d. Turn on the power switch and the
sealer will begin the vacuum process.
Step 4. Start the Sealing Process –
the “Double Press Method”
a. After you are satisfied with the
vacuumed bag, momentarily press
down on the seal bar and release so
that the nozzle retracts.
b. Quickly push down again on the seal
bar with even pressure until the seal
light flashes and you hear a beep
indicating the seal is complete.
•
Note that after sealing a few packages,
you may have to drop your setting down
by one or two settings as it will take less
time to seal additional bags
TIPS & NOTES
•Please do not press the seal bar when
there is no bag to be sealed. This could
damage the sealing edge
2. Replacing PTFE Adhesive. Remove
the backing on the adhesive. Apply
the adhesive over the elements. A
good rule of thumb is to replace the
PTFE adhesive every time you
change the element.

OPERATINGYOUR SEALER
c. Push down on both locks until the
cover releases and remove your
vacuumed bag.
Step 5. Repeat for Additional Bags
To seal your next bag, turn the power
switch “off” and return to Step 3.
Tips for Best Vacuum
1. Make sure product in the bag is
placed evenly throughout the bag.
Best placement is in the center of
the bag.
TIPS & NOTES
•We suggest the “double press method” for
attaining the best seal as this prevents
trapping the snorkel in the sealing area.
You want to ensure the snorkel fully
retracts
Clean Air Filter
(not found on DZ-280/2SE)
Located in the back of the machine is an
air filter which should be checked
occasionally to prevent clogging. Use a
mild detergent to clean all parts and
wipe dry with a soft cloth.
TIPS & NOTES
•Never clean electrical parts while unit is
plugged in. This could result in severe
injury
MAINTENANCE INSTRUCTIONS
Properly maintaining your SINBO will ensure that the sealer functions properly.
We offer replacement kits which can be purchased.
**Always unplug unit from power source before making any repairs.**
Removing Wire and PTFE
Adhesive
1. Remove PTFE Adhesive. Open the
upper jaw of the vacuum sealer and
gently peel the PTFE adhesive
(sealing strip) from the heating
elements.
3. Removing the heating element may
be a bit tricky and requires some
patience. The element consists of
an additional wire that is welded on
the mounting support. Cut the wire
as close to the mounting support as
you can.
Cut this
wire.
the bag.
2. While vacuuming the bag, you may
need to rub the layers of the bag
between your fingers if the bag is
blocking the snorkel.
3. To prevent wrinkles in seal when
vacuuming bulky items, gently
stretch bag flat along sealing line
before you bring lid down.
4. When you are vacuuming items
with sharp edges, protect bag from
punctures by wrapping item in soft
cushioning material.
Seal Only
The SINBO vacuum sealer can also be
used as a sealer only. To use the SINBO
as a sealer without the vacuum:
a. Unlock the sealer and lift up seal
bar.
b. Turn on the power but do not
extend the nozzle.
c. Place bag on the sealer base and
lock the lid in place. You should
hear a “click” on both right and left
sides when the lid is locked.
d. Press firmly on the seal bar. Seal
light indicator will turn off and a
beep sound can be heard when the
sealing process is complete.
TIPS & NOTES
•You will notice a change in the vacuum
noise when the snorkel is blocked
2. Remove Lower Base. Turn the
sealer over and remove the seven
screws holding the lower base and
upper unit together. (Two screws
are found where the power cord is
stored.)
Using either your fingers or a pair of
small pliers, push the spring down
and release the element from the
spring hook. When you release one
end of the element from the spring
hook, the other end will release
easily. Repeat with the second
element if necessary.
Mounting Support
Spring
Hook

VACUUM SEALING BASICS
1. Foods that normally require
refrigeration or freezing should still
be refrigerated or frozen even when
vacuum sealed. Vacuum sealing will
help retain your food’s flavor and
texture. Vacuum sealing may not
stop the growth of certain kind of
bacteria and yeast fermentation.
Vacuum sealing is not a substitute
for heat preserving or canning.
2.
Do not serve or consume food that
VACUUM SEALING BASICS
Vacuum sealing is an easy and convenient way to help preserve the freshness of your
food. FOOD STORAGE STANDARD
SHELF LIFE
VACUUM
SHELF LIFE
Large cuts of meat: beef,
poultry, lamb and pork
Freezer 6 months 2-3 years
Ground meat: beef, poultry,
lamb and pork
Freezer 4 months 1 year
Fish Freezer 4 months 1 year
Coffee beans Room temp 4 weeks 16 months
Berries: strawberries,
raspberries, blackberries
Refrigerator 1-3 days 1 week
Cheese Refrigerator 1-2 weeks 4-8 months
Cookies, crackers Room temp 1-2 weeks 3-6 weeks
Flour, sugar, rice Room temp 6 months 1-2 years
TIPS & NOTES
•Vacuum sealing is NOT intended to
replace refrigeration or freezing
•Do not reuse bags after exposure to raw
meat, fish, or poultry or if heated or
microwaved
Soups and Sauces
1. To vacuum seal soups and sauces,
place filled bag upright in freezer
and allow liquid to freeze. Remove
frozen bag and proceed with
vacuum.
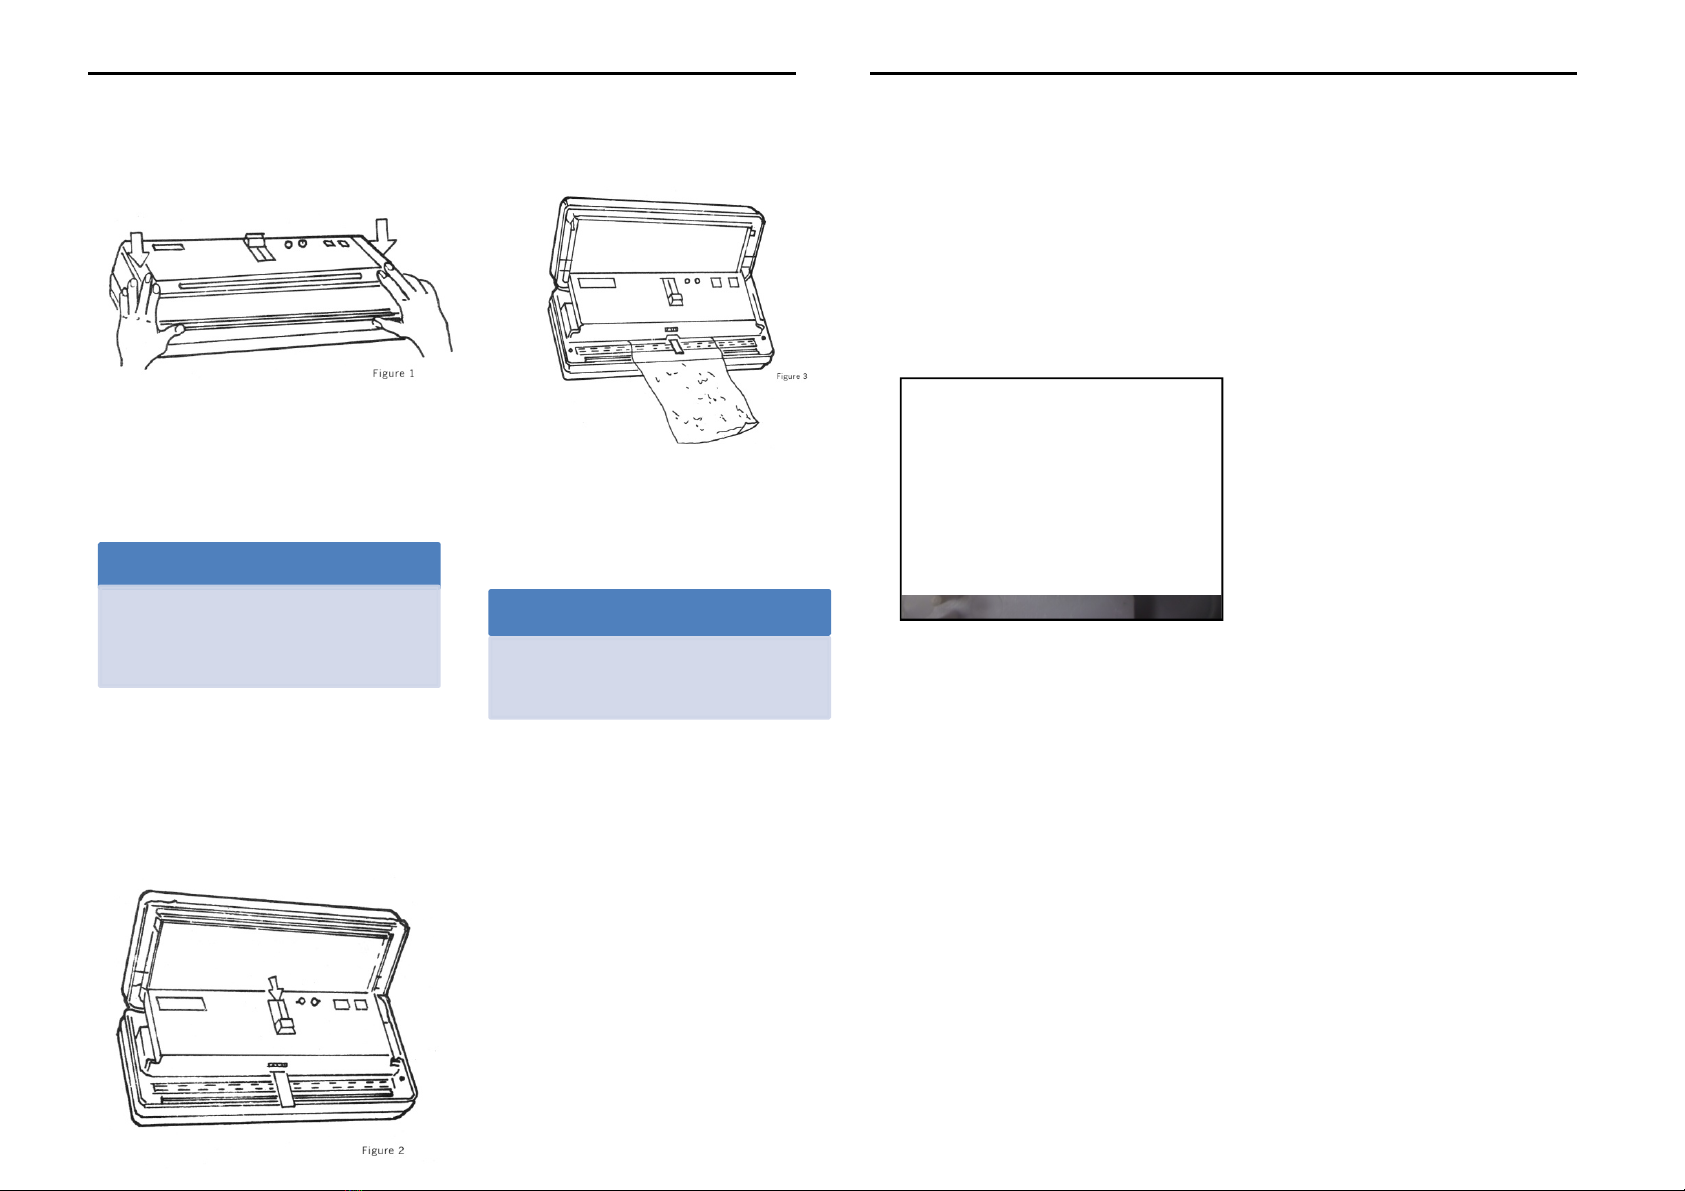
2. Model DZ-280/2SE can seal
liquids as the sealer is
accompanied with a filter cup.
Fruit and Vegetables
1. For best results, fruits can be frozen
before vacuum sealing. Wash and
dry fruit. Freeze for about 2 hours
before vacuuming.
2. Frozen vegetables may sometimes
turn black if they are not blanched
before freezing.
3.
Mushrooms need to breathe and
2.
Do not serve or consume food that
has an odd odor, texture or
appearance.
Freezing
1. Vacuum sealing helps prevent
freezer burn by removing the air in
a bag.
2. For best results, thaw frozen foods
in a refrigerator. Never thaw raw
meats, fish, dairy or poultry at room
temperature. Thawing by
microwave may affect the texture of
foods. If thawing by microwave,
begin cooking process immediately
after thawing to prevent bacteria
growth.
Microwaving and Simmering
1. Do not reuse bags once used in
microwave or cooked in a pot.
Lettuce Refrigerator 3-6 days 2 weeks
Nuts Room temp 6 months 2 years
3.
Mushrooms need to breathe and
should never be sealed in plastic.
Meats, Fish & Poultry
1. For best results, pre-freeze prior to
vacuum sealing for 1-2 hours to
retain moisture and shape of the
meat.
2. Vacuum sealing may cause meat to
darken. This is due to the removal
of oxygen and does not indicate
spoilage.
3. Do not reuse bags after exposure
to raw meat, fish or poultry.
Ground Coffee or Other Powders
1. Wrap paper towel around coffee or
place coffee in a bag or the original
packaging prior to vacuum sealing.
Source: Dr. G.K. York, Department of Food Science & Technology, University of California, Davis
Non Edible Items
Vacuum seal non edible items
1. Helps prevent oxidation and rust –
vacuum seal silver or any other
items which are sensitive to oxygen.
2. Keep items dry – pack items that
need to stay dry such as camping
items – matches, film, passport.
3. When vacuuming items with sharp
edges (spaghetti, silverware, etc)
protect bag from puncture by
wrapping item in cushioning
material.
This manual suits for next models
2
Table of contents
Other Sinbo Kitchen Appliance manuals

Sinbo
Sinbo SFD 7401 User manual

Sinbo
Sinbo SSPM 7201 User manual

Sinbo
Sinbo SSM-2549 User manual

Sinbo
Sinbo SHB 3078 User manual

Sinbo
Sinbo SCO 5053 User manual

Sinbo
Sinbo SCO-5019 User manual

Sinbo
Sinbo SK 2395 User manual

Sinbo
Sinbo SP 5204 User manual

Sinbo
Sinbo SCO 5052 User manual

Sinbo
Sinbo SP 5208 User manual

Sinbo
Sinbo SSM 2512 User manual

Sinbo
Sinbo SCO 5036 User manual

Sinbo
Sinbo SJ 3138 User manual

Sinbo
Sinbo SJ 3127 User manual

Sinbo
Sinbo SCO 5054 User manual

Sinbo
Sinbo SFD 7402 User manual

Sinbo
Sinbo SJ 3133 User manual

Sinbo
Sinbo SJ 3141 User manual

Sinbo
Sinbo SK 7381 User manual

Sinbo
Sinbo STM 5700 User manual