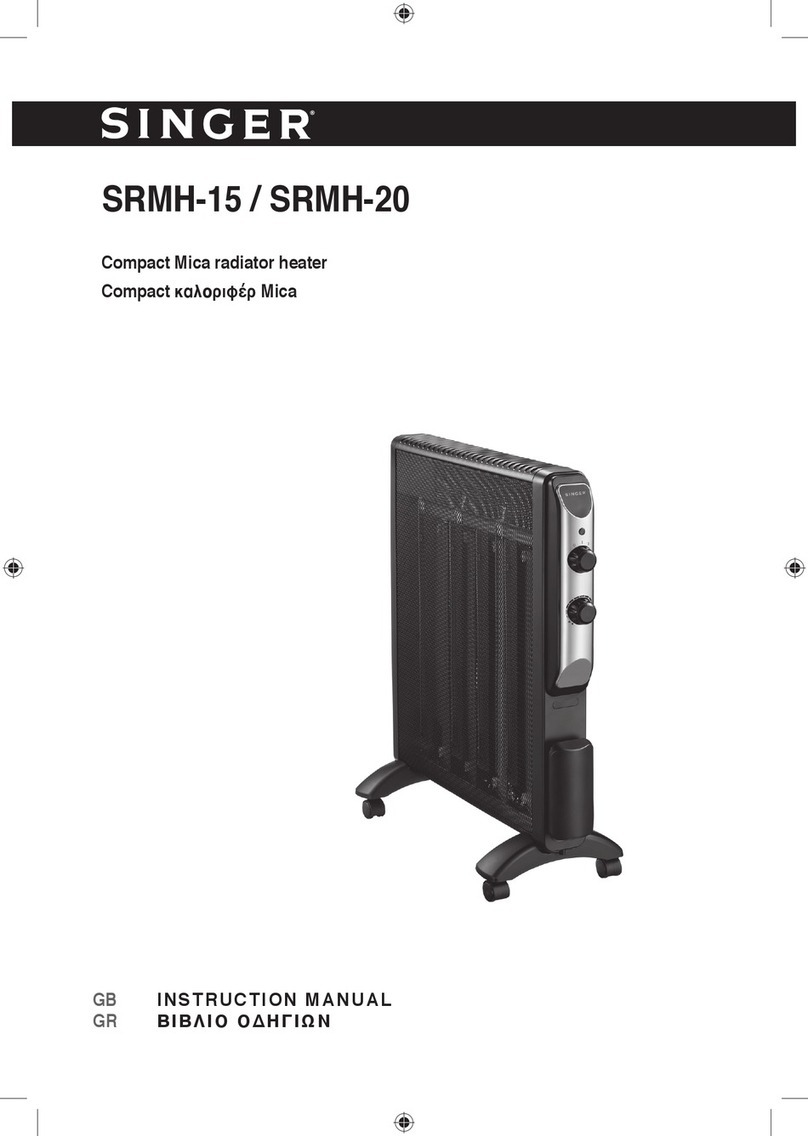
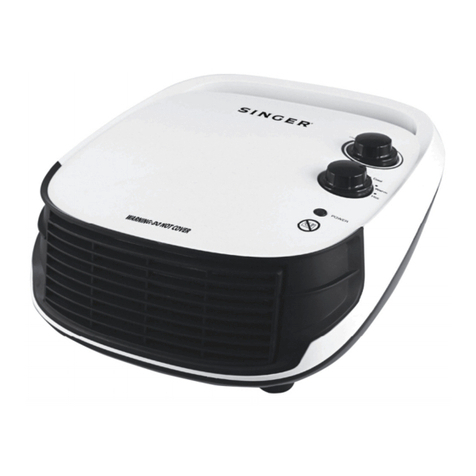
Singer FHT 6320 User manual

FHT 6320
2-in-1 HEATING & COOLING
2-in-1 ΘΕΡΜΑΝΣΗ & ΨΥΞΗ
GB
INSTRUCTION MANUAL
GR
ΒΙΒΛΙΟ ΟΔΗΓΙΩΝ

2
ENGLISH
PLEASE READ THESE INSTRUCTIONS CAREFULLY
BEFORE USE AND KEEP THEM FOR FUTURE
REFERENCE.
Thank you for purchasing the stand fan of Singer. Each unit has
been manufactured to ensure safety and reliability. Before first
use, please read these instructions carefully and retain them for
future reference.
IMPORTANT SAFETY INSTRUCTIONS
1. Use the appliance only for its designated purpose.
2. Do not immerse the appliance or the base in water or any
other liquid.
3. Always disconnect the fan from the main supply when not
in use and before cleaning.
4. Never pull off the cable to disconnect it from the socket.
Instead, unplug by pulling the plug from the socket.
5. Turn off the power and pull out the plug when you go out
for long time.
6. Never attempt to put your finger and other objects into the
louver or the rear grill when the fan works.
7. Keep the cord, the base and the appliance away from hot
surfaces.
8. Check if the voltage indicated on the base of the appliance
corresponds to the local mains voltage before you connect
the appliance.
9. Keep the appliance and packaging materials away from
persons (including children) with reduced physical or
sensory capabilities, or lack of experience and knowledge.
10. Close supervision is necessary when the appliance is
used by or near children.
11. Do not attempt to dismantle any part of the desk fan. This
should only be done at a SINGER Service Center.

3
ENGLISH
12. Do not use the appliance if the cord, the plug, the base or
the appliance itself is damaged.
13. If the cord or any other part is damaged, you must contact
any SINGER Service Center or SINGER Client Service.
14. The appliance is intended for household use only.
15. This appliance is not intended for use by persons
(including children) with reduced physical, sensory or
mental capabilities, or lack of experience and knowledge,
unless they have been given supervision or instruction
concerning use of the appliance by a person responsible
for their safety.
16. Children should be supervised to ensure that they do not
play with the appliance.
17. Never put any object to block the air inlet/outlet.
18. Please use this product at 0~40℃, do not put the fan in
the bathroom, wet and very hot place to avoid damage to
the product.
19. Please keep the fan away from soft objects such as
curtains and door curtains, so as not to get involved in
the fan.
20. When the fan is not used for a long time, please remove the
power plug, so as not to shorten the product life and cause
accidents or dangers in the standby state for a long time.
21. The product should be kept clean and maintained
regularly.
22. Do not put the fingers and other body parts into the fan to
avoid injury and damage the product.
23. Do not put wet towels on the product casually to avoid
leakage and electric shock.
24. Do not touch the operation button when remove the
protective cover, to avoid accidents in product operation.

4
ENGLISH
SERVICE & REPAIR
1. For service or repair under warranty, please contact the authorized service
company that is mentioned on the guarantee card and accompanies the
product.
2. Do not operate any product with a damaged cord or plug. If the supply
cord is damaged, return the appliance to a SINGER service center for
examination, repair or adjustment. Do not attempt to dismantle any part of
the appliance. This should only be done at an authorized SINGER service
center.
3. The partial or total non-respect of the safety instructions in the present
instruction manual will automatically release Singer of any type of
responsibility in case of malfunction of the machine or injuries to persons
or animals.
4. In case of manipulation, repairing or any modification of the machine
made by unqualified persons or in case of improper use, the guarantee
will be automatically cancelled.
Note: Above specifications are subject to change without notice.
DESCRIPTION
1. Main body
2. Remote control
3. ON/OFF switch
4. Power plug
5. Indicator light
6. LED display
7. Control panel
8. Safety grill
9. Handle

5
ENGLISH
Control panel
1. LED display
2. Minus button
3. Plus butoon & WI-FI
4. Timer button
5. Motion button
6. ECO button
7. Heat level button
8. Fan speed button
9. ON/OFF button
Light indicators
1. Timer indication
2. ECO indication
3. Motion indicator
4. Fan speed level 4 indicator
5. Fan speed level 3 indicator
6. Fan speed level 2 indicator
7. Fan speed level 1 indicator
8. ON/OFF indicator
9. Fan indicator
10. Low heat indicator
11. High heat indicator
Remote control*
1. Fan speed button
2. ECO button
3. Timer button
4. Plus button
5. Minus button
6. Motion button
7. Heat level button
8. ON/OFF button
*Battery included
Figure 5
Figure 6

6
ENGLISH
INSTALLATION
The device is packed in one box. Remove all packaging material and check
that the device is not damaged. Do not use the heater if it is damaged, but
always contact your supplier. Keep the packaging for safe storage and
transport.
1. Place the device on a level and steady
surface.
2. Place the device with a minimum
distance of 1 meter to any object, wall
or ceiling.
3. Do not place the device directly below
a socket outlet.
4. Make sure the ON/OFF switch is in the
OFF position (Figure 7, pos. 1).
5. Put the power plug into an earthed
wall socket that is easily accessible.
Use an earthed wall socket with a
minimum power of 2000 Watt.
Remote control
1. Press on the lip (Figure 8, pos. 2) and
remove the slot (Figure 8).
2. Remove the battery (if present) (Figure
8, pos. 3).
3. Insert a battery (CR2025) as indicated
in the battery compartment. Make
sure to insert the battery correctly.
4. Replace the cover.
Figure 7
Figure 8

7
ENGLISH
OPERATION
WARNING
Before every use, make sure that:
• you operate the device with dry hands
• the device is clean and dry
• the device is not damaged
CAUTION
When the device is turned on it can give off smoke and an odor. This
is normal and will disappear after a few minutes.
1. Press the ON/OFF switch in the ON
position (Figure 9, pos. 2).
2. Press the ON/OFF button on the
control panel (Figure 9, pos. 4) or on
the remote control (Figure 9, pos. 1).
3. The ON/OFF indicator (Figure 9, pos.
3) switches on.
Fan mode
1. Press the fan speed button on the control panel or remote control until
the desired fan speed is reached:
• level 1: fan indicator and level 1 indicator light up
• level 2: fan indicator and level 2 indicator light up
• level 3: fan indicator and level 3 indicator light up
• level 4: fan indicator and level 4 indicator light up
2. The indicator light turns blue.
3. The LED display shows the current temperature.
Figure 9

8
ENGLISH
Heating mode
The heating mode only works at fan speed level 2.
1. Press the heat level button on the control panel or remote control until
the desired heating level is reached:
• level 1: low heat indicator lights up, P1 appears on the display
• level 2: high heat indicator lights up, P2 appears on the display
2. The indicator light turns red.
3. The LED display shows the current temperature.
Temperature mode (HEATING & ECO mode)
1. Press the heat level button on the control panel or remote control.
2. Use the plus or minus button to set the desired temperature (from 10°C
to 35°C). 3. The device automatically adjusts the settings to reach
the given temperature.
4. The indicator light turns:
• red, when in heating mode
• blue, when the desired temperature reaches
5. The LED display shows the current temperature
ECO mode (HEATING mode)
The ECO mode is an energy-efficient mode; the device maintains the room
temperature at 23°C. This means that if the room temperature
• is lower than 17°C, the device will work on high heat setting.
• is higher than 17°C and lower than 20°C, the device will work on low
heat setting.
• Is higher than 20°C, the device will activate the fan setting.
1. Press the ECO button on the control panel or remote control; the ECO
indicator lights up.
2. The indicator light turns green.
3. The LED display shows the current temperature.
4. Press the ECO button again to deactivate.

9
ENGLISH
Motion mode
1. Press the motion button on the control
panel (Figure 11, pos. 3) or remote
control (Figure 11, pos. 1).
2. The motion indicator switches on.
3. The device (Figure 11, pos. 4) starts
rotating from left to right at an angle
of 70°.
4. Press the motion button again to
deactivate.
Timer mode
1. Press the timer button on the control panel or on the remote control.
2. Use the plus or minus button to set the desired timer (from 1 to 24 hours).
3. The device automatically goes in standby mode at set timer.
Standby mode
1. Press the OFF button on the control panel (Figure 10, pos. 4) or on the
remote control (Figure 10, pos. 1).
2. The device keeps operating in fan mode for 30 seconds. The LED
display will countdown from 30 to 1.
3. After 30 seconds the device switches to standby mode.
After operation
CAUTION
Do not use the power cable to unplug or carry the device. Do not
wind the power cable too tightly or in sharp corners. Do not wrap the
power cable around the device.
1. Make sure the ON/OFF switch is in the OFF position (Figure 10, pos. 2).
2. Disconnect the power plug from the power outlet.
3. Let the device cool down before touching it.
4. Wind the power cable.
5. Remove the battery from the remote control.
Figure 10

10
ENGLISH
Maintenance
WARNING
Do not perform any repairs or modifications to this device.
WARNING
The device becomes very hot. Make sure the device is turned off,
unplugged and completely cooled down.
CAUTION
Do not use:
• scouring pads
• hard brushes
• flammable, aggressive or chemical cleaning products.
Prevent water from entering the device. Do not immerse any part of the
device in water or other liquids.
It is recommended to clean the device after each use and prior to storage.
1. Carefully vacuum the openings to remove dust and dirt.
2. Wipe the device with a damp, clean, soft, lint-free cloth, or a soft brush.
3. Let the device dry completely prior to use and storage.
Transport and storage
• Clean the device before storing it.
• Transport the device upright.
• Store the device upright in its original packaging in a cool, dry and dust-
free area.

11
ENGLISH
TECHNICAL FEATURES
Information requirement for the electric local space heaters
Model identifier(s): FHT 6320
Item Symbol Value Unit Item Unit
Heat output Type of heat input, for electric storage local
space heaters only (select one)
Nominal heat output Pnom 1,8-2,0 kW manual heat charge control, with
integrated thermostat No
Minimum heat output
(indicative) Pmin 1,0 kW manual heat charge control with room
and/or outdoor temperature feedback No
Maximum continuous heat
output Pmax,c 2,0 kW
electronic heat charge control with
room and/or outdoor temperature
feedback
No
Auxiliary electricity consumption fan assisted heat output No
At nominal heat output elmax 0,000 kW Type of heat output/room temperature control
(select one)
At minimum heat output elmin 0,000 kW single stage heat output and no room
temperature control No
In standby mode elSB
0,00019
kW Two or more manual stages, no room
temperature control No
with mechanic thermostat room
temperature control No
with electronic room temperature
control Yes
electronic room temperature control
plus No
electronic room temperature control
plus week timer No
Other control options (multiple selections
possible)
room temperature control, with
presence No
room temperature control, with open
window detection No
with distance control option Yes
with adaptive start control No
with working time limitation No
with black bulb sensor No

12
ENGLISH
SPECIFICATIONS
Product size: 192 x 268 x 316 mm
Weight: 2.2 kg
Voltage: 220-240 V ~ 50 Hz
Power (L/H): 1800/2000 W Fan 55 W
Protection rating: IPX 0
Protective class: Class II
WIFI FUNCTION POWERED BY TUYA
When the device is first turned on, it may automatically enter pairing mode
(power indicator will be flashing slowly).
If not automatically in pairing mode, ensure the heater has just been plugged
in. Without pressing the power button, flick the ON/OFF switch into “I” position.
The heater will enter standby and emit a beep. The power indicator should
then be flashing slowly.
Make sure the device and the app have to use the same WI-FI network.
Using Wi-Fi - Smart Life app
The heater can be used manually with its built-in controls or you can use a
smartphone to control it. Before you begin, make sure that the Smart life Wi-
Fi app is downloaded. Download and install the app as users of Android and
IOS devices search for the app on Google Play or
APP Store, respectively, by typing Smart Life in the search field. You can also
download and install the application by scanning below the corresponding
QR code depending on the operating system of your mobile phone or tablet.
The QR code can be scanned using a QR code reader application, where you
can search for and install it on your mobile phone or tablet through Google
Play or APP Store applications respectively.

13
ENGLISH
Attention: Please make sure your device is connected to a Wi-Fi router.
Also, that the Wi-Fi router is already connected to the Internet before
proceeding with user registration.
Note: G. E. DIMITRIOU S.A. respects the user's personal data and
expressly declares that it will not use the user's personal data for any
advertising reason or for any other reason, without the user's prior
written consent.
1 Download the app
Search for Smart Life in Apple’ s App Store and other major app stores or
scan the following QR code to download the Smart Life app.

14
ENGLISH
2 User accounts
2.1 Register an account
1. Tap Sign Up and carefully read and agree on the User Agreement and
Privacy Policy to go to the Register page.
2. Register an account with an email address or mobile phone number. The
State/Region field value is automatically specified and can also be
manuallychanged. However, after the account is registered, this field value
cannot bechanged. Tap Get Verification Code.
3. Enter the returned verification code to navigate to the password setting
page. Set a password as required and tap Done.

15
ENGLISH
2.2 Log in with the app account or third-party account
Log in with the app account
1. Open the app. If you have registered an account of the app, tap Log In to
go to the login page.
2. The State/Region field value is automatically specified and can also be
manually changed.
3. Enter the registered mobile phone number or email address and the
password and tap Log In.
Log in with third-party account
1. If WeChat or Tencent QQ is installed on the mobile phone and a WeChat
orTencent QQ account is created, tap the WeChat or Tencent QQ icon on
thelogin page.
2. On the authorization page that appears, enable authorized login with
theWeChat or Tencent QQ account. For an iPhone, an Apple ID can also be
used for login.

16
ENGLISH
3. If a LINE app account is created, it can also be authorized for login.

17
ENGLISH
3 Add a device
Tap Add Device or the plus icon (+) in the top right corner on the Home
page togo to the device adding page. On the Add Device tab that appears,
devices can be automatically found or manually added. To automatically
add devices, the app must be granted Wi-Fi and Bluetooth permissions.
3.1 Automatically add devices
1. This method enables simultaneously searching for multiple devices,
including Wi-Fi devices, Bluetooth gateways, Bluetooth mesh devices,
Zigbee gateways, and Zigbee devices connected to the gateway. All devices
found can beadded with one tap.
2. If the search times out and no devices are found, follow the instructions
totroubleshoot the issue and try again, or try to manually add devices.

18
ENGLISH
3. In this mode, enable Wi-Fi and Bluetooth for searching for devices. Wi-Fi
devices can be found only when Wi-Fi is enabled. Nearby Bluetooth devices
canbe found only when Bluetooth is enabled.

19
ENGLISH
4. Tap Turn on Wi-Fi or Turn on Bluetooth to enable Wi-Fi or Bluetooth as
instructed
5. If a gateway has been added to the app, it can be automatically recognized
to pair associated sub-devices. If multiple gateways exist, a dialog box
appears for the user to choose among these gateways.

20
ENGLISH
6. To accelerate pairing with Bluetooth devices, the app supports the automatic
discovery of nearby Bluetooth devices. Once the Home page is opened,
the app automatically searches for Bluetooth devices pending pairing and
showsdiscovered Bluetooth devices in a dialog box.
7. The user can choose Do not add or Go to add to determine whether to
addthese Bluetooth devices. Make sure that Bluetooth is enabled and the
Bluetooth devices are pending pairing during scanning.
Table of contents
Languages:
Other Singer Heater manuals

Singer
Singer SCQH-20 User manual
Singer
Singer SOFR09 User manual

Singer
Singer SRMH-15 User manual

Singer
Singer SCQH-15 User manual

Singer
Singer HAL1200 User manual

Singer
Singer BFH-2000 User manual

Singer
Singer SCH-17 User manual

Singer
Singer SFH-200CBA User manual

Singer
Singer SFH-41 User manual

Singer
Singer MICA MIR 6010 User manual
Popular Heater manuals by other brands

Advanced Radiant Systems
Advanced Radiant Systems ES/ESH Series Installation, operation and service instructions

L.B. White
L.B. White I-3 Owner's manual and instructions

S&P
S&P EMIDUAL installation manual

STIEBEL ELTRON
STIEBEL ELTRON CWM 500 P Operation and installation

Adax
Adax VP9 Installation instruction

Bimar
Bimar HP129 Instruction booklet