Step 6: Establishing a Network Connection
To open communication with the camera from a host PC and
change the module’s network settings, perform the following
steps:
Step 1: Set the PC’s network adapter to the module’s factory default
subnet and connect the two devices. The factory-set IP
address is in the 10.x.x.x range. You will find it printed on a
sticker on the cylindrical heat sink.
Step 2: Access the module from a web browser or other tool installed
on the PC.
Step 3: Set the module address and subnet mask to the subnet it will
use and reboot the module. Configure the PC’s network
adapter once more to assign the PC to the same subnet as the
module.
Figure 12 Devices in the same subnet can connect.
Figure 11 Fastening the outdoor tube adaptor
to the gooseneck tube
Step 5b: Installing with a Gooseneck Tube
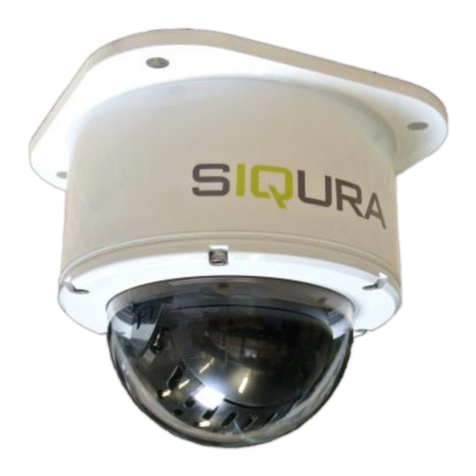
Installing the HSD62x with a gooseneck
tube requires the following items:
Dome camera with supplied
waterproof boot
Gooseneck tube
Screws and screw anchors
Drill
Screwdrivers
To ensure an IP66 quality installation,
ensure that the waterproof gasket and
cable gland provided with the wall
mounts are correctly positioned and
securely fastened.
To mount the HSD62x with the gooseneck tube
1. Make a hole in the wall to lead the cables through, if
necessary, and secure the supplied cable gland in the wall.
Otherwise, the cables can be threaded through the cable
entry hole in the gooseneck tube (figure 10).
2. Fasten the gooseneck tube to the wall.
3. Attach the waterproof boot to the gooseneck tube.
4. Ensure that the weather resistant gasket is correctly
attached to the mount.
5. Thread the cable through the gooseneck tube and the
outdoor tube adapter.
6. To keep insects out, block the cable entry hole with the
supplied sponge.
7. Screw the outdoor tube adaptor to the gooseneck tube with
the supplied screws and washers (figure 13).
8. Adjust the waterproof boot to cover the junction of the
gooseneck tube and the outdoor tube adaptor.
9. Connect the cables to the dome camera and fasten the
dome camera to the outdoor tube adaptor with the supplied
screws.
Live viewing requires at least one of the following video players:
QuickTime, available at http://www.apple.com/quicktime/download/
VLC, available at http://www.videolan.org/
Step 8: Accessing the Camera
The web pages of the Siqura HSD62x offer a user-friendly interface for
configuring the module settings and viewing live video images over the
network.
To log on to the internal web server
1. Start your web browser.
2. Enter the camera’s IP address in the address bar.
If your network configuration is correct, you are directed to the Login page.
You may need to enable JavaScript.
3. In the Login section, click LOGIN.
4. In the Connect dialog box, log on as user “Admin” with password “1234”.
5. Click OK or press Enter.
The Live Video page (figure 16), the home page of the module, displays.
led through the
gooseneck tube and
recessed into the wall
to ensure outdoor
durability.
To ensure a robust outdoor installation, the
camera cabling should be led through the
gooseneck and recessed into the wall
(figure 10).
Step 9: Internal Web Pages
The home page displays live video from the camera, controls for PTZ
operation, and options for setting the encoder, video player, and refresh
rate as well as the configuration menu options.
Figure 14
HSD62x
home page
Figure 15 PTZ
control panel
Click arrows to pan
and tilt camera at
fixed speed
Click ball to pan and
tilt the camera (point
of clicking determines
pan/tilt speed
Zoom in
Zoom out
Focus far
Focus near
Iris open
Iris close
On screen menu
access
Title pane
PTZ control
panel
Step 7: Configuring the PC’s Network Adapter
Figure 13 The Internet Protocol
(TCP/IP) Properties dialog box
To configure the network adapter on the
host PC
1. In the Control Panel, open Network
Connections.
2. Right-click the connection to be
configured, and select Properties.
3. In the items list, select Internet
Protocol (TCP/IP).
4. Click Properties.
5. In the Internet Protocol (TCP/IP)
Properties dialog box, click to select
the Use the following IP address check
box.
6. Enter a unique IP address that will
assign your PC to the same subnet as
the camera. Use 255.0.0.0 as a
subnet mask.
7. Click OK and then Close to apply the
new settings.
Important: To ensure system compatibility, download the latest firmware from
Support > Software on the Siqura website at www.siqura.com.
Important: Log on as user “admin” with an empty password if the firmware version
of the camera server board is lower than v4.0.
