Skandia Elevator SE 140 Technical specifications
MAINTENANCE INSTRUCTIONS
L/I/H-LINE
Elevators
ZSA010GB 2020-09-01


SKANDIA ELEVATOR
Your conveyor system must be assembled correctly and maintained
thoroughly if it is to operate satisfactorily. These maintenance instructions and
the separate assembly instructions for each machine must be followed for the
warranty to apply.
We hope you will be pleased with your Skandia conveyor equipment for a long
time.
Safety information...................................................................................................................4
Safety decals....................................................................................................................................................................6
Maintenance...................................................................................................................................8
General ...................................................................................................................................................................................8
Bearings.................................................................................................................................................................................8
Plastic wearing surfaces, H-line..................................................................................................................8
Elevator boot.....................................................................................................................................................................8
Transmission.....................................................................................................................................................................9
Bucket belt......................................................................................................................................................................10
Troubleshooting...................................................................................................................... 14
Poor capacity/stop.................................................................................................................................................14
Motor stoppage.......................................................................................................................................................... 16
2-3 way valve leaking..........................................................................................................................................16
Technical specications............................................................................................... 17
Geared motor rating plate............................................................................................................................. 17
Elevator height............................................................................................................................................................ 17
Belt tension - Bucket belt ...............................................................................................................................18
Density table.................................................................................................................................................................18
SE..............................................................................................................................................................................................19
SEI ............................................................................................................................................................................................19
SEH..........................................................................................................................................................................................20
Thank you for choosing Skandia Elevator!
Contents
4SKANDIA ELEVATOR
The owner of the transport equipment is responsible for these assembly
instructions always being available to the tters, electricians, maintenance
technicians and engineering technicians concerned.
Inadequate maintenance and/or defective handling may lead to personal
injury or damage to the conveyor equipment and/or other equipment. It can
also cause malfunctions or a reduction in capacity.
Read these maintenance instructions carefully before maintenance or
operation commences. If any part of these instructions should be difcult to
comprehend, please get in touch with your reseller for assistance.
The safety information is presented and interpreted as follows:
!
WARNING!
Disregarding instructions given in warnings can cause serious personal
injury or death.
!
IMPORTANT!
Ignoring the instructions given in important texts may cause damage
to the conveyor equipment and/or other equipment. It can also cause
malfunctions or a reduction in capacity.
NB! indicates that the text contains information that will simplify the assembly
process.
General
!
WARNING!
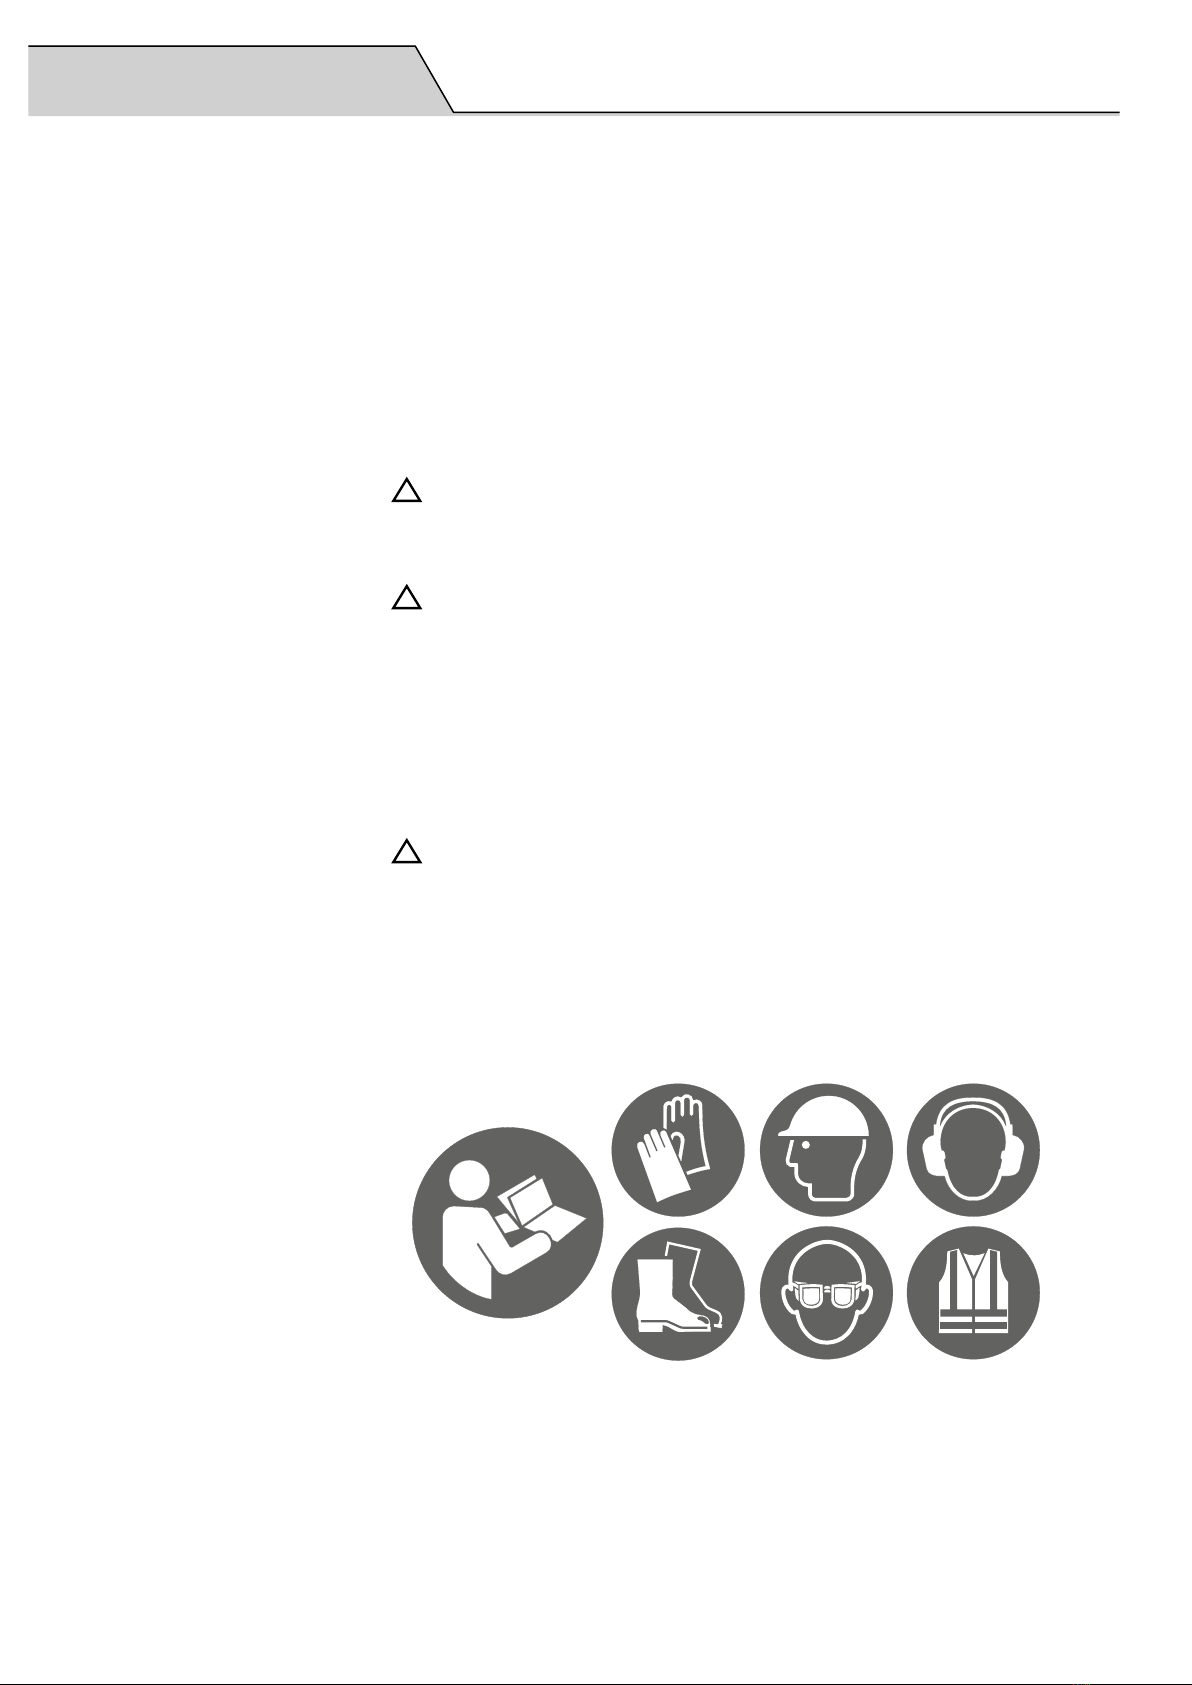
• Ensure that everyone responsible for assembly, electrical connection,
maintenance and operation of the conveyor equipment has read and
understood the instructions and safety information.
• Use protective gloves, helmet, steel-toed boots, ear defenders,
protective goggles and high-vis vest when carrying out assembly,
electrical connection, maintenance and operation of conveyor
equipment.
Safety information

5
SKANDIA ELEVATOR
!
WARNING!
• Stop the machinery and turn off electric power before attempting any
type of assembly, electrical connection or maintenance work.
• Do not start the machinery without the elevator hood and all hatches,
covers, lids and guards fitted in such a way they can only be opened
with tools.
• Ensure the back stop and its touch guard are fitted at all times.
• Connections to, from and between machinery must be permanently
mounted and fully enclosed. If the design of the installation does not
allow this at an outlet, finish off with a 1 m pipe.
• Ensure the machine is anchored and braced as described in the
assembly instructions.
!
IMPORTANT!
• If the machine is being assembled outdoors, the motors and
transmissions must be fitted with a weather cover.
• If a machine or part thereof in any way needs moving/dismantling,
follow the directions given in the assembly instructions.
• The machine can be stopped and restarted when full of material but
this option must not be used for intermittent operation.
• In the event of stoppage in operation, troubleshoot as described in
these maintenance instructions and ensure the elevator boot is free
of material before restarting.
• If a short circuit should occur, ensure that the electrical equipment is
in working order before continuing operation.
• Ensure that the electrical equipment is kept free from dirt, dust,
moisture and electrostatic charge.
Electrical connection
Incorrect electrical connection may lead to personal injury or damage to the
conveyor equipment and/or other equipment. It can also cause malfunctions
or a reduction in capacity.
!
WARNING!
• All electrical equipment is to be connected by a qualified electrician.
See separate connecting directions for electronics.
• The power switch must be permanently mounted and located to allow
easy access when carrying out maintenance work.
• Ensure that sensors and switches for speed, seed boot hatch, belt
alignment and explosion relief panel are active when in operation. NB!
Certain sensors/switches are optional accessories only on certain
machines.
!
IMPORTANT!
•Ensure the motor protection is set to the correct ampere setting for the
motor.
• Read the "Back stop" section in the elevator's assembly instructions
before test starting the motor for the first time.
6SKANDIA ELEVATOR
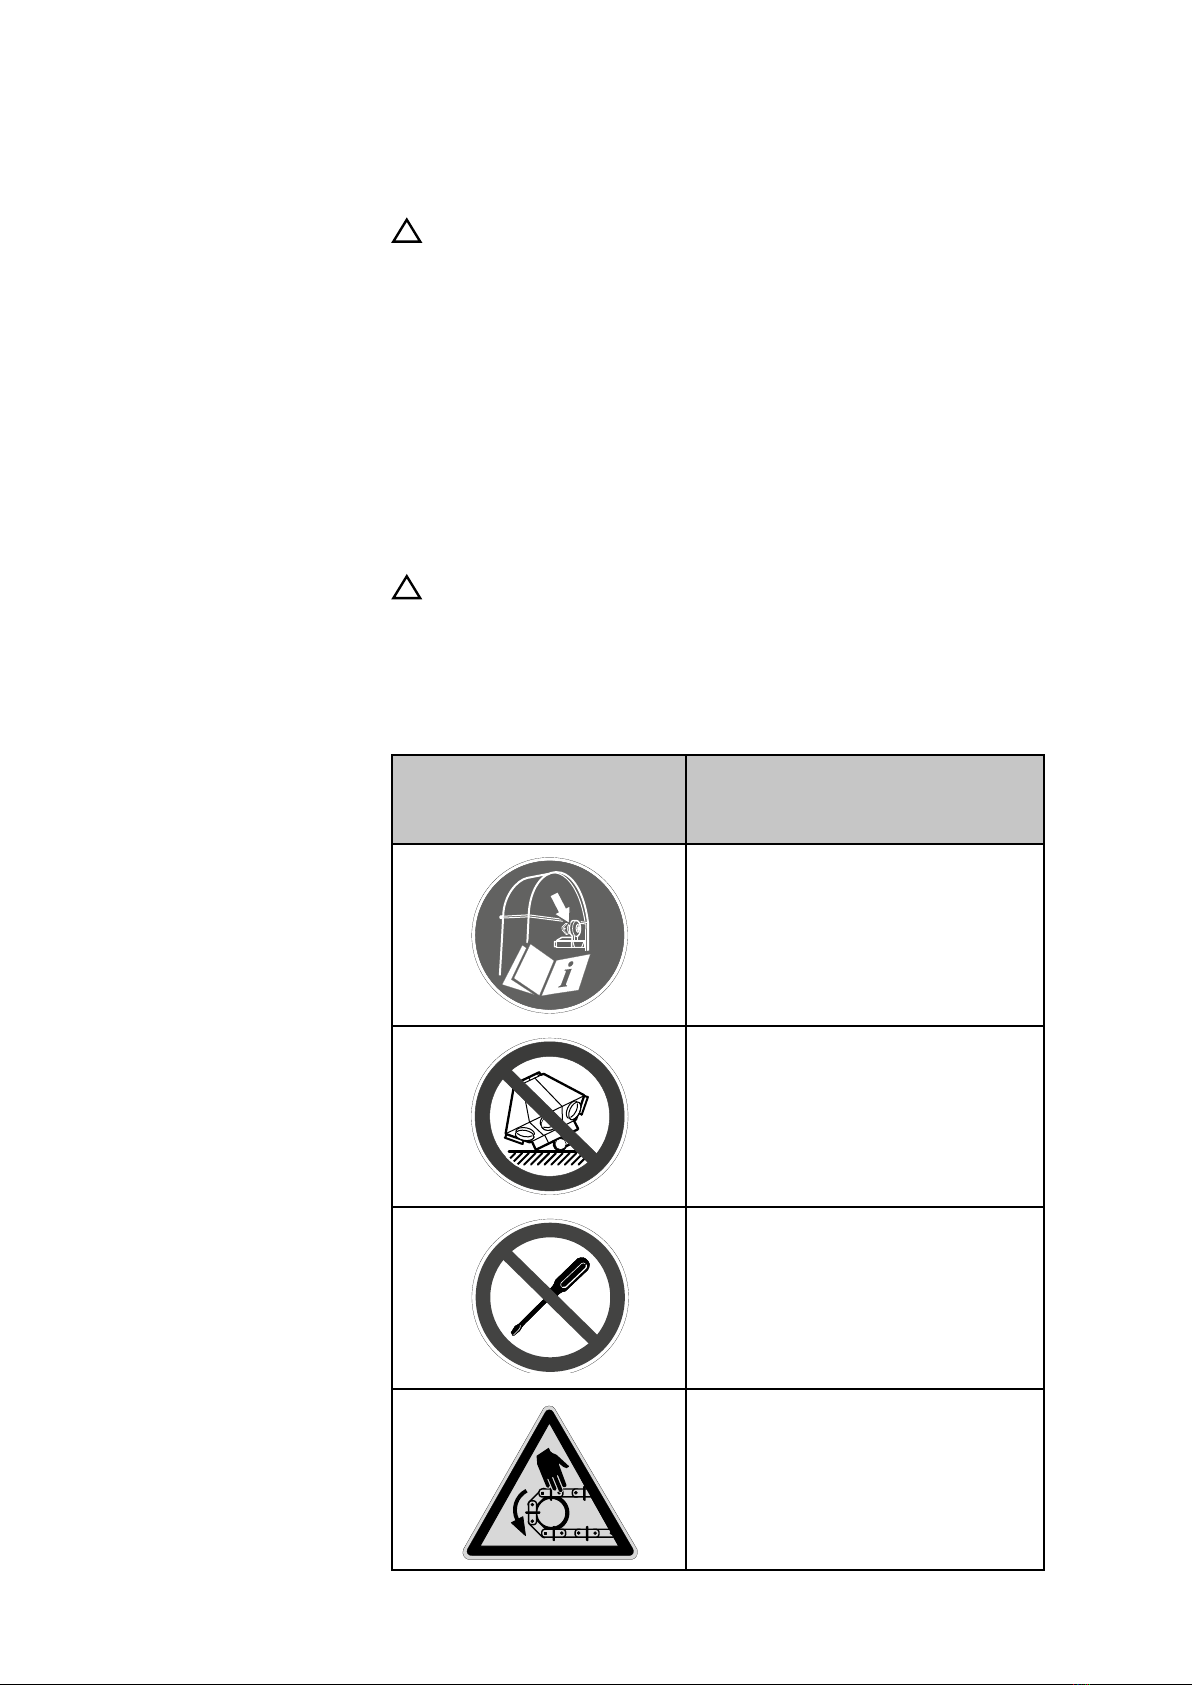
Part number/Safety decal
Refer to the "Machine Overview" chapter for
placement.
Written denition
DEK3090 Read the "Back stop" section in the
elevator's assembly instructions before
test starting the motor for the rst time.
DEK3100 Do not place the valve with the motor
side face down.
DEK3140 Changing settings and equipment is
prohibited.
DEK3030 Warning for conveyor chain!
S
K
A
N
D
I
A
E
L
E
V
A
T
O
R
–
D
E
K
3
0
9
0
SKANDIA ELEVATOR - DEK3030
S
K
A
N
D
I
A
E
L
E
V
A
T
O
R
–
D
E
K
3
1
0
0
S
K
A
N
D
I
A
E
L
E
V
A
T
O
R
–
D
E
K
3
1
4
0
Safety decals
!
WARNING!
The machine is supplied with safety decals on delivery. They must
not be removed or defaced. If a safety decal becomes damaged, you
can order a new one free of charge from Skandia Elevator AB. Specify
the part number of the decal. See the section below and the previous
chapter Machine Overview.
There are safety decals for:
- Mandatory (white symbol on round blue background).
- Forbidden (black strike-through symbol on round white background with red
surround).
- Warning (black symbol on triangular yellow background with black
surround).
!
WARNING!
The mandatory instruction, forbiddance or warning given on all safety
decals must be considered or serious injury or death may follow.
Skandia Elevator machines have the following safety decals:

7
SKANDIA ELEVATOR
DEK3060 Warning for bucket belt!
DEK3040 Warning for chain drive!
DEK3070 Warning for rotating conveyor drive
shaft!
DEK3080 Warning for rotating elevator drive shaft!
DEK3110 Warning for moving machinery!
DEK3120 Warning for moving machinery!
DEK3010 Warning for dust explosion!
DEK3130 Warning, a maximum of 2 people = 200
kg/440 lbs may be on the platform and
ladders simultaneously!
SKANDIA ELEVATOR – DEK3040
SKANDIA ELEVATOR – DEK3070
SKANDIA ELEVATOR – DEK3080
SKANDIA ELEVATOR – DEK3110
SKANDIA ELEVATOR - DEK3010
SKANDIA ELEVATOR – DEK3130
MAX
200 440
/
=kg lb
SKANDIA ELEVATOR – DEK3120
Part number/Safety decal
Refer to the "Machine Overview" chapter for
placement.
Written denition
DEK3090 Read the "Back stop" section in the
elevator's assembly instructions before
test starting the motor for the rst time.
DEK3100 Do not place the valve with the motor
side face down.
DEK3140 Changing settings and equipment is
prohibited.
DEK3030 Warning for conveyor chain!
SKANDIA ELEVATOR – DEK3060
8SKANDIA ELEVATOR
Maintenance
!
IMPORTANT!
All maintenance instructions in this chapter must be considered as
important texts.
General
Check annually that the bolts are securely in place, that no components
are missing and that there is no rust on the machinery. Replace damaged
components.
Bearings
NB! All bearings are greased-for-life and do not require additional lubrication.
Plastic wearing surfaces, H-line
Check the plastic wearing surfaces in the elevator boot (only applies to the
new generation H-line elevators) and the elevator head once a year and
always replace if necessary.
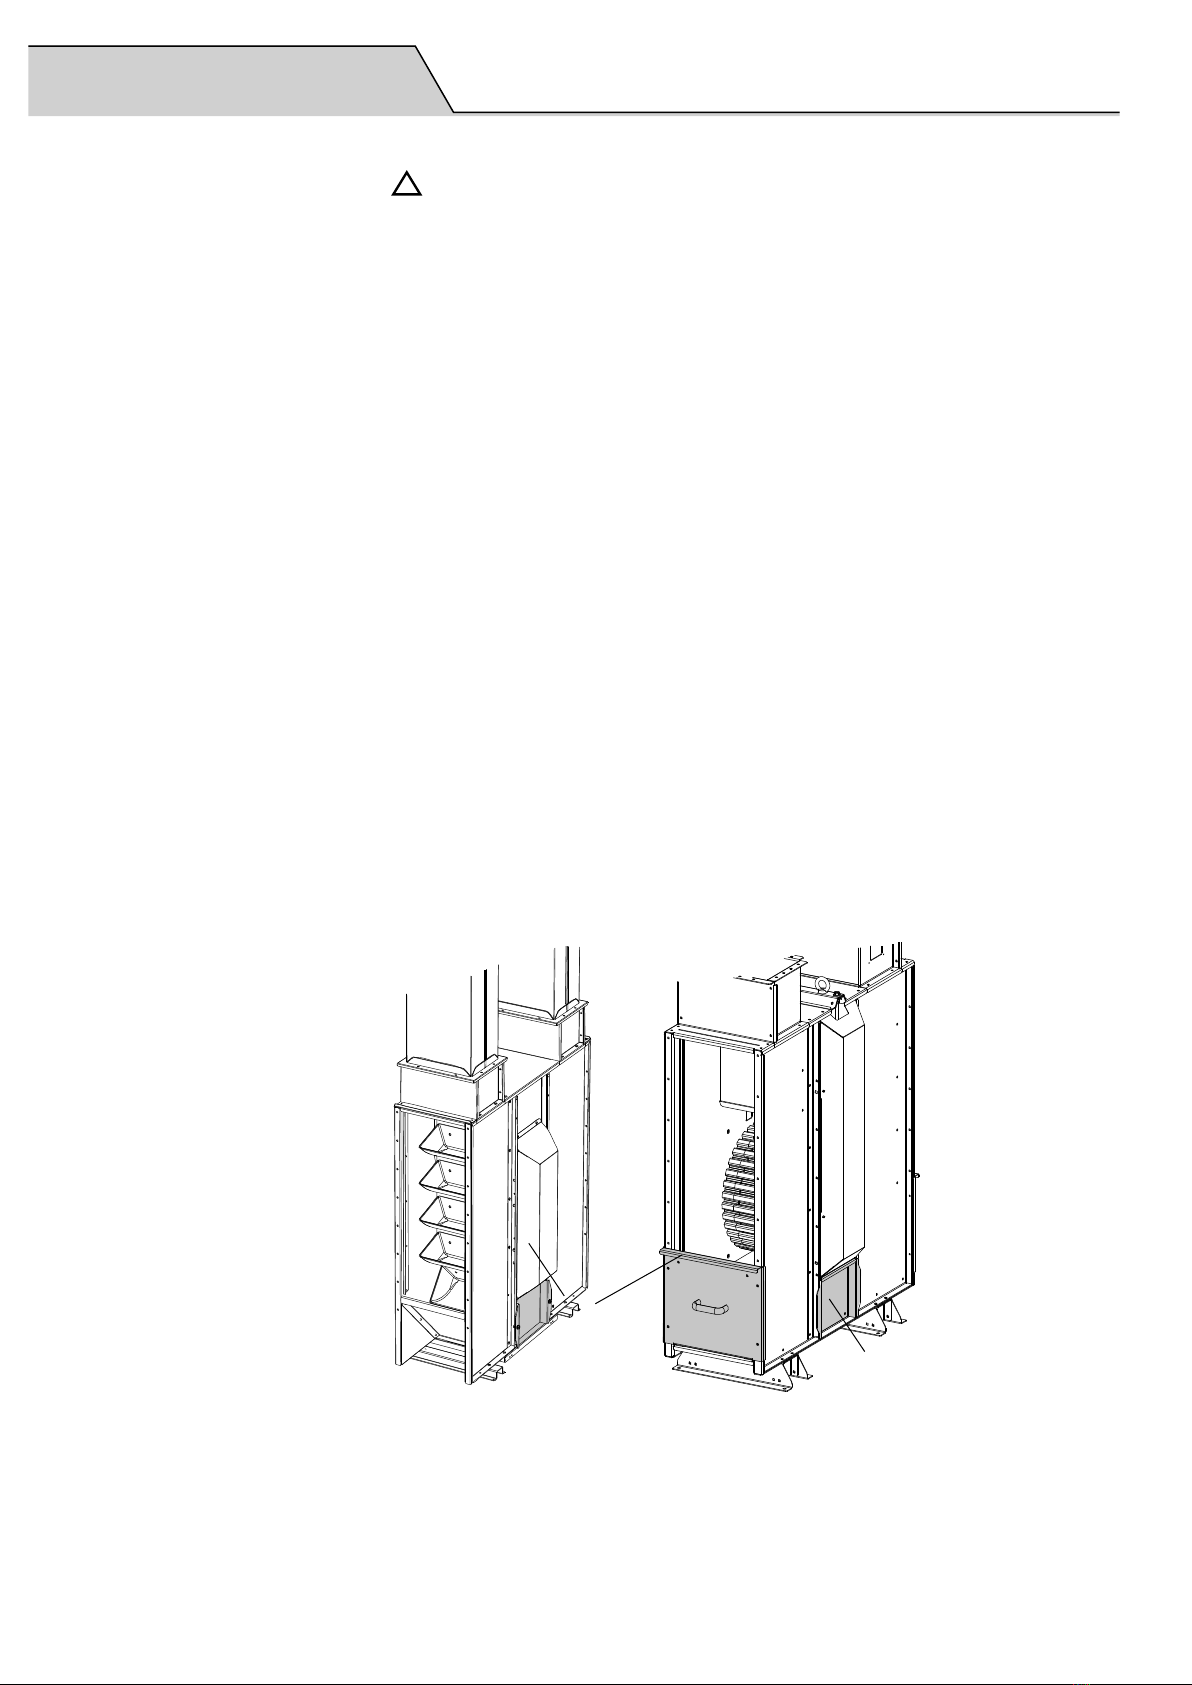
Elevator boot
Clear the elevator boot from grain after a completed drying season and make
sure there is nothing left that has started to grow before a new season starts.
A. Clean out hatch
New generation 50/18-63/30SE-SEI-SEH
AA

9
SKANDIA ELEVATOR
Transmission
Geared motor
The geared motor is lled with mineral oil on delivery. For more information
on oil grade on delivery, see the separate information attachment from the
manufacturer Nord.
Check the oil level before taking into service and at regular intervals
thereafter.
Change oil every 10,000 operating hours or at least every other year.
The interval between changes can be doubled if synthetic oil is used. When
operating in severe conditions such as high humidity, aggressive environment
or large temperature variations, the oil must be changed more often.
Clean the gear when changing oil.

10 SKANDIA ELEVATOR
Bucket belt
Check the tension of the bucket belt and centre it over the slatted pulleys
continuously. Check the rst time after 50 operating hours and then according to
the table:
SE Once a season or at least every 200 operating hours.
SEI Twice a year or at least every 400 operating hours.
SEH 3 times a year or at least every 1000 operating hours.
NB! If the speed monitor or belt alignment switch stops the machine, it may be a
sign that the bucket belt needs tensioning.
If the bucket belt is worn and needs changing, follow the directions given in the
assembly instructions for assembling the bucket belt.
Tighten the bucket belt - Belt tensioner in belt join
1.
Remove the bucket closest to the belt tensioner.
2.
Roll off a length of bucket belt from the tensioning pulley. Use a ratchet spanner
(torque wrench) in the tensioning pulley's square hole (A) and use a suitable tool
for support in the pipe (B).
3.
Undo the belt tensioner and t it in the holes for the removed bucket.
4.
Remove the buckets in the belt join.
5.
Tension the bucket belt with the belt tensioner. See recommended torque in the
"Technical specications" section.
6.
!
IMPORTANT!
Join the ends of the belt by mounting 3 buckets where the ends overlap. Drill
new holes through the ends of the belt if the existing holes are not aligned.
7.
Relieve the belt tensioner by releasing the ratchet one notch.
NB! The belt tensioner must remain mounted on the bucket belt when the
elevator is in operation.
A
B
This manual suits for next models
8
Table of contents
Other Skandia Elevator Elevator manuals


Popular Elevator manuals by other brands


Cibes Lift
Cibes Lift A4000 Operating and maintenance instructions

Waupaca
Waupaca Paca-Ryde installation instructions

ThyssenKrupp
ThyssenKrupp SC300 operating manual

ZIEHL-ABEGG
ZIEHL-ABEGG ZAS0 Amendment of the original operating instructions

Cambridge Elevating
Cambridge Elevating BES 3 Service guide

AGI
AGI Westeel Original instructions