Sola SD-1203 User manual

seed drill
SD-1203
MANUAL FOR COMMISSIONING
MAINTENANCE
DOSAGE
SPARE PARTS.
Read the instructions carefully before using the machine

Ref.: CN-811030/GB
10th Edition - March - 2017
The total or partial reproduction is prohibited.
Specifications subject to changes without advanced notice.

SOLÁ seed drillers and fertilisers are manufactured at a factory exclusively specialised in
this line and endorsed by the experience of many thousands of users.
They are machines equipped with sophisticated technology, designed to have a
long service life, free from faults, in the most varied conditions and with simple and
effective devices to carry out excellent work with minimal maintenance.
With the information on all its possibilities and configurations we want to help you
achieve what you expect of our machine.
Certified quality system
3

CONTENTS
1. INTRODUCTION....................................................................................................... 5
2. TECHNICAL SPECIFICATIONS ............................................................................... 6
2.1 Technical specifications ............................................................... 6
2.2 Standard equipment..................................................................... 6
2.3 Optional equipment ...................................................................... 6
3. SAFETY INSTRUCTIONS ........................................................................................ 7
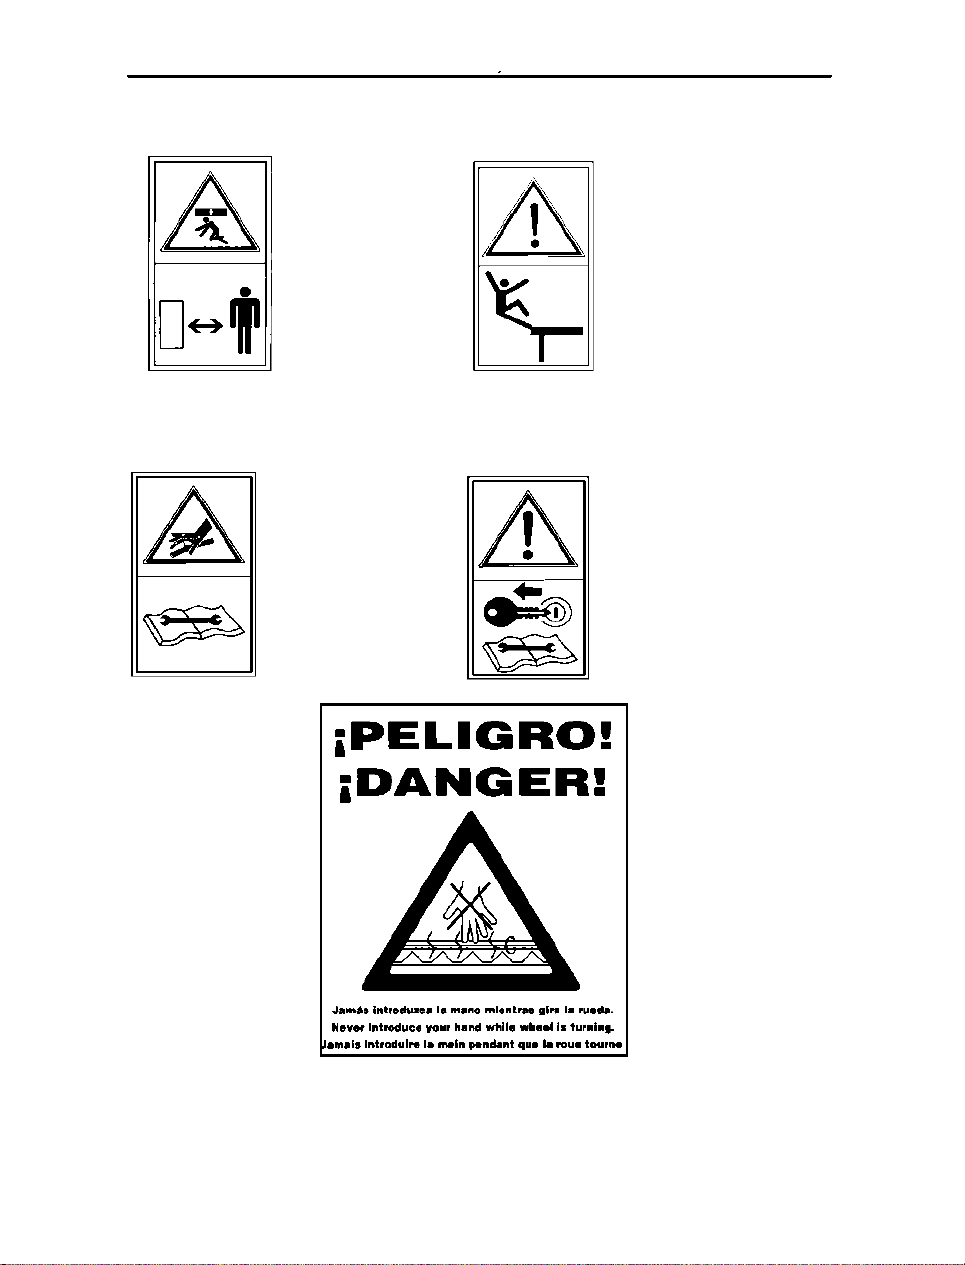
3.1 Safety symbols ........................................................................... 7
3.2 Use according to the design 9 ......................................................
3.3 General provisions ....................................................................... 9
3.4 Loading and unloading ................................................................. 10
4. KEY SOWING CONCEPTS ...................................................................................... 11
5. COMMISSIONING .................................................................................................... 15
5.1 Coupling the seed drill ................................................................. 15
5.2 Dosing mechanism ...................................................................... 16
5.3 Controlling the dosage ................................................................. 17
5.4 Seed prior check .......................................................................... 18
5.5 Testing the dosage ...................................................................... 20
5.6 Seed dosage setting ................................................................... 21
5.7 Combined distribution .................................................................. 23
5.8 Combined double hoppers ........................................................... 23
5.9 Combined dosage ........................................................................ 24
5.10 Sowing equipment ...................................................................... 25
5.11 Adjusting the sowing depth ........................................................ 26
5.12 Adjusting the compression springs ............................................ 27
5.13 Chassis ballasting ...................................................................... 27
5.14 Adjusting the press wheel .......................................................... 28
6. ACCESSORIES ........................................................................................................ 29
6.1 Harrow with flexible tines ............................................................. 29
6.2 Hectare counter ........................................................................... 30
6.3 Track markers .............................................................................. 31
6.4 Variator hydraulic control ............................................................. 31
7. MAINTENANCE ....................................................................................................... 32
7.1 Lubrication .................................................................................. 32
7.2 Tyre pressure ............................................................................. 33
7.3 Nuts and bolts .............................................................................. 33
7.4 Combined machine anti-rust check ............................................. 33
8. DOSAGE TABLES .................................................................................................... 34
9. SPARE PARTS ......................................................................................................... 38
9.1 Chassis ........................................................................................ 39
9.2 Suspended machine tripod and coupling kit ................................. 41
9.3 Seed drill disc coulter (common elements) ................................... 43
9.4 Rubber wheel sowing arm ........................................................... 47
9.5 Iron wheel sowing arm ................................................................. 48
9.6 Seed drill / combined hopper ...................................................... 49
9.7 Seed drill / combined distribution ................................................ 51
9.8 Seed variator ............................................................................... 53
9.9 Fertiliser variator .......................................................................... 55
9.10 Transmission ............................................................................. 57
9.11 Transmission arm ...................................................................... 59
9.12 Harrow ....................................................................................... 63
9.13 Drag train ................................................................................... 65
9.14 Tow bar ...................................................................................... 67
9.15 Service brake ............................................................................. 69
9.16 Spreading................................................................................... 71
9.17 Hydraulic control for the variators ............................................... 73
4

INTRODUCTION
1.INTRODUCTION
Before starting up the seed drill, it is essential to read the instructions and
recommendations in this manual. This will ensure a reduction in the danger
of accidents, prevent damage to the seed drill due to misuse and increase its
performance and service life.
All persons who carry out operations (including preparation, repairing faults in
the field and general care for the machine), maintenance (inspection and
technical assistance) and transport must read the manual.
For your own safety and that of the machine, the technical instructions on
safety must be respected at all times. SOLÁ shall not be held responsible for
any damage or faults resulting from any breaches of the instructions provided
herein.
The first chapters cover the Technical Specifications and Safety Instructions,
as well as key sowing concepts. A basic understanding of the key knowledge
required to operate the machine is provided in the Commissioning and
Maintenance sections. The end of the manual features a Dosage Table for
various types of seeds and fertiliser and a List of Spare Parts.
INTRODUCTION-4- SOLÁ reserves the right to modify the illustrations,
technical data and weights specified in this manual if it deems that such
modifications contribute to improving the quality of the seed drills.
SOLÁ reserves the right to modify the illustrations, technical
data and weights specified in this manual if it deems that such
modifications contribute to improving the quality of the seed
drills.
5

TECHNICAL SPECIFICATIONS
2. TECHNICAL SPECIFICATIONS SD-1203
2.1 TECHNICAL SPECIFICATIONS
TYPE
SEPARATION
HOPPER
WEIGHT (kg)
AND No. OF
BETWEEN
WORKING
CAPACITY
DISCS
DISCS (cm)
WIDTH (m)
(litres)
250/13
18
2.35
850
2400
300/17
18
3
1040
2600
350/19
18
3.5
1230
2900
400/21
18
3.8
1430
3200
TYPE
AND No. OF
DISCS
SEPARATION
BETWEEN
DISCS (cm)
WORKING
WIDTH (m)
HOPPER
CAPACITY (litres)
SEED FERTILISER
WEIGHT (kg)
250/13
18
2.35
400 450
2470
300/17
18
3
500 540
2675
350/19
18
3.5
590 640
2980
400/21
18
3.8
680 750
3285
2.2 STANDARD EQUIPMENT
• Furrow-opening disc coulter
• Independent rubber depth control wheels
• Seed boots and cast furrow closing wheel
• High-capacity hopper
• Unobstructed harrow with hydraulic fold-up W-tines
• Speed variator
• Tray, scales, crank and grain counter
• Light equipment
• Loading platform with an access ladder
2.3 OPTIONAL EQUIPMENT
• Hectare counter
• Hydraulic track markers without monitor
• Track marker with electrical clutch and monitor
6

SAFETY INSTRUCTIONS
3. TECHNICAL SAFETY INSTRUCTIONS
3.1 SAFETY SYMBOLS
This manual contains three types of safety and hazard symbols:
To facilitate the work of the seed drill.
To prevent damage to the seed drill or optional
equipment.
The prevent harm to persons.
Additionally, the following warning signs are found on the machine:
Carefully read and
follow the
instructions for use
and safety
precautions.
Keep away from
the rear of the
tractor when
coupling the seed
drill.
Danger of serious
injury.
Coupling point for raising the machine
7

SAFETY INSTRUCTIONS
Crushing hazard
when working
underneath the
machine. Secure
it to prevent it
from collapsing.
Danger of
serious injury.
Do not climb the
ladder while the
machine is running.
Danger of injury.
Keep the
hydraulic hoses
in good working
condition.
Danger of
serious injury.
Before
performing
maintenance or
repairs on the
machine, stop
the tractor
engine and take
the key out of the
ignition.
Do not place your hand in the hopper
while the wheel is turning.
Danger of injury.
8

SAFETY INSTRUCTIONS
3.2 USE ACCORDING TO THE DESIGN
- The seed drill SD-1203 has been manufactured to be applied normally in
farming work, especially for sowing cereals and other grain seeds.
- If damage is caused as a result of using the machine for other applications,
the manufacturer shall not be held responsible.
- All the legal provisions regarding the safety of machines, traffic, and hygiene
and safety at work must be fulfilled.
- Any changes made by the user render the possibility of the manufacturer's
guarantee void in the case of damage caused.
3.3 GENERAL SAFETY PROVISIONS
- Verify the safety of the machine in terms of the work and as regards traffic
each time before starting up the machine.
- Follow road signs and traffic instructions when using public roadways.
- It is strictly prohibited to ride on the machine when it is working or being
transported.
- Before starting up the machine, make sure you are acquainted with the
operating elements and the way in which it operates.
- Pay particular attention when coupling and uncoupling the machine to and
from the tractor.
- The power take-off transmission must be protected and in good working
condition. Prevent the protector tube from turning by holding it using the chain in
place for this purpose. The clutch side will be mounted on the seed drill.
- Only fit the power take-off transmission when the engine is switched off.
- Make sure that nobody is in the danger area of the machine before connecting
the power take-off.
9

SAFETY INSTRUCTIONS
- Never leave the driver’s seat while the machine is running.
- Do not place foreign elements in the hopper.
- Remove pressure from the circuit and stop the engine before working on the
hydraulics.
- Under normal conditions, the tubes and hoses of the hydraulic circuits are
subject to natural ageing. The service life of these components must not exceed
six years. Check their condition on a regular basis and replace them after the
aforementioned time.
- The front axle of the tractor discharges when raising the seed drill. Make sure it
has sufficient counterweight to prevent a tipping hazard. Verify the steering and
braking capacity in this situation.
- During transport with the seed drill raised, block the lowering switch. Before
climbing down from the tractor, lower the machine to the ground and take the key
out of the ignition.
- When performing maintenance with the machine raised, always use sufficient
support elements to prevent the machine from falling.
- It is dangerous to approach the transmission wheel.
3.4 LOADING AND UNLOADING
Load and unload the machine with the tow bar and the drag train removed.
Use a bridge crane and tow ropes that are suitable for the weight of the
machine. The tow ropes must be fastened to the chassis of the machine to
ensure that it remains level when suspended.
Due to the inherent danger in these operations, the personnel carrying them
out must be responsible and duly qualified. Clear the surroundings of the
machine when it is suspended, in order to minimise the risks of collapse.
Optionally, a forklift truck can also be used. Make sure that it has sufficient
power for the weight of the machine and clear the surroundings during the
loading and unloading tasks.
10

KEY CONCEPTS
4. KEY SOWING CONCEPTS
4.1 EARTH
The better the condition, the higher the sowing quality. It is not possible to
carry out good work on large clods of earth or highly uneven furrows.
Although SOLÁ machines can resist strong forces in adverse
circumstances, good quality sowing is not possible if the seedbed does
not meet the stipulated conditions.
4.2 SEED
It is essential to use accomplished quality seeds and, in the case of
barley, those that are well de-burred.
4.3 DEPTH
Between three to five centimetres is recommended. Excessive depth is a
very costly error, since the rhizome cannot reach the surface and the plant
dies. It does not matter if some seeds are visible: the harrow tines will
cover them up.
The sowing depth influences the tillering, the plant vigour and its
resistance to ice and drought: the sprouting node always remains
between 1 and 2 cm under the surface, whatever the depth at which the
seed is planted.
Sowing deeper seeds does not result in deeper roots. Only a few roots
spring from the bottom of the seed. The primary root mass shoots from
the sprouting node almost at the soil level.
11

KEY CONCEPTS
Normal depth sowing: from
2 to 4 cm
Thick stem, short rhizome,
good resistance to ice.
Multiple tillering: from 3 to 6
daughter tillers; and many
leaves: between 6 and 10.
Medium depth sowing:
between 5 and 6 cm
Thin stem, rhizome exposed
to ice.
Late, poor quality tillering: 1
or no daughter tillers; and
few leaves: round 3 or 4.
Very deep sowing: from 8 to
10 cm
Very thin stem. Zero tillering
and one single leaf.
The grain reserves run out in a
long rhizome that can be easily
cut by ice.
Large tuft of roots: from 5 cm
in width and 10-12 cm deep.
Regular tuft of roots: from
3 cm in width and 5 cm deep.
Poor tuft of roots: from 1 cm in
width and 3 cm deep.
More ears are obtained with
fewer grains per square
metre.
More grain is required per
square metre to obtain the
same amount of ears as in
case 1.
Double the amount of grain is
required per square metre to
obtain the same amount of ears
as in case 1.
* In very cold areas successive frosts can cause bulking in the
top layer of soil, with the danger of the emergence of
burgeoning roots of the plant, resulting in its death. In these
cases, it is advisable to plant at a greater depth or, where
possible, use the roller to press the ground and better shelter
the seed.
In the 1203-SD the transmission wheel that actuates the
speed variator that distributes the gain is located on the right
of the machine. Therefore, sharp turns, if required, must be
made to the left, since turning on the drive wheel itself causes
less seed to be distributed.
When starting up the machine, for one metre, there are no
seeds in the furrow. In turn, when stopping the machine, the
grain that is descending through the tubes will drain, piling up.
Take this into account for good spreading
Always work at a consistent speed. Sharp accelerations and
sudden braking can cause uneven distribution of the seed.
12

KEY CONCEPTS
4.4 CHEMICAL TREATMENTS
Direct sowing involves the implicit concept of non-tillage, in which the prior
treatment of all kinds of weeds is fundamental. Thus, it is fully advisable to
seek thorough advice from specialists in chemical treatments on the
product, frequency and intensity of the most suitable treatment to carry out
quality sowing, guaranteeing – where possible – acceptable yield.
It is not uncommon, on some occasions, for the non-tillage technique to be
unsatisfactory, explicitly due to incorrectly applying herbicides.
4.5 BASIC RULES FOR GOOD WORK
1. Keep the machine level to ensure an equal depth of the two rows. It is
harder to close the furrow in wet or clay soil than in dry or sandy soil,
thus, it is advisable to work at a shallow depth.
2. Due to the special formation of its tines, the W-shaped harrow does not
drag residue or straw and it collaborates in covering the seeds in a
better way. For crops planted at highly shallow depths, as is the case
with oilseed rape or lucerne, the effectiveness in which it is covered is
fundamental.
3. Light pressure applied to the springs of the sowing arms will improve the
adaptation to uneven ground, where sowing is possible.
4. The discs penetrate the ground better at slow speeds. Furthermore, the
seed is distributed unevenly with sharp accelerations and sudden
braking. The penetration of the discs is not improved at excessive
speeds, and pressure is further increased on the arms; otherwise, the
pneumatic wheels can slide.
5. Do not delay changing worn boots or discs. This would entail false
economy and would be a detriment to work.
13

NOTES
14

COMMISSIONING
5. COMMISSIONING
5.1 ASSEMBLY AND COUPLING
In order to assemble the drag train, firstly, the central supports must be
fitted (A, Fig. 2) to the chassis, making sure not to tighten the bolts;
secondly, the rear train must be fitted (B, Fig. 2) and, lastly, the tow bar (C,
Fig. 2), using a dead-blow hammer. Once this is complete, all the bolts can
be tightened.
The seed drill is coupled to the tractor using the tow bar. The hoses that
actuate the cylinders of the drag train and of the harrow support must be
connected to the tractor's double-acting outlets. Before starting work, it is
necessary to verify that the cylinders are in good working order.
To carry out the work, the two rear wheels must be raised, so that the
machine fully rests on the furrow-opening disc coulters, adjusting the height
of the tractor's hydraulic lift until the seed drill is fully horizontal. In turns
within the same working plot, it is possible to simply raise the two rear
wheels.
15
Fig. 2

COMMISSIONING
5.2 DOSING MECHANISM
Sola's dosing mechanism can be set to two constant positions:
- Narrow position with small teeth for small seeds (Fig. 3).
- Wide position, with large alternated housings for regular and large seeds
(Fig. 4 and 5).
Fig. 4
Fig. 6
There are two purposes to the base flap:
- Adjust the opening of the lower shut-off gate of the dispenser to adapt it to
the seed size (Fig. 3, 4 and 5).
- Empty the seeds in the hopper onto the tray, fully opening the shut-off
gates (Fig. 6).
16
Fig. 3
Fig. 5
To easily switch the roller from the WIDE to the NARROW
position, the dosing mechanism must be free of seeds,
otherwise the grains would prevent the roller from sliding.
Once the position of the dosing mechanism is decided (narrow or wide)
and the opening of the base flap is set (according to grain size), the flow of
the seeds to be distributed is determined according to the speed at which
the dosing rollers turn.
The speed variator determines this speed, and enables from 0 to
600 kg/ha of seed to be sown with exacting precision.

COMMISSIONING
5.3 CONTROLLING THE DOSAGE
Check that the dosing shut-off gates are open, therefore, enabling the
seeds to flow. After checking that there are no foreign objects inside the
hopper, connect the agitator shaft to the bushing of the variator.
Set the dosing mechanism position
lever into place:
A. right, wide position for
wheat, barley, etc.
B. centre, medium position
for sunflowers, peas, etc.
C. left, narrow position for
lucerne, oilseed rape, etc.
Fig. 7
Place the base flap lever (to the left
of the hopper) on the 7-position
sector:
No. 1, for small seeds
No. 3, for wheat and barley
No. 7, for very large seeds
To empty the hopper, place the tray
below the dosing wheel and shift the
lever fully forward, beyond no. 7.
Release the knob of the variator,
move the lever on the graduated
sector from 0 to 100 and, once again,
check the number that was previously
selected, using the table on pg. 33 as
a guide.
17

COMMISSIONING
5.4 SEED PRIOR CHECK
Once the dosing wheel positions, and the positions of the base flap and
the variator lever are set, a seed dosage test must be carried out.
FIRST: slide the nozzle-holder bar forward, releasing the latches that hold
it in its working position, until it reaches the position in which to place the
tray (Fig.) 10).
Fig. 10
SECOND: remove the tray from its transport base (A, Fig. 11) and slide it
horizontally under the dispensers (B, Fig. 11).
Fig. 11
18

COMMISSIONING
Return these seeds to the hopper, return the tray to its position under the
dispensers and start to turn the crank in a clockwise direction.
Machine type
turns
250/13 (235)
55.5
300/17
43.5
350/19
37.3
400/21 (380)
34.3
The crank must be turned at a high frequency: approximately one turn per second.
If it is turned too fast, the kilograms per hectare would be distorted.
THIRD:
-Remove the pins from the connection sleeve of the hexagonal bar of the
transmission and slide it towards the centre of the machine. (Fig. 12 and 13).
-Disengage the assembly, fixing the sleeve in this position (Fig 14)
-Place the crank inside the variator and turn it several times (Fig. 15) until the
seeds start to fall into the tray.

COMMISSIONING
Finally, remove the tray and accurately weigh the collected seeds. This
weight, multiplied by 40, is the kilograms per hectare that the machine will
dispense with the previously selected opening.
In order to comfortably carry out these operations, it is advisable for the
machine to be coupled to the tractor, in a partially raised position.
If excess treatment powder is observed on the seeds the flow may be
reduced. Therefore, it is advisable to perform a second check after having
distributed three hoppers.
5.5 TESTING THE DOSAGE
If differences emerge between the test and the real dose distributed by the
machine, e.g. due to highly uneven or very soft ground, and experimental
test may be carried out.
Firstly, mark the distance in metres – indicated in the following table – on
the ground of the field using a tape measure:
Machine type
metres covered
250/13 (235)
106.4
300/17
83.3
350/19
71.4
400/21 (380)
65.8
Subsequently, drive the marked distance with the seed drill in the working
position. Count the turns of the wheel over the distance covered, using a
mark previously made on the transmission wheel.
Thus, you will obtain the true number of turns to make in the seed dosage
test. If you perform the test with this number of turns, you will obtain the real
kilos per hectare distributed by the machine.
20
Table of contents
Other Sola Farm Equipment manuals