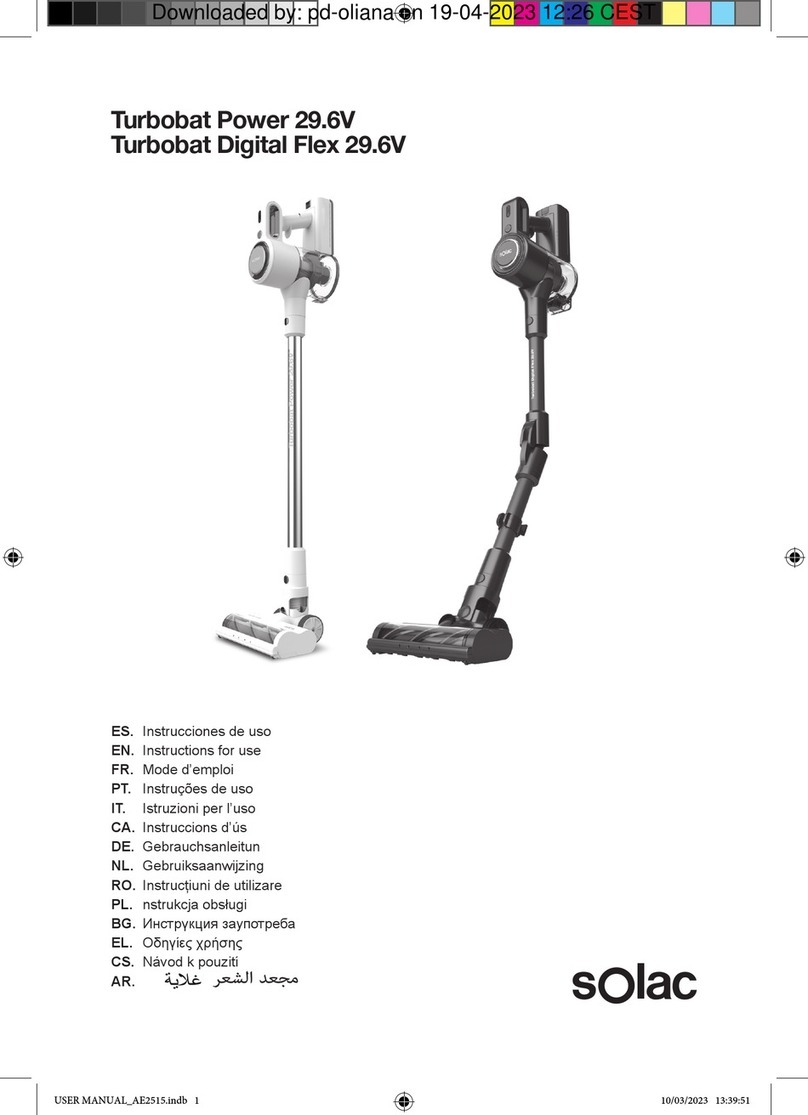
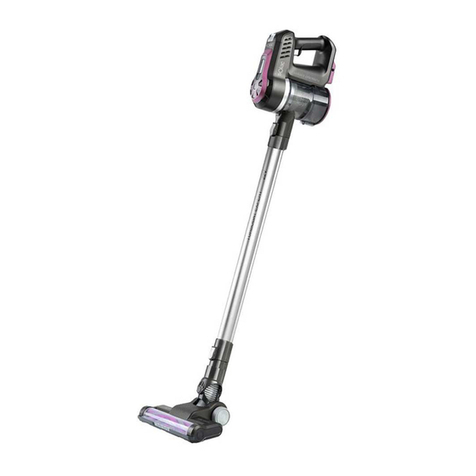
SOLAC AE2529 User manual

MOD.
AE2529 / AE2536
Solac is a registered Trade Mark
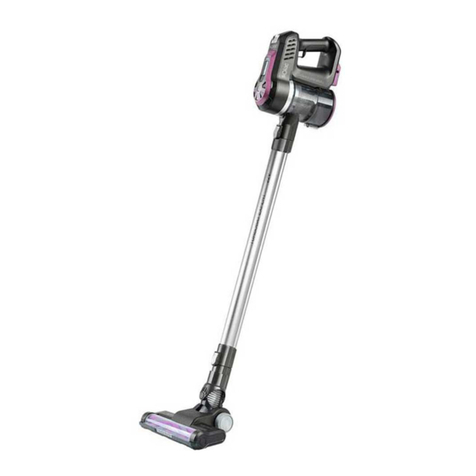
STICK VACCUM CLEANER
INSTRUCTIONS FOR USE

A
J
J
H
L
M
B
D
C
N
O
R
I
P
E
G
F
Q
K

max
M
K
Fig 1
Fig 3
Fig 5
Fig 2
Fig 4
Fig 6

T5 T7
T8
T10
T9 T12
T11
T6
Fig 8
C1
C2
C3
Fig 9 Fig 11
C4
Fig 10
T1 T3
T4T2
Fig 7
R

ENGLISH EN
Dear customer,
Many thanks for choosing to purchase a SOLAC
brand product.
Thanks to its technology, design and operation
and the fact that it exceeds the strictest quality
standards, a fully satisfactory use and long prod-
uct life can be assured.
• Read these instructions carefully before
switching on the appliance and keep them for
future reference. Failure to follow and observe
these instructions could lead to an accident.
SAFETY ADVICE
AND WARNINGS
• This appliance can be used
by children aged from 8 years
and above and persons with
reduced physical, sensory or
mental capabilities or lack of
experience and knowledge if
they have been given supervi-
sion or instruction concerning
use of the appliance in a safe
way and understand the haz-
ards involved.
• Cleaning and user mainte-
nance shall not be made by
children without supervision
• This appliance is not a toy.
Children should be supervised
to ensure that they do not play
with the appliance.
• Disconnect the battery charger
from the mains when not in use
and before undertaking any
cleaning task.
• The battery must be removed
from the appliance before it is
scrapped
• The appliance must be discon-
nected from the supply mains
when removing the battery
• The battery is to be disposed
of safely
• If the connection to the mains
has been damaged, it must be
replaced, take the appliance to
an authorised technical sup-
port service. Do not attempt to
disassemble or repair the ap-
pliance by yourself in order to
avoid a hazard.
• -
er, provided with the appliance.
• Ensure that the voltage indicated on the charg-
er rating label matches the mains voltage be-
fore plugging in the charger.
• Connect the appliance to a socket that can
supply a minimum of 10 amperes.
•
mains socket. Do not alter the plug. Do not use
plug adaptors.
• Do not force the power cord. Never use the
power cord to lift up, carry or unplug the bat-
tery charger.
• Check the state of the power cord. Damaged
or tangled cables increase the risk of electric
shock.
• Do not touch the plug with wet hands.
• Do not use the appliance if the cable or plug
is damaged.
• If any of the appliance casings breaks, immedi-
ately disconnect the appliance from the mains
to prevent the possibility of an electric shock.
• Do not use the appliance if it has fallen on the
it has a leak.
• Avoid all contact with the liquid that could be
released from the battery. In case of contact
with eyes, wash them thoroughly and seek
medical advice. The liquid spilled from the bat-
tery may cause irritation or burns.

EN
USE AND CARE:
•
correctly in place.
• Do not use the appliance to gather up water or
any other liquid.
• Do not use the appliance if the on/off switch
does not work.
• Respect the MAX level indicator. (Fig.1)
• Remove the batteries from the appliance if you
are not going to use it for some time.
• This appliance is for household use only, not
professional, industrial use.
• Store this appliance out of reach of children
and/or persons with physical, sensory or re-
duced mental or lack of experience and knowl-
edge.
• Do not work on areas where there are metal
objects, such as nails and/or screws.
• Never vacuum hot or sharp objects (cigarette
butts, ashes, nails, etc.).
• Do not open the battery/ies under any circum-
stances whatsoever.
• Only use the appliance for carrying out dry
tasks.
• Do not use the appliance on any part of the
body of a person or animal.
• Recharge the battery/ies only with the charger
supplied by the manufacturer. A charger that
is suitable for one type of battery may cause
battery/ies.
• Use the device only with the battery/ies for
of any other battery/ies s can cause an explo-
SERVICE:
• Any misuse or failure to follow the instructions
for use renders the guarantee and the manu-
facturer’s liability null and void.
DESCRIPTION
• A Vacuum cleaner base
• B ON/OFF and CHARGING pilot light
• C Deposit
• D On/off switch
• E Vacuum cleaner handle
• F Vacuum cleaner body
•
• H Battery indicator
• I Rotating brush
• J Shoe wheels
• K Deposit cover
•
•
• N Wall bracket for charging
• O Battery charger
• P Brush LEDs
• Q Dust removal button.
• R Hook to hang.
• If the model of your appliance does not have
the accessories described above, they can
also be bought separately from the Technical
Assistance Service.
INSTALLATION
• Be sure to remove all packaging material from
inside the appliance.
ASSEMBLING THE WALL BRACKET:
• The appliance has a wall bracket (N) on which
it can be supported.
• Fix the wall bracket as you think appropriate,
using plugs, screws, and adhesive…
•
should be able to support twice the weight of
the appliance.
• Place the hook R on the back of the appliance.
(Fig. 11)
• Fit the appliance into the wall support.
CHARGING THE BATTERY
• Caution: A new battery is not fully charged and
must therefore be charged before the appli-
• Charge the battery at an atmospheric temper-
ature of between 4 and 40ºC.
• Plug the charger (O) into the mains.
• Approximately 4 to 5 hours are needed for a
complete charge of the battery. Never attempt
to over-charge the battery (although it is rec-
be of 6 hours in duration).
• The pilot light will come on to indicate that the
charger is charging the battery.
• When the battery is charged disconnect the
charger from the mains supply.
• NB: Do not use the appliance while it is con-
nected to the charger.
INSTRUCTIONS FOR USE
BEFORE USE:
• Make sure that product’s packaging has been
removed.
•
is important to make a full charge of batteries.

EN
• Prepare the appliance according to the func-
tion you wish to use:
USE:
• Turn the appliance on, by using the on/off but-
ton.
• Turn the appliance on, by using one of the
speed selection buttons.
• The pilot light (B) comes on.
• Select the desired speed. (Fig. 2)
ONCE YOU HAVE FINISHED USING THE AP-
PLIANCE:
• Turn the appliance off using the on/off button.
• Clean the appliance.
PARKING POSITION:
• This appliance has its own parking position for
comfortable and straightforward storage.
CLEANING
• Disconnect the battery charger from the mains
and allow it to cool before undertaking any
cleaning task.
• Clean the equipment with a damp cloth with a
few drops of washing-up liquid and then dry.
• Do not use solvents, or products with an acid
or base pH such as bleach, or abrasive prod-
ucts, for cleaning the appliance.
• Never submerge the appliance in water or any
other liquid or place it under running water.
EMPTYING THE DUST BOX
• Empty the dust box when it is full (observation
facilitated by transparent windows), or when
vacuuming power is notably reduced.
• Remove the dust tank pressing the removal
dust tank button (Fig. 3)
• Open the lid of the dust box and empty the
contents into the appropriate waste disposal
receptacle. (Fig.4)
•
•
• Assable the dust tank to the vacuum cleaner
body.
CHANGING THE FILTERS:
•
least once a year or every 50 hours of the ap-
pliance’s use.
TO REMOVE THE FILTERS:
• Remove the dust tank pressing the removal
dust tank button (Fig. 3)
•
•
above instructions, in reverse order.
CLEANING THE ROTARY BRUSH:
• To remove the brush:
•
in order to release the brush. (Fig.6)
• Remove the brush and clean.
• To reassemble, follow the above instructions
but in reverse.
SUPPLIES
• Supplies can be acquired from distributors
etc...) for your appliance model.
• -
cally for your appliance model.
• These supplies are available in specialist
shops.
ANOMALIES AND REPAIR
• Take the appliance to an authorised technical
support service if product is damaged or other
problems arise. Do not attempt to disassemble
or repair the appliance yourself as this may be
dangerous.
FOR EU PRODUCT VERSIONS AND/OR IN
CASE THAT IT IS REQUESTED IN YOUR
COUNTRY:
ECOLOGY AND RECYCLABILITY OF THE
PRODUCT
• The materials of which the packaging of this
appliance consists are included in a collection,
wish to dispose of them, use the appropriate
public recycling bins for each type of material.
• The product does not contain concentrations
of substances that could be considered harm-
ful to the environment.
- This symbol means that in case you wish
to dispose of the product once its working
life has ended; take it to an authorised
waste agent for the selective collection of
Waste from Electric and Electronic Equipment
(WEEE).
- This symbol means that product may in-
clude a battery or batteries; user must to
remove them before disposing of the prod-
uct. Remember that batteries must be disposed
of in duly authorised containers. Do not dispose
EN
HOW TO REMOVE THE BATTERIES FROM
THE INTERIOR OF THE DEVICE:
• CAUTION: It is important that the batteries are
fully discharged prior to its withdrawal from the
apparatus.
• CAUTION: the appliance must be disconnect-
ed from the supply mains when removing the
batteries.
• To remove the batteries, once the life of the
appliance, proceed as follows:
• Remove the dust tank pressing the removal
dust tank button (Fig. 3)
• Remove the screws T1, T2, T3, T4. (Fig. 7)
• Remove the screws T5, T6, T7. T8. T9, T10,
T11, T12 and separate the two body parts.
(Fig. 8)
• Disconnect connections C1, C2 and C3. (Fig.9)
• Disconnect connection C4. (Fig. 10)
• Safely remove the battery from its housing.
This appliance complies with Directive 2014/35/
EC on Low Voltage, Directive 2014/30/EC
on Electromagnetic Compatibility, Directive
2011/65/EU on the restrictions of the use of
certain hazardous substances in electrical and
electronic equipment and Directive 2009/125/
EC on the ecodesign requirements for ener-
gy-related products
Other manuals for AE2529
1
This manual suits for next models
1
Table of contents
Other SOLAC Vacuum Cleaner manuals

SOLAC
SOLAC AS3242 User manual

SOLAC
SOLAC AE2505 User manual

SOLAC
SOLAC Turbobat Expert User manual

SOLAC
SOLAC AB2800 User manual

SOLAC
SOLAC AB28 series User manual

SOLAC
SOLAC AS3240 User manual

SOLAC
SOLAC AS3252 User manual

SOLAC
SOLAC AS3193 User manual

SOLAC
SOLAC AS3103 User manual

SOLAC
SOLAC AB2650 User manual

SOLAC
SOLAC LUCID i10 User manual

SOLAC
SOLAC AS3261 Manual

SOLAC
SOLAC Turbobat Power 29.6V User manual

SOLAC
SOLAC ENARA AS 3100 User manual

SOLAC
SOLAC ECOGENIC User manual

SOLAC
SOLAC AS3244 User manual

SOLAC
SOLAC AS3250 User manual

SOLAC
SOLAC AE2529 User manual

SOLAC
SOLAC AS3190 User manual

SOLAC
SOLAC AS3260 User manual