INCLINE
RAIL
& CONSOLE
MAST
See P ge 9 for Illustr tion
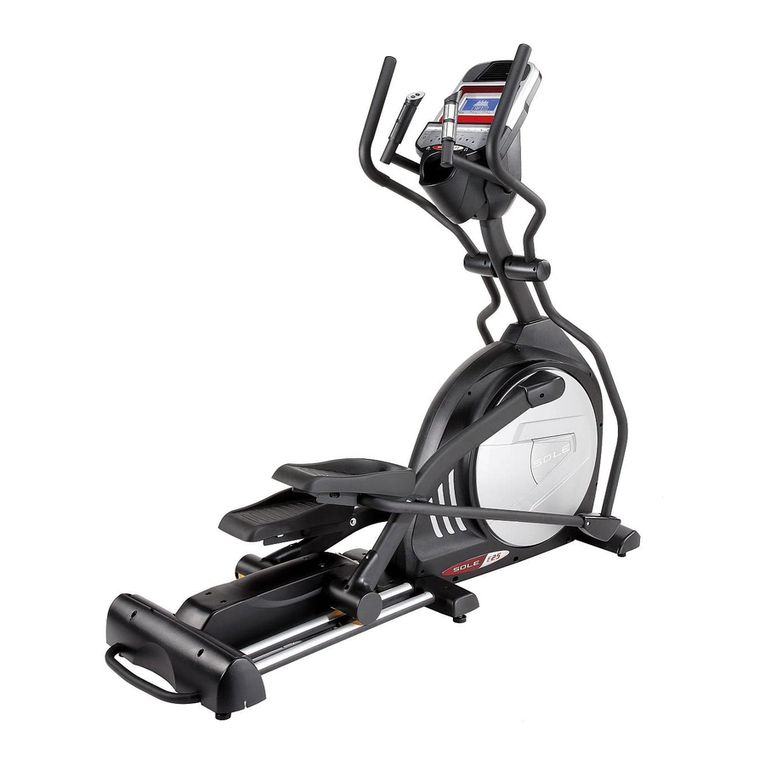
1. Install the Incline Rail Assem ly (2) into the U-channel racket of the Main
Frame (1). Secure with the six olts & associated hardware as follows: From
the sides, install two Hex Head Bolts (128) with two Flat Washers (171) and
two Nylon Nuts (158). From the top install four Hex Head Bolts (124), 4pcs
Split Washers (176), four Flat Washers (166), and four Star Washers (177), as
shown in figure1. Tighten with the Wrenches provided (186 & 189).
2. Connect the 3 wire harness: Incline Motor Power Cord (43) to the female
receiver ca le coming from the Incline Rail Assem ly (2). Connect the Three
pin position Sensor connector: Incline Motor Connecting Wire (44) to the
female receiver coming from the Incline Rail Assem ly (2).
3. Run the Computer Ca le (45) through the Console Mast (12), and pull the
opposite end of this twist, tied up on the Console Mast (12), until the ca le
exits the top. Install the Console Mast (12) into the receiving racket on the
top of the Main Frame (1). Install four Socket Head Cap Bolts (129) with four
Split Washer (175) and four Flat Washers (171). Tighten with the provided L
Allen Wrench (197). Pull slightly on the computer ca le at the top of the
mast while installing. This will ensure the ca le does not get pinched and
shorted during console mast assem ly.
4. Install the Bottle Holder (105) to the Console Mast (12) with two Phillips
Head Screws (140) and tighten with the provided Phillips Head Screw Driver
(188).
※
Please note that the ottle holder must e assem led efore
console assem ly.
5. Plug all of the connectors into the ack of the console, including: the
Computer Ca le (45), two Hand pulse Ca les (52, 53), Resistance Switch Wire
(55) and the Incline Switch Wire (56). Secure the Console (40) on the console
mounting plate with 4pcs Phillips Head Screws (140).
LOWER
HANDLE BAR ARMS
See P ge 9 for Illustr tion
1. Install two Wave Washers (198) on the Left and Right sides of the Handle
Bar axle.
2. Slide the Left (10) and Right (11) Handle Bars onto the appropriate side of
the axle. The handle ars have a small sticker on them indicating L (left) and
R (right). Make sure the handle ars are facing the correct direction – see
illustration.
3. In the threaded holes in the ends of the axle, install and tighten two Flat
Washers (167) onto the two Hex Head Bolts (120).
4. Connect the Upper Resistance Handle Wire (55) with the Lower
Resistance/Incline Handle Wire (57) and store it in the frame tu e. Snap in
the Switch Wire Cap (65) on the console mast. Again, connect the Upper
Incline Handle Wire (56) with the Lower Resistance/Incline Handle Wire (57)
and store it in the frame tu e. Snap in the Switch Wire Cap (65) on the
console mast.
HARDWARE STEP 1
#129. 3/8” x 3/4”
Socket Head Cap Bolt
(4 pcs)
#128. 3/8” x 1-1/2”
Hex Head Bolt (2 pcs)
#124. 5/16” x 2-1/4”
Hex Head Bolt (4 pcs)
#140. M5 x 10mm
Phillips Screw (6 pcs)
#158. 3/8” x 7T
Nylon Nut (2 pcs)
#171. 3/8” x 19 x 1.5T
Flat Washer (6 pcs)
#166. 5/16” x 20 x 1.5T
Flat Washer (4 pcs)
#175. 3/8” x 2T
Split Washer (4 pc)
#176. 5/16” x 1.5T
Split Washer (4 pcs)
#177. 5/16”
Star Washer (4 pcs)
HARDWARE STEP 2
#65. Switch Wire Cap
(2 pcs)
#120. 5/16"×18×15L
Hex Head Bolt (2 pcs)
#198. Ø17
Wave Washer (2 pcs)
#167. 5/16” x 23x 1.5T
Nyloc Nut (2 pcs)


