manuals.online logo
Brands
  1. Home
  2. •
  3. Brands
  4. •
  5. SOMFY
  6. •
  7. Control Unit
  8. •
  9. SOMFY EOLIS RECEIVER User manual

SOMFY EOLIS RECEIVER User manual

EOLIS RECEIVER
Inteo Wind - Remote
Installation and Operating Instructions
DESCRIPTION
INSTALLATION PROCEDURES
1. The Eolis Receiver should be mounted as close to the motor
as possible. If mounted outside, ensure that the connections
are facing down to avoid rain seepage. Avoid mounting the
control against any metallic surface, as this may affect the
radio reception.
2. Connect high and low voltage wires according to the wiring
diagram on the next page. It is recommended that the low
voltage wiring is done first, for easier access to the terminals.
Make sure to use included watertight strain relief fittings to
maintain the weatherproofing of the enclosure.
3. The wind sensor should be placed close to the awning or
shading system to make sure the wind speed is measured at
the product. Guard against installing the wind sensor too
close to an obstruction such as a chimney, gutter or the
window treatment itself, which could block the wind and cause
erroneous sensor readings. The sensor should not be more
than 100 feet from the control. Remove the back cover of the
sensor and connect the two-wire cable (included) from the
terminals on the sensor to the terminals on the control. Refer
to the diagram on the next page.
4. When using a low voltage switch, it should be located no more
than 100 feet from the Eolis Receiver.
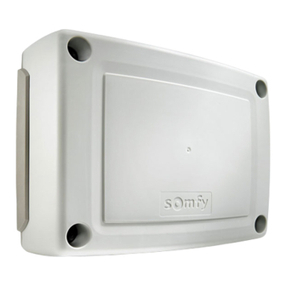
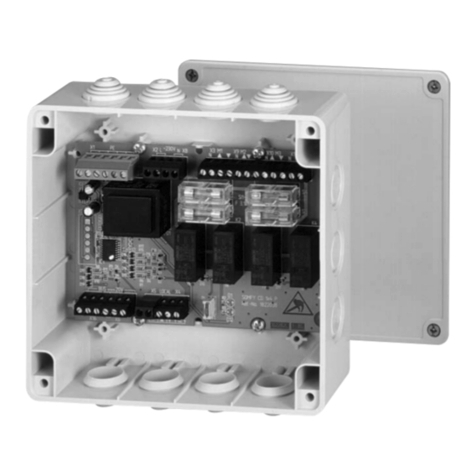
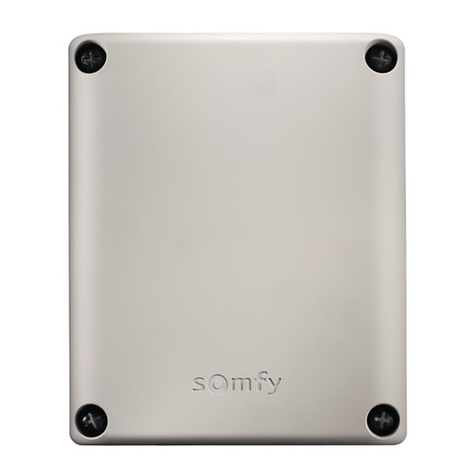
The Somfy Eolis Receiver is a single motor control designed for
residential use. It includes an integrated radio receiver, wind
sensor and low voltage switch inputs. Wind speed is
continuously monitored, triggering the control to retract
awnings or shutters automatically as needed. Using the Telis
Transmitters, it is possible to operate the controls individually or
in groups. Two user-defined intermediate positions can be
programmed. This new control is packaged in a weatherproof
enclosure and includes watertight strain-relief fittings for wires
entering the box.
Part No: 1816073
x
CAT. NO: 2500022
SOMFY SYSTEMS, INC.
47 Commerce Drive
Cranbury, NJ 08512
SOMFY CANADA
6315 Shawson Drive, Unit #1
Mississauga, Ontario L5T1J2
SOMFY MEXICO S.A. De C.V.
Temazcal 19-B, La Loma
Tlalnepantla, Edo de Mex.
Mexico 54130
SOMFY SYSTEMS, INC. 8/07
C
SOMFY SYSTEMS, INC. reserves the right to change,
update or improve this document without prior notice.
x
OPERATING INSTRUCTIONS
PROGRAMMING PROCEDURES
System Set Up Operating Procedures
1. With power off, wire the Eolis Receiver as indicated above. Turn all TRANSMITTER
circuit breakers on (motors should not move). 1. Pressing the UP button on the Telis transmitter will move the window
2. Set the Eolis Receiver into programming mode by pressing the treatment up or in. The DOWN button will move the treatment down or
programming button on the receiver until the LED lights (about 5 out.
seconds). 2. To stop the motorized treatment at any time, press the CENTER button
3. Press the programming button on the Telis1 or Telis4 transmitter. Make on the transmitter.
sure the desired channel is selected on the Telis4 before programming. 3. To reach one of the intermediate positions, the awning or rolling shutter
The programming LED on the Eolis Receiver will blink indicating the must first be stopped at the upper or lower limit. Pressing the center
transmitter has been memorized. button on the transmitter will move the window treatment to the
4. Operate each motor in the DOWN direction using the radio transmitter. dedicated position.
5. The motorized treatment should move down or out. If this is incorrect, LOW VOLTAGE SWITCH
turn off the circuit breakers and reverse the red and black wires of the 4. If desired, a single pole, single throw switch can be connected to the
motor. FAILURE TO CORRECT THIS ERROR WILL low voltage terminals as indicated above. Each press of the switch will
CAUSE AWNING TO EXTEND DURING WINDY sequence through the directions as follows;
CONDITIONS AND MAY CAUSE SERIOUS DAMAGE. DEPRESS 1 UP DIRECTION
DEPRESS 2 STOP
Setting The Wind Level DEPRESS 3 DOWN DIRECTION
DEPRESS 4 STOP
1. To change the wind sensitivity, simply rotate the wind adjustment WIND FUNCTION
knob to the desired setting. 5. When the monitored wind speed is greater than the setting, the UP
direction will activate after 2 seconds. As long as the wind speed
remains high, all other commands will be ignored.
6. When the wind speed drops below the set value, the Eolis Receiver
will return to normal operation following a one minute delay.
Wind Adjustment Detail
31 MPH
12
17 26
22
WIRING DIAGRAM
MOTOR
R
WIND
SENSOR
HOT
NEUTRAL
GROUND
BLACK
RED
GREEN
WHITE
COLOR CODE
Wind Adjustment
Programming Button & LED
To Optional
Low Voltage Switch
NOTE:
Mount control with
fittings facing downward!
x
RECORDING THE INTERMEDIATE POSITION FROM THE TOP OF THE WINDOW TREATMENT
- Bring the window treatment to its upper limit using the Telis transmitter. Press the DOWN and CENTER buttons simultaneously until the awning begins to move,
then release.
- Stop the window treatment at the intermediate position desired. Press the CENTER button for 2 seconds to memorize that position.
RECORDING THE INTERMEDIATE POSITION FROM THE BOTTOM OF THE WINDOW TREATMENT
- Bring the motorized treatment to its lower limit. Press the UP and CENTER buttons simultaneously until the awning begins to move, then release.
- Stop the window treatment at the position desired. Press the CENTER button for 2 seconds to memorize that position.
DELETING AN INTERMEDIATE POSITION
- Briefly press the CENTER button of the Telis transmitter to reach the desired intermediate position.
- Continue to press the CENTER button for 10 seconds until the programming LED on the Eolis Receiver stops blinking. That intermediate position is now deleted.
TO ADD A NEW TRANSMITTER TO THE MEMORY OF THE RECEIVER
- Press the programming button (for more than 2 seconds) on a transmitter that is already memorized by the Eolis Receiver to wake up the receiver. The
programming LED on the receiver will light. Press the programming button on the new transmitter to attach it to the Eolis Receiver.
TO REMOVE A TRANSMITTER FROM THE MEMORY OF THE RECEIVER
- Press the programming button on the Eolis Receiver until the LED lights. Quickly press the programming button on the transmitter you want to remove.
TO REMOVE ALL TRANSMITTERS FROM THE MEMORY OF THE RECEIVER (Resetting of the Eolis Receiver)
- Press the programming button of the Eolis Receiver until the LED blinks. This removes ALL memorized transmitters.
Programming
Button
Telis Transmitter
UP
WIND
WIND
DOWN
MTR COM
NEUT
HOT
Other manuals for EOLIS RECEIVER

1

Other SOMFY Control Unit manuals

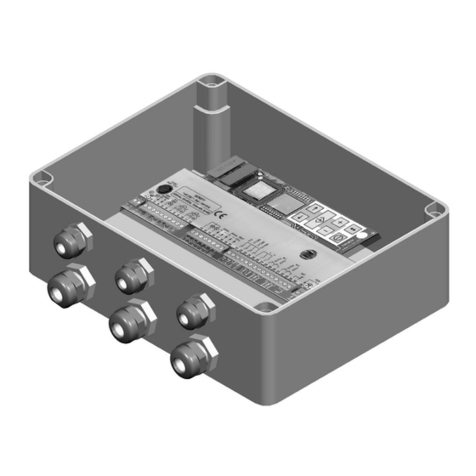
SOMFY 1810880 User manual

SOMFY

SOMFY 1810880 User manual

SOMFY N1841014 V2 User manual

SOMFY

SOMFY N1841014 V2 User manual

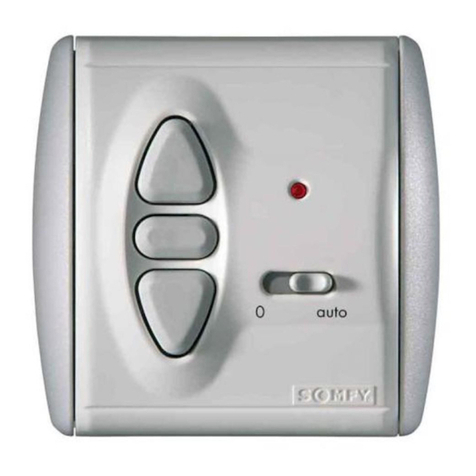
SOMFY inteo CHRONIS UNO User manual

SOMFY

SOMFY inteo CHRONIS UNO User manual

SOMFY EOLIS Inteo Wind Control User manual

SOMFY

SOMFY EOLIS Inteo Wind Control User manual

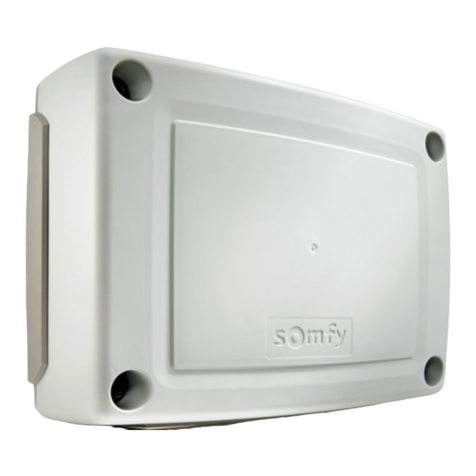
SOMFY CONTROL BOX 3S RTS User manual

SOMFY

SOMFY CONTROL BOX 3S RTS User manual

SOMFY Ondeis 24 V DC User manual

SOMFY

SOMFY Ondeis 24 V DC User manual

SOMFY CONTROL BOX 3S RTS User manual

SOMFY

SOMFY CONTROL BOX 3S RTS User manual

SOMFY animeo IB + User manual

SOMFY

SOMFY animeo IB + User manual

SOMFY CB 230 RTS User manual

SOMFY

SOMFY CB 230 RTS User manual

SOMFY Control Box 3S io User manual

SOMFY

SOMFY Control Box 3S io User manual

SOMFY Pergola Instruction manual

SOMFY

SOMFY Pergola Instruction manual

SOMFY CD 1 x 4 P6 User manual

SOMFY

SOMFY CD 1 x 4 P6 User manual

SOMFY CB 230 RTS User manual

SOMFY

SOMFY CB 230 RTS User manual

SOMFY Control Box 3S io User manual

SOMFY

SOMFY Control Box 3S io User manual

SOMFY inteo CENTRALIS UNO IB VB User manual

SOMFY

SOMFY inteo CENTRALIS UNO IB VB User manual

SOMFY Animeo IB+ Flush Mounting Box TouchBuco User manual

SOMFY

SOMFY Animeo IB+ Flush Mounting Box TouchBuco User manual

SOMFY MATIC Series User manual

SOMFY

SOMFY MATIC Series User manual

SOMFY Oximo 40 Solar io User manual

SOMFY

SOMFY Oximo 40 Solar io User manual

SOMFY animeo 1860114 User manual

SOMFY

SOMFY animeo 1860114 User manual

SOMFY Pergola Instruction manual

SOMFY

SOMFY Pergola Instruction manual

SOMFY animeo User manual

SOMFY

SOMFY animeo User manual

SOMFY Animeo Solo 1860143 User manual

SOMFY

SOMFY Animeo Solo 1860143 User manual

SOMFY animeo IB+ 4 Zone Touch Building Controller User manual

SOMFY

SOMFY animeo IB+ 4 Zone Touch Building Controller User manual

SOMFY Control Box 3S io User manual

SOMFY

SOMFY Control Box 3S io User manual

Popular Control Unit manuals by other brands

Sanhua PS01 Series quick start guide

Sanhua

Sanhua PS01 Series quick start guide

AMX RDM-HSW Wiring diagram

AMX

AMX RDM-HSW Wiring diagram

Realtek RTL8763B Series user manual

Realtek

Realtek RTL8763B Series user manual

Omron SYSMAC C200H-NC112 Operation manual

Omron

Omron SYSMAC C200H-NC112 Operation manual

Sony CCU-900 Operation manual

Sony

Sony CCU-900 Operation manual

Aventics RV1 operating instructions

Aventics

Aventics RV1 operating instructions

Renesas RYZ014A quick start guide

Renesas

Renesas RYZ014A quick start guide

Flyron FN-BC04 user manual

Flyron

Flyron FN-BC04 user manual

KLINGER SCHÖNEBERG RK-Proball KH 1T M Assembly and Repair Instructions

KLINGER SCHÖNEBERG

KLINGER SCHÖNEBERG RK-Proball KH 1T M Assembly and Repair Instructions

Terasic SDI-FMC user manual

Terasic

Terasic SDI-FMC user manual

NI PXI-6682 user manual

NI

NI PXI-6682 user manual

Murata ABR Getting started guide

Murata

Murata ABR Getting started guide

MOGAS Watson Series Installation, operation and maintenance manual

MOGAS

MOGAS Watson Series Installation, operation and maintenance manual

EWM Tetrix AC/DC Comfort 2.0 operating instructions

EWM

EWM Tetrix AC/DC Comfort 2.0 operating instructions

RUBEZH IM1 Operation manual

RUBEZH

RUBEZH IM1 Operation manual

Klark Teknik DN32-DANTE quick start guide

Klark Teknik

Klark Teknik DN32-DANTE quick start guide

Armstrong GP-2000 manual

Armstrong

Armstrong GP-2000 manual

DOLD INFOMASTER SMS RP 5812 Monitoring Technique

DOLD

DOLD INFOMASTER SMS RP 5812 Monitoring Technique

manuals.online logo
manuals.online logoBrands
  • About & Mission
  • Contact us
  • Privacy Policy
  • Terms and Conditions

Copyright 2025 Manuals.Online. All Rights Reserved.