manuals.online logo
Brands
  1. Home
  2. •
  3. Brands
  4. •
  5. SOMFY
  6. •
  7. Engine
  8. •
  9. SOMFY ST50 User guide

SOMFY ST50 User guide

Somfy ST50 Motorized Shade Mounting Instructions
Please read installation instructions and programming instructions completely prior to
proceeding with installation and programming. Failure to do so can result in damage to the
motor and/or the shade and void the warranty.
Items & Tools Required
- Roller Shade
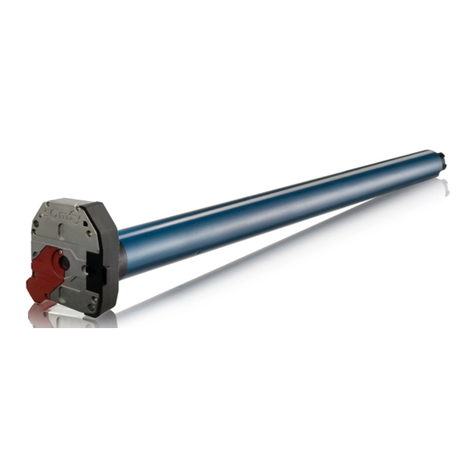
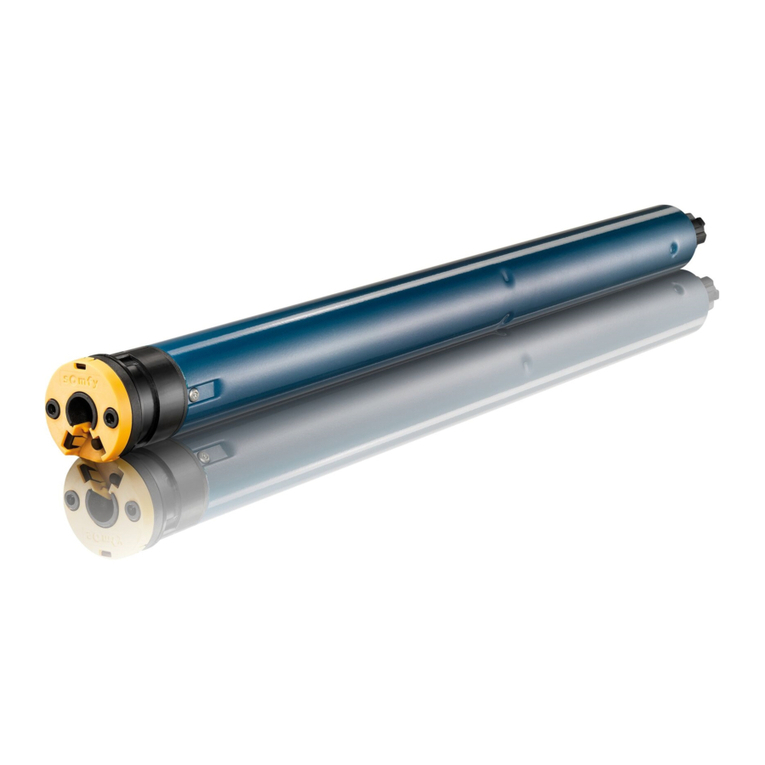
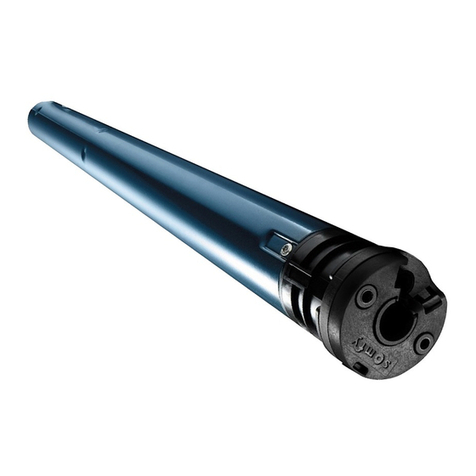
- ST50 Motor with crown and drive pre-installed on motor (Includes 3 Screws)
- Idler end cap with crown and drive pre-installed on motor (Includes 3 Screws)
- Idler Retraction Tool (Included)
- Roller Shade Brackets
- Screws –Appropriate for brackets and mounting surface. (Provided by installer -Not
included)
- Tape Measure –Typically only needed for outside mount shades.
- Drill (Optional)
- Pencil
- Masking Tape (Might be needed)
- Level (Depending on installation type)
- 2 people for long or heavy shades.
www.AVOutlet.com
AVOUTLET.com
Installation and Preparation
1) Inspect Motor and Idler
Shade motors and idlers are shipped outside of the tube to protect the them from damage. The
ST50 motor and idler should have the crown and drive preinstalled as shown.
Note: The crown can slide on the motor and idler. During installation, the motor crown should be
next to the motor head and the idler crown should be next to the idler retract wheel. If you need
to reposition the crown observe and align the keyways next to the motor/idler head and in the ID
of the crown (not shown) when repositioning.
www.AVOutlet.com
AVOUTLET.com
3) Inspect Shade Tube
The shade tube will have internal ribs/keys that will match the motor crown and drives.
3) Install Motor
a) Align the motor drive to the internal ribs and slide the motor approximately half way into the
tube.
www.AVOutlet.com
AVOUTLET.com
b) Slide the motor crown down from the motor head and align the crown keyways to the internal
ribs of the tube.
c) Using the 3 screws included, secure the crown to the tube.
d) The motor needs to be fully seated in the tube as shown. Align the native keyway of the
motor to the keyway of the installed adapter and push the motor into the tube until the motor
is touching the crown adapter.
Important!! - Always hold the motor so that the motor does not slide out when transporting the
assembly. The motors are not held in with screws and can slide out.
www.AVOutlet.com
AVOUTLET.com
4) Install Idler
a) Align the idler drive to the internal ribs and slide the idler in just enough to allow the crown of
the idler to be inserted.
b) Slide the idler crown from the idler end head and align the crown keyways to the internal ribs
of the tube. Using the 3 screws included, secure the crown to the tube.
c) The idler needs to be fully seated in the tube as shown. Align the native keyway of the idler
to the keyway of the installed adapter and push the idler into the tube until the idler adjust
wheel is touching the crown adapter.
www.AVOutlet.com
AVOUTLET.com
5) Evaluate Brackets
The supplied shade brackets have screw holes that allow for side-wall, back-wall or ceiling
mounting. The star head motor snaps into the motor head bracket and is securely held in place
with the retaining clip. The motor should be rotated so the cord is in the open area of the clip.
The clip can also be rotated after installation. To remove the motor, push the retaining clip back
(it will stay in place) so it opens to release the motor. The idler shaft will ride inside the bearing
of the idler bracket.
The fascia brackets (not shown) have similar features and are used to hold both the shade and
fascia.
www.AVOutlet.com
AVOUTLET.com
6) Determine Bracket Spacing
Shades ordered as Tip to Tip measurement (inside or outside mount) –The outside edge of the
brackets will be placed at the width that the shade was ordered. If you ordered a shade that is
24 1/4” wide, the outside edge of the brackets should be at 24 1/4”.
Shades ordered as Material Width measurement –Set the shade on a flat surface and put the
brackets on the shade assembly. Note: the idler will need to be retracted completely by turning
the wheel in the idler. The idler bracket should be placed next to the idler flange so that there is
a 1/8” gap. Measure the overall width from outside of the brackets to find the tip to tip
measurement for the bracket placement.
7) Evaluate Mounting Area
Use the appropriate screws for the weight of the shade and mounting area. Most windows have
a wood header and framing surrounding them so using wood screws or drywall screws will
suffice for most. Shades being mounted into metal frames should be done with self-tapping
sheet metal screws. Shades mounted where only sheetrock is present should use wall anchors
that are appropriate for the weight of the shade.
8) Mount Brackets
a) Mark the locations for your bracket locations with a pencil at the tip to tip bracket spacing
(previously discussed). Check that the marked area is level using a bubble level or other
appropriate method. Hold the outside edge of the bracket at your pencil mark. You will have 2
slotted screw holes in the brackets. Make centered lines both lengthwise and at the middle of
the slot in the screw locations. Be sure to put the marks at the center of the slots so that you
have room to adjust the brackets later.
b) Pre-drill your holes at the marked locations. This will prevent trim from cracking and will allow
the screws to be installed more easily.
www.AVOutlet.com
AVOUTLET.com
c) Mount your brackets with the appropriate screws. Be sure to use the correct bracket for each
side of the shade (previously discussed). Do not over tighten screws. This may result in the
sheetrock being compressed and the shade not fitting properly.
9) Install Shade - We recommend 2 people handling the shade during installation.
Important!! - Always hold the motor so that the motor does not slide out when transporting the
assembly. The motors are not held in with screws and can slide out.
a) Retract the idler shaft all the way into the idler either by hand or by using the included tool.
b) Rotate the retaining clip of the motor bracket so that the open portion of the retaining clip is in
the same position that you would like for the power cord. Press the motor head into the bracket
until you hear it click into place. Verify that the motor head is locked in place.
www.AVOutlet.com
AVOUTLET.com
c) Align the idler shaft to the bearing of the idler bracket. Extend the shaft into the bearing by
turning the retraction wheel of the idler either by hand or with the included tool.
Note: The idler shaft is also spring loaded so do not assume that the idler shaft is properly
inserted just because the wheel has been fully turned.
10) Level Shade
Use a bubble level to check your shade installation. A small amount of out of level is typically
OK but we prefer perfection. If the shade tube is out of level the material can walk off the tube
during rotation and get damaged. As necessary shim or reposition brackets so the shade tube is
level. Double check the mounting bracket screws to ensure all are in place and properly
tightened.
11) Program Shades –Keep reading here first!!
Connect power to your motor correctly. The ST50 motors require 120V AC power.
Damage to the motor due to improper power connection will void the warranty.
Please use the motor specific instructions provided with your motors. If they were not included,
please email us, call us or visit our website for the specific motor instructions. The remote-
control instructions can be used for reference but are not as accurate as the motor instructions.
Important!! Be prepared to stop the shade during programming. Know your motor and remote
control before proceeding.
During the first operation and before setting the limits, we recommend unrolling the shade (with
the motor) down past the lower limit but not so far that the tube is completely exposed. This is to
ensure the material is properly seated and aligned to the tube. Caution: The shade material is
affixed to the tube using double sided tape. Do not unroll the shade to the point where it is
stressing the tape. The programming step for the first limit will activate the motor to move
without stopping!! You will need to stop the motor using the remote control or the shade and
motor can get damaged.
Look for material walk-off. If the material walks off do not finish programming the shade and skip
to troubleshooting.
www.AVOutlet.com
AVOUTLET.com
Troubleshooting
Shade Material Walk-Off
If your shade walks off to one side and repositioning brackets has not fixed the problem, you
can use the following procedure to fix walk-off. Causes for material walk-off are out of level
brackets, but most commonly caused variations in material thickness or less common, the
material can be slightly misaligned to the tube. Walk off is repeatable and can be fixed. Before
attempting to fix the walk-off you need to unroll the shade all the way to the end where the
material is applied to the tube and then roll it back up to ensure the material is aligned to the
tube.
Walk-off needs to be fixed so that the material does not roll into the end components of the
shade which can damage the material. A small amount of walk-off is acceptable.
a) Note the direction of the shade material walk off. (Left or Right)
b) Roll the shade all the way down.
c) Look for debris on the tube or on the material that may cause a material thickness variation
and remove as necessary. If the debris is found, try rolling the shade up and down to see if the
material walk-off is still present.
d) If the material still walks-off, take a piece of masking tape (couple inches in length) and apply
it to the material at the tube (not on the tube) of the unrolled shade on the end opposite the
direction of the shade material walk off.
- If the shade walks off to the right put the tape on the left.
- If the shade walks off to the left put the tape on the right.
e) Test the shade again to see if the material still walks off. If the material still walks off, apply
another layer of masking tape on top of the previous one(s). Several layers of masking tape may
be required to fix the walk-off. Tip!! The further you put the tape towards the end of the tube the
more it effects walk-off. Depending on how the material is walking off you can also place tape at
several locations on the material. The goal is to use as little tape as possible. Adding a very
thick layer of tape can cause the hem bar to appear out of level when rolled up.
Note for Motorized Shades
The motors are not rated for continuous use. If you are working on this procedure and having to
bring the shade up/down many times the motor may overheat and stop responding. The internal
temperature sensors will shut down the motor and you must wait until the motor cools before
proceeding. This is normal and does not hurt the motor.
Please feel free to contact us if you require further assistance.
www.AVOutlet.com 1-877-271-5398 or email [email protected]
www.AVOutlet.com
AVOUTLET.com

Other SOMFY Engine manuals

SOMFY J4 1TN User manual

SOMFY

SOMFY J4 1TN User manual

SOMFY LOGGIA RTS User manual

SOMFY

SOMFY LOGGIA RTS User manual

SOMFY RDO 50 CSI User manual

SOMFY

SOMFY RDO 50 CSI User manual

SOMFY HOME MOTION Roll Up 28 WT User manual

SOMFY

SOMFY HOME MOTION Roll Up 28 WT User manual

SOMFY Sonesse 50 RA User manual

SOMFY

SOMFY Sonesse 50 RA User manual

SOMFY Altus RTS 120 V Operating instructions

SOMFY

SOMFY Altus RTS 120 V Operating instructions

SOMFY Maestria 50 RTS Operating instructions

SOMFY

SOMFY Maestria 50 RTS Operating instructions

SOMFY J4 RTS Assembly instructions

SOMFY

SOMFY J4 RTS Assembly instructions

SOMFY Sonesse 40 RTS User manual

SOMFY

SOMFY Sonesse 40 RTS User manual

SOMFY ILT 2 User manual

SOMFY

SOMFY ILT 2 User manual

SOMFY Sonesse 40 PA User manual

SOMFY

SOMFY Sonesse 40 PA User manual

SOMFY J4 1TN User manual

SOMFY

SOMFY J4 1TN User manual

SOMFY Roll Up Basic 28 WFRTS Li-ion User manual

SOMFY

SOMFY Roll Up Basic 28 WFRTS Li-ion User manual

SOMFY Oximo 50 S auto RTS Assembly instructions

SOMFY

SOMFY Oximo 50 S auto RTS Assembly instructions

SOMFY OXIMO 40 AUTO io User manual

SOMFY

SOMFY OXIMO 40 AUTO io User manual

SOMFY TLW25 WT User manual

SOMFY

SOMFY TLW25 WT User manual

SOMFY VRA 10 User manual

SOMFY

SOMFY VRA 10 User manual

SOMFY Glydea Ultra DCT User manual

SOMFY

SOMFY Glydea Ultra DCT User manual

SOMFY LS 40 User manual

SOMFY

SOMFY LS 40 User manual

SOMFY ALTUS RTS Asia User manual

SOMFY

SOMFY ALTUS RTS Asia User manual

SOMFY LV25 User manual

SOMFY

SOMFY LV25 User manual

SOMFY Pergola io Assembly instructions

SOMFY

SOMFY Pergola io Assembly instructions

SOMFY TILT&LIFT 25 WF ZIGBEE User manual

SOMFY

SOMFY TILT&LIFT 25 WF ZIGBEE User manual

SOMFY PHOENIX PH 30/14 User manual

SOMFY

SOMFY PHOENIX PH 30/14 User manual

Popular Engine manuals by other brands

GAPOSA XQ40 manual

GAPOSA

GAPOSA XQ40 manual

Aqua-Scope KFRLWE01 User and installation manual

Aqua-Scope

Aqua-Scope KFRLWE01 User and installation manual

Briggs & Stratton Vanguard 130000 Operator's manual

Briggs & Stratton

Briggs & Stratton Vanguard 130000 Operator's manual

ChyTV HD-150 quick start guide

ChyTV

ChyTV HD-150 quick start guide

ILMOR 2011 MV8 user manual

ILMOR

ILMOR 2011 MV8 user manual

O.S. engine max-12TZ series Owner's instruction manual

O.S. engine

O.S. engine max-12TZ series Owner's instruction manual

Pacific A5A Railcar Operating, maintenance and parts manual

Pacific

Pacific A5A Railcar Operating, maintenance and parts manual

Briggs & Stratton 170700 Series Operating and maintenance instructions

Briggs & Stratton

Briggs & Stratton 170700 Series Operating and maintenance instructions

BONFIGLIOLI BMD 65 user manual

BONFIGLIOLI

BONFIGLIOLI BMD 65 user manual

Siemens SIMOTICS FD 1MQ1 Operating and installation instructions

Siemens

Siemens SIMOTICS FD 1MQ1 Operating and installation instructions

Alamarin Jet Jet-160 Repair manual

Alamarin Jet

Alamarin Jet Jet-160 Repair manual

LZ design FES-LS8-M100 manual

LZ design

LZ design FES-LS8-M100 manual

DANA BREVINI T Series Installation and maintenance manual

DANA

DANA BREVINI T Series Installation and maintenance manual

LOMBARDINI MARINE LDW 194 JMTI Installation - use - maintenance

LOMBARDINI MARINE

LOMBARDINI MARINE LDW 194 JMTI Installation - use - maintenance

Perkins 2806J-E18TTA Operation and maintenance manual

Perkins

Perkins 2806J-E18TTA Operation and maintenance manual

ARO 50 SERIES Operator's manual

ARO

ARO 50 SERIES Operator's manual

Yanmar 3JH4E Service manual

Yanmar

Yanmar 3JH4E Service manual

Alutech AM0 Series Operation manual

Alutech

Alutech AM0 Series Operation manual

manuals.online logo
manuals.online logoBrands
  • About & Mission
  • Contact us
  • Privacy Policy
  • Terms and Conditions

Copyright 2025 Manuals.Online. All Rights Reserved.