manuals.online logo
Brands
  1. Home
  2. •
  3. Brands
  4. •
  5. SOMFY
  6. •
  7. Engine
  8. •
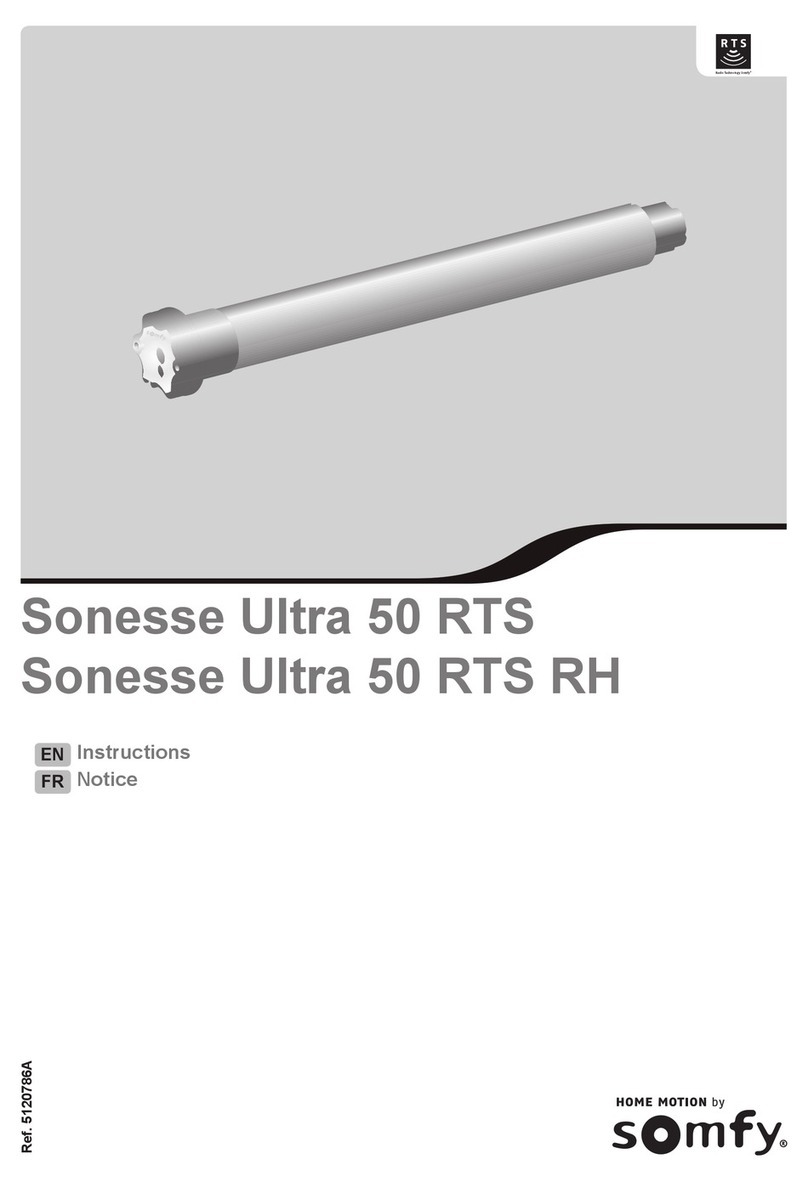
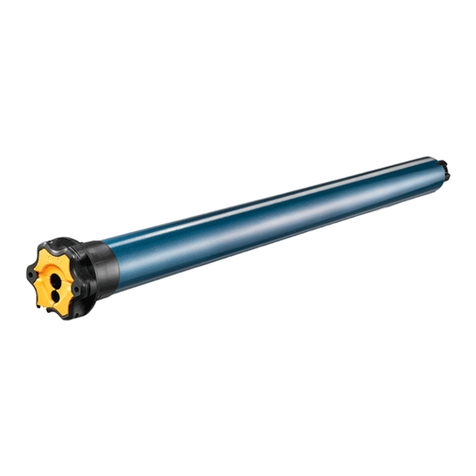
  9. SOMFY Sonesse 50 Operating instructions

SOMFY Sonesse 50 Operating instructions

Other manuals for Sonesse 50

2

This manual suits for next models

5

Other SOMFY Engine manuals

SOMFY MAESTRIA+ 50 io User manual

SOMFY

SOMFY MAESTRIA+ 50 io User manual

SOMFY LS 40 User manual

SOMFY

SOMFY LS 40 User manual

SOMFY SUNEA CSI RTS User manual

SOMFY

SOMFY SUNEA CSI RTS User manual

SOMFY Maestria 50 RTS Operating instructions

SOMFY

SOMFY Maestria 50 RTS Operating instructions

SOMFY MAESTRIA+ 60 io User manual

SOMFY

SOMFY MAESTRIA+ 60 io User manual

SOMFY Sunea 40 RTS DC User manual

SOMFY

SOMFY Sunea 40 RTS DC User manual

SOMFY Tilt Only 50 WF RTS User manual

SOMFY

SOMFY Tilt Only 50 WF RTS User manual

SOMFY Orea RTS User instructions

SOMFY

SOMFY Orea RTS User instructions

SOMFY IXENGO JS 230V User manual

SOMFY

SOMFY IXENGO JS 230V User manual

SOMFY Sonesse Ultra 50 User manual

SOMFY

SOMFY Sonesse Ultra 50 User manual

SOMFY Sonesse Utra 50 DC User manual

SOMFY

SOMFY Sonesse Utra 50 DC User manual

SOMFY PHOENIX PH 30/14 User manual

SOMFY

SOMFY PHOENIX PH 30/14 User manual

SOMFY Tilt & Lift 25 RTS Central User manual

SOMFY

SOMFY Tilt & Lift 25 RTS Central User manual

SOMFY Oximo 50 S auto RTS User manual

SOMFY

SOMFY Oximo 50 S auto RTS User manual

SOMFY RDO 50 CSI User manual

SOMFY

SOMFY RDO 50 CSI User manual

SOMFY OREA WT User manual

SOMFY

SOMFY OREA WT User manual

SOMFY J4 1TN User manual

SOMFY

SOMFY J4 1TN User manual

SOMFY Sonesse Ultra 50 DC RS485 User manual

SOMFY

SOMFY Sonesse Ultra 50 DC RS485 User manual

SOMFY ILMO WT Operating manual

SOMFY

SOMFY ILMO WT Operating manual

SOMFY ORIENTA User manual

SOMFY

SOMFY ORIENTA User manual

SOMFY Sonesse Ultra 50 RS485 User manual

SOMFY

SOMFY Sonesse Ultra 50 RS485 User manual

SOMFY LT 50 PA User manual

SOMFY

SOMFY LT 50 PA User manual

SOMFY Sonesse 40 RTS Installation manual

SOMFY

SOMFY Sonesse 40 RTS Installation manual

SOMFY Cord Lift 32 RTS User manual

SOMFY

SOMFY Cord Lift 32 RTS User manual

Popular Engine manuals by other brands

Nakanishi EM-3030T Operation manual

Nakanishi

Nakanishi EM-3030T Operation manual

Siemens COMBIMASTER CM12 operating instructions

Siemens

Siemens COMBIMASTER CM12 operating instructions

Bosch Rexroth Hagglunds CA Series Installation and maintenance manual

Bosch

Bosch Rexroth Hagglunds CA Series Installation and maintenance manual

Hyundai H170VC manual

Hyundai

Hyundai H170VC manual

Graco 273199 repair parts

Graco

Graco 273199 repair parts

MOTO GUZZI BREVA V1100 Workshop manual

MOTO GUZZI

MOTO GUZZI BREVA V1100 Workshop manual

Dualsky Track & Field Z5 instruction manual

Dualsky

Dualsky Track & Field Z5 instruction manual

Rotax 125 senior MAX evo installation manual

Rotax

Rotax 125 senior MAX evo installation manual

Kohler K361 Service manual

Kohler

Kohler K361 Service manual

MTD OHV Series user guide

MTD

MTD OHV Series user guide

Mercury D4.2L D-Tronic manual

Mercury

Mercury D4.2L D-Tronic manual

Perkins 1206E-E66TA Operation and maintenance manual

Perkins

Perkins 1206E-E66TA Operation and maintenance manual

Skov DA 174 Technical user guide

Skov

Skov DA 174 Technical user guide

Rotax 915 i A SERIES Maintenance manual

Rotax

Rotax 915 i A SERIES Maintenance manual

AL-KO PRO 350 Instructions for use

AL-KO

AL-KO PRO 350 Instructions for use

MTU 12 V 4000 Lx4 operating instructions

MTU

MTU 12 V 4000 Lx4 operating instructions

Nanni N3.30 Workshop manual

Nanni

Nanni N3.30 Workshop manual

Nanni N5.160 CR2 Operator's manual

Nanni

Nanni N5.160 CR2 Operator's manual

manuals.online logo
manuals.online logoBrands
  • About & Mission
  • Contact us
  • Privacy Policy
  • Terms and Conditions

Copyright 2025 Manuals.Online. All Rights Reserved.

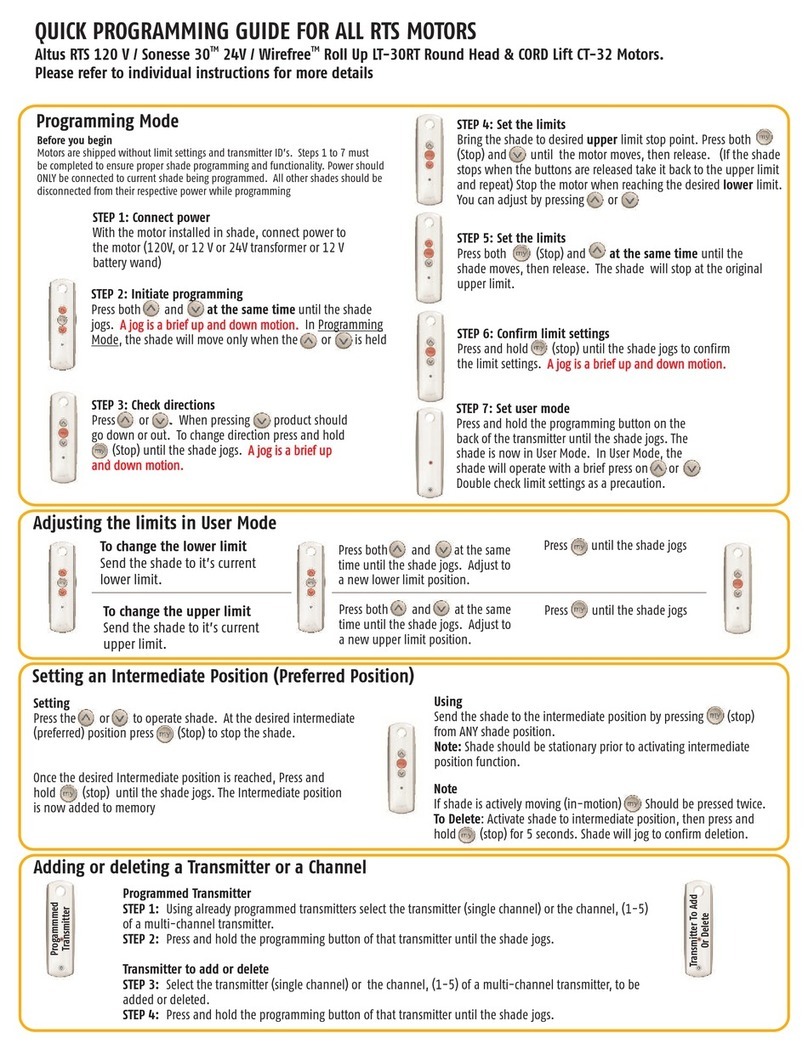
Before you begin
Steps 1-7 must be completed to ensure proper shade programming and functionality. It is recommended to power only the motors being
programmed (disconnect power to all other motors). Motor will exit programming mode aer 2 minutes of inactivity.
To change the LOWER limit
Send the shade to its current lower limit.
Step 1: Press both and at the
same time until the shade jogs.
Step 2: Adjust to a new lower limit.
Step 3: Press until the shade jogs.
To change the UPPER limit
Send the shade to its current upper limit.
Step 1: Press both and at the same
time until the shade jogs.
Step 2: Adjust to a new upper limit.
Step 3: Press until the shade jogs.
Step 1: Connect power
With the motor installed in shade, connect power to the motor (120V, 24V or 12V transformer or 12V battery wand).
Step 3: Check directions
Press or .
When pressing product
should go down or out.
To change direction press
and hold (Stop) until the
shade jogs.
(Shade has a short up and down
movement).
Step 6: Confirm limits settings
Press and hold the (Stop)
until the shade jogs to confirm
both limit settings.
Step 4: Set the UPPER limits
Bring the shade to desired upper
limit. Press both (Stop) and
until the shade moves, then release.
(If the shade stops when the buttons
are released, take it back to the upper
limit and repeat).
Stop the shade when reaching the
desired lower limit. You can adjust
by pressing or .
Step 7: Finalizing
Press and hold the programming
button on the back of the transmitter
until the shade jogs. It will now
operate in a maintained fashion
(user mode). Double check the limit
settings as a precaution.
Step 2: Initiate programming
Press both and at the same
time until the shade jogs.
(A jog is a brief up and down motion)
In programming mode, the shade
operates in momentary fashion.
Step 5: Set the LOWER limits
Bring the shade to the desired lower
limit. Press both (Stop) and
at the same time until the shade
moves, then release. The shade
will stop at the original upper limit.
Setting
Move the shade and stop it at the
desired intermediate position by
pressing (Stop).
Once the desired intermediate
position is reached, press and
hold (Stop) until the shade
jogs. The intermediate position is
now added to memory.
Using
Move the shade to the intermediate
position by pressing (Stop)
from any shade position.
Note: Shade should be stationary
prior to activating intermediate
position function.
Note
If shade is actively moving, (Stop)
should be pressed twice.
To delete: Activate shade to
intermediate position, then press and
hold (Stop) for 5 seconds. Shade
will jog to confirm deletion.
ADJUSTING THE LIMITS IN USER MODE
SETTING AN INTERMEDIATE POSITION
PROGRAMMING MODE
Quick Programming Guide for all Somfy®RTS Motors
(Sonesse®30/40/50, R28, CL32 and Tilt 50 Motors)
www.somfysystems.com
Copyright Somfy Systems, Inc. 11/2016
L-0116
ADDING OR DELETING A TRANSMITTER OR CHANNEL:
PROCEDURE FOR RESETTING WIREFREE AND SONESSE 30 RTS MOTORS:
PROCEDURE FOR RESETTING SONESSE 40/50 RTS 120V AC MOTORS
Step 1:
Select the transmitter (single channel)
or the channel, (1-5) of a multi-channel
transmitter.
Programmed Transmitter Transmitter to Add or Delete
To delete all previous settings:
Using a paperclip, press and hold the PROGRAM BUTTON located on each respective motor (shown below) for approximately 12 seconds
during which the shade will jog 3 separate times. All programmed remotes and limit settings will be erased. Motor is now reset to factory
mode. Motor limits will need to be re-established.
Step 5: When the shade stops, press and hold the programming button on your hand-held or wall remote until the shade jogs
twice. Do not release the programming button until the jogging is complete or you will have to start the power cut sequence again.
Perform a dual power cut to delete all previous setting (steps 1 - 4).
Tilt 50CL32
Unplug power for
2 Seconds.
Plug power in for
10 Seconds.
Unplug power for
2 Seconds.
Plug power in and shade
starts to move.
R28Sonesse 30
Step 1:
Select the transmitter (single channel)
or the channel (1-5) of a multi-channel
transmitter to be added or deleted.
Step 2:
Press and hold the programming button
until the shade jogs.
Step 2:
Press and hold the programming
button until the shade jogs.
Programming
Button
Programming
Button
Programming
Button
Programming
Button
Programming
Button
Programming
Button
Programming
Button
Step 1 Step 2 Step 3 Step 4