4
For details, see “Registering and Configuring a Stream
Receiver (RX)” (page 8).
6Register a Newsroom Computer System (NRCS).
If operating when connected to an NRCS, register the
NRCS in XDCAM air.
Map the shooting plan information received from the
NRCS with the planning metadata sent to the camcorder
and the wireless adapter.
For details, see “Registering a Newsroom Computer
System (NRCS)” (page 14).
7Configure camcorders, wireless adapter, and XDCAM
pocket.
Configure the settings on each camcorder, wireless
adapter, and XDCAM pocket for connection with XDCAM
air.
For details, refer to the instruction manual for each device.
8Configure stream receivers.
Install and configure Streaming Receiver App software
(RX1 Streaming Receiver) for connection with XDCAM air
on the PWS-100RX1, PWS-110RX1, or PWS-110RX1A.
For details, refer to the PWS-100RX1, PWS-110RX1, or
PWS-110RX1A Installation Guide.
9Configure PWA-NRCS01 NRCS Gateway App for
XDCAM air software.
Install and configure NRCS Gateway Server App software
for sending and receiving data between XDCAM air and
the NRCS.
For details, refer to the PWA-NRCS01 Installation Guide.
10
Configure system settings.
Configure the XDCAM air application preferences, output
destination selection when using Auto Assign, and server
settings for uploading content.
For details, see “Configuring System Settings” (page 16).
11
Configure intercom settings.
Link the stream receiver channel used for communication
with the camcorder.
For details, see “Configuring System Settings” (page 16).
12
Configure ingest server settings.
Configure settings for ingesting proxy files into XDCAM
air.
For details, see “Configuring an Ingest Server” (page 18).
13
Configure the metadata.
Configure the metadata to display on the Asset screen.
For details, see “Configuring Metadata” (page 17).
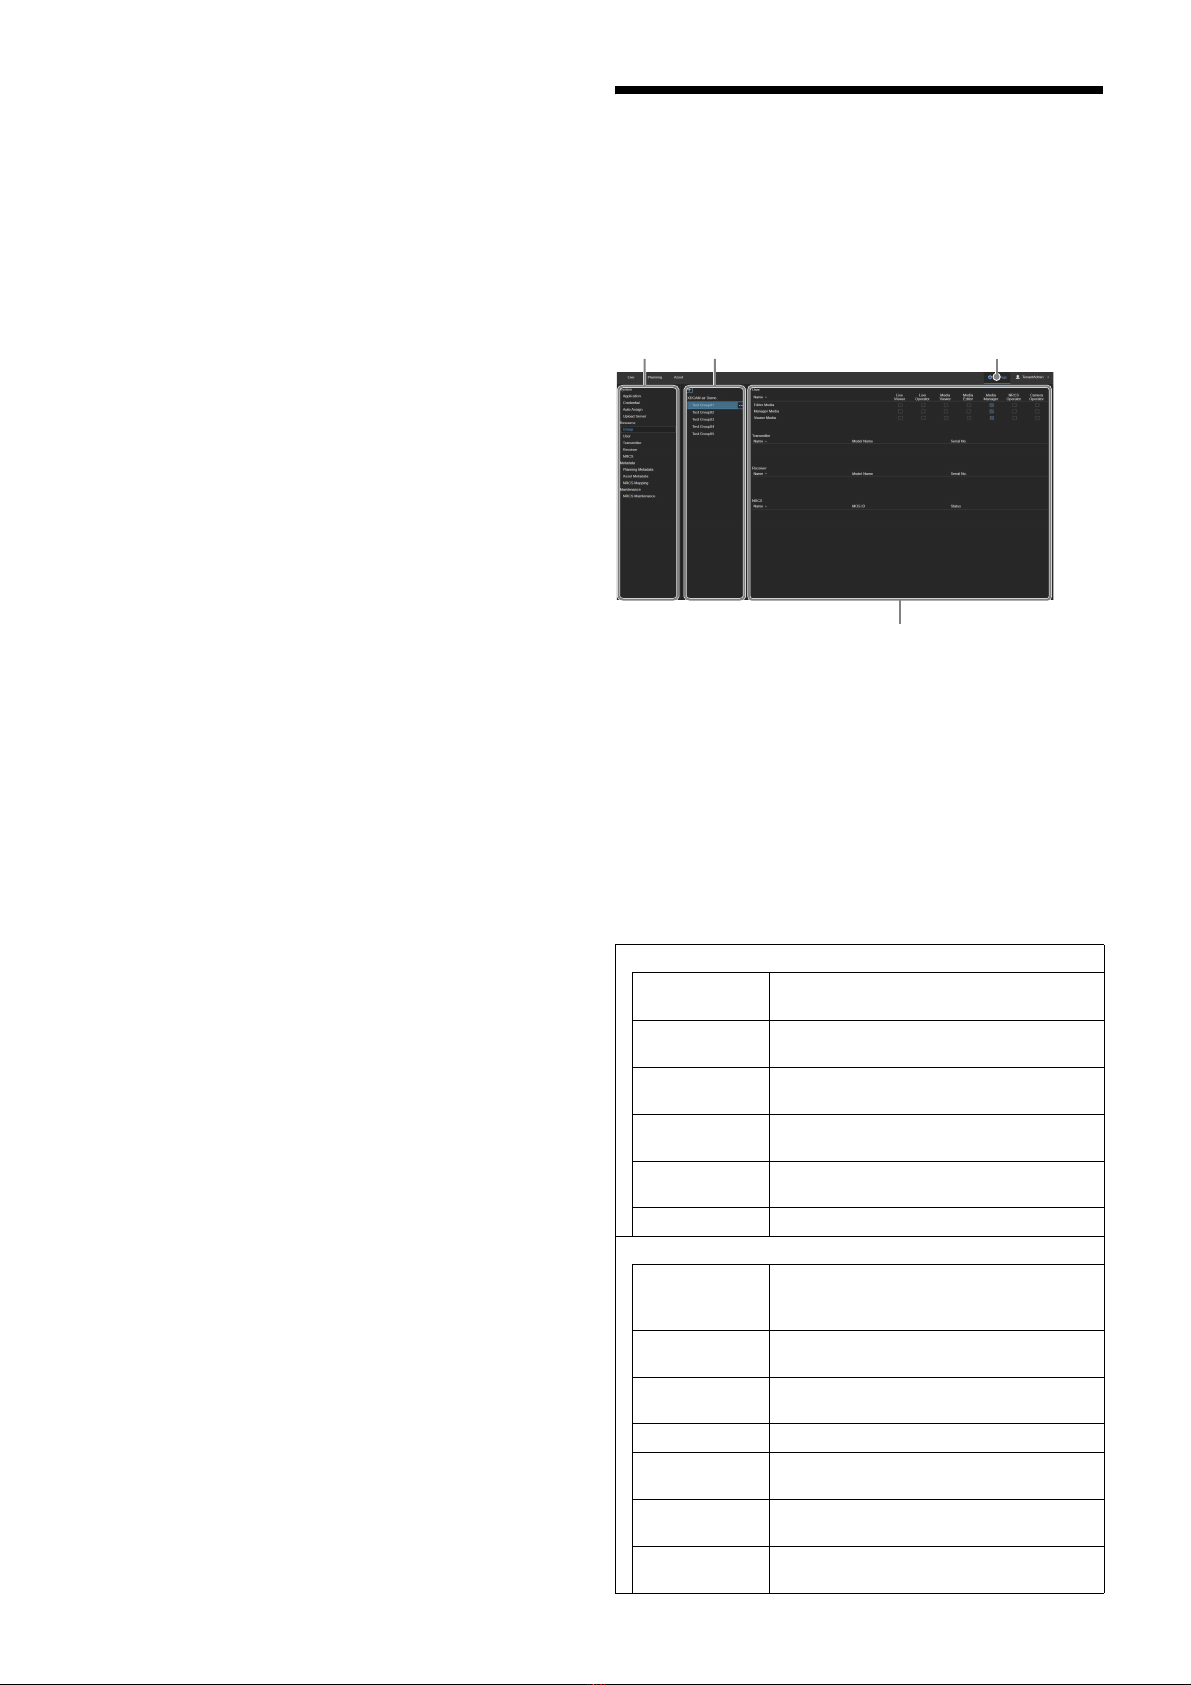
Structure of the Settings
Screen
This section describes the basic structure of the XDCAM air
Settings screen.
The Settings screen is displayed after a system administrator
signs in and clicks the [Settings] button.
aMenu
Selects the menu with items to configure.
bSub menu
Selects the item to configure in the selected menu. The sub
menu may not be displayed, depending on the selected menu.
cSettings button
Click to display the Settings screen.
dSettings area
Displays the configuration items.
The structure of the [Settings] menu is given below.
System
General Set time zone, drag & drop action, operation
priority, and forced streaming.
Credential Register the user name and password for the
connection of a device with XDCAM air.
Auto Assign Automatically assigns the ports that XDCAM
pocket can connect to.
Upload Configure settings for uploading content to a
server.
Intercom Link the PWS-100RX1 with the camcorder to
communicate with using the intercom.
Asset Retention Configure auto deletion of assets.
Resource
Group Use to add, edit, and delete projects and work
groups. Also displays the resources assigned
to projects and work groups.
User Configure projects and work groups to which
users belong and the role of each user.
Transmitter Register, modify, and delete stream
transmitters.
Receiver Register, modify, and delete stream receivers.
NRCS Register, modify, and delete a Newsroom
Computer System (NRCS).
FTP Server Configure settings for transferring assets to
an external remote server.
S3 Bucket Configure settings for transferring assets to
an external S3 bucket.
ab c
d