penalise
TABLE
OF
CONTENTS
BEFORE
USE
OWNER’S
FOCOM
.....esececceseeseessseeeeeeseeeatesssecsssensesseeenaesneessneeneneanenenres
2
Warning
....ccsscssesesesssseseesssssesseeesansensesssansesseeessesassesceeeaseesreeseseantes
2
Precautions
ie'2
Feature...
ceceseeesseeeeeeeeee
3
Notice
on
operating
voltage
and
frequency...
3
PARTS
IDENTIFICATION
COPA
SB
iscicssccnine-ieceseeeses
4
CCP-04B
..
oS
CRM
AO
siescesstscvccacdsdasescticsacdads
sheavesevostensiens
tolevee
pissivatveeseaaeneconsnaoea
6
CASSETTE
TO
CASSETTE
DUPLICATION
Cassette
INSCLtiON
.......cccccscessscsecesesseseensesseeeeseecaseeaseneesesensenenses
Level
AGjUStMENE
.....
es
eeeeceeessscrssseeseeeeeeresseseeeeeeesretseserseueearesessate
Duplication
with
a
Single
CCP-13B
occ
esseesseeeesenseeeeeeeeeeeees
Using
an
additional
CCP-04B
printer..
Typical
operating
conditions...............
OPEN
REEL
TAPE
TO
CASSETTE
DUPLICATION
CONN
SCIONS
-occccccéeesiesecedhcectvececavicsccsunstenscesensetcstsssteduscseesanseesescasess
10
Tape
threading
and
sensing
foil
attachments
.........
eel
Track
connections
and
track
selector
adjustments.
12
OPE
AtlON
evssccccecsscecteedcleasebesengeseesseeataccadestnasoeeasszesbsetenseehee
wl
Typical
operating
CONGITIONS
........:ccseesseeessereeteeteteeteereeeeteeteaee
14
MAINTENANCE
Cleaning
the
heads
and
tape
Path...
ccesesseeeeeesetteerseeeees
15
DemagnetiZing
the
NHeads........scsssseseesssssersesenseseseseesetereetenseeenes
15
Cleaning
the
cabinet...............
15
Lubrication
and
internal
CHECK.........ccescceessseesseeseeessetereneeeseeeee
16
Replacement
of
the
Spare
Parts
........cccccesesesseenereeeeeerseneeeenees
15
SPECIFICATIONS
COP-13BICCP-O4B
svi.
cscssssdscisessnsescvcsedecteaevacenscatesenssbapenesscdessvossesaae
16
ORM-10......
eee
16
GONG
ADs.
conc
sscezevscsctavccatecsensastestusevccwsaessashdedenccnccese
des
ssppcacsensseceuaiense
17
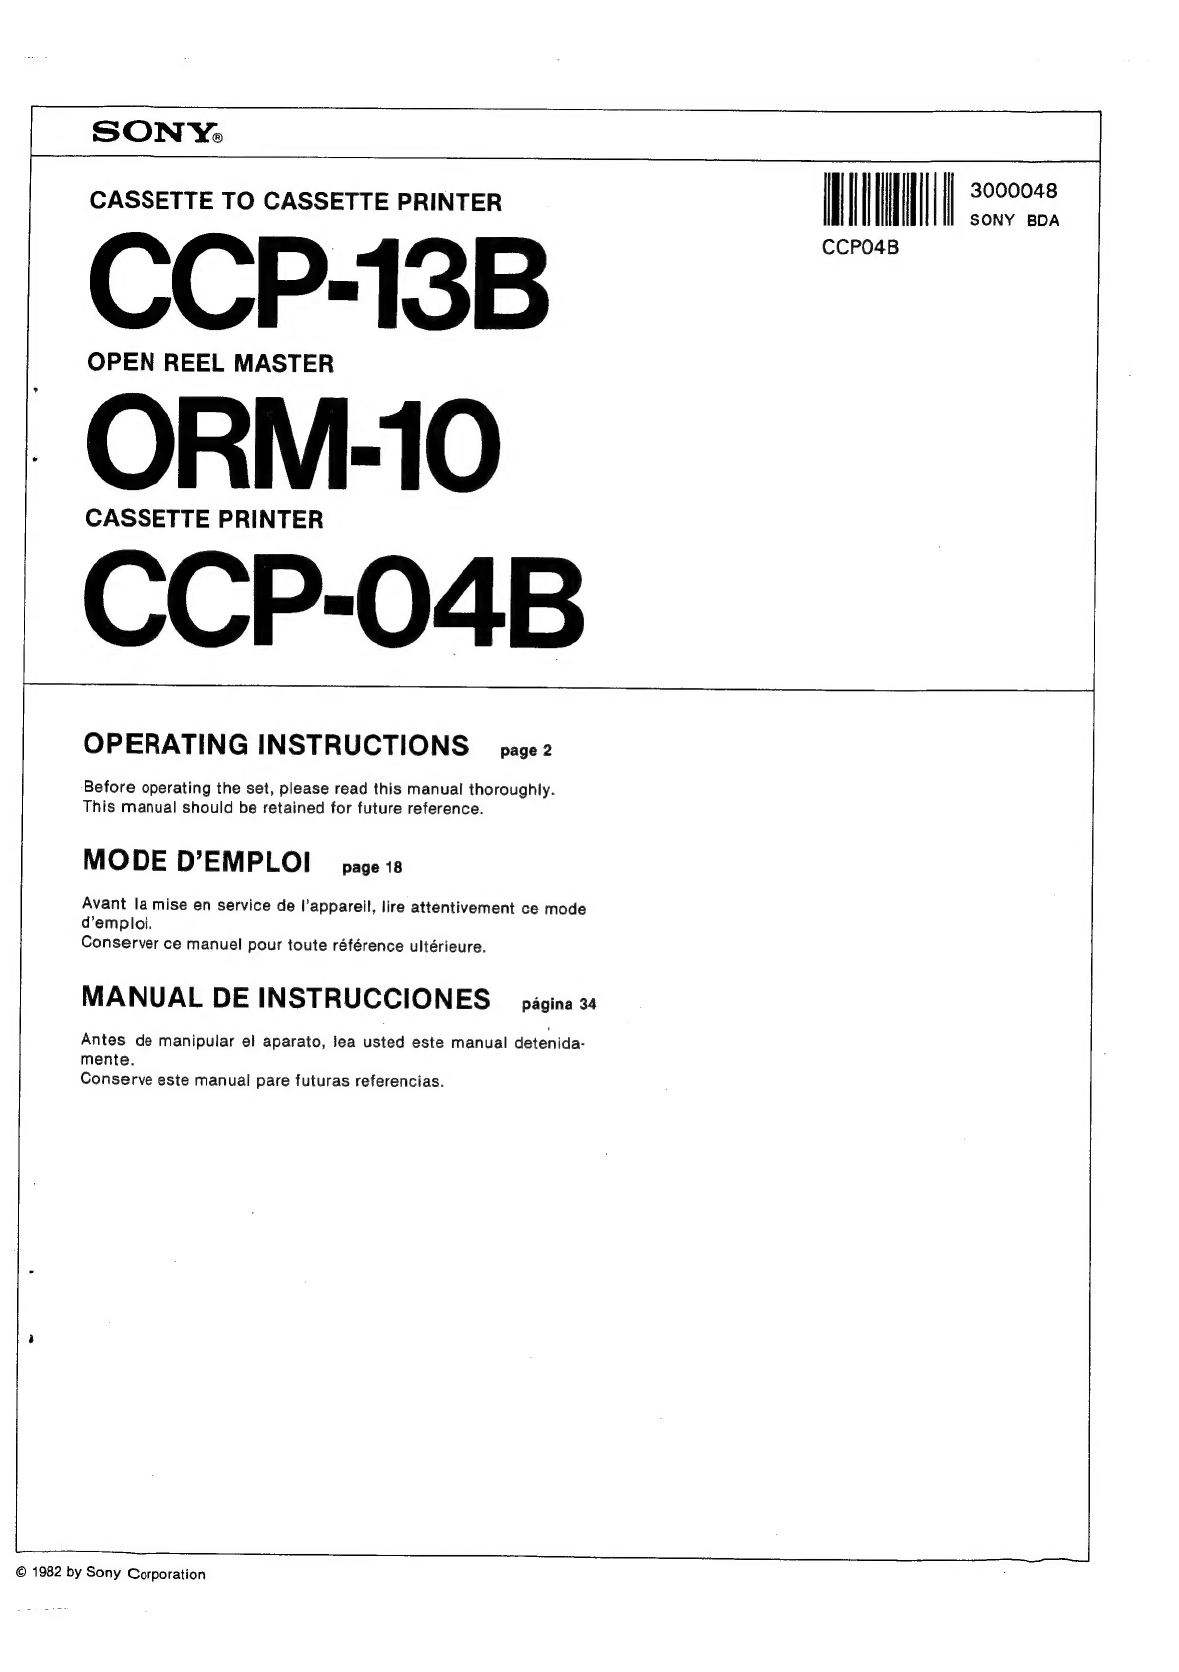
BEFORE
USE
This
instruction
manual
covers
the
CCP-13B
cassette-to-cassette
printer,
the
ORM-10
open
reel
master
and
the
CCP-04B
cassette
printer,
which
form
a
complete
line
of
high
speed
cassette
printers.
With
multiple
connections
of
these
units,
up
to
11
cassettes
can
be
copied
simultaneously.
For
duplication
of
more
than
11
cassettes,
the
AA-10
adaptor
unit
is
necessary
to
amplify
the
output
levels.
Each
unit
is
separately
available.
OWNER’S
RECORD
The
model
and
serial
numbers
are
located
at
the
rear
of
CCP-13B
and
CCP-04B
and
at
the
right
side
of
the
ORM-10.
Record
these
numbers
in
the
spaces
provided
below.
Refer
to
them
whenever
you
call
upon
your
Sony
dealer
regarding
these
products.
Model
No.
CCP-13B
Serial
No.
Model
No.
CCP-04B
Serial
No.
Model
No.
ORM-10
Serial
No.
WARNING
@
To
prevent
fire
or
shock
hazard,
do
not
ex-
pose
the
set
to
rain
or
moisture.
®@
To
avoid
electrical
shock,
do
not
open
the
cabinet.
Refer
servicing
to
qualified
person-
nel
only.
PRECAUTIONS
On
safety
@
Before
operating,
check
to
see
that
your
unit
is
set
to
the
same
voltage
and
frequency
as
your
local
power
line.
Refer
to
“NOTICE
ON
OPERATING
VOLTAGE
AND
FREQUENCY”.
@
Operate
only
with
the
supplied
ac
power
cord;
do
not
use
any
other
type.
@
Unplug
the
unit
from
the
wail
outlet
when
it
is
not
to
be
used
for
an
extended
period
of
time.
To
disconnect
the
cord,
pull
it
out
by
grasping
the
plug.
Never
pull
it
by
the
cord.
@
Should
any
liquid
or
solid
objects
fall
into
the
cabinet,
unplug
the
unit
and
have
it
checked
by
qualified
personnel
before
operating
it
any
further.
On
installation
@
Do
not
install
the
unit
in
a
location
near
heat
sources
such
as
radiators
or
air
ducts,
or
in
a
place
subjuct
to
direct
sunlight,
ex-
cessive
dust,
or
mechanical
vibration,
shock,
or
excessive
noise
levels
such
as
is
caused
by
electro-photocopiers
or
similar
devices.
@
Allow
adequate
air
circulation
to
prevent
internal
neat
build-up.
Do
not
piace
the
unit
on
surfaces
(rugs,
blankets,
etc.)
or
near
materials
(curtains,
draperies)
that
may
block
the
ventilation
holes.
On
operation
@
While
duplicating,
take
care
not
to
turn
ON
or
OFF
the
POWER
switch
of
any
other
equipment
as
a
click
sound
will
be
recorded.
@
Keeping
the
tape
heads
in
a
clean
condition
is
essential
to
the
proper
operation
of
the
unit.
For
maintenance
information,
refer
to
page
15.
@
If
the
cassette
printers
are
installed
in
an
area
ofambient
tem-
perature
above
25°C
(77°F),
it
is
recommended
that
the
system
be
rested
every
7
or
8
hours
for
cooling
for
approximately
one
hour.
@
When
the
unit
is
not
used,
turn
the
power
off
to
conserve
energy
and
to
extend
the
useful
life
of
the
unit.
On
system
@
If
you
already
have
a
CCP-13A
or
CCP-04A
printer
unit,
please
connect
and
operate
it
in
the
same
manner
as
for
the
CCP-13B
or
CCP-04B
although
some
differences
will
be
found
inthe
panel
in-
dications.
@
If
you
already
have
a
CCP-13
or
CCP-04
printer
uni,
please
note
that
there
are
some
differences
between
the
models
CCP-13
and
CCP-13B,
and
the
CCP-04
and
CCP-04B.
When
conrecting
up
the
CCP-13
or
CCP-04,
please
consult
your
nearest
Sonyd
ealer
for
the
proper
connection
and
operation
of
those
models,and
read
the
.
respective
instruction
manual.
if
you
have
any
question
or
problem
concerning
your
unit
that
is
not
covered
in
this
booklet,
please
consult
your
nearestS
ony
dealer.
a