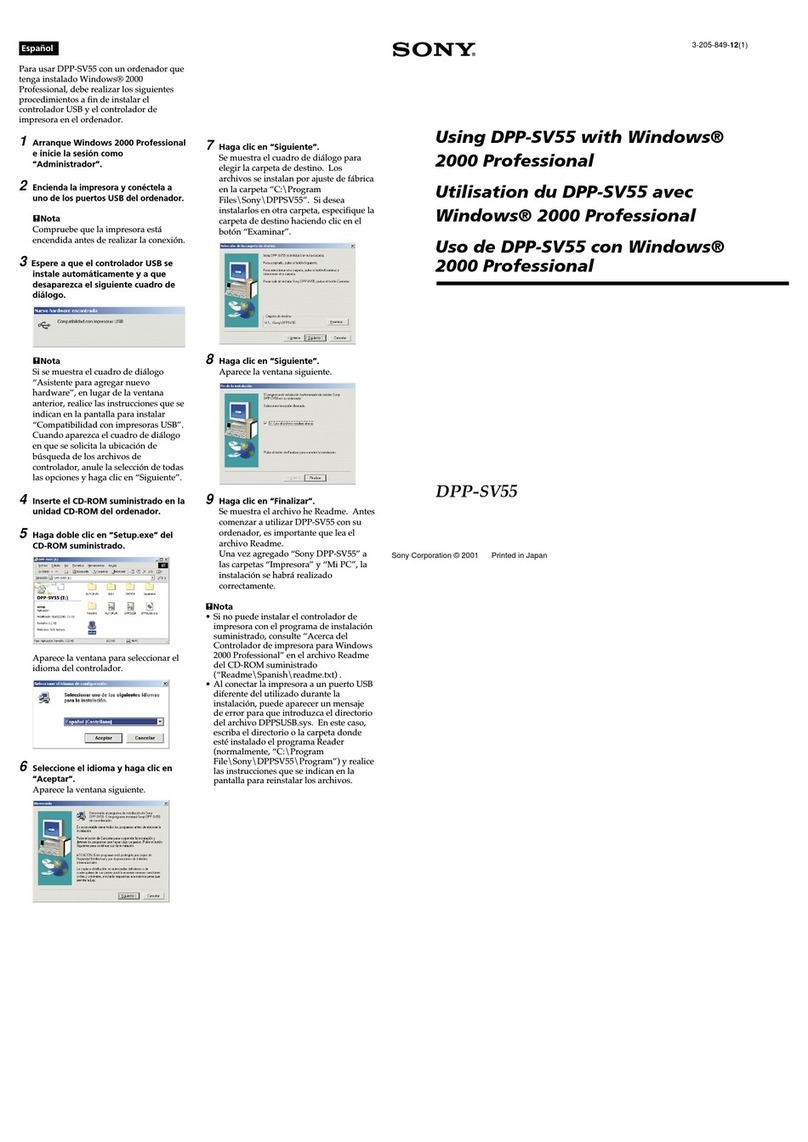
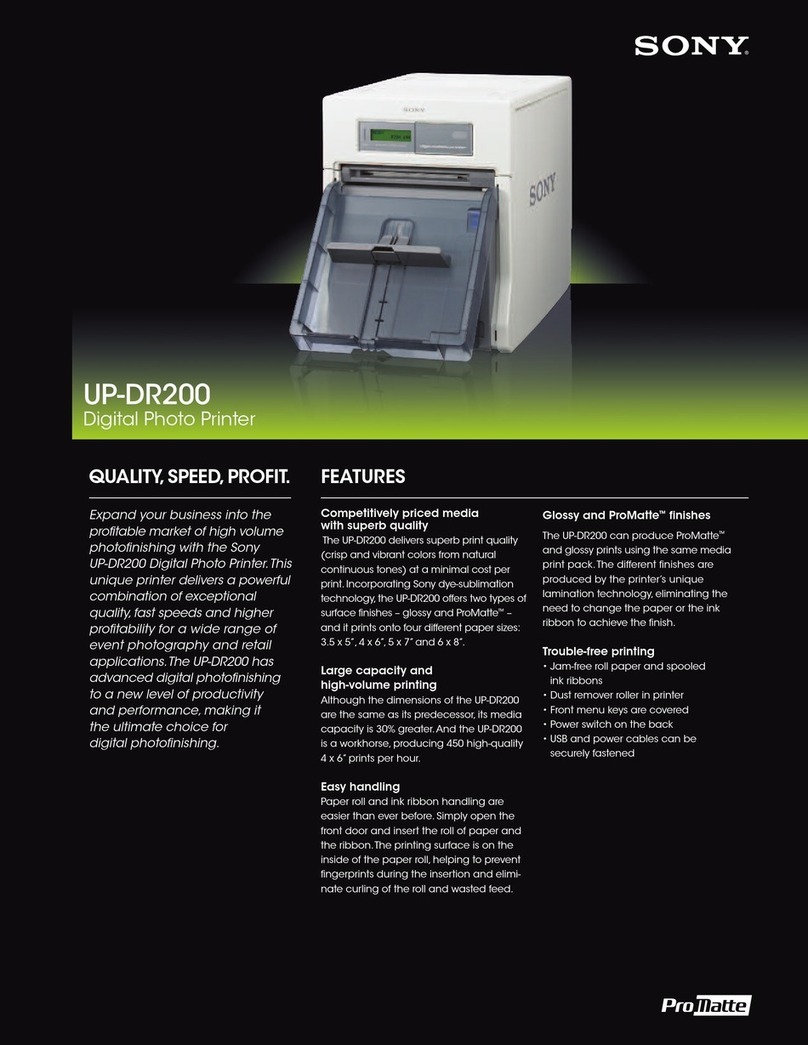
Sony DPP-FP35 User manual

US Model
Canadian Model
AEP Model
UK Model
E Model
Australian Model
East European Model
Russian Model
Korean Model
SERVICE MANUAL
DIGITAL PHOTO PRINTER
Link
Link
Revision History
Revision History
Ver. 1.1 2007. 02
Sony EMCS Co.
2007B1600-1
©2007.02
Published by Kohda TEC
9-852-132-12
DPP-FP35
DPP-FP35
How to use
Acrobat Reader
How to use
Acrobat Reader
SPECIFICATIONS REPAIR PARTS LIST
SERVICE NOTE
When the parts other than those described in “2. Repair Parts List”
need replacement, replace the unit.
Revised-1
Replace the previously issued
SERVICE MANUAL 9-852-132-11
with this Manual.

— 2 —
DPP-FP35
SPECIFICATIONS
xAC power adaptor AC-S2425
Power requirements
AC 100 to 240 V, 50/60 Hz, 1.5 to
0.75 A
Rated output voltage
DC 24 V, 2.2 A
Operating temperature
5 ˚C to 35 ˚C (41 ˚F to 95 ˚F)
Dimensions
Approx. 60 x 30.5 x 122 mm
(2 3/8x 1 1/4x 4 7/8inches)
(w/h/d, excluding protruding parts)
Mass
Approx. 300 g (11 oz)
Design and specifications are subject to
change without notice.
*1: When the 16 x 16 matrix is used: 300 x 16 =
4,800 dpi
*2: When the 12.7 x 12.7 matrix is used: 300 x
12.7 = 3,810 dpi
*3: When photo of 3.11MB file size is taken by
DSC-T30 (7Mega Cyber-shot)
*4: Time from when the print button on the
display window of the camera is pressed to
when printing is finished via DSC-T30
connected by USB cable.
*5:
The time for data processing and
transferring is excluded.
*6: Baseline JPEG with 4:4:4, 4:2:2, or 4:2:0
format
Maximum number of pixels to be
handled
10 000(H) x 7 500(V) dots
Print cartridge/Print Paper
See “Preparing the print pack”.
Power requirements
DC IN jack, DC 24 V
(On standby mode, less than 1W)
Operating temperature
5 ˚C to 35 ˚C (41 ˚F to 95 ˚F)
Dimensions
Approx. 175 x 60 x 137 mm
(7 x 2
3
/
8
x 5
1
/
2
inches)
(w/h/d, excluding protruding parts)
(306 mm (12
1
/
8
inches) of depth when
the paper tray is installed.)
Mass
Approx. 1 kg (2 lb 3 oz)
(excluding the paper tray, print
cartridge, AC power adaptor)
Supplied accessories
See page 1-3E.
xPrinter
Printing method
Dye sublimation printing (Yellow/
Magenta/Cyan 3 pass)
Resolution
300 (H) x 300 (V) dpi
Equivalent to
3 color Ink-Jet 4800 dpi x 4800 dpi *1
6 color Ink-Jet 3810 dpi x 3810 dpi *2
Image processing per dot
256 levels (8 bits for each Yellow/
Magenta/Cyan), approx. 16 770 000
colors
Printing size
Post Card (4 x 6 inch/10 x 15 cm) size:
101.6 x 152.4 mm (maximum,
borderless)
Printing time (per sheet)*3
PictBridge mode*4: Approx. 77 seconds
PC mode*5: Approx. 60 seconds
Input/Output connectors
USB for PC connection USB 1.1
(Type B)
Highspeed is not supported.
PictBridge connector
Compatible image file formats
JPEG: DCF 2.0 compatible, Exif 2.21
compatible, JFIF*6
Some image file formats are not
compatible.
These specifications are extracted from Operating
Instructions of DPP-FP35 (2-682-260-11 (2)).

—3 —
DPP-FP35
1. Check thearea of your repairforunsoldered or poorly-soldered
connections. Checkthe entire board surfacefor solder splashes
and bridges.
2. Check the interboard wiring to ensure that no wires are
"pinched" or contact high-wattage resistors.
3. Look for unauthorized replacement parts, particularly
transistors, that were installed during a previous repair. Point
them out to the customer and recommend their replacement.
4. Look forpartswhich, through functioning, showobvious signs
of deterioration. Point them out to the customer and
recommend their replacement.
5. Check the B+ voltage to see it is at the values specified.
6. Flexible Circuit Board Repairing
• Keep the temperature of the soldering iron around 270˚C
during repairing.
• Do not touch the soldering iron on the same conductor of the
circuit board (within 3 times).
• Be careful not to apply force on the conductor when soldering
or unsoldering.
Unleaded solder
Boards requiring use of unleaded solder are printed with the lead-
free mark (LF) indicating the solder contains no lead.
(Caution: Some printed circuit boards may not come printed with
the lead free mark due to their particular size.)
: LEAD FREE MARK
Unleaded solder has the following characteristics.
•Unleaded solder melts at a temperature about 40°C higher than
ordinary solder.
Ordinary soldering irons can be used but the iron tip has to be
applied to the solder joint for a slightly longer time.
Soldering irons using a temperature regulator should be set to
about 350°C.
Caution: The printed pattern (copper foil) may peel away if the
heated tip is applied for too long, so be careful!
•Strong viscosity
Unleaded solder is more viscous (sticky, less prone to flow) than
ordinary solder so use caution not to let solder bridges occur such
as on IC pins, etc.
•Usable with ordinary solder
It is best to use only unleaded solder but unleaded solder may
also be added to ordinary solder.
SAFETY CHECK-OUT
After correcting the original service problem, perform the following
safety checks before releasing the set to the customer.
SAFETY-RELATED COMPONENT WARNING!!
COMPONENTS IDENTIFIED BY MARK 0OR DOTTED LINEWITH
MARK 0ON THE SCHEMATIC DIAGRAMS AND IN THE PARTS
LIST ARE CRITICAL TO SAFE OPERATION. REPLACE THESE
COMPONENTS WITH SONY PARTS WHOSE PART NUMBERS
APPEAR AS SHOWN IN THIS MANUAL OR IN SUPPLEMENTS
PUBLISHED BY SONY.
ATTENTION AU COMPOSANT AYANT RAPPORT
À LA SÉCURITÉ!
LES COMPOSANTS IDENTIFÉS PAR UNE MARQUE 0SUR LES
DIAGRAMMES SCHÉMATIQUES ET LA LISTE DES PIÈCES SONT
CRITIQUES POUR LA SÉCURITÉ DE FONCTIONNEMENT. NE
REMPLACER CES COMPOSANTS QUE PAR DES PIÈSES SONY
DONT LES NUMÉROS SONT DONNÉS DANS CE MANUEL OU
DANS LES SUPPÉMENTS PUBLIÉS PAR SONY.

—4 —
DPP-FP35
TABLE OF CONTENTS
1. SERVICE NOTE ························································1-1
2. REPAIR PARTS LIST
2-1. EXPLODED VIEWS ······················································2-2

1-1E
DPP-FP35
1. SERVICE NOTE
When you re-assembling the thermal printer, install it in the direction of the arrow.
thermal printer

NOTE
NOTE
DPP-FP35
Link
Link
2. REPAIR PARTS LIST
EXPLODED VIEWS
EXPLODED VIEWS
OVERALL SECTION
ACCESSORIES
ACCESSORIES

DPP-FP35
2-1
The components identified by mark 0or
dotted line with mark 0are critical for safety.
Replace only with part number specified.
NOTE:
• -XX, -X mean standardized parts, so they may have some differences from
the original one.
• Items marked “*” are not stocked since they are seldom required for routine
service. Some delay should be anticipated when ordering these items.
• The mechanical parts with no reference number in the exploded views are not
supplied.
• Due to standardization, replacements in the parts list may be different from
the parts specified in the diagrams or the components used on the set.
• CAPACITORS:
uF: µF
• COILS
uH: µH
• RESISTORS
All resistors are in ohms.
METAL: metal-film resistor
METAL OXIDE: Metal Oxide-film resistor
F: nonflammable
• SEMICONDUCTORS
In each case, u: µ, for example:
uA...: µA... , uPA... , µPA... ,
uPB... , µPB... , uPC... , µPC... ,
uPD..., µPD...
When indicating parts by reference number,
please include the board name.
2. REPAIR PARTS LIST
• Abbreviation
AR : Argentine model
AUS : Australian model
BR : Brazilian model
CH : Chinese model
CND : Canadian model
EE : East European model
HK : Hong Kong model
J : Japanese model
JE : Tourist model
KR : Korea model
NE : North European model
RUS : Russian model
2. REPAIR PARTS LIST

2-2
2. REPAIR PARTS LIST
DPP-FP35
2-1-1. OVERALL SECTION
Ref. No. Part No. Description Ref. No. Part No. Description
2-1. EXPLODED VIEWS
ns: not supplied
1
8
5
6
3
2
13
10
9
7
4
2
11
ns ns
12
1 2-676-796-01 LID (FRONT)
2 3-254-070-01 SCREW
3 2-190-483-01 FOOT, RUBBER
4 7-682-545-04 +B 3X4
5 2-676-797-01 LID (MEDIA)
6 2-676-795-01 CASE (LOWER)
7 3-254-140-01 SCREW (B2.6), (+) BV TAPPING
8 2-676-799-01 SUPPORT, FAN
9 2-677-204-01 LID, UPPER
10 2-677-207-01 SHEET (ORNAMENT), ADHESIVE
11 2-677-206-01 ORNAMENT (AEP, UK, EE, RUS)
11 2-677-206-11 ORNAMENT (US, CND, E, AUS, KR)
12 X-2149-226-1 BUTTON (STANDBY) ASSY (SERVICE)
13 2-685-098-01 ILLUMINATOR (STANDBY)

2-3E
DPP-FP35
2. REPAIR PARTS LIST
Cleaning cartridge (1)
X-2055-849-2
AC ADAPTOR (AC-S2425) (1)
0
1-479-013-22
AC power cord (1)
(US/CND model)
0
1-829-810-51
AC power cord (1)
(AEP/E/EE/RUS model)
0
1-824-910-31
AC power cord (1)
(UK model)
0
1-827-269-22
AC power cord (1)
(AUS model)
0 1
-555-074-71
AC power cord (1)
(KR model)
0
1-823-947-51
TRAY BOTTOM (1)
2-190-618-02
TRAY COVER (A)(1)
2-190-619-02
TRAY COVER (B) (1)
2-190-620-01
TRAY PLATE (1)
2-190-621-01
TRAY SHEET (1)
2-190-622-01
2-682-260-11 OPERATING, INSTRUCTIONS (ENGLISH)
(US,CND,AEP,UK,E,AUS,EE,RUS)
2-682-260-21 OPERATING, INSTRUCTIONS (FRENCH) (CND,AEP)
2-682-260-31 OPERATING, INSTRUCTIONS (GERMAN)(AEP)
2-682-260-41 OPERATING, INSTRUCTIONS (DUTCH)(AEP)
2-682-260-51 OPERATING, INSTRUCTIONS (ITALIAN)(AEP)
2-682-260-61 OPERATING, INSTRUCTIONS (SPANISH)(AEP,E)
2-682-260-71 OPERATING, INSTRUCTIONS (PORTUGUESE)(AEP,E)
2-682-260-81 OPERATING, INSTRUCTIONS (RUSSIAN)(EE,RUS)
2-682-260-91 OPERATING, INSTRUCTIONS (ARABIC)(E)
2-682-261-11 OPERATING, INSTRUCTIONS (PERSIAN)(E)
2-682-261-21 OPERATING, INSTRUCTIONS (KOREAN)(KR)
2-682-262-11 QUICK START GUIDE (ENGLISH)
(US,CND,AEP,UK,E,AUS,EE,RUS)
2-682-262-21 QUICK START GUIDE (FRENCH)(CND,AEP)
2-682-262-31 QUICK START GUIDE (GERMAN)(AEP)
2-682-262-41 QUICK START GUIDE (DUTCH)(AEP)
2-682-262-51 QUICK START GUIDE (ITALIAN)(AEP)
2-682-262-61 QUICK START GUIDE (SPANISH)(AEP,E)
2-682-262-71 QUICK START GUIDE (PORTUGUESE)(AEP,E)
2-682-262-81 QUICK START GUIDE (RUSSIAN)(EE,RUS)
2-682-262-91 QUICK START GUIDE (ARABIC)(E)
2-682-263-11 QUICK START GUIDE (PERSIAN)(E)
2-682-263-21 QUICK START GUIDE (KOREAN)(KR)
Checking supplied accessories.
Other accessories
• Refer to page 2-1 for mark 0.
CD-ROM
(Sony DPP-FP35
Printer Driver Software
and Picture Motion
Browser Ver. 1.1)

[Description of main button functions on toolbar of the Adobe Acrobat Reader Ver5.0 (for Windows)]
Printing a text
1. Click the Print button .
2. Specify a printer, print range, number of copies, and other op-
tions, and then click [OK].
Application of printing:
To set a range to be printed within a page, select the graphic
selection tool and drag on the page to enclose a range to
be printed, and then click the Print button.
Finding a text
1. Click the Find button .
2. Enter a character string to be found into a text box, and click
the [Find]. (Specify the find options as necessary)
Application to the Service Manual:
To execute “find” from current page toward the previous pages,
select the check box “Find Backward” and then click the
“Find”.
3. Open the find dialog box again, and click the [FindAgain] and
you can find the matched character strings displayed next.
(Character strings entered previously are displayed as they are
in the text box.)
Application to the Service Manual:
The parts on the drawing pages (block diagrams, circuit dia-
grams, printed circuit boards) and parts list pages in a text
can be found using this find function. For example, find a
Ref. No. of IC on the block diagram, and click the [FindAgain]
continuously, so that you can move to the Ref. No. of IC on
the circuit diagram or printed circuit board diagram succes-
sively.
Note: The find function may not be applied to the Service
Manual depending on the date of issue.
Switching a page
• To move to the first page, click the .
• To move to the last page, click the .
• To move to the previous page, click the .
• To move to the next page, click the .
Reversing the screens displayed once
• To reverse the previous screens (operation) one by one, click
the .
• To advance the reversed screens (operation) one by one, click
the .
Application to the Service Manual:
This function allows you to go and back between circuit dia-
gram and printed circuit board diagram, and accordingly it
will be convenient for the voltage check.
Moving with link
1. Select either palm tool , zoom tool , text selection tool
, or graphic selection tool .
2. Place the pointer in the position in a text where the link exists
(such as a button on cover and the table of contents page, or
blue characters on the removal flowchart page or drawing
page), and the pointer will change to the forefinger form .
3. Then, click the link. (You will go to the link destination.)
Moving with bookmark:
Click an item (text) on the bookmark pallet,and you can move
to the link destination. Also, clicking can display the
hidden items.
(To go back to original state, click )
Zooming or rotating the screen display
“Zoom in/out”
• Click the triangle button in the zoom control box to select the
display magnification. Or, you may click or for zoom-
ing in or out.
“Rotate”
• Click rotate tool , and the page then rotates 90 degrees each.
Application to the Service Manual:
The printed circuit board diagram you see now can be changed
to the same direction as the set.
Toolbar
Revision History
985213212.pdf
DPP-FP35
Ver.
1.0
1.1
Date
2006.06
2007.02
History
Official Release
Revised-1
Contents
—
Change of repair parts list
S.M. Rev.
issued
—
Yes
Reverse
Other manuals for DPP-FP35
1
Table of contents
Other Sony Printer manuals

Sony
Sony UP-GR700 User manual

Sony
Sony UP-910 User manual

Sony
Sony UP-890CE User manual

Sony
Sony DPP-FP85 User manual

Sony
Sony UPD-X100 User manual

Sony
Sony DPP-FP50 Fall 2005 User manual

Sony
Sony UP25MD User manual

Sony
Sony UPX-DP10 User manual

Sony
Sony SpectaProof UP-D9500 User manual

Sony
Sony UP-970AD User manual

Sony
Sony DPP-SV55 User manual

Sony
Sony UP-D2550S User manual

Sony
Sony UP-DR80MD User manual

Sony
Sony UPD-X100 User manual

Sony
Sony SnapLab UP-CR15L Instruction manual

Sony
Sony DPP-MP1 User manual

Sony
Sony UP-DR80MD User manual

Sony
Sony SNAPLAB UP-CR20L User manual

Sony
Sony UP895 - UP 895 B/W Dye Sublimation Printer User manual

Sony
Sony S-Frame DPP-F800 User manual