10
IT
EN
DE
FR
ES
PT
9. PROPER USE
1 2
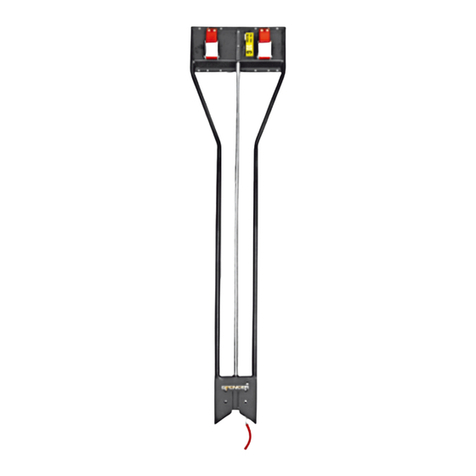
Place the device next to the
leg to be immobilised, posi-
tioning the ischial support
at the patient’s hip.
Loosen the locking rings
by turning them coun-
ter-clockwise and adjust
the length to the patient’s
limb. It is suggested that
the length be adjusted so
that the traction mechani-
sm is approximately 20cm
away from the heel of the
healthy limb.
Raise the device, open the
support and, while holding
it at an angle, check that it
has locked properly.
Once the required length
has been reached, lock
the locking rings by turning
them clockwise and check
that the telescopic frame
has locked.
Open all the bands, distri-
buting them evenly along
the frame, and prepare the
patient by removing bulky
clothing and shoes. Keep
the limb aligned manually.
3 4
While a colleague gently
lifts the fractured limb by
a few centimetres, the se-
cond operator applies the
ankle brace to the patient
(snug but not tight) around
the limb.
Adjust the traction belt of
the ankle brace as short
as possible, thus providing
the most space for traction
available.
The second operator grips
the ankle brace and applies
gentle traction while the
colleague prepares by ma-
nually supporting the limb.
The two rescuers lift the
end of the limb until it is
at an angle to the ground
at which the device can be
inserted.
5 6
Place the device under the
limb, limiting limb move-
ment as much as possible.
Apply gentle traction to the
ankle brace and insert the
device under the limb so
that the ischial padding is in
contact with the patient’s
ischium.
While maintaining light
traction on the ankle brace,
attach its ankle strap to the
traction mechanism using
the “S” hook.
Fasten the ischial belt, pas-
sing the long end through
the ring connected to the
short end and then lock it
in place.
Tighten the belt, taking care
not to obstruct circulation.
7 8
Once you have checked
that the ankle brace is secu-
re, turn the traction mecha-
nism knob.
The amount of traction
should be carefully asses-
sed according to the pa-
tient’s condition.
After checking the align-
ment of the limb, close
all bands from the top to
the ankle, taking care not
to constrict circulation or
compress the fracture site.
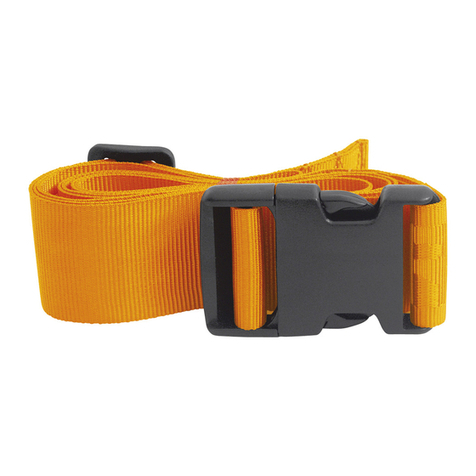
Close the bands with the
quick-release buckles and
adjust the tension.
For transport, it is best to
load the patient on a spine
board and cover with an in-
sulated drape.
When the clinician considers it appropriate to remove the device from the patient, gently open the bands while supporting and holding the limb.
Grasp the strap of the ankle brace in traction and pull the release tab of the traction mechanism. Gradually release the traction on the ankle brace.
While continuing to support the limb, gently slide the device under the patient’s leg until it is completely removed.
10. CLEANING AND MAINTENANCE
10.1 CLEANING
Failure to carry out the correct cleaning operations could increase the risk of cross-infection due to presence of body fluids and/or residues.
The operator must wear suitable personal protective equipment, such as gloves, goggles, etc. during all checking and cleaning operations.
Clean the exposed parts with water and delicate soap. Never use solvents or stain removers.
Rinse thoroughly with lukewarm water, making sure you have removed all traces of detergent, which may deteriorate or compromise conditions and durability. The use of
high-pressure water should be avoided.
Allow to dry thoroughly before storing. Drying after washing or after use in a wet environment must be natural and not forced. Do not use flames or other direct heat sources.
If blood is visible, oxidise it before washing with water.
The support bands and ankle brace can be removed and machine washed at 40°C.


