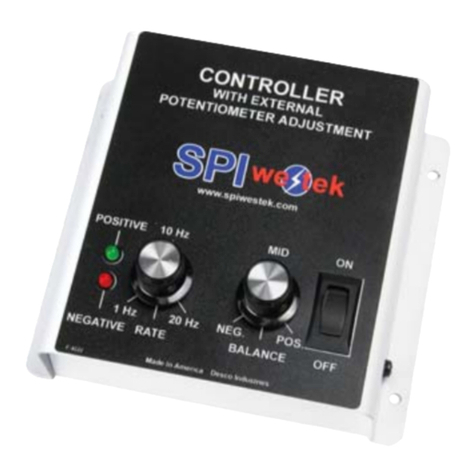
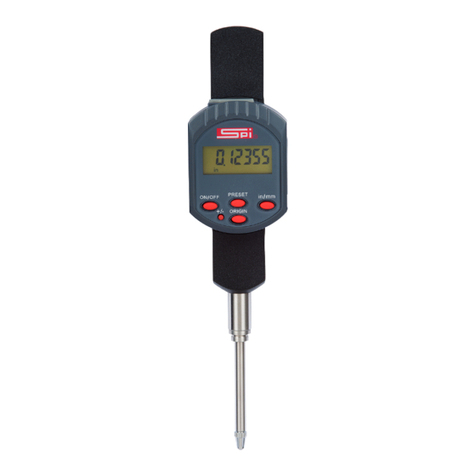
SPI 18-010-9 User manual
Other SPI Measuring Instrument manuals
SPI
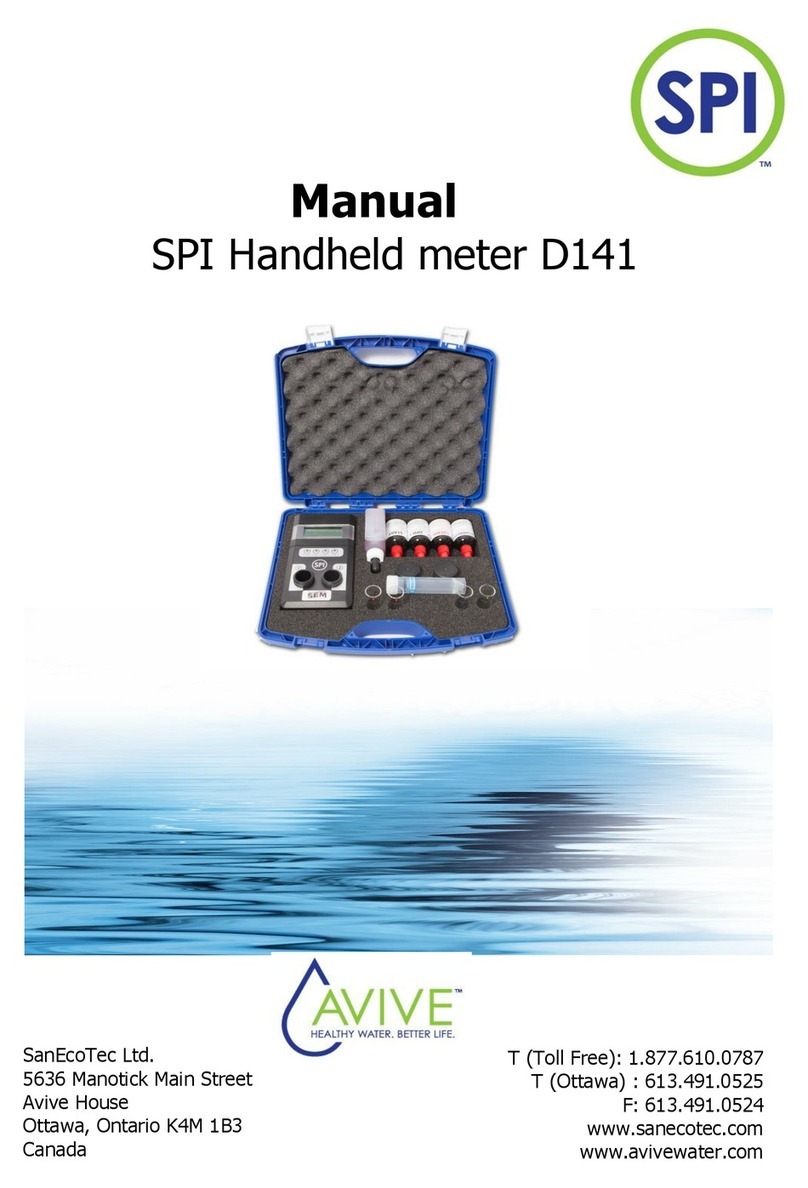
SPI D141 User manual
SPI
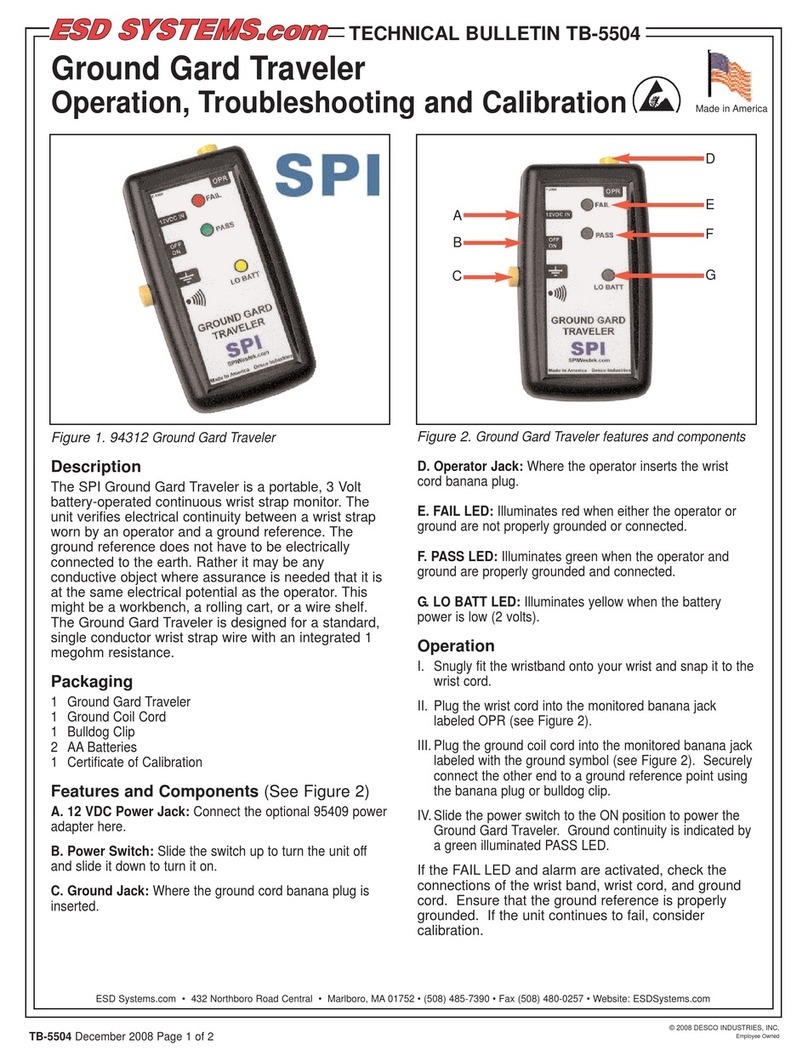
SPI Ground Gard Traveler Operating instructions
SPI
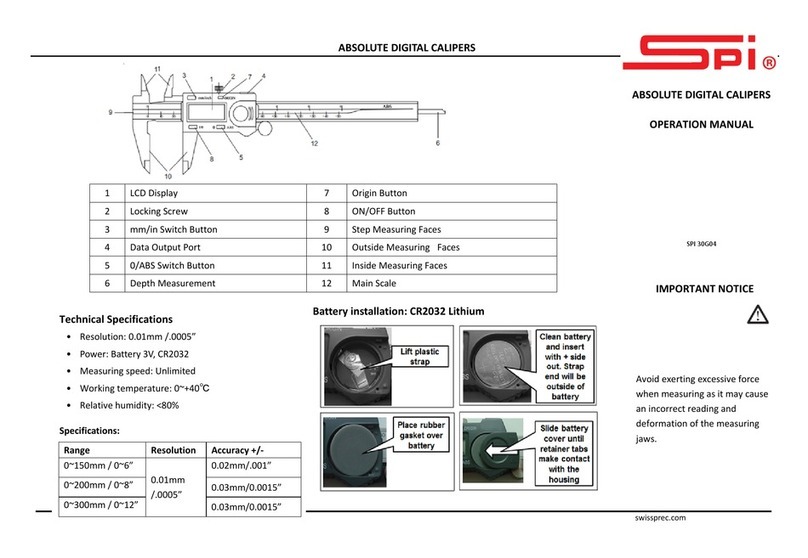
SPI ABSOLUTE DIGITAL CALIPER User manual
SPI
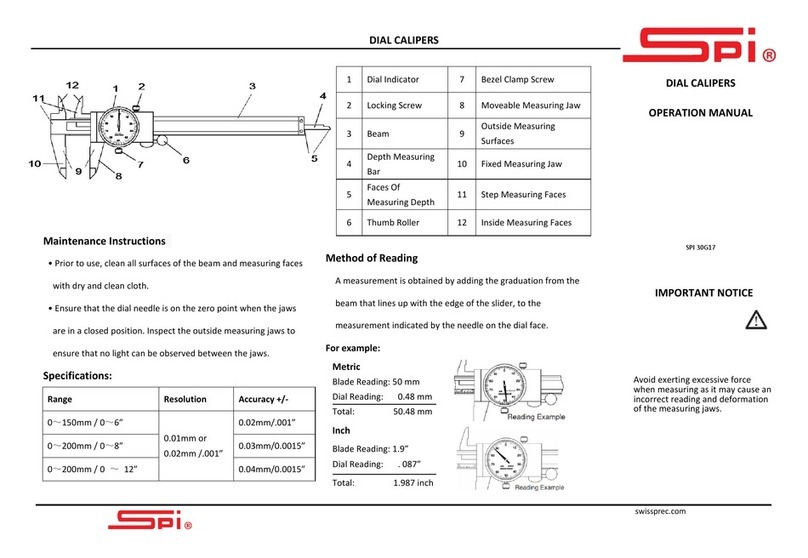
SPI DIAL CALIPER User manual
SPI
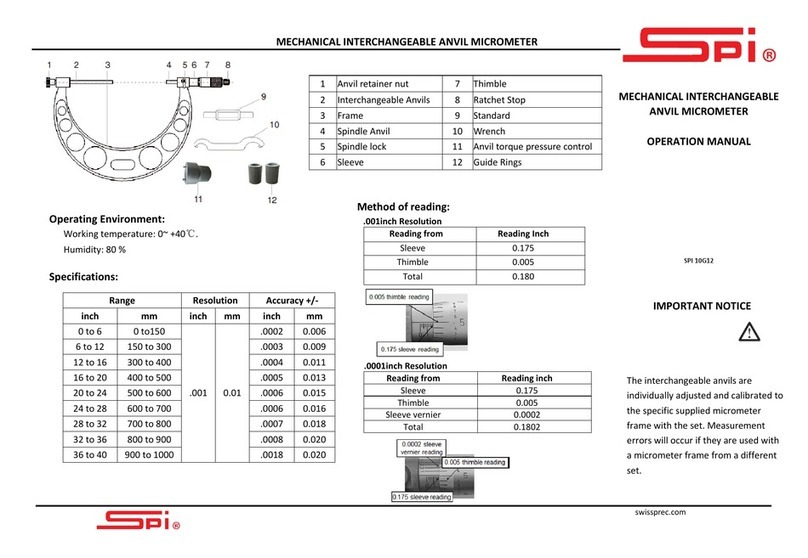
SPI 10G12 User manual
SPI
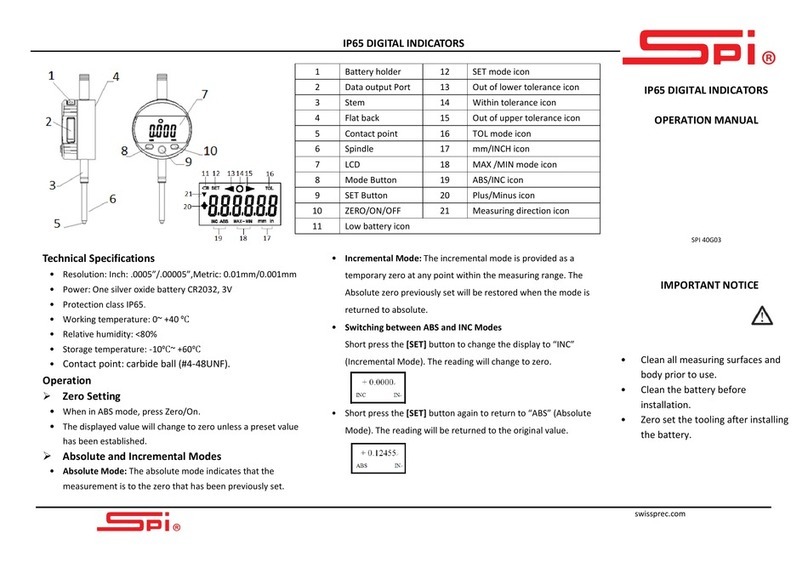
SPI 40G03 User manual
SPI
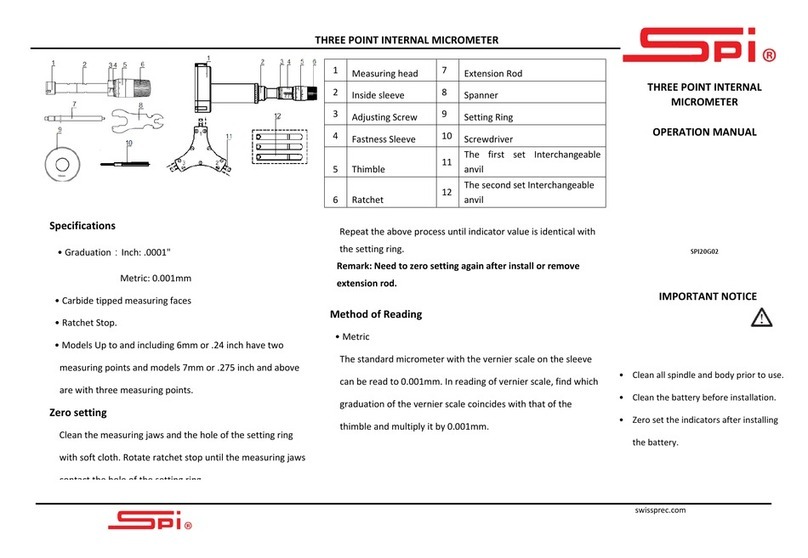
SPI 10-702-9 User manual
SPI
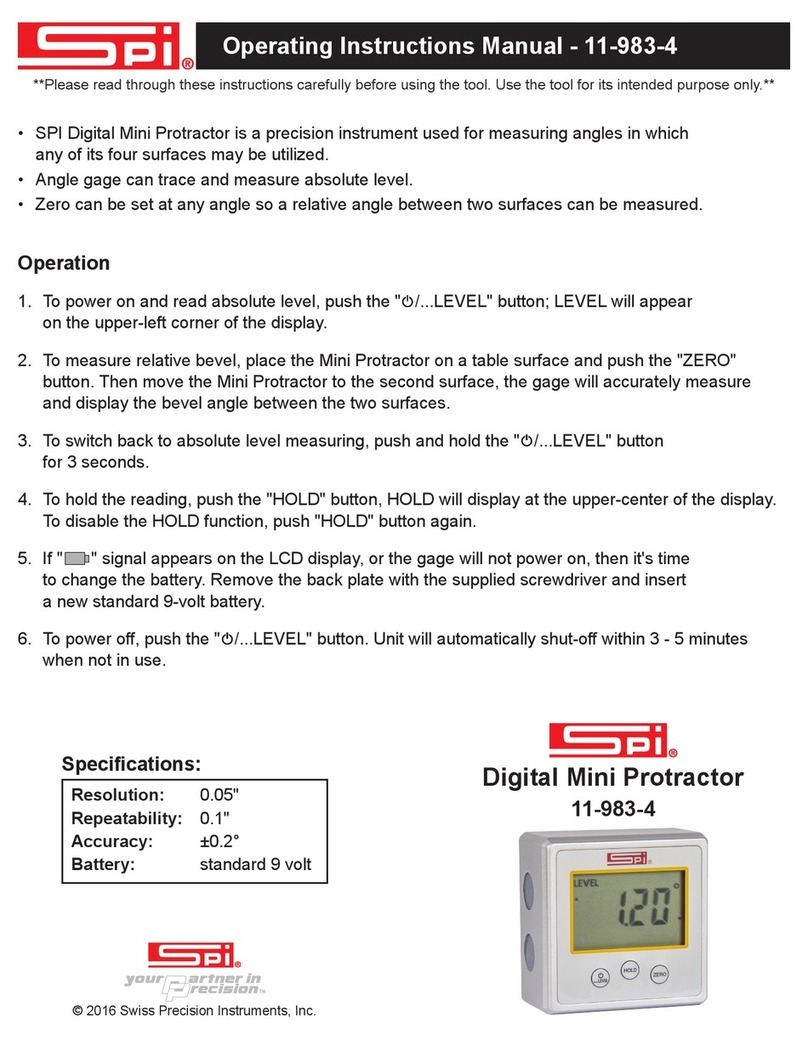
SPI 11-983-4 Instruction Manual

SPI
SPI C170 CHLORINE User manual
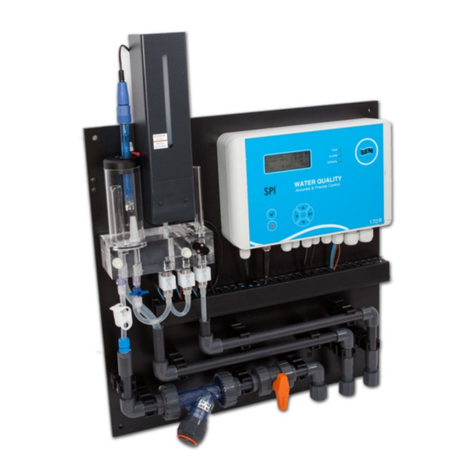
SPI
SPI SPI-P170 User manual
Popular Measuring Instrument manuals by other brands
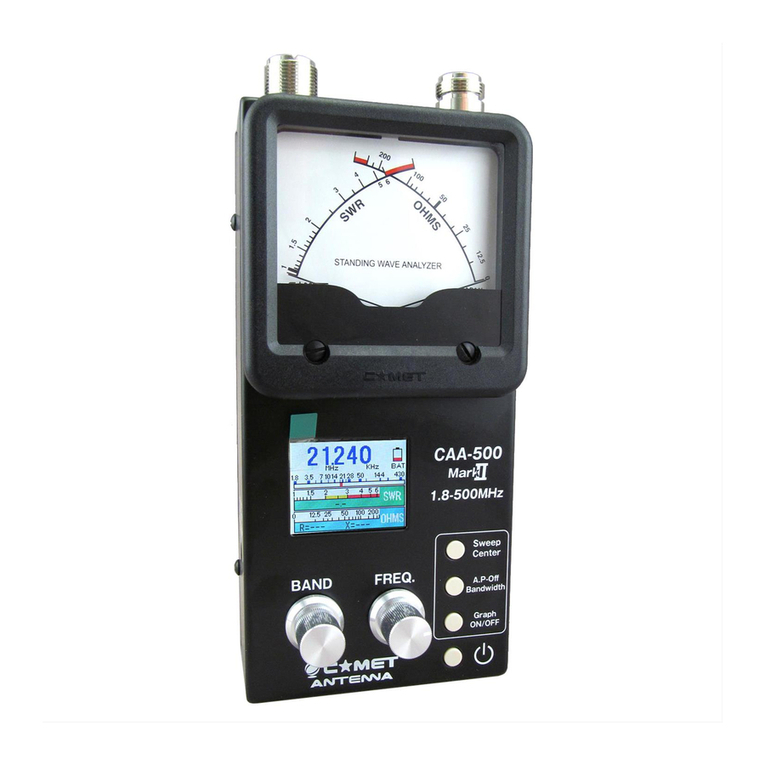
Comet
Comet CAA-500 MARK II instruction manual
Tektronix
Tektronix Keithley 2651A Reference manual
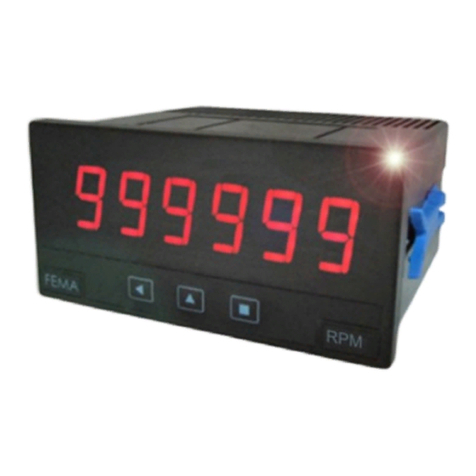
Fema Electronica
Fema Electronica M Series user manual

Union Instruments
Union Instruments CWD 2005 user manual
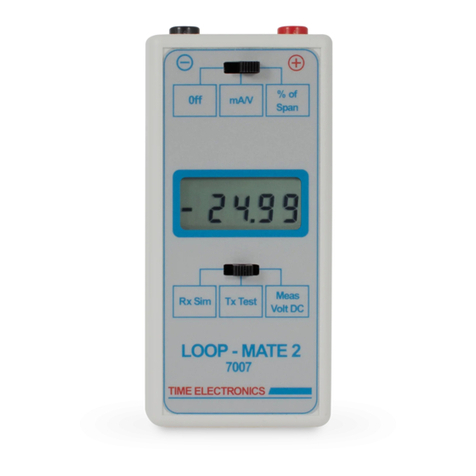
Time Electronics
Time Electronics 7007 Loop-Mate 2 user manual

Hanna Instruments
Hanna Instruments HI96722 user manual


