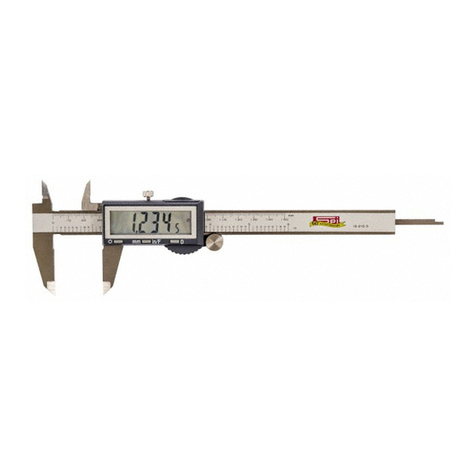
DIAL CALIPERS
swissprec.com
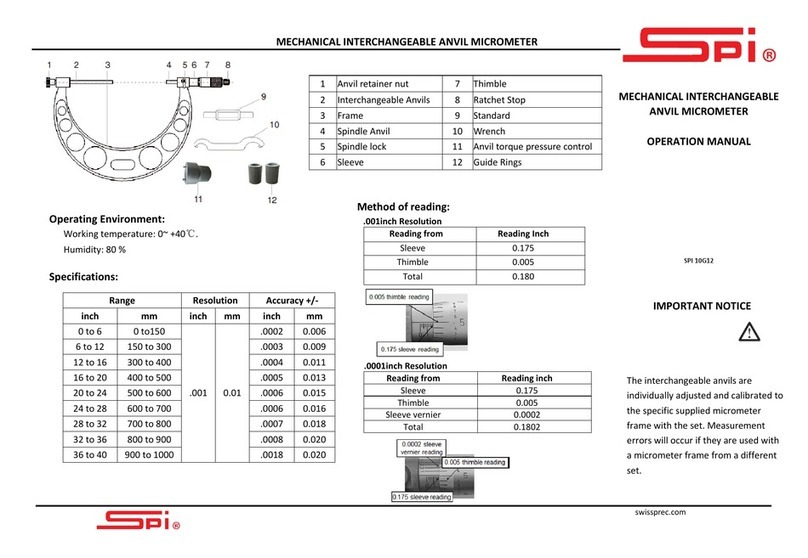
1 Dial Indicator 7 Bezel Clamp Screw
2 Locking Screw 8 Moveable Measuring Jaw
3 Beam 9 Outside Measuring
Surfaces
4 Depth Measuring
Bar 10 Fixed Measuring Jaw
5 Faces Of
Measuring Depth 11 Step Measuring Faces
6 Thumb Roller 12 Inside Measuring Faces
Maintenance Instructions
• Prior to use, clean all surfaces of the beam and measuring faces
with dry and clean cloth.
• Ensure that the dial needle is on the zero point when the jaws
are in a closed position. Inspect the outside measuring jaws to
ensure that no light can be observed between the jaws.
Specifications:
Range Resolution Accuracy +/-
0~150mm / 0~6”
0.01mm or
0.02mm /.001”
0.02mm/.001”
0~200mm / 0~8” 0.03mm/0.0015”
0~200mm / 0 ~12” 0.04mm/0.0015”
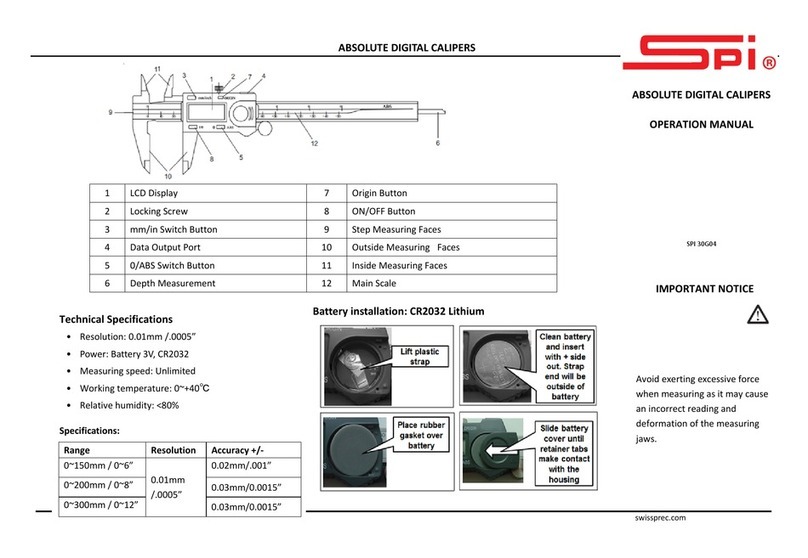
Method of Reading
A measurement is obtained by adding the graduation from the
beam that lines up with the edge of the slider, to the
measurement indicated by the needle on the dial face.
For example:
Metric
Blade Reading: 50 mm
Dial Reading: 0.48 mm
Total: 50.48 mm
Inch
Blade Reading: 1.9”
Dial Reading: . 087”
Total: 1.987 inch
OPERATION MANUAL
SPI 30G17
IMPORTANT NOTICE
Avoid exerting excessive force
when measuring as it may cause an
incorrect reading and deformation
of the measuring jaws.
