manuals.online logo
Brands
  1. Home
  2. •
  3. Brands
  4. •
  5. Spypoint
  6. •
  7. Scouting Camera
  8. •
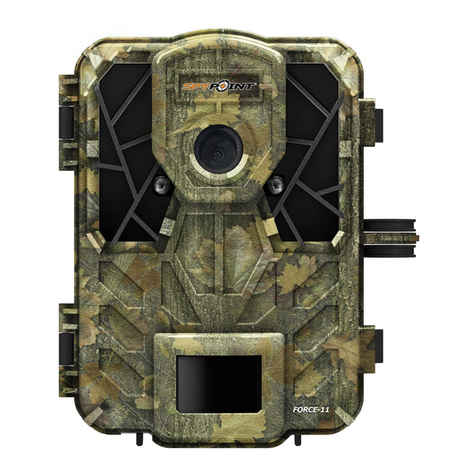
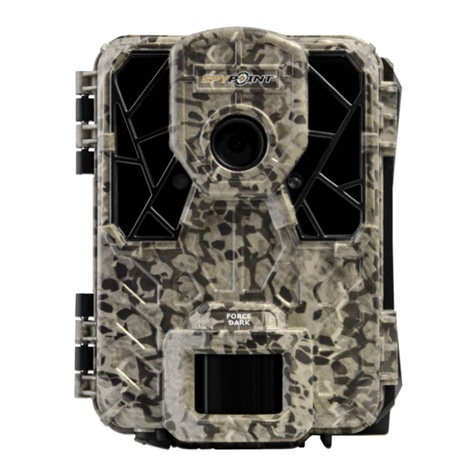
  9. Spypoint FORCE-11 User manual

Spypoint FORCE-11 User manual

Other manuals for FORCE-11

2

This manual suits for next models

1

Other Spypoint Scouting Camera manuals

Spypoint FLEX User manual

Spypoint

Spypoint FLEX User manual

Spypoint FLEX User manual

Spypoint

Spypoint FLEX User manual

Spypoint IRON-10 User manual

Spypoint

Spypoint IRON-10 User manual

Spypoint CELL-LINK User manual

Spypoint

Spypoint CELL-LINK User manual

Spypoint FLEX-S User manual

Spypoint

Spypoint FLEX-S User manual

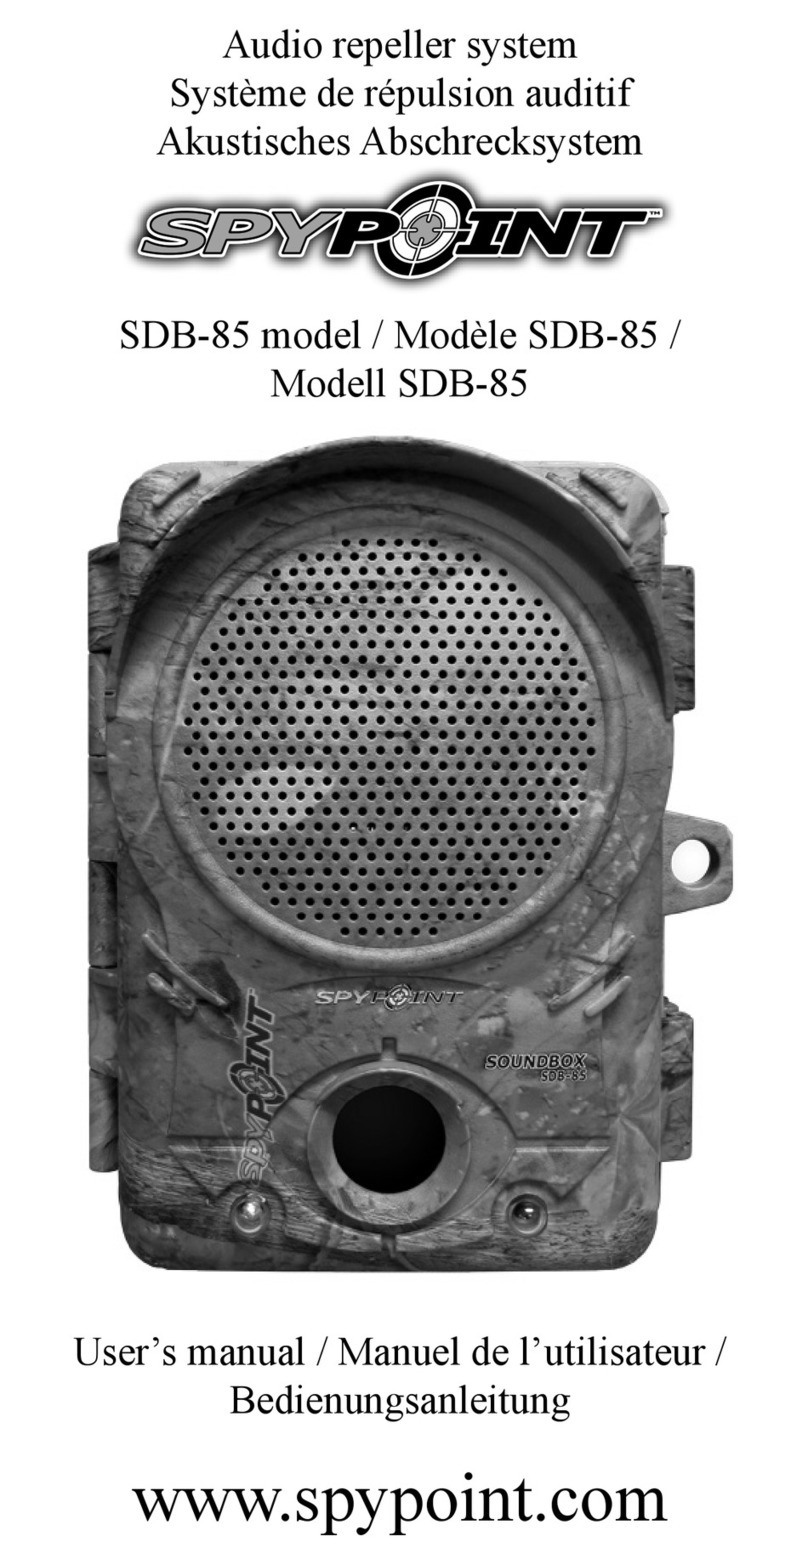
Spypoint SDB-85 User manual

Spypoint

Spypoint SDB-85 User manual

Spypoint FORCE-PRO-S User manual

Spypoint

Spypoint FORCE-PRO-S User manual

Spypoint MMS User manual

Spypoint

Spypoint MMS User manual

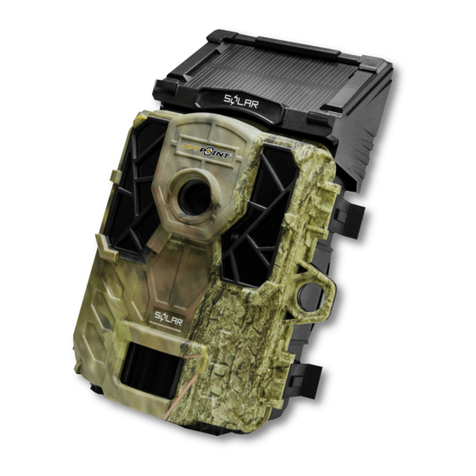
Spypoint SOLAR User manual

Spypoint

Spypoint SOLAR User manual

Spypoint 21 User manual

Spypoint

Spypoint 21 User manual

Spypoint MMS User manual

Spypoint

Spypoint MMS User manual

Spypoint Solar-Dark User manual

Spypoint

Spypoint Solar-Dark User manual

Spypoint FLEX G-36 User manual

Spypoint

Spypoint FLEX G-36 User manual

Spypoint LINK-S User manual

Spypoint

Spypoint LINK-S User manual

Spypoint FL-7 User manual

Spypoint

Spypoint FL-7 User manual

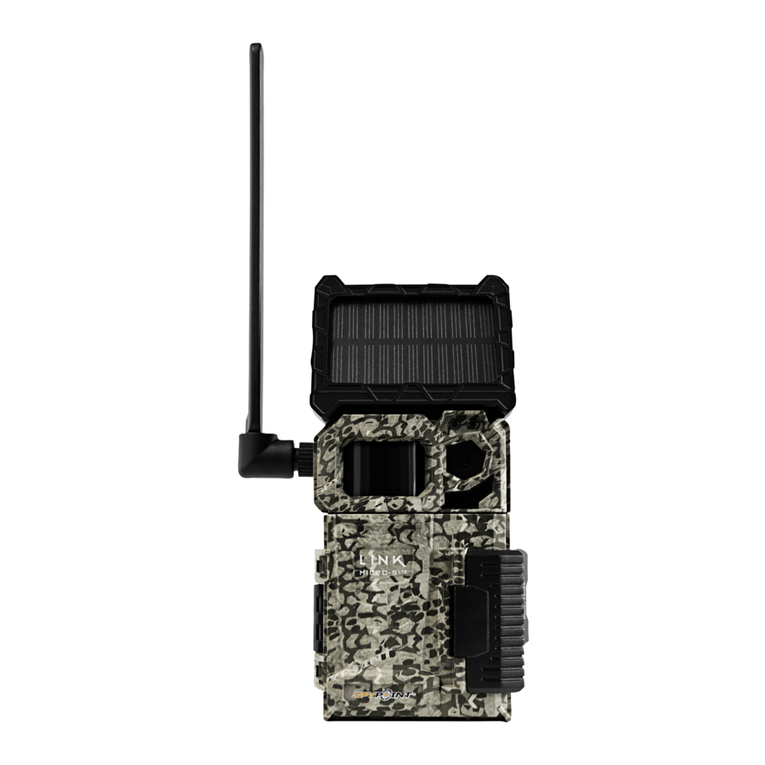
Spypoint LINK-MICRO-LTE User manual

Spypoint

Spypoint LINK-MICRO-LTE User manual

Spypoint FORCE-PRO User manual

Spypoint

Spypoint FORCE-PRO User manual

Spypoint FORCE-PRO User manual

Spypoint

Spypoint FORCE-PRO User manual

Spypoint LINK-S User manual

Spypoint

Spypoint LINK-S User manual

Spypoint FORCE-10 User manual

Spypoint

Spypoint FORCE-10 User manual

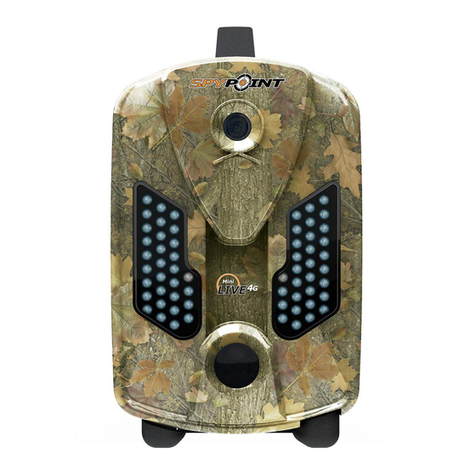
Spypoint mini-LIVE User manual

Spypoint

Spypoint mini-LIVE User manual

Spypoint LIVE-3G User manual

Spypoint

Spypoint LIVE-3G User manual

Spypoint S-WiFi model User manual

Spypoint

Spypoint S-WiFi model User manual

Spypoint LINK-EVO? LINK-EVO-V User manual

Spypoint

Spypoint LINK-EVO? LINK-EVO-V User manual

Popular Scouting Camera manuals by other brands

Stealth Cam CORE STC-Z3IRTL instruction manual

Stealth Cam

Stealth Cam CORE STC-Z3IRTL instruction manual

Suntek HC-800M user manual

Suntek

Suntek HC-800M user manual

Nestbox C13 user guide

Nestbox

Nestbox C13 user guide

Duramaxx 10029765 user manual

Duramaxx

Duramaxx 10029765 user manual

Wildview STC-TGL1 user manual

Wildview

Wildview STC-TGL1 user manual

Bestok 5210GM user manual

Bestok

Bestok 5210GM user manual

BlazeVideo A280W instruction manual

BlazeVideo

BlazeVideo A280W instruction manual

Primos Bullet Proof 2 instruction manual

Primos

Primos Bullet Proof 2 instruction manual

Brecom C2400 user manual

Brecom

Brecom C2400 user manual

Outdooree R6 user manual

Outdooree

Outdooree R6 user manual

Suntek HC-550A user manual

Suntek

Suntek HC-550A user manual

BolyGuard MG882K-8M user manual

BolyGuard

BolyGuard MG882K-8M user manual

ION Camocam Wi-Fi quick start guide

ION

ION Camocam Wi-Fi quick start guide

Minox DTC 400 SLIM instructions

Minox

Minox DTC 400 SLIM instructions

ElectrIQ Pro Outback MINI user manual

ElectrIQ

ElectrIQ Pro Outback MINI user manual

Boly BG710 Series user manual

Boly

Boly BG710 Series user manual

Wildgame L20B20-7 user manual

Wildgame

Wildgame L20B20-7 user manual

HCO SG580M user manual

HCO

HCO SG580M user manual

manuals.online logo
manuals.online logoBrands
  • About & Mission
  • Contact us
  • Privacy Policy
  • Terms and Conditions

Copyright 2025 Manuals.Online. All Rights Reserved.

Quick start guide
Ultra compact
trail camera
Models:
FORCE-11
FORCE-12
1-888-779-7646
support.spypoint.com



[email protected]
FORCE
mySPYPOINT.com
Add your camera to your
free account now!
v1.5
In the box
Components
Note: Memory card and batteries are sold separately.
ON-OFF/OK button
Navigation buttons
 Congurationscreen
(FORCE-11)
Viewing screen (FORCE-12)
SD card slot
Invisible LEDs
Photo lens
Test light
Cable lock hole
Detection lens
12V Jack
BUSY LED
Microphone
Battery case
Slot for installation strap
Tripod mount
1
2
3
4
5
6
7
8
9
10
11
12
13
14
15
16
Insert an SD/SDHC memory card (up to 32 GB capacity) in the card
slot. The card is inserted correctly when a click is heard.
Beforeinserting orremoving amemory card,always turno the
camera to prevent loss or damage of the photos already recorded.
1. REMOVE THE CAMERA FROM THE MOUNTING BRACK-
ET
•Pushthetabtoreleasethecamerafromthemountingbracket.
•Removethecamera.
2. CHOOSE A POWER SOURCE
We recommend the use of new batteries to ensure maximum
performance of the camera. Rechargeable AA batteries are not recom-
mended.
3. INSERT THE MEMORY CARD
Getting started
1
2
5
3
4
Installation
strap
Quick start
guide
Camera



Mounting
bracket


6
7
8
10
11
9
16
13
12
14 15
RECHARGEABLE7.4VOLT LI-ION POLYMER BATTERY 2.0 Ah
RECYCLEORDISPOSE OF PROPERLY
Li-ion MadeinChina|Fabriquéen Chine v2.3
www.spypoint.com
P INTSPY INTPSPY
Models:LIT-09:Battery only
LIT-C-8: LIT-09 Battery & charger
WARNING:Toreduceriskof fire or burns,
-Donot attempt to open, disassemble, or service the battery pack.
-Donot crush, puncture, short external contacts, or dispose
of in fire or water.
ATTENTION:Pourréduirelesrisques de feu ou de brûlures,
-Nepas essayer d’ouvrir,désassembler, ou de réparer la pile.
-Nepas frapper,percer, court-circuiter les contacts externes
de la pile ou mettre dans le feu ni l’eau.
6 alkaline AA batteries Lithium battery pack
LIT-09/LIT-C-8
DC 12V
12V power source
Visit mySPYPOINT.com and create your free BRONZE account now!
Camera & photo management system

Take advantage of the automa-
tic organization of photos and
apply tags on photos to easily
ndthem.
Access your photos from
anywhere in the world. With the
cloud system, don’t worry about
losing your data.
See your hunting partners’ pho-
tos by sharing your account with
your group.





Geotag capabilities
Track back your cameras, com-
pile location information and
weather data over the years and
plan your next hunting season
eectively.
Cloud system
Automatic photo
sorting
Account sharing

Allows to easily manage your photos and trail cameras online. A must
for enjoying your SPYPOINT trail camera to its fullest!
Multi-shot 1 1-3
TIME LAPSE
Interval: This option allows the camera to take photos at regular
preset intervals without detection.
VIDEO
Delay: Allows the user to choose the time interval between each
detection before the camera can record the next video.
Video length: Allows the user to select the duration of the
recording.
Photo rst: When this option is enabled, a photo is taken
immediately before each video.
PERFORM THE STEPS 3 AND 4 DURING THE FINAL IN-
STALLATION OF THE CAMERA.
3. TEST THE DETECTION
OF THE CAMERA
In TEST mode, no photo or video
is recorded. Pass in front of the
camera from left to right. When
the camera detects motion, the
test light blinks. If the system does
not detect the movement, increase
the detection sensitivity using the
SENSITIVITY option in the GENERAL SETTINGS menu or realign the
system dierently. In TEST mode,
it is possible to take a photo by pressing the OK button
2. CONFIGURE THE SETTINGS OF THE 3 OPERATING
MODES
In the home menu, select SETTINGS and then, PHOTO, TIME
LAPSE or VIDEO to access to the respective operating mode
menu.
PHOTO
Delay: Allows the user to choose the time interval between each
detection before the camera can record the next photo.
Multi-shot: Takes up to 6 consecutive shots at each detection,
with a 10 second delay between each photo.
Recommended settings in photo mode
Usage in trails Usage by a feeder
Delay Instant 5 min
Use the and  buttons to navigate in the interface and to change
options.Usethe OKbuttontoconrm andtheBACKbutton toreturn
to the previous menu.
1. CONFIGURE THE GENERAL SETTINGS
A. Turn on the camera (press and hold the ON/OFF button).
B. In the home menu, select SETTINGS and then GENERAL to
access to the General settings menu.
C. Set the Date (MM/DD/YY or DD/MM/YY).
D. Set the Time (Hour/Minute).
Settings (FORCE-12 only). The photo is saved and appears in the VIEW
mode.
4. START THE CAMERA
Select the desired operating mode (photo, time lapse or video) in the
home menu by pressing OK.
When the mode is selected, the test light in front of the camera will
ashfor60secondstoallowtheuserto leavetheareawithoutbeing
photographed or recorded.
(Conguration)
Photo
(Conguration)
Timelapse
(Conguration)
Vidéo
(Conguration)
Photo
(Conguration)
Timelapse
(Conguration)
Vidéo
(Conguration)
Général
HOME
SETTINGS
Photo
Time lapse
Video
Test
View
Settings
Photo
Time lapse
Video
General
(Conguration)
Photo
(Conguration)
Timelapse
(Conguration)
Vidéo
HOME
Photo
Time lapse
Video
Test
View
Settings
(Conguration)
Photo
(Conguration)
Timelapse
(Conguration)
Vidéo
(Conguration)
Photo
(Conguration)
Timelapse
(Conguration)
Vidéo
(Conguration)
Général
HOME
SETTINGS
Photo
Time lapse
Video
Test
View
Settings
Photo
Time lapse
Video
General
FACEBOOK.COM/SPYPOINT
TWITTER.COM/SPYPOINTCAMERA
YOUTUBE.COM/SPYPOINTTRAILCAM
Join the SPYPOINT community
(Conguration)
Photo
(Conguration)
Timelapse
(Conguration)
Vidéo
HOME
Photo
Time lapse
Video
Test
View
Settings
4. INSTALL THE CAMERA WITH THE SUPPLIED STRAP
When installed with the mounting bracket, the camera can be removed
toaccessthebatterycasewithoutaectingtheinstallation.
1. Insérez l’extrémité de la courroiedans la fente
qui se trouve au dos du mécanisme.
2. Insérez la courroie dans la fentesous le levier
et faites-la ressortir en arrière.
3. Créer une tension sur la courroieen la tirant vers
la droite, puis rabattez vers la gauche le levier pour
maintenir la position.
3ft
Recommended installation height: about
3 feet above the ground.
Do not place the camera facing
the sun.
or


60 s
CAMERA
CAMERA
CAMERA
CAMERA