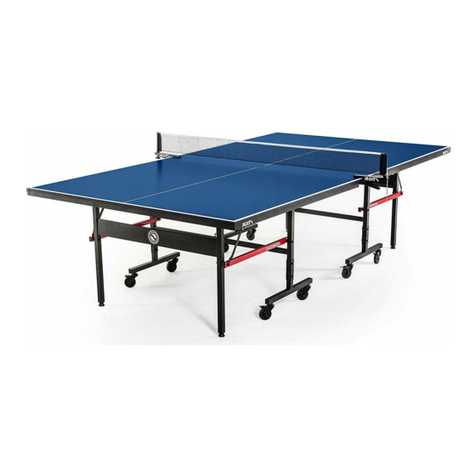
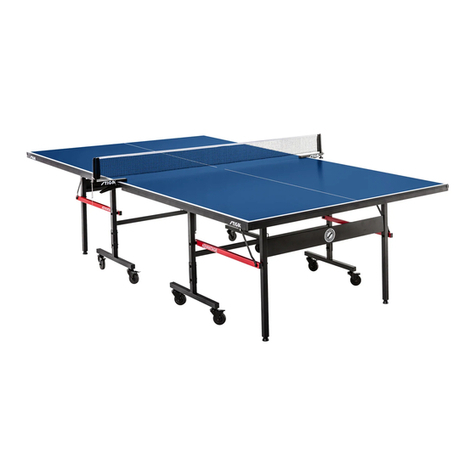
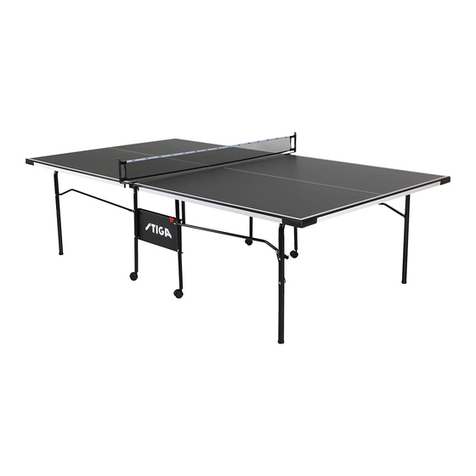
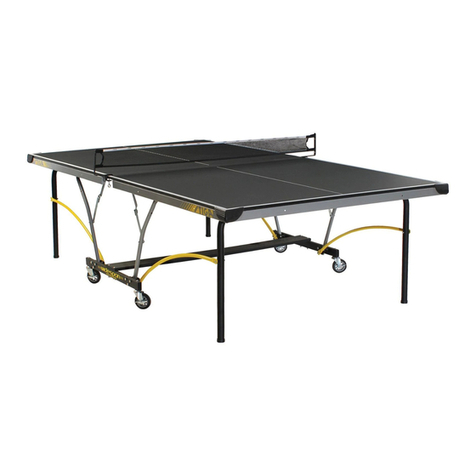
Stiga T8591B User manual

Escalade® Sports products may be manufactured and/or licensed under the following patents.
6120397, 5816957, 5769744, 5119741, 4911085, 4717157, D460140, D420563, 8414431
Additional patents may be pending. One or more of the listed patents and/or pending patents may cover specific product.
A S S E M B L Y I N S T R U C T I O N S
2018 Escalade Sports
MODEL NO.
T8591B
“ C O N F E R E N C E ”
T A B L E T E N N I S T A B L E
2L-4244-01
T8591W
&

P R E - A S S E M B L Y T I P S
Contact Escalade® Sports customer service department at:
Phone: Toll – Free !
Fax: Toll – Free !
E-mail:
Mailing Address (correspondence only):
Escalade Sports
PO Box 889
Evansville, IN 47706
2018 Escalade Sports
P R E - A S S E M B L Y T I P S
Please visit our Website at:
www.escaladesports.com
ON-LINE TROUBLE SHOOTING TECHNICAL ASSISTANCE
ON-LINE PARTS REQUESTS FREQUENTLY ASKED QUESTIONS
ADDITIONAL ESCALADE®
SPORTS PRODUCT INFORMATION
1. Read this manual carefully before starting assembly. Read each step completely before beginning each step.
2. Some smaller parts may be shipped inside larger parts. Check inside all parts and cartons before assembling or ordering
parts.
3. To make assembly easier, use the Hardware Identifier on page 5 to identify and sort all fasteners. Check all cartons for kits.
All hardware may not be located in one kit.
4. Do not tighten hardware until instructed to do so. If hardware is tightened too soon, mounting holes may not align and
parts may not easily fit together. Leave locknuts slightly loose until you are instructed to tighten them.
5. Save these instructions and your proof of purchase (receipt) in the event that the manufacturer has to be contacted for
replacement parts.
2L-4244-01
22
TOOLS REQUIRED FOR ASSEMBLY (NOT INCLUDED)
3/16” Cordless Drill #2 Bit
1/2”
1-866-873-3528
1-866-873-3533
tabletennis@escaladesports.com
Please Do Not Return This Product to the Store!
Phillips
(QTY. 2)
P A R T S L I S T ( N O T A C T U A L S I Z E )
2
4
TABLE TOP WITH ROLLERS
4A-8222-01
(QTY. 2)
LEG ASSEMBLY (BLACK) - RIGHT
1A-4145-02
TABLE FRAME (BLACK)
1A-4144-01
(QTY. 1)
3
5L
5R
(QTY. 2)
LEG BRACE ASSEMBLY (BLACK)
1A-4147-01
(QTY. 2)
LEG ASSEMBLY (BLACK) - LEFT
1A-4146-02
3
BOTTOM BOARD (PRE-DILLED)
4A-8223-01
(QTY. 2)
T 8 5 9 1 B / B L A C K T A B L E
*If you have a black table use
these part numbers for re-order
1

(QTY. 2)
P A R T S L I S T ( N O T A C T U A L S I Z E )
1
2
4
TABLE TOP WITH ROLLERS
4A-8222-01
(QTY. 2)
LEG ASSEMBLY (WHITE) - RIGHT
1A-4145-04
TABLE FRAME (WHITE)
1A-4144-02
(QTY. 1)
4
(QTY. 2)
LEG BRACE ASSEMBLY (WHITE)
1A-4147-02
(QTY. 2)
LEG ASSEMBLY (WHITE) - LEFT
1A-4146-04
3
BOTTOM BOARD (PRE-DILLED)
4A-8224-01
(QTY. 2)
T 8 5 9 1 W / W H I T E T A B L E
*If you have a white table use
these part numbers for re-order
5L
5R

H A R D W A R E I D E N T I F I E R ( A C T U A L S I Z E )
5
P R E - A S S E M B L E D P A R T S
BRACKET WITH ROLLER
1A-4148-00
(QTY. 8)
11 12
(QTY. 8)
2 X 2 LEG TUBE PLUG
3M-6248-00
5/16-18 X 1 1/2” BUTTON
HEAD CAP SCREW
1B-4166M00
(QTY. 8)
5/16-18 X 1/2” BUTTON HEAD
CAP SCREW
1B-4165M00
(QTY. 12)
8
7
#12 X 2 “ FLAT HEAD
SELF DRILLING SCREW
(QTY. 26)
1B-4168M00
5/16”-18 LOCK NUT
(QTY.4)
2B-6009M02
98
10
(QTY. 1)
13
(QTY. 4)
PADDLE
T1270
14
A C C E S S O R I E S
NET & POST SET
5A-4276M00
15
(QTY. 2)
Ball set (6pk)
T1432

6
Prepare a flat area that is clear of debris, use the
cardboard box and packing material to protect the table
components. Keep children away from the assembly area.
1
1. With the help of another adult take the Table Frame #1
out of the box and set it on with the Stiga logo upside
down on cardboard.
THE FOLLOWING STEP REQUIRES 2 CAPABLE ADULTS.
Make sure Stiga logo
is upside down!

DETAIL A
7
HARDWARE NEEDED (ACTUAL SIZE)
ASSEMBLY TIP
The following pages will have a picture of the
Hardware Needed along with the Quantity, Part
Number and Description. You can lay the
hardware on the picture to identify the hardware.
(QTY. 12)
8
5/16-18 X 1/2” BUTTON
HEAD CAP SCREW
1B-4165M00
TOOLS NEEDED
3/16”
8
5L 5R
2. Insert legs into the table frame, match the
holes in the leg bracket with the holes in the
Frame as shown in Detail A.
Use the cardboard box and packaging
materails to protect all the components.
5R 5L
3. Hand start all three #8 screws, then tighten
completely with Allen wrench. Repeat for the
remaining legs.
8
Align Leg bracket
and frame holes
5R

4
HARDWARE NEEDED (ACTUAL SIZE)
8
DETAIL A
5/16-18 X 1 1/2” BUTTON
HEAD CAP SCREW
1B-4166M00
(QTY. 8)
5/16”-18 LOCK NUT
(QTY.4)
2B-6009M02
8
10
8
7
8
10
7
DETAIL B
4
4
TOOLS NEEDED
7
8
10
4
44
End with Roller
Track faces down
4. Attach Leg Brace assemblies with #7 Screw &
#10 Nut as shown in Detail A & Detail B.
3/16”1/2”

9
3
3
3
5. With the help of another adult set the Bottom Boards
#3 on the Frame assembly as shown in Detail A.
DETAIL A
Make sure the countersunk holes face up!
Countersunk
holes face up
THE FOLLOWING STEP REQUIRES 2 CAPABLE ADULTS.
Center the bottom boards side to side and
end to end.

10
6. Make sure Bottom Boards are aligned,
then screw #9 through the table and
into the metal Frame. See Detail A.
TOOLS NEEDED HARDWARE NEEDED (ACTUAL SIZE)
#12 X 2 “ FLAT HEAD SELF
DRILLING SCREW
(QTY. 26)
1B-4168M00
9
9
DETAIL A
9
Cordless Drill #2 Bit
Phillips
NOTE: When installing screws #9 the screw
will first drill a hole in the metal tube and
then screw in. Start at high RPM to drill the
hole and apply pressure downward. Once
screw starts to thread slow down the drill and
finish threading the screw until snug.

8. With at least 6 capable adults pick the table
up completely and set it on its legs as shown
in Detail B. Do not try to roll table over onto
the legs, this will damage the legs!
11
DETAIL A DETAIL B
TURNING THE TABLE OVER REQUIRES
AT LEAST SIX CAPABLE ADULTS. TABLE
MUST BE COMPLETELY PICKED UP OFF
THE FLOOR, NEVER ROLL ONTO JUST
TWO LEGS THIS WILL BEND THE LEGS!
7. With at least 6 capable adults set the table
on its side as shown in Detail A.

12
DETAIL B
12
ROLLER
ROLLER TRACK
THE FOLLOWING STEPS REQUIRE TWO CAPABLE ADULTS.
ROLLER TRACK
OPENING
ROLLER
12
11”
2
PRE-ATTACHED ROLLERS
UNDER THE TABLE TOP
2
DETAIL A
Offset the table tops 11”
from the center of the table
and align the edges with
the bottom board, then lay
the table top on the table.
Make sure the rollers drop
into the opening in the
track as shown in Detail A.
9. With at least two capable adults lift the table top #2 and
position it about 11 inches from the center of the table,
then lower the top making sure Rollers #12 drop into the
opening in the Tracks. See Detail A.
10. Once all rollers are in the tracks, slide the table top toward
the middle of the table until it stops as shown in Detail B.
Repeat steps 9-10 for the second table top.
Notched ends of the table
tops must face each other
in the middle of the table.

13
ONE YEAR LIMITED WARRANTY
This consumer warranty extends to the original consumer purchase of any ESCALADE® SPORTS Product
(hereinafter referred as the "Product").
WARRANTY DURATION: This Product is warranted to the original consumer purchase of a period of one (1) year from the original
purchase.
WARRANTY COVERAGE: ESCALADE SPORTS warrants to the original Consumer Purchaser that any Product of its manufacture is free from
defects in material and workmanship when used for the intended purpose under normal use and conditions. THIS WARRANTY IS VOID IF THE
PRODUCT HAS BEEN DAMAGED BY ACCIDENT, UNREASONABLE USE, NEGLIGENCE, IMPROPER SERVICE, FAILURE TO FOLLOW IN-
STRUCTIONS PROVIDED WITH THE PRODUCT OR OTHER CAUSES NOT ARISING OUT OF DEFECTS IN MATERIAL AND WORK-
MANSHIP.
WARRANTY PERFORMANCE: During the above one (1) year warranty period, ESCALADE SPORTS shall repair or replace with a
comparable model, and Product, or component thereof, which may prove defective under normal use and proper care, and which our
examination shall disclose to our satisfaction to be thus defective, please contact our Warranty Dept.
arranty Dept.
Or Write us at:
Escalade® Sports, Inc. - P.O. Box 889, Evansville, IN 47706 - Attn: Warranty Dept.
Or E-mail us at:
customerservice@escaladesports.com
Other than shipping requirements no charge will be made for such repair or replacement of in-warranty Products. ESCALADE® SPORTS
strongly recommends that the Product is insured for value prior to mailing.
WARRANTY DISCLAIMERS: ANY IMPLIED WARRANTIES ARISING OUT OF THIS SALE, INCLUDING BUT NOT LIMITED TO THE
IMPLIED WARRANTIES OF MERCHANTABILITY AND FITNESS FOR A PARTICULAR PURPOSE, ARE LIMITED IN DURATION TO THE
ABOVE ONE (1) YEAR WARRANTY PERIOD. ESCALADE® SPORTS SHALL NOT BE LIABLE FOR LOSS OF USE OF THE PRODUCT OR
OTHER CONSEQUENTIAL OR INCIDENTAL COSTS, EXPENSES OR DAMAGES INCURRED BY THE CONSUMER OF ANY OTHER USE.
Some states do not allow the exclusion or limitation of implied warranties or consequential or incidental damages, so the above
limitations or exclusions may not apply to you.
LEGAL REMEDIES: This warranty gives you specific legal rights and you may also have other rights which may vary from state to state.
CARE AND MAINTENANCE
You have purchased a quality product that will give you years of enjoyment. By following these simple maintenance steps, you will add to the life of your new table.
THE TABLE TOP
The top (playing surface) of your table is made of particle board or MDF. Like all products made of wood, it can be affected by atmospheric changes in both temperature and
humidity. This may cause a slight sag or distortion as the top expands or contracts. This is normal and should not cause concern as it does not detract from the play or utility value
of the table. After assembly of the table, you can minimize the effects of temperature and humidity changes by storing the table in the folded up position in a dry area when table
is not in use.
STORAGE OF YOUR TABLE
This table must be stored indoors to prevent damage to the playing surface. Dampness and extreme temperature changes can cause the wood to warp, swell, crack or blister.
When your table is not in use, it should be folded up in a dry area. Due to the nature of particle board, table top may bow. Damp and humid conditions will amplify this. This is
normal and will not affect playability of table.
CLEANING YOUR TABLE
To clean your table use a soft, damp (NOT WET) cloth only. To prevent damage to your table's playing surface, DO NOT USE ANY CHEMICALS, ABRASIVE OR CLEANING
PRODUCTS on your table's playing surface.
MAINTENANCE OF YOUR TABLE
Be sure to oil all moving parts of your table including the pivot points. This will insure the safety and ease of use of your table.
This table must be kept indoors to prevent damage to the playing surface. Dampness and extreme temperature changes which occur on patios or similar areas can cause wood
to warp, swell, crack or blister.
UNLEVEL FLOORS
If table does not seem level, it is probably due to uneven or unlevel floors. Set the table in its PLAYING POSITION and move table several inches in different directions to find the
best location for the table. If the floor is extremely unlevel, table may not play or operate properly. If table is high in the center, shim up under the legs.
1-866-873-3528 / W
This manual suits for next models
1
Table of contents
Other Stiga Robotics manuals

Stiga
Stiga T8502 User manual

Stiga
Stiga T8107 User manual

Stiga
Stiga Play The Best T8485W User manual

Stiga
Stiga Play The Best T8725W/F User manual

Stiga
Stiga T8731 User manual

Stiga
Stiga T8622 User manual

Stiga
Stiga T8562 User manual

Stiga
Stiga T8524 User manual

Stiga
Stiga T8742 User manual

Stiga
Stiga T8611 User manual