manuals.online logo
Brands
  1. Home
  2. •
  3. Brands
  4. •
  5. STILLA
  6. •
  7. Garden House
  8. •
  9. STILLA Hyland S3015 User manual

STILLA Hyland S3015 User manual

STILLA
ASSEMBLY INSTRUCTIONS
‘Hyland’8x6
S3015
Every part needed to construct your shed is included inside the pack; cedar
panels, doors, windows, hardware kits & roof sheeting. Please ensure you fully
unpack all the parts & check against the parts checklist before contacting
customer service about anything you believe may be missing. Thank-you!
1 | P a g e
Caution
Please be careful when handling all components, some parts have sharp metal edges.
Always wear work gloves, eye protection and long sleeves when assembling or maintaining
your shed.
Tools required for assembly
•Level
•Drill
•Hammer
•Ladder
•12mm Drill bit
•6mm Drill bit
•Phillips head drive
•Hex Head Drive (5/16’)
•Safety glasses
•Gloves
•Circular/power saw (if floor
purchased)
Before assembly
•Before proceeding with installation, we recommend viewing the Cedar Shed video at
www.stilla.com.au/installation/ or search Stilla Classic Cedar Sheds on Youtube. This doesn’t
show the installation in detail however it could give you some handy tips. Please note we
haven’t videoed the assembly of each shed however the video online is the Maple 12x6 and
will give you an overall idea on how the installation process is completed.
•Remove all parts from packages and place in a safe place close to assembly area.
•Review all instructions; continue to refer to instructions throughout assembly –step
by step.
Preparing your site
•If you are installing your shed on the Stilla rebated floor we recommend finding a
place in your yard that is very close to level. Pavers or a solid material that will not be
affected by weather can be used to perfectly level the shed by placing under the
floor frame where required, make sure all members are supported.
•If you are installing your shed on the Stilla heavy duty floor, this can be placed on
unlevelled surfaces and levelled up by using the 100x100 stumps provided.
2 | P a g e
HYLAND 8x6 PARTS CHECKLIST
Part Code
Checked
Part Description
Qty
12P
Cedar Clad Panel 1200x1895mm
2
P
Cedar Clad Panel 900x1895mm
4
FP
Cedar Clad Panel 780x1895mm (480x1895mm if Double Doors)
2
CD
Single Colonial Door 830x1875mm
1
G
8ft Gable (2 x LHS, 2 x RHS)
4
CP
Corner Posts 1890x60x18mm
4
CS
Cover Strips 1890x40x7mm
3
F
8ft Fascia Pack (1)
1
CT
Collar Tie
1
R
Roof Rafter 1195x70x45mm
6
DH
Door Head 840x35x42mm (1440mm if double doors)
1
DS
Door Step 840x19x42mm (1440mm if double doors)
1
E
Roof End Piece 203x70x30mm
12
FGS
Front Gable Cover Strip –460mm
1
BGS
Back Gable Cover Strip –490mm
1
SCS
Stilla Cover Strip 2400x40x7mm (1@ 1800mm, 1@ 600mm)
1 & 1
RS
1450mm Roof Sheeting
6
RC
1200mm Ridge Cap
2
C
1060mm Channel
4
HK
8x6 Hardware Kit
1
IM
8x6 Instruction Manual
1
REP
Roof End Plate 1714x70x45mm
4
Floor Kit –Option
Floor Frame - 140x38mm
Part Code
Checked
Part Description
Qty
EP
End Plate 1242x140x38
4
DJ
Double Joist 1724x140x38mm
2
SJ
Single Joist 1724x140x38mm
6
FN
Floor Nogs 376mm
5
L
Logs 750mm
6
FB
1797mm x 800mm
2
FB
597mm x 800mm
2
FB
1797mm x 111mm
1
FB
597mm x 111mm
1
3 | P a g e
Double Doors –Option –Changes to above kit
Part Code
Checked
Part Description
Qty
CD
Colonial Door 714x1875mm
2
FP
Front Panel 480x1895mm
2
DP
Door Leaver Packer 100x100x18mm
1
DS
Door Stop 1440x42x18mm
1
DH
Door Head 1440x42x35mm
1
4 | P a g e
If no floor option was purchased, go to step 2.0 (Wall Assembly)
SKIP TO BACK FOR IMAGES TO HELP WITH FLOOR INSTALL
STEP 1.0
FLOOR KIT
1.0 –FLOOR KIT (1 of 2 floor frames)
PART CODE
QTY
DESCRIPTION
EP
2
End Plate 1242mm
SJ
3
Single Joist 1724mm
DJ
1
Double Joist 1724mm
100BS
18
100mm Batten Screw
1.0 –FLOOR FRAME (1 of 2 floor frames)
Fasten floor frame together as indicated in diagram below, using lines and predrilled holes.
Screw through EP into DJ using 3x 100BS.
Screw through EP into SJ using 2 x 100BS per join.
Ensure frame is square by measuring from corner to corner diagonally, frame will be square
when both diagonal measurements equal the same.
REPEAT THIS PROCESS FOR FASTENING 1 MORE FLOOR FRAME.
ENSURE 42x35 side of the DJ sits at top.

Other manuals for Hyland S3015

1

Other STILLA Garden House manuals

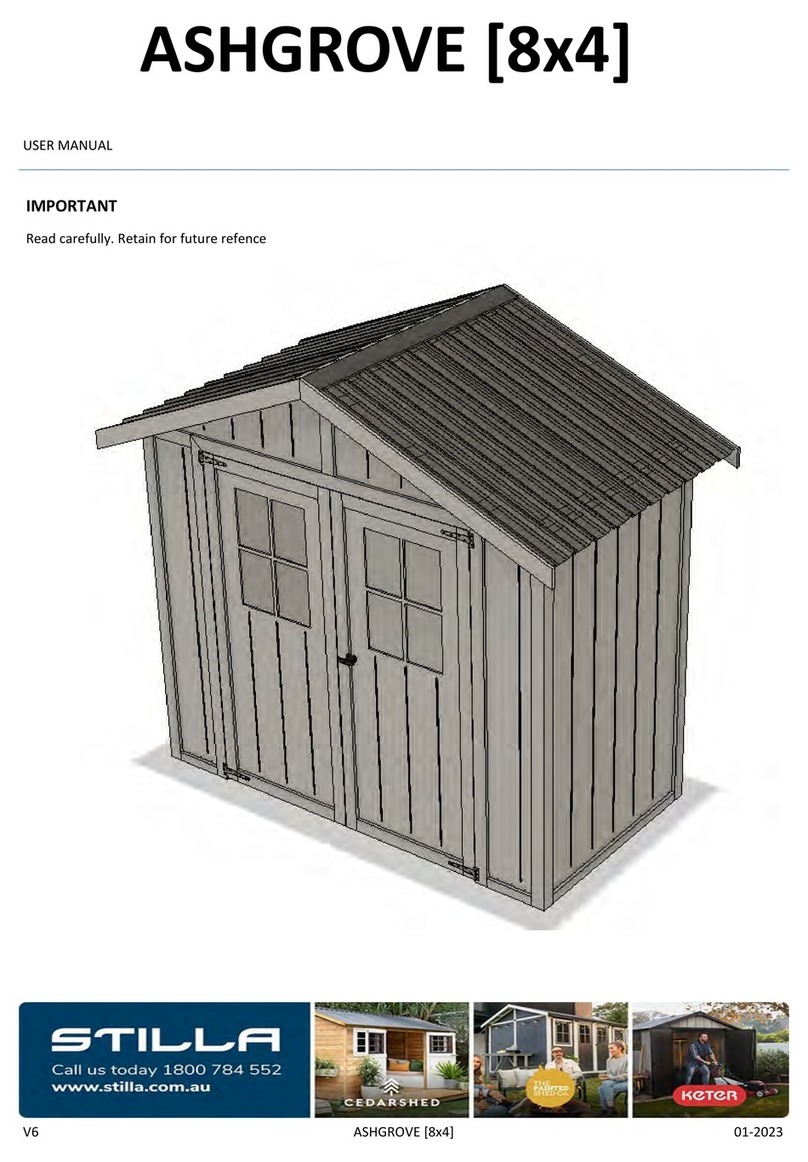
STILLA ASHGROVE 8x4 User manual

STILLA

STILLA ASHGROVE 8x4 User manual

STILLA S3071 User manual

STILLA

STILLA S3071 User manual
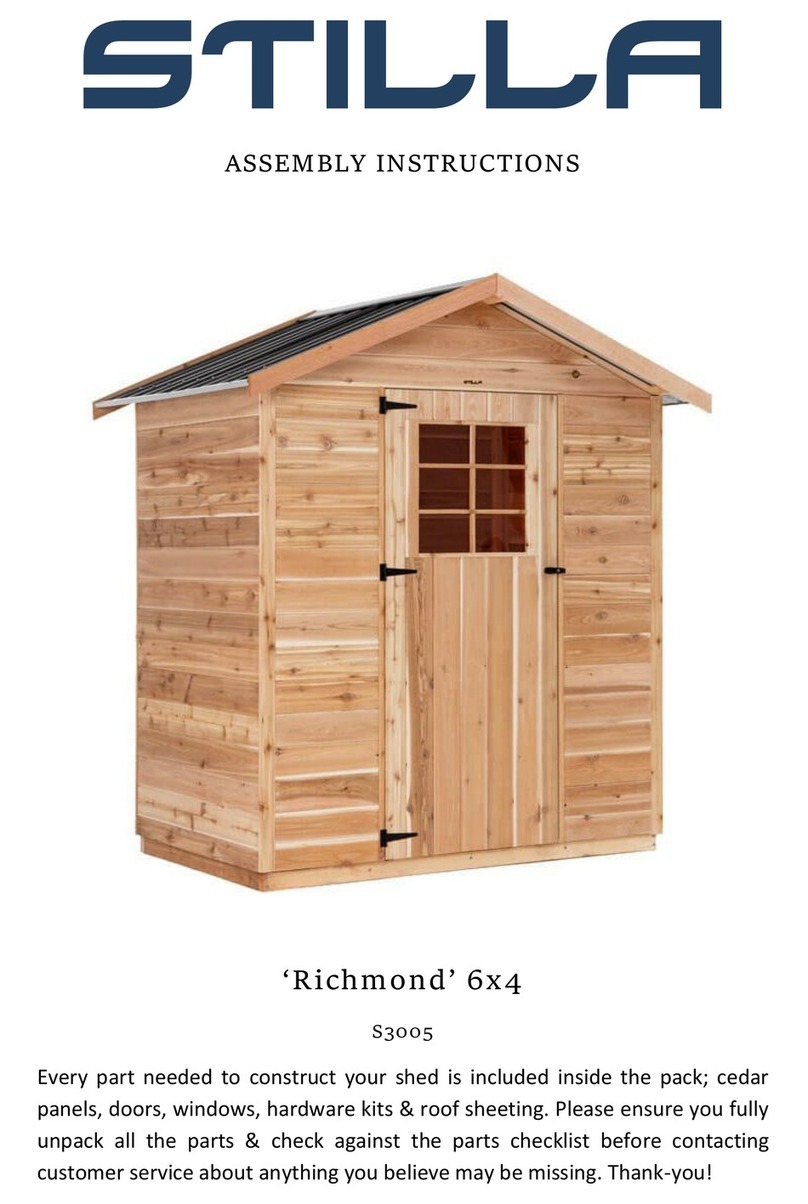
STILLA S3005 User manual

STILLA

STILLA S3005 User manual
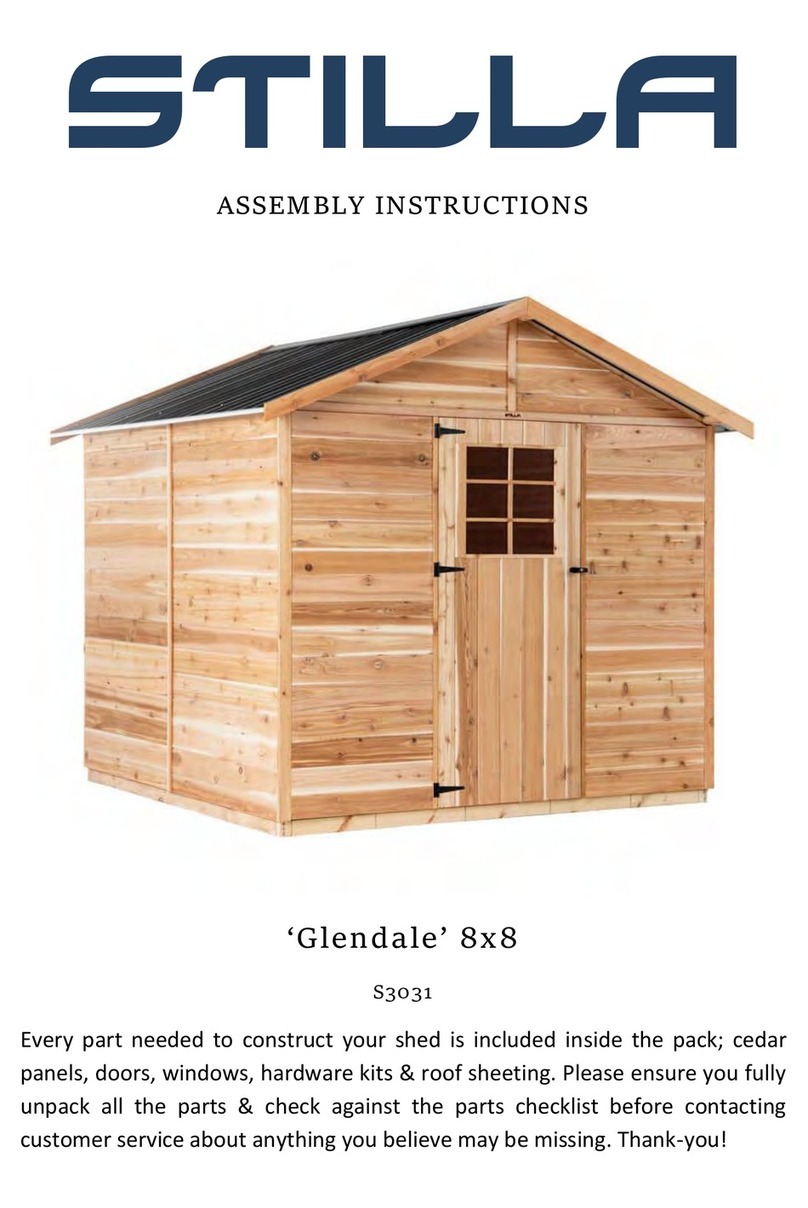
STILLA S3031 User manual

STILLA

STILLA S3031 User manual
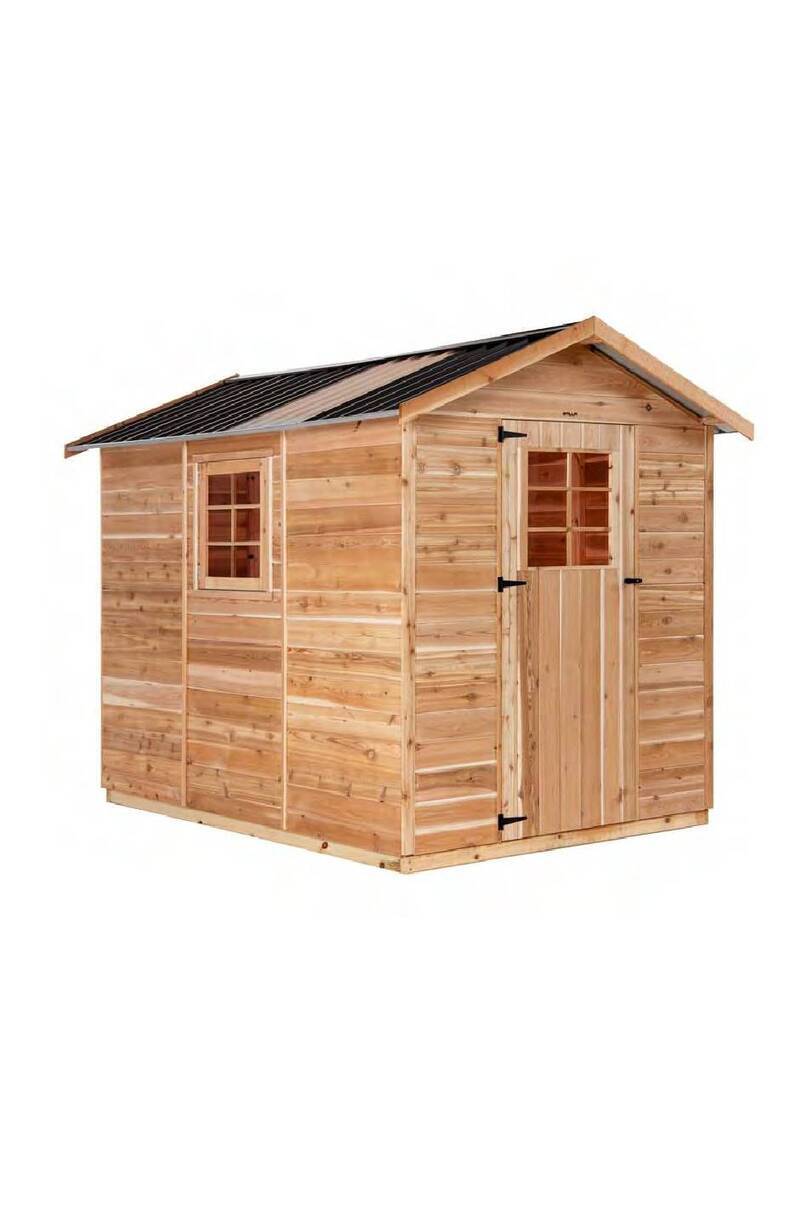
STILLA S3021 User manual

STILLA

STILLA S3021 User manual

STILLA Master User manual

STILLA

STILLA Master User manual

STILLA S3081 User manual

STILLA

STILLA S3081 User manual

STILLA Windsor S3008 User manual

STILLA

STILLA Windsor S3008 User manual

STILLA Chatswood User manual

STILLA

STILLA Chatswood User manual

STILLA Hollydean 16x8 User manual

STILLA

STILLA Hollydean 16x8 User manual

STILLA Windsor S3008 User manual

STILLA

STILLA Windsor S3008 User manual
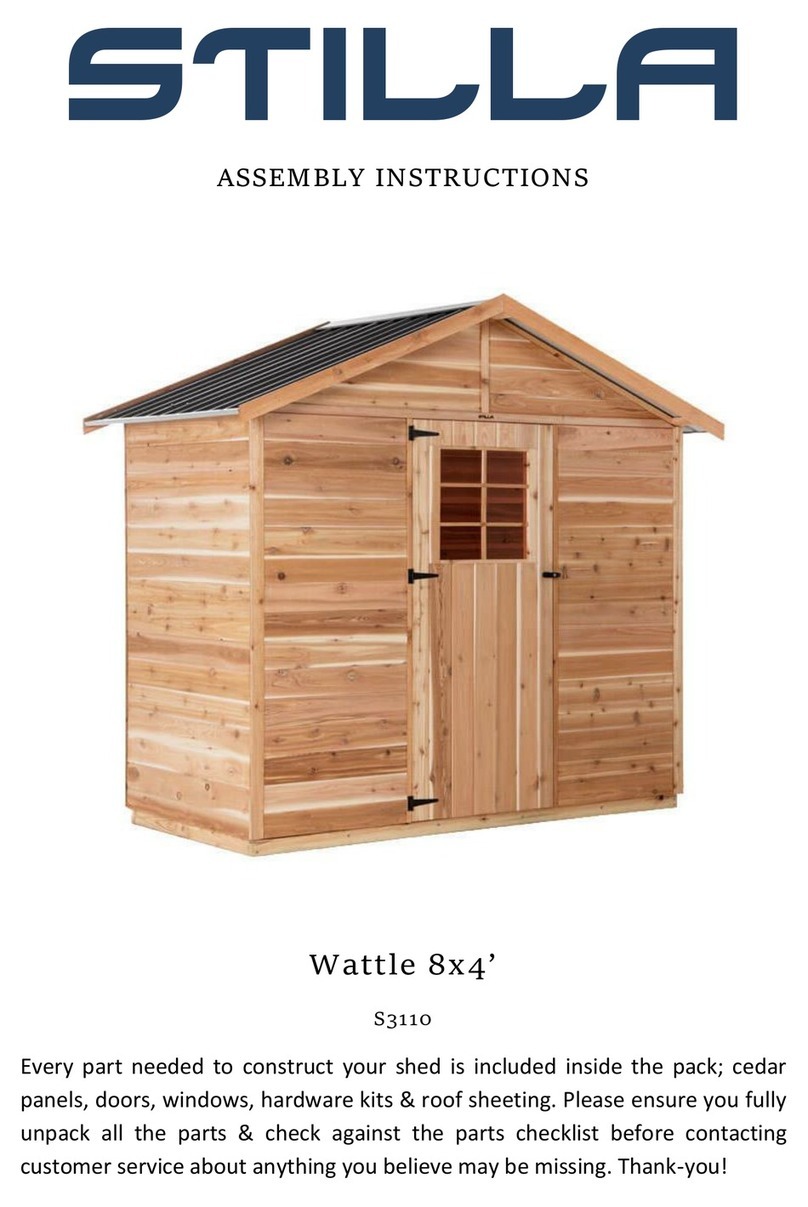
STILLA S3110 User manual

STILLA

STILLA S3110 User manual
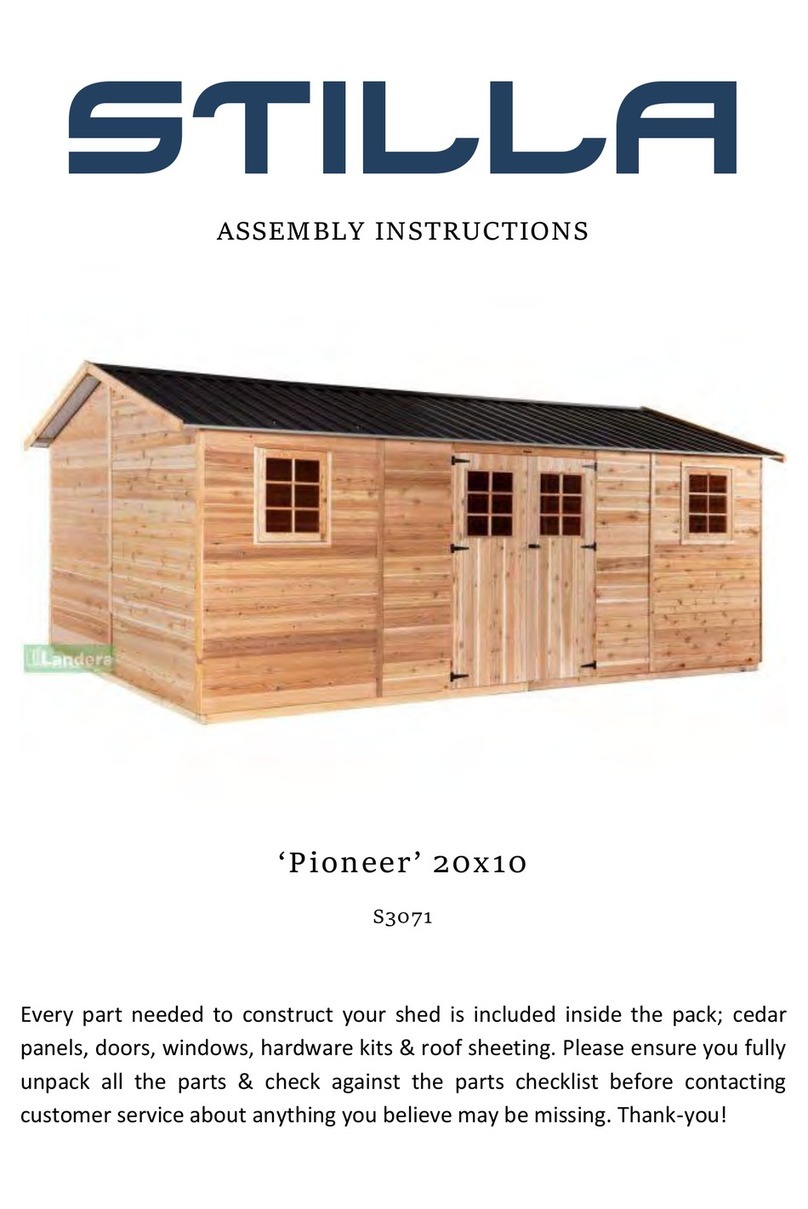
STILLA Pioneer User manual

STILLA

STILLA Pioneer User manual
STILLA Bromley User manual

STILLA

STILLA Bromley User manual

STILLA S3005 User manual

STILLA

STILLA S3005 User manual

STILLA EASTWOOD 8x12 User manual

STILLA

STILLA EASTWOOD 8x12 User manual
STILLA Hazel 9x6 User manual

STILLA

STILLA Hazel 9x6 User manual
STILLA S3071 User manual

STILLA

STILLA S3071 User manual
STILLA Bromley 6x12 User manual

STILLA

STILLA Bromley 6x12 User manual

STILLA S3110 User manual

STILLA

STILLA S3110 User manual

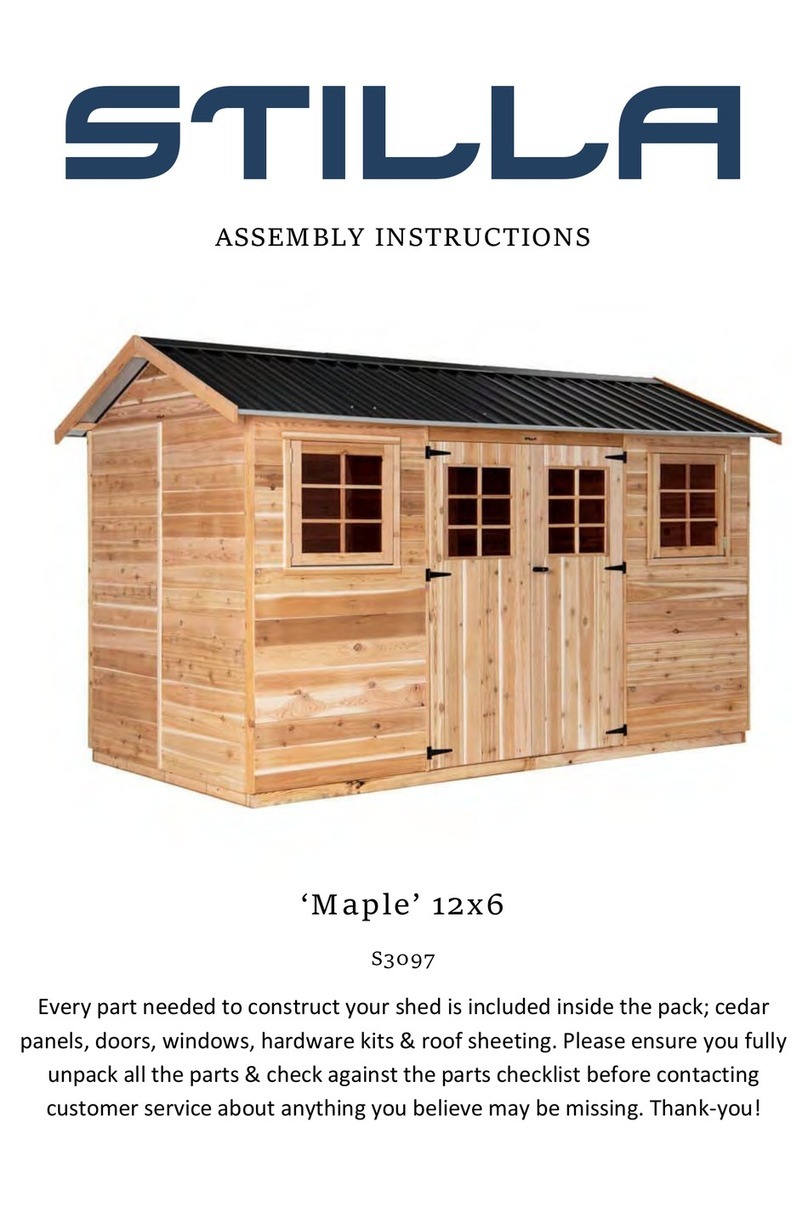
STILLA Maple S3097 User manual

STILLA

STILLA Maple S3097 User manual

STILLA Richmond 6x4 User manual

STILLA

STILLA Richmond 6x4 User manual

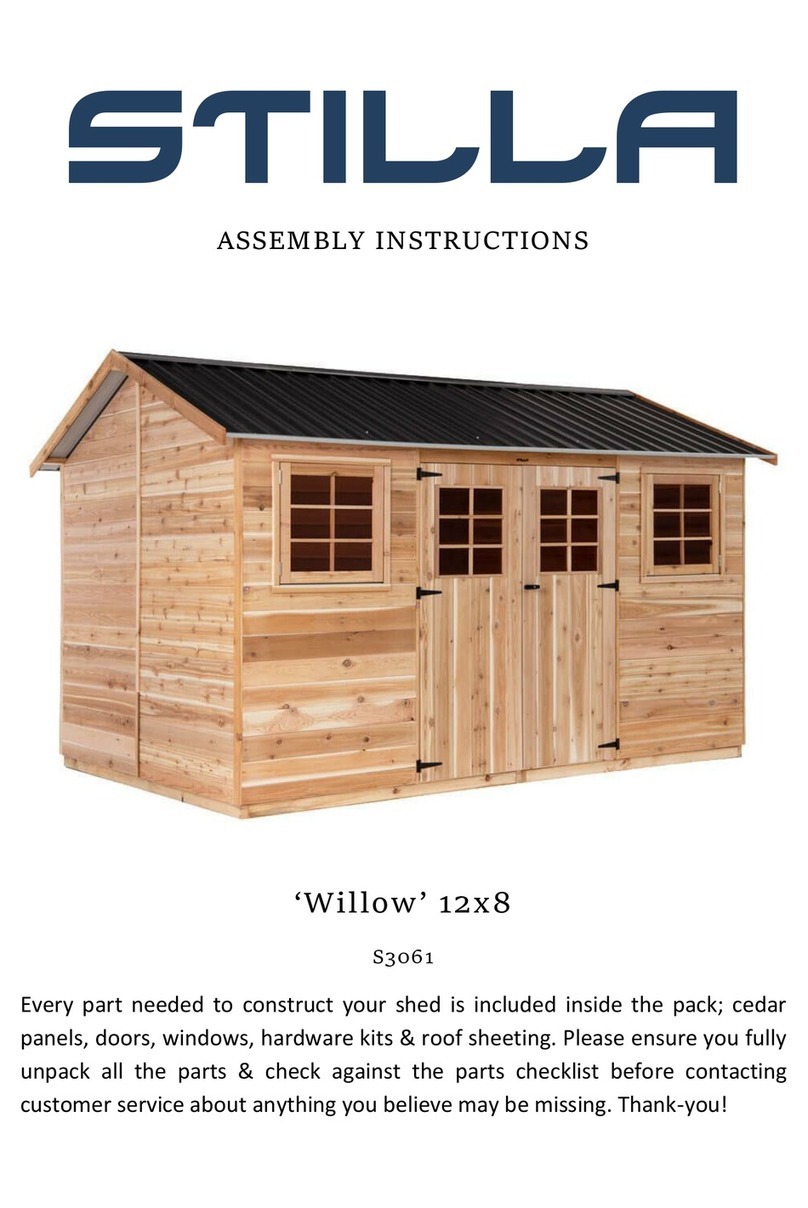
STILLA Willow S3061 User manual

STILLA

STILLA Willow S3061 User manual

STILLA Hazel 9x6 User manual

STILLA

STILLA Hazel 9x6 User manual

Popular Garden House manuals by other brands
Yardmaster 66 ZGEY Assembly instructions

Yardmaster

Yardmaster 66 ZGEY Assembly instructions

Mercia Garden Products 0628LOG181-V4 manual

Mercia Garden Products

Mercia Garden Products 0628LOG181-V4 manual

Lemeks Palmako PA120-5930-6 Assembly, installation and maintenance manual

Lemeks

Lemeks Palmako PA120-5930-6 Assembly, installation and maintenance manual

Rion Hobby Gardener Assembly instructions

Rion

Rion Hobby Gardener Assembly instructions

Select ISAAC E9682 Assembly manual

Select

Select ISAAC E9682 Assembly manual

Palmako Saale installation manual

Palmako

Palmako Saale installation manual

Palmako Roger FR44-5953-2 installation manual

Palmako

Palmako Roger FR44-5953-2 installation manual

Lemeks Palmako Grace PM56-4529 Assembly, installation and maintenance manual

Lemeks

Lemeks Palmako Grace PM56-4529 Assembly, installation and maintenance manual

Mercia Garden Products 03WES0808-V1 General instructions

Mercia Garden Products

Mercia Garden Products 03WES0808-V1 General instructions

Mercia Garden Products 03DTSHHP1206HGD4MW-V1 General instructions

Mercia Garden Products

Mercia Garden Products 03DTSHHP1206HGD4MW-V1 General instructions

Shire Salcey Assembly

Shire

Shire Salcey Assembly

Pergola kits USA PREMIUM VINYL PAVILION Assembly manual

Pergola kits USA

Pergola kits USA PREMIUM VINYL PAVILION Assembly manual

G21 Boston 882 manual

G21

G21 Boston 882 manual

Mercia Garden Products 05DTMBPN0503DD-V1 Assembly instructions

Mercia Garden Products

Mercia Garden Products 05DTMBPN0503DD-V1 Assembly instructions

Rutland County Burley 6ft Assembly instructions
Rutland County

Rutland County Burley 6ft Assembly instructions

Palmako Roger 27,7 installation manual
Palmako

Palmako Roger 27,7 installation manual

Mercia Garden Products 01PTOSBA0306DDNW-V1 General instructions

Mercia Garden Products

Mercia Garden Products 01PTOSBA0306DDNW-V1 General instructions

Gartenhaus-King Valery manual

Gartenhaus-King

Gartenhaus-King Valery manual

manuals.online logo
manuals.online logoBrands
  • About & Mission
  • Contact us
  • Privacy Policy
  • Terms and Conditions

Copyright 2025 Manuals.Online. All Rights Reserved.