manuals.online logo
Brands
  1. Home
  2. •
  3. Brands
  4. •
  5. stilum
  6. •
  7. Baby Swing
  8. •
  9. stilum patis1 User manual

stilum patis1 User manual

© stilum GmbH, Gewerbegebiet Larsheck, 56271 Kleinmaischeid • Tel. +49 (0) 2689 92790-0 • All rights and product modications reserved. State: 22/08/2014 · S. 1 · MS/TSA
Mounting instructions for swing „patis1“
Item No. 512012401
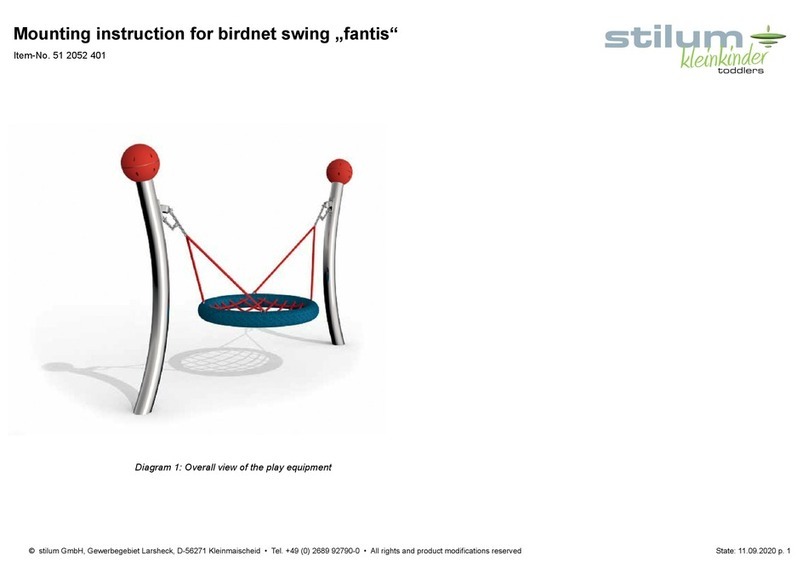
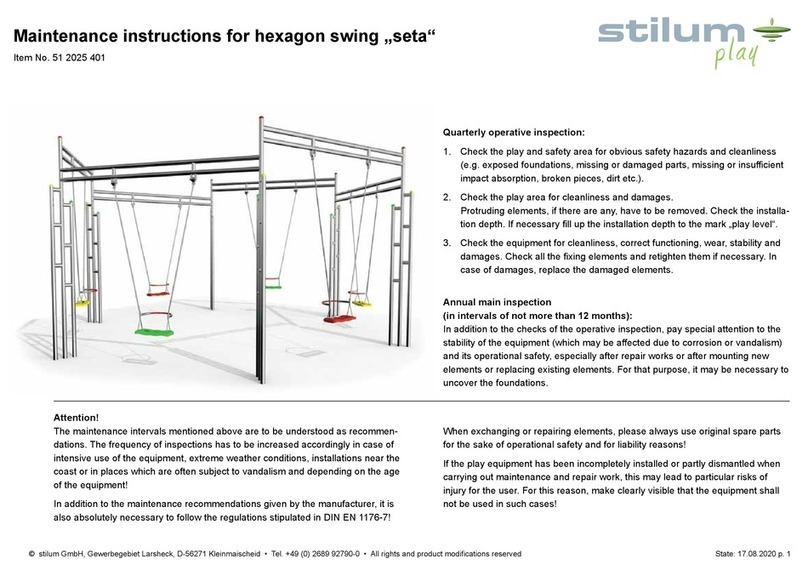
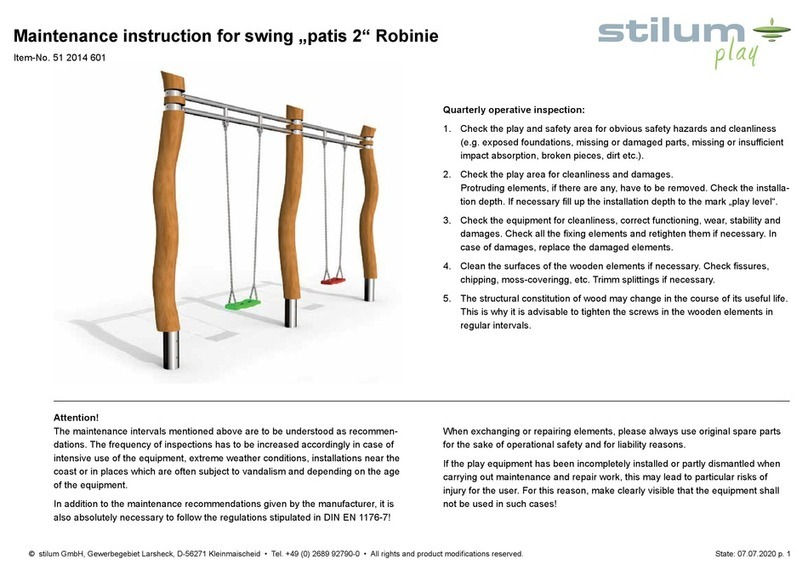
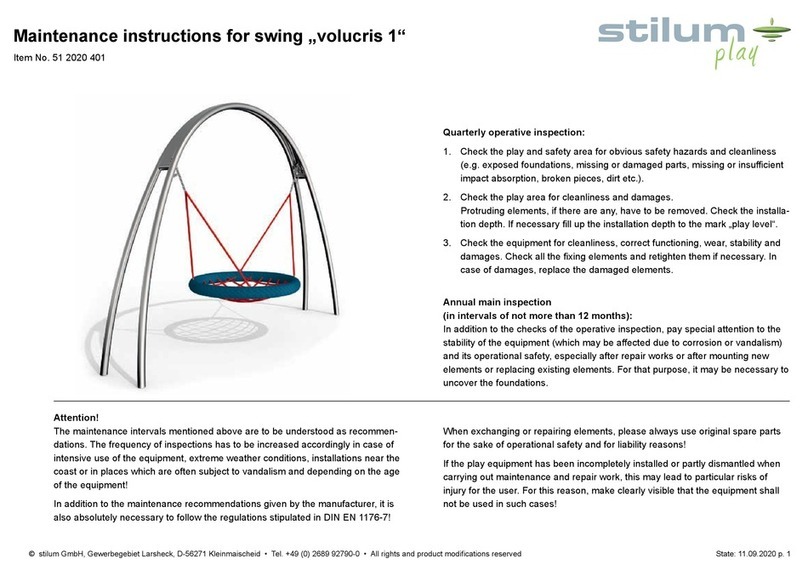
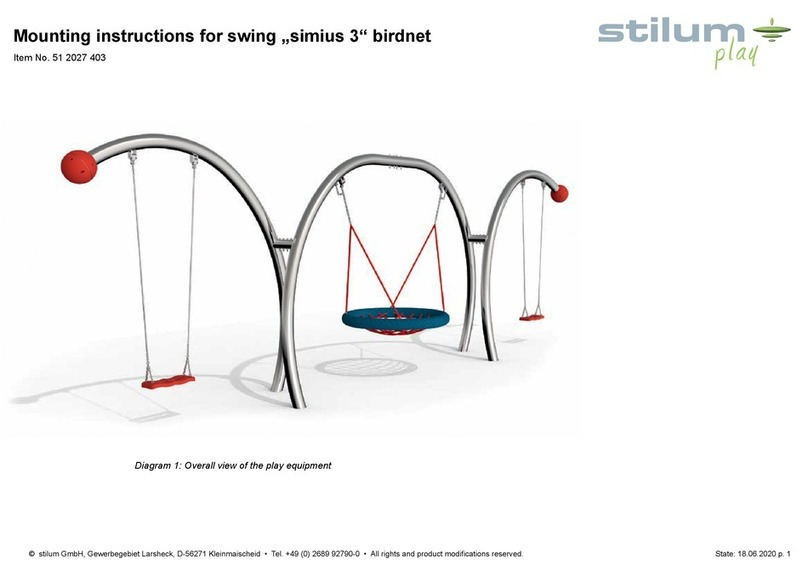
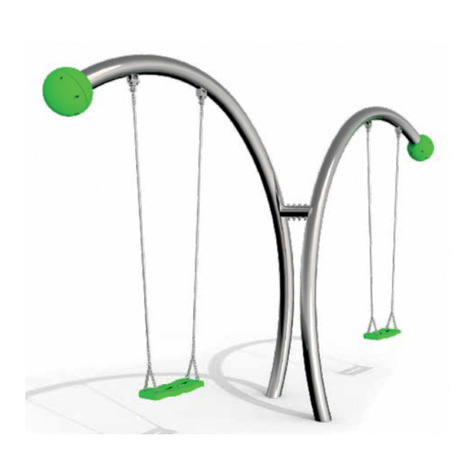
Diagram 1: Overall view of the play equipment
Swing bar
Poles
© stilum GmbH, Gewerbegebiet Larsheck, 56271 Kleinmaischeid • Tel. +49 (0) 2689 92790-0 • All rights and product modications reserved. State: 22/08/2014 · S. 2 · MS/TSA
Mounting instructions for swing „patis1“
Item No. 512012401
Diagram 2: Side view with dimension details „patis1“






















 




















1:30





Play level
Concrete foundations
1. Select the play equipment location in consideration of the required safety
area (see Diagram 3: 7800 x 1750mm).
2. The impact area of a playground equipment with an enforced movement is
not allowed to overlap the impact area of other equipment.
Regarding to DIN 1176 - 4.2.8.2.5, impact absorbing surfaces have to be put
under the whole impact area of every equipment with an enforced movement.
3. Carry out excavation work for two foundations as shown in Diagram 2. After
excavation, compress the foundation oor.
Note: The swing is built in on the play level. Pay attention to items marked
„game level“ of play equipment!
4. Screw the swing bar onto the two poles
5. Set up the concrete foundations acc. to the dimensions indicated (LxWxH
1200 x 1000 x 500) with central, horizontal reinforcement (BST 500 S) in the
quality class C 20/25. Place the mounted swing into the foundations acc.
to the dimensions indicated in Diagram 2. Please make sure that the space
between the three tubes is also  lled with concrete. Compress concrete!
No warranty for damage to backwater or condensation in the tube. Adequate
drainage in the foundation is necessary.
Reinforcement plan: Concrete foundation with rein-
forcement
Main foundation: BSt 500S
Ever 4 stirrups Ø 8 mm lengthwise and cross
Concrete cover h´= 3 cm
Concrete quality class C 20/25
marking installation
depth
by rocking motion free fall height: 1400
© stilum GmbH, Gewerbegebiet Larsheck, 56271 Kleinmaischeid • Tel. +49 (0) 2689 92790-0 • All rights and product modications reserved. State: 22/08/2014 · S. 3 · MS/TSA
Mounting instructions for swing „patis1“
Item No. 512012401



 


















 








  

Diagram 3: Top view „patis1“
Concrete foundations
Size of the minimum space = safety area (7800 x
1750 mm) when using natural soils with shock-absor-
bing effect.
When using synthetic safety tiles
will reduce the impact surface in the direction of swing
by 500 mm. The minimum space remains
preserved in its entirety.
6. Align swing in vertical and horizontal direction and keep it supported until the
foundations have bound off. Note: Make sure that the supported swing is not
used for playing.
7. After a setting period of 10-14 days, depending on weather conditions and
foundation size, seal the foundation with the safety cover required for the
height of fall indicated. Set up impact-absorbing playground surfacing accor-
ding to EN 1177 HIC 1000.
Recommended surface material: grass, sand, bark mulch, gravel, synth. fall
protection. (Critical drop height ≤ 1000 mm)
8. Screw the chains with the swing seats onto the swing suspension.
9. Do not allow children to use the equipment before the installation has been
nished.
Attention: If the play equipment has been incompletely installed or partly dis-
mantled when carrying out maintenance and repair work, this may lead to par-
ticular risks of injury for the user. For this reason, make clearly visible that the
equipment shall not be used in such cases.
NOTE: Play equipment, which contain components made of stainless steel
should not come with „normal“ steel parts in contact. Those steel parts may rub
off and leave small steel particles in combination with moisture brown rust stains.
If such corrosion occur on stainless steel parts, they are ne with an abrasive
(240 grit) to remove.
Please take care when transporting and setting up the fact that the components
are made of stainless steel with no „normal“ steel parts in contact.
© stilum GmbH, Gewerbegebiet Larsheck, 56271 Kleinmaischeid • Tel. +49 (0) 2689 92790-0 • All rights and product modications reserved. State: 22/08/2014 · S. 4 · MS/TSA
Mounting instructions for swing „patis1“
Item No. 512012401
In order to preserve a good visual appearance of your stilum playground equip-
ment over a long period one should take care of maintenance of the stainless
surface even despite of their corrosion resistance.
Especially areas, which can not be reached by rainfall should be frequently clea-
ned from dirt and deposits due to air pollution and dirt caused by the atmosphere.
Light soiling can easily be romoved by using a high pressure cleaner.
For persistent deposits use a clean cloth moistened with a special liquid cleaner
(e.g. on phosphoric acid) and rinse off with clear water after a short application
time. During cleaning with mild abrasive components, only wipe over stainless
steel surface in polishing direction.
For heavily soiled surfaces, polishes can be used (e.g. for cleaning chrome on
cars) or for greasy and oily dirt alcoholic cleaning agents and solvents (e.g. ethyl
alcohol, isopropyl alcohol or acetone).
However, it should be noted that the dissolved soiling is not spread over the sur-
face again.
Do not use any chlorid or hydrochloric containing cleaning products nor scouring
powder, bleaching - or silver polish cleaner. Cleaning intervals depend on type
and degree of soiling as well as on demands made on optical characteristics.
Therefore cleaning is advisable at intervals of six to twelve months – whereby in
the case of strong soiling it is appropriate to clean the playground equipment at
intervals of 3 to six months.

This manual suits for next models

1

Other stilum Baby Swing manuals

stilum Simius 3 birdnet Technical specifications

stilum

stilum Simius 3 birdnet Technical specifications

stilum play volucris Robinia User guide

stilum

stilum play volucris Robinia User guide

stilum fantis User guide

stilum

stilum fantis User guide

stilum volucris Robinia Technical specifications

stilum

stilum volucris Robinia Technical specifications

stilum volucris 2 Technical specifications

stilum

stilum volucris 2 Technical specifications

stilum volucris 1 Technical specifications

stilum

stilum volucris 1 Technical specifications

stilum simius 3 birdnet User manual

stilum

stilum simius 3 birdnet User manual

stilum patis 2 Operating and maintenance instructions

stilum

stilum patis 2 Operating and maintenance instructions

stilum divo Technical specifications

stilum

stilum divo Technical specifications

stilum Simius 3 User manual

stilum

stilum Simius 3 User manual

stilum simius 3 Technical specifications

stilum

stilum simius 3 Technical specifications

stilum simius 6 Technical specifications

stilum

stilum simius 6 Technical specifications

stilum patis 1 User manual

stilum

stilum patis 1 User manual

stilum volucris 2 User guide

stilum

stilum volucris 2 User guide

stilum simius2 Technical specifications

stilum

stilum simius2 Technical specifications

stilum patis2 User manual

stilum

stilum patis2 User manual

stilum statuo 512011401 User manual

stilum

stilum statuo 512011401 User manual

stilum vola 2 User manual

stilum

stilum vola 2 User manual

stilum patis 3 Robinie Operating and maintenance instructions

stilum

stilum patis 3 Robinie Operating and maintenance instructions

stilum Fips User manual

stilum

stilum Fips User manual

stilum simius 3 User manual

stilum

stilum simius 3 User manual

stilum vola 2 Technical specifications

stilum

stilum vola 2 Technical specifications

stilum Robinie volucris 1 User guide

stilum

stilum Robinie volucris 1 User guide

stilum patis 2 User manual

stilum

stilum patis 2 User manual

Popular Baby Swing manuals by other brands

Kettler SWING Assembly instructions

Kettler

Kettler SWING Assembly instructions

Creative Playthings Premium Pine instructions

Creative Playthings

Creative Playthings Premium Pine instructions

Small Foot 12327 Directions for use

Small Foot

Small Foot 12327 Directions for use

Graco GLIDER ELITE instructions

Graco

Graco GLIDER ELITE instructions

Kids II Ingenuity 60633 ES manual

Kids II

Kids II Ingenuity 60633 ES manual

Kids II Ingenuity ConvertMe Rock 'n Sleep Seat 60580 manual

Kids II

Kids II Ingenuity ConvertMe Rock 'n Sleep Seat 60580 manual

Kids II Ingenuity Rock and Dream Sleeper manual

Kids II

Kids II Ingenuity Rock and Dream Sleeper manual

HARTINGTON FLORENCE Hanging Chair quick start guide

HARTINGTON

HARTINGTON FLORENCE Hanging Chair quick start guide

Courtyard Creations RTS493C Assembly instructions

Courtyard Creations

Courtyard Creations RTS493C Assembly instructions

Trigano LIMA LI700 Assembling instructions

Trigano

Trigano LIMA LI700 Assembling instructions

Premium Poly Patios AD-0116 manual

Premium Poly Patios

Premium Poly Patios AD-0116 manual

Chad Valley Baby Circus Friends 580/9866 manual

Chad Valley Baby

Chad Valley Baby Circus Friends 580/9866 manual

Graco BUMPER JUMPER GIM-0098C instructions

Graco

Graco BUMPER JUMPER GIM-0098C instructions

Better Homes and Gardens VAUGHN CANOPY SWING Assembly instruction

Better Homes and Gardens

Better Homes and Gardens VAUGHN CANOPY SWING Assembly instruction

Jamara Comfort Swing 2in1 instructions

Jamara

Jamara Comfort Swing 2in1 instructions

active fun Quadpod TP900 Instructions for assembly maintenance and use

active fun

active fun Quadpod TP900 Instructions for assembly maintenance and use

Lenoxx 8821 manual

Lenoxx

Lenoxx 8821 manual

Costway SP37084 user manual

Costway

Costway SP37084 user manual

manuals.online logo
manuals.online logoBrands
  • About & Mission
  • Contact us
  • Privacy Policy
  • Terms and Conditions

Copyright 2025 Manuals.Online. All Rights Reserved.