Streetwize SWGH20 User manual
Other Streetwize Automobile Accessories manuals

Streetwize
Streetwize SWOBD3 Specification sheet

Streetwize
Streetwize SWGH18 User manual

Streetwize
Streetwize SWOBD User manual

Streetwize
Streetwize SWMAS3 User manual

Streetwize
Streetwize LeisureWize EMOVE EM303A User manual

Streetwize
Streetwize SWBLUE5 Instruction manual

Streetwize
Streetwize SWOBD3 User manual
Streetwize
Streetwize SWRH1 User manual

Streetwize
Streetwize SWRB5 User manual
Streetwize
Streetwize SWDG2 User manual
Streetwize
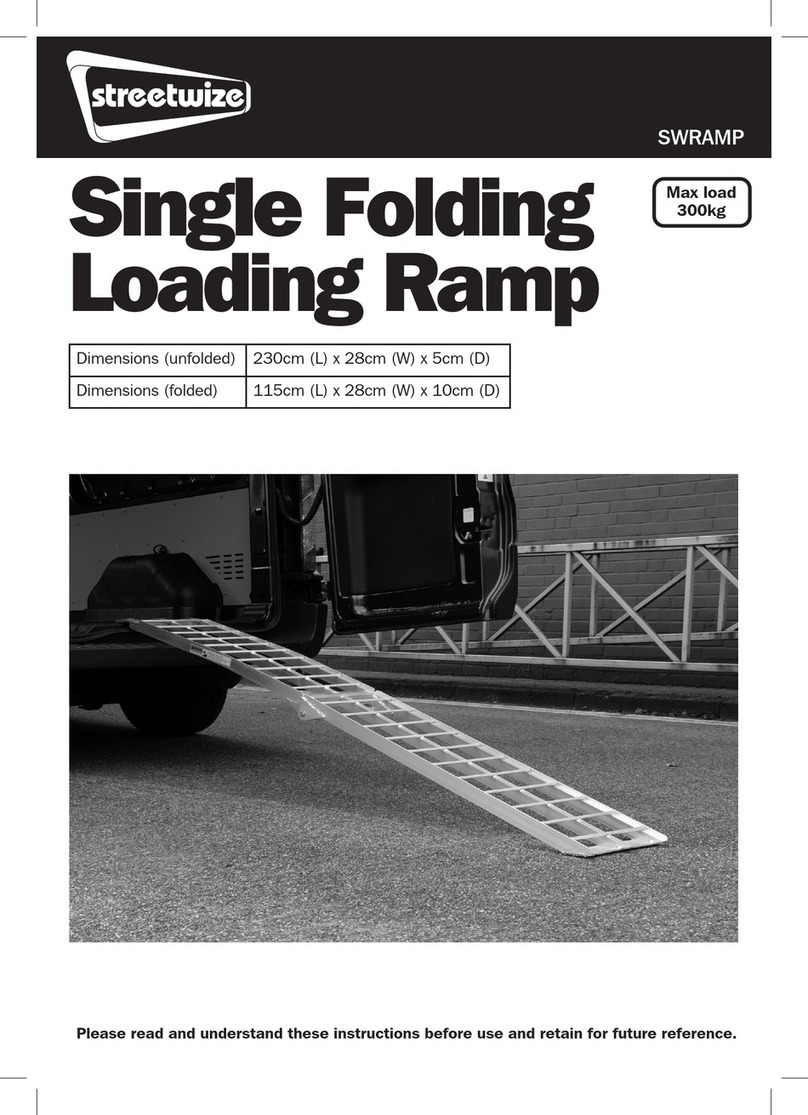
Streetwize SWRAMP User manual
Streetwize
Streetwize SWDG1 User manual

Streetwize
Streetwize SWRB27 User manual
Streetwize
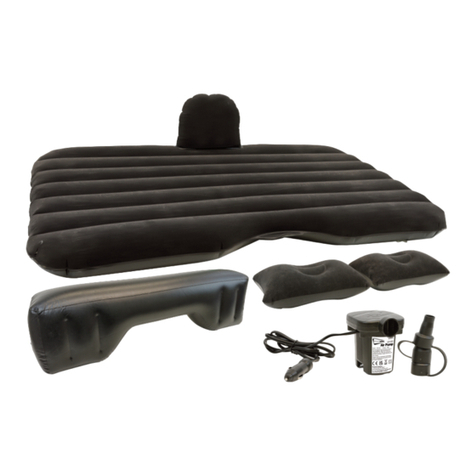
Streetwize SWMAT1 User manual

Streetwize
Streetwize OBDII Premium Reader User manual
Streetwize
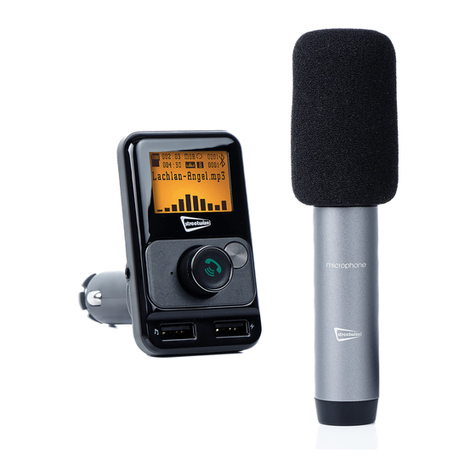
Streetwize SWSING1 User manual

Streetwize
Streetwize SWDG3 Specification sheet
Streetwize
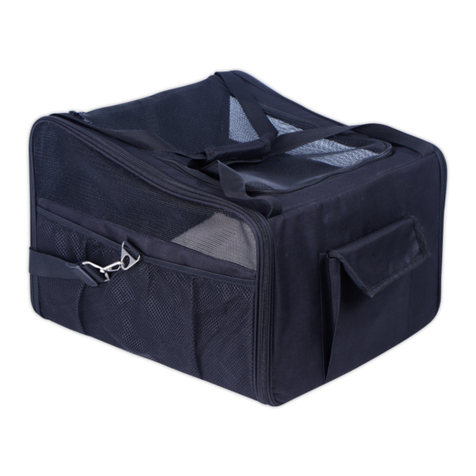
Streetwize SWPET19 Specification sheet

Streetwize
Streetwize LEISUREWIZE EMOVE EM305 User manual
Streetwize
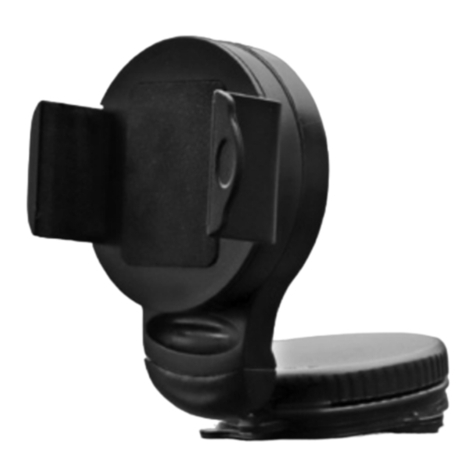
Streetwize SWGH3 User manual
Popular Automobile Accessories manuals by other brands

ULTIMATE SPEED
ULTIMATE SPEED 279746 Assembly and Safety Advice

SSV Works
SSV Works DF-F65 manual

ULTIMATE SPEED
ULTIMATE SPEED CARBON Assembly and Safety Advice

Witter
Witter F174 Fitting instructions

WeatherTech
WeatherTech No-Drill installation instructions

TAUBENREUTHER
TAUBENREUTHER 1-336050 Installation instruction


