manuals.online logo
Brands
  1. Home
  2. •
  3. Brands
  4. •
  5. Sunex Tools
  6. •
  7. Power Tools
  8. •
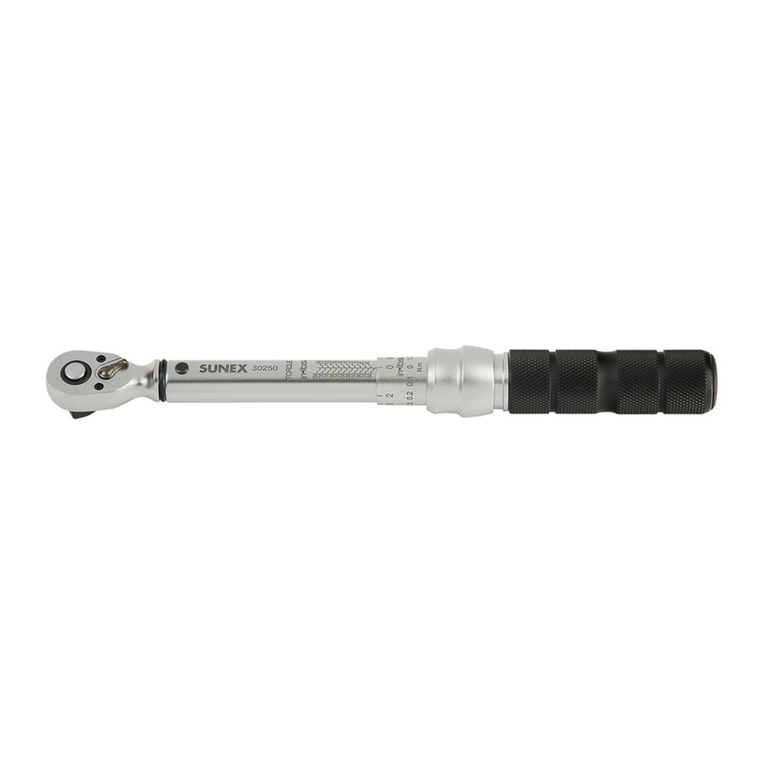
  9. Sunex Tools 30250 User manual

Sunex Tools 30250 User manual

Other manuals for 30250

1

This manual suits for next models

4

Other Sunex Tools Power Tools manuals

Sunex Tools SX106B User manual

Sunex Tools

Sunex Tools SX106B User manual

Sunex Tools SX227B User manual

Sunex Tools

Sunex Tools SX227B User manual

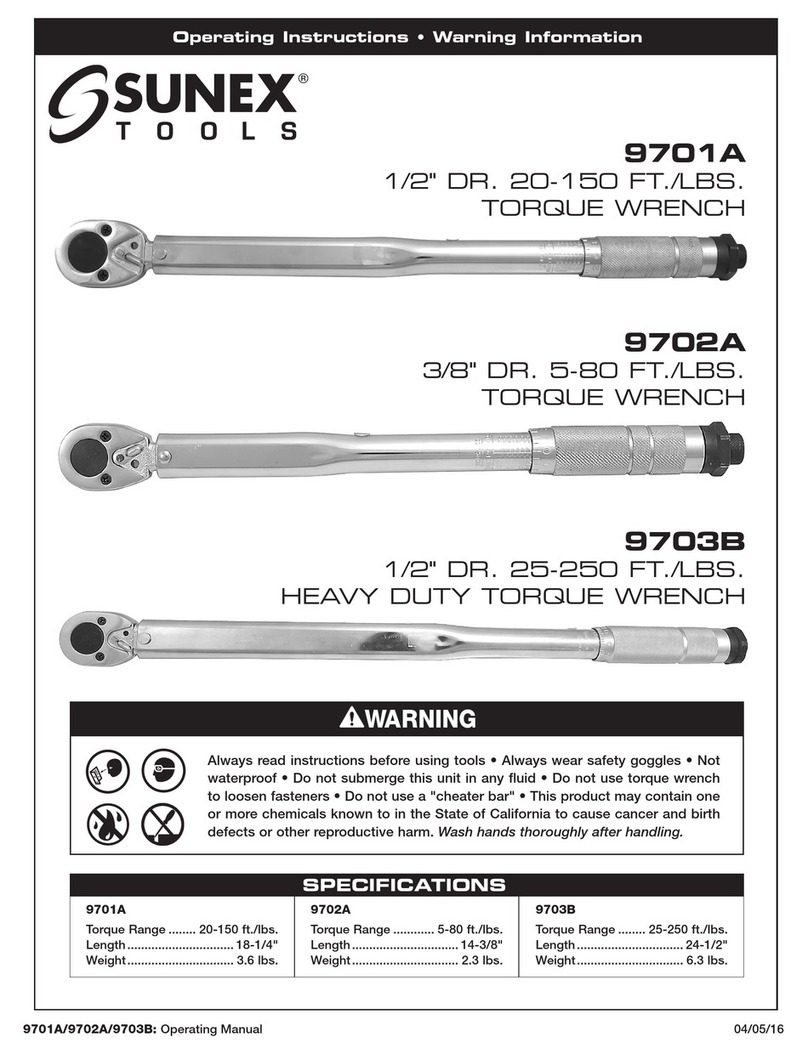
Sunex Tools 9701A User manual

Sunex Tools

Sunex Tools 9701A User manual

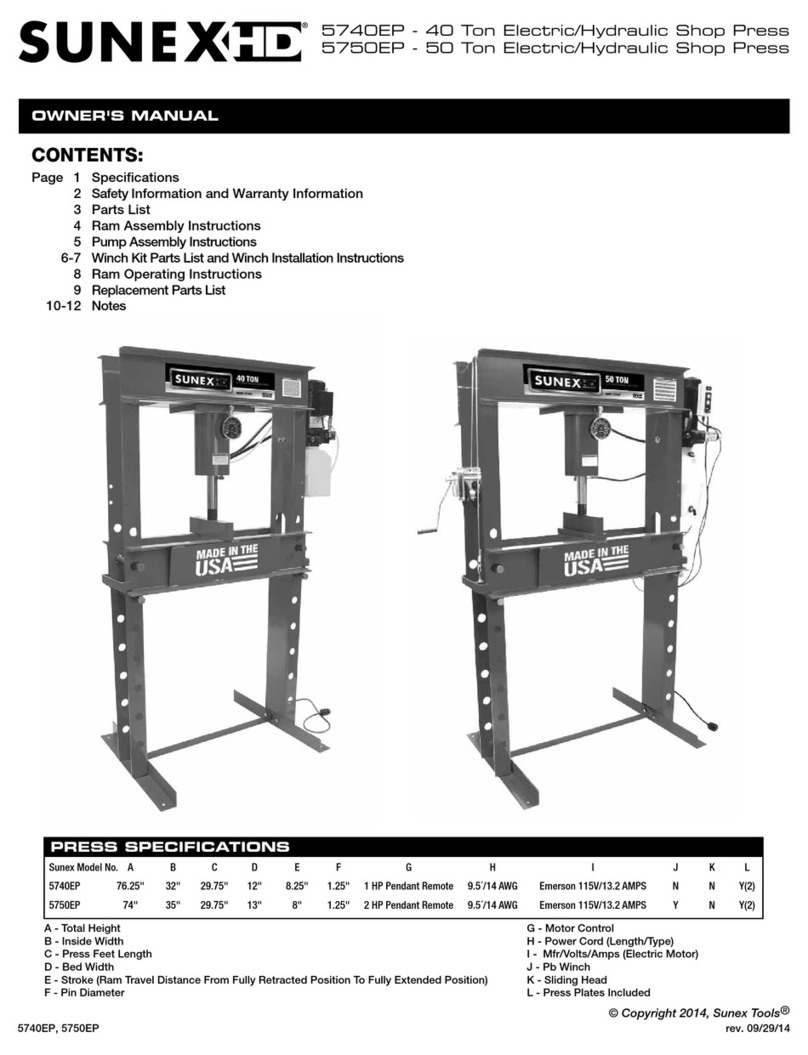
Sunex Tools 5740EP User manual

Sunex Tools

Sunex Tools 5740EP User manual

Sunex Tools SX278C User manual

Sunex Tools

Sunex Tools SX278C User manual

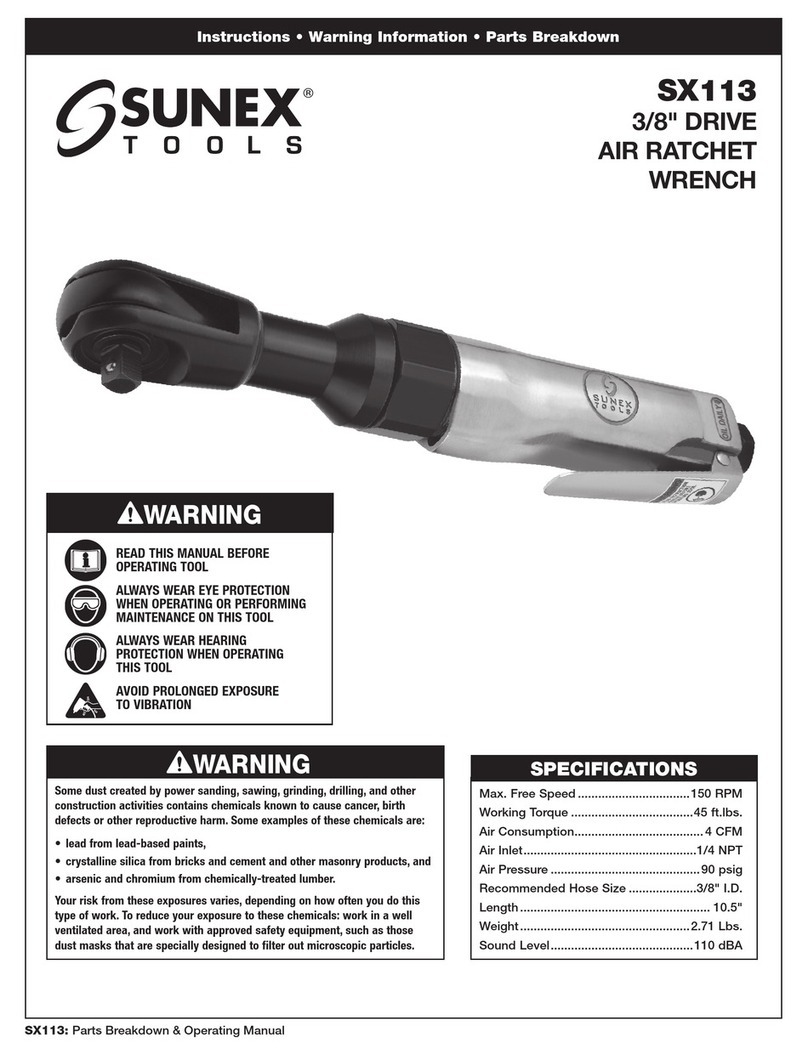
Sunex Tools SX113 User manual

Sunex Tools

Sunex Tools SX113 User manual

Sunex Tools SX113 User manual

Sunex Tools

Sunex Tools SX113 User manual

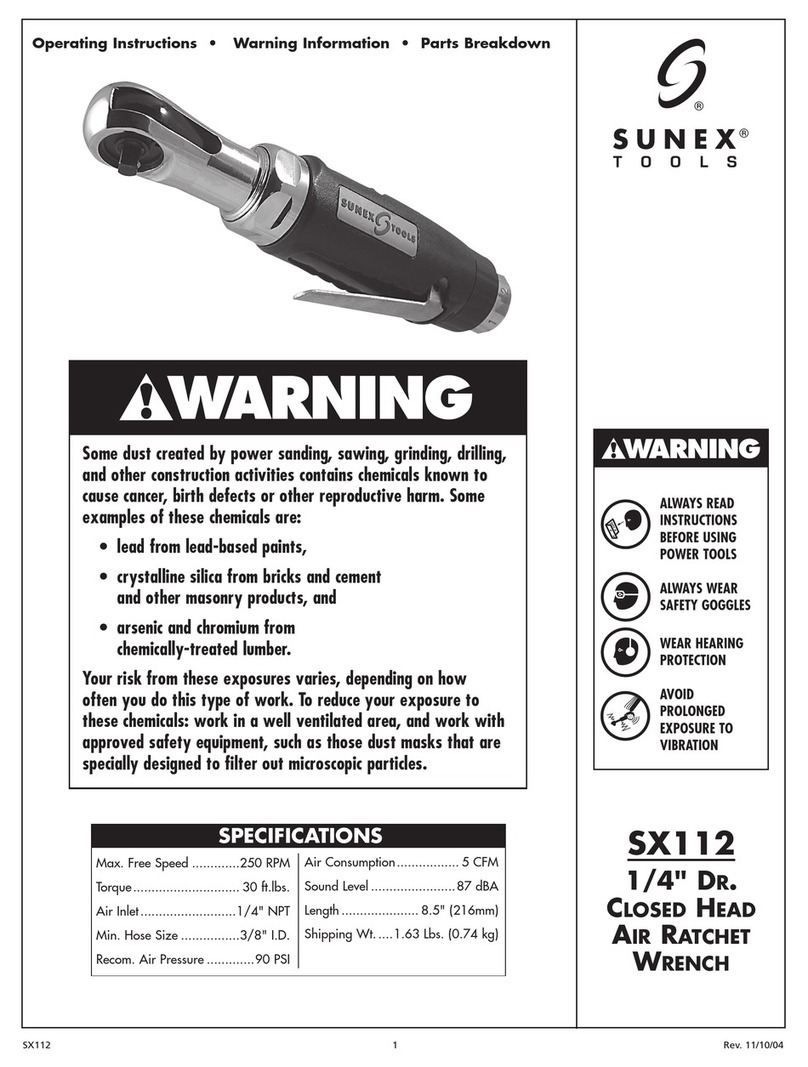
Sunex Tools SX112 User manual

Sunex Tools

Sunex Tools SX112 User manual

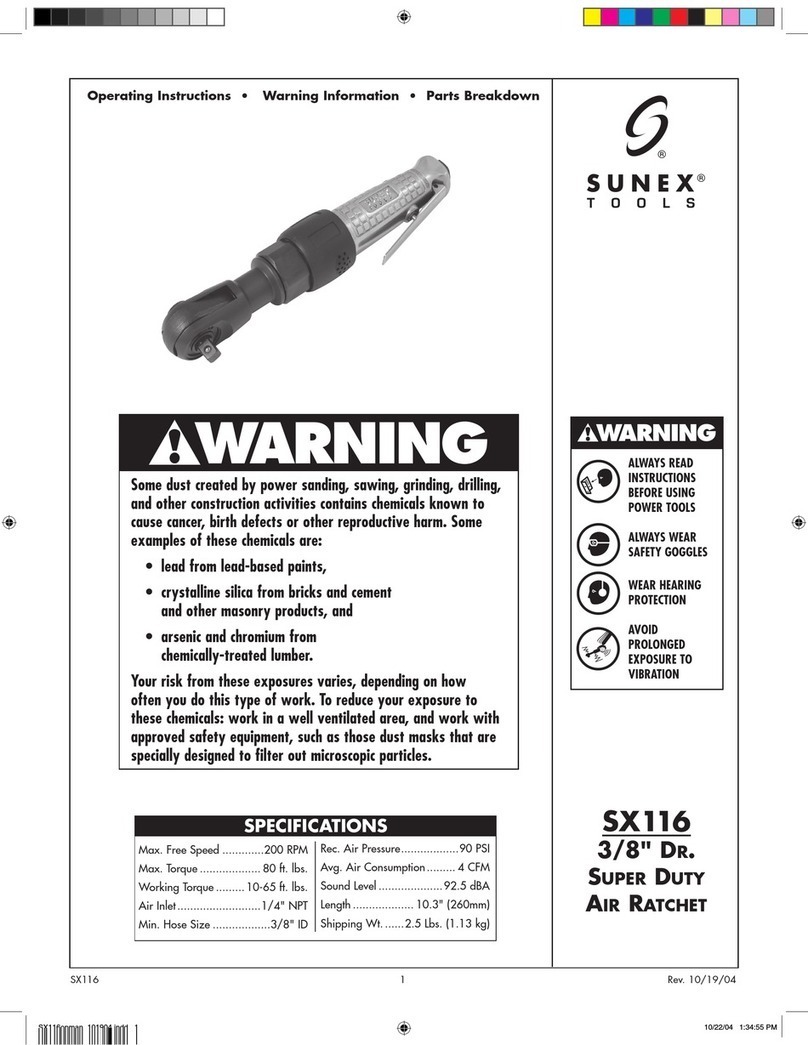
Sunex Tools SX116 User manual

Sunex Tools

Sunex Tools SX116 User manual

Sunex Tools SX114 User manual

Sunex Tools

Sunex Tools SX114 User manual

Sunex Tools 5000A User manual

Sunex Tools

Sunex Tools 5000A User manual

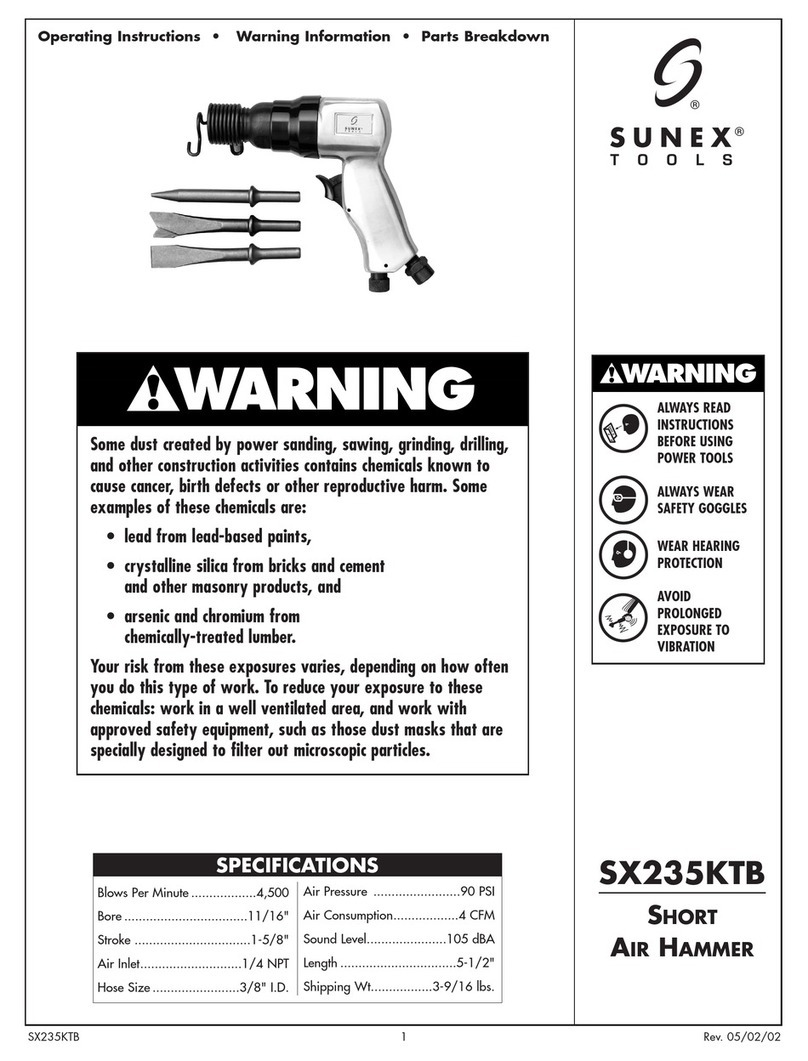
Sunex Tools SX235KTB User manual

Sunex Tools

Sunex Tools SX235KTB User manual

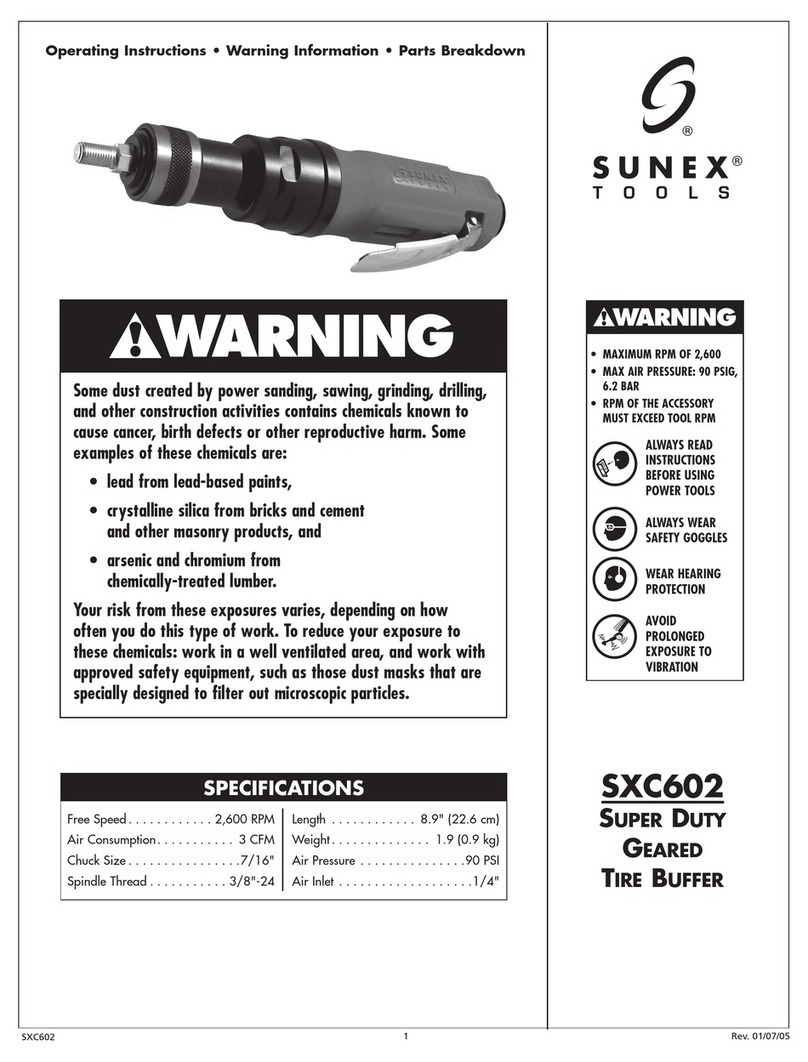
Sunex Tools SXC602 User manual

Sunex Tools

Sunex Tools SXC602 User manual

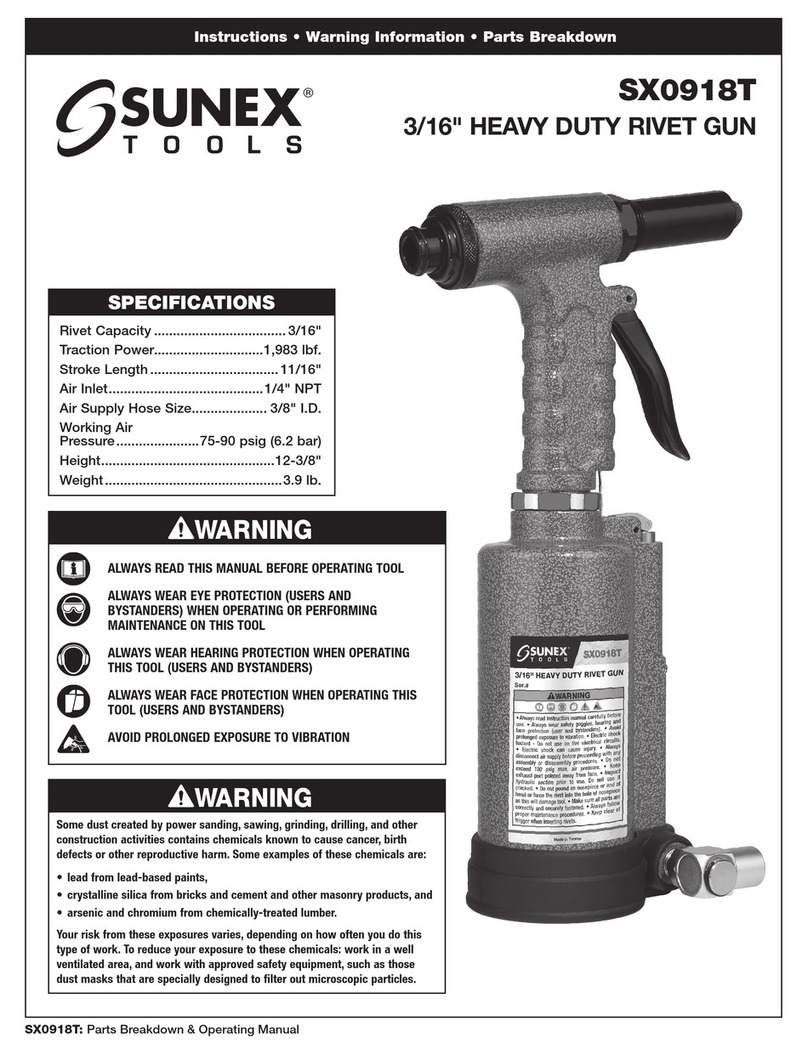
Sunex Tools SNAPP SX0918T User manual

Sunex Tools

Sunex Tools SNAPP SX0918T User manual

Sunex Tools 30250 User manual

Sunex Tools

Sunex Tools 30250 User manual

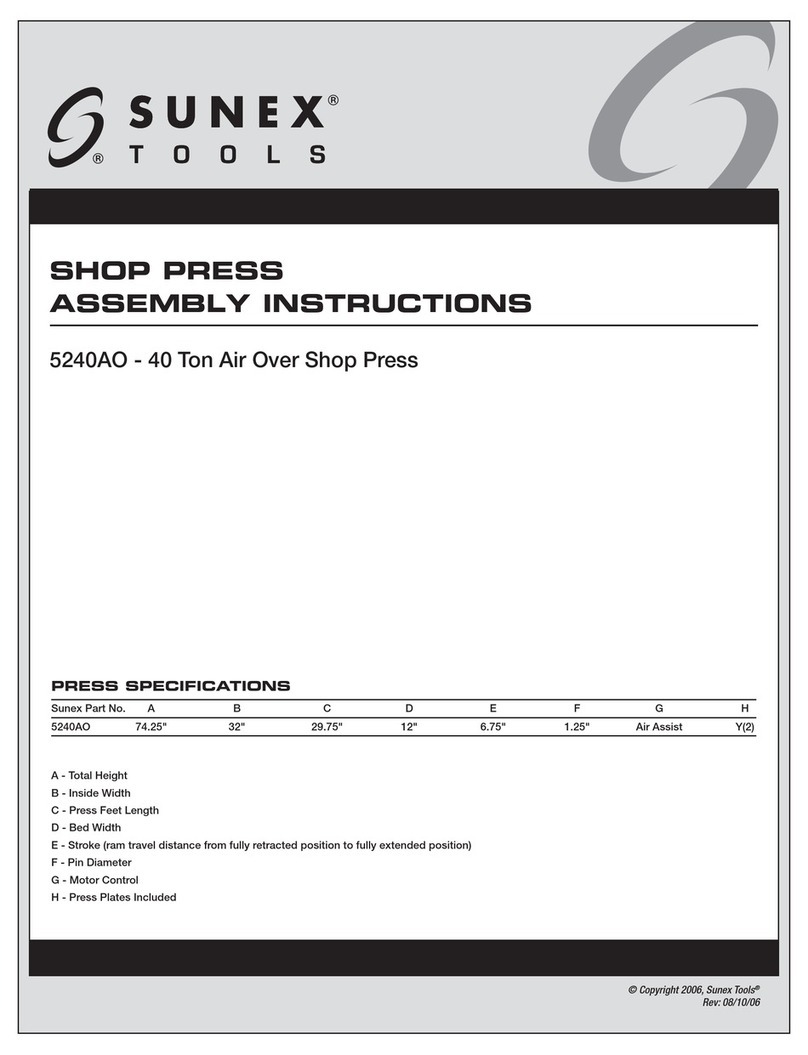
Sunex Tools 5240AO User manual

Sunex Tools

Sunex Tools 5240AO User manual

Sunex Tools SX108A User manual

Sunex Tools

Sunex Tools SX108A User manual

Popular Power Tools manuals by other brands

ISLAND HOPPER Power Egg HT-309 operating instructions

ISLAND HOPPER

ISLAND HOPPER Power Egg HT-309 operating instructions

Sioux Tools SSR6P25 Instructions-parts list

Sioux Tools

Sioux Tools SSR6P25 Instructions-parts list

Makita HM1317C technical information

Makita

Makita HM1317C technical information

ABB Smart Tool + quick start guide

ABB

ABB Smart Tool + quick start guide

Baumr-AG BMJK-24S user manual

Baumr-AG

Baumr-AG BMJK-24S user manual

Bosch Professional GST 18 V-LI S Original instructions

Bosch

Bosch Professional GST 18 V-LI S Original instructions

Ronix RA-2702 quick start guide

Ronix

Ronix RA-2702 quick start guide

Nordson ProBlue user guide

Nordson

Nordson ProBlue user guide

aoyue int6028 instruction manual

aoyue

aoyue int6028 instruction manual

Hitachi CJ 65VA2 Instruction manual and safety instructions

Hitachi

Hitachi CJ 65VA2 Instruction manual and safety instructions

Makita HM1304 instruction manual

Makita

Makita HM1304 instruction manual

Kurtz Ersa Ersa X-TOOL VARIO operating instructions

Kurtz Ersa

Kurtz Ersa Ersa X-TOOL VARIO operating instructions

SCHUNK KSO 65 Installation and operating instruction

SCHUNK

SCHUNK KSO 65 Installation and operating instruction

Harken LokHead 500 user manual

Harken

Harken LokHead 500 user manual

Senco DuraSpin ExTPro installation instructions

Senco

Senco DuraSpin ExTPro installation instructions

Ferm JSM1020 Original instructions

Ferm

Ferm JSM1020 Original instructions

Milwaukee M12 FUEL 2559-20 Operator's manual

Milwaukee

Milwaukee M12 FUEL 2559-20 Operator's manual

EINHELL BT-CD 12/2 operating instructions

EINHELL

EINHELL BT-CD 12/2 operating instructions

manuals.online logo
manuals.online logoBrands
  • About & Mission
  • Contact us
  • Privacy Policy
  • Terms and Conditions

Copyright 2025 Manuals.Online. All Rights Reserved.

11050/30250/31080/20250/40600
© Copyright 2017, Sunex Tools®
OPERATING INSTRUCTIONS • WARNING INFORMATION • PARTS BREAKDOWN
11050
1/4"DR. 10-50 IN. LBS. 60T TORQUE WRENCH
30250
3/8"DR. 50-250 IN. LBS. 48T TORQUE WRENCH
31080
3/8"DR. 10-80 FT. LBS. 48T TORQUE WRENCH
20250
1/2"DR. 30-250 FT. LBS. 48T TORQUE WRENCH
40600
3/4"DR. 110-600 FT. LBS. 48T TORQUE WRENCH
Some dust created by power sanding, sawing, grinding, drilling, and other construction
activities contains chemicals known to cause cancer, birth defects or other reproductive
harm. Some examples of these chemicals are:
• lead from lead-based paints,
• crystalline silica from bricks and cement and other masonry products, and
• arsenic and chromium from chemically-treated lumber.
Your risk from these exposures varies, depending on how often you do this type of work.
To reduce your exposure to these chemicals: work in a well ventilated area, and work with
approved safety equipment, such as those dust masks that are specially designed to filter
out microscopic particles.
WARNING
WARNING
READ THIS MANUAL BEFORE
OPERATING TOOL
ALWAYS WEAR SAFETY GOGGLES
(INCLUDING BYSTANDERS)
DO NOT USE A "CHEATER BAR"
DO NOT SUBMERGE THIS UNIT IN
ANY FLUID
1/4" Torque Range ...............10-50 in. lbs.
3/8" Torque Range ..............50-250 in. lbs.
3/8" Torque Range ...............10-80 ft. lbs.
1/2" Torque Range ..............30-250 ft. lbs.
3/4" Torque Range .............110-600 ft. lbs.
Torque Accuracy . . . . . . . . . . . .CW±3%, CCW±6%
Torque Accuracy (1/4"Dr.) ........CW/CCW±6%
Unit Selection .............In. lbs./Ft. lbs., N-m
Head Type ............................Fixed
Gear Teeth .................... 48 (1/4"Dr. 60)
SPECIFICATIONS
11050
1/4"DR.
30250
3/8"DR.
31080
3/8"DR.
20250
1/2"DR.
40600
3/4"DR.
11050/30250/31080/20250/40600 2
WARNING
FAILURE TO OBSERVE THESE WARNINGS COULD RESULT IN INJURY
THIS INSTRUCTION MANUAL CONTAINS IMPORTANT
SAFETY INFORMATION.
READ THIS INSTRUCTION MANUAL CAREFULLY AND
UNDERSTAND ALL INFORMATION BEFORE OPERATING
THIS TOOL.
• Read and understand all instructions. Failure to follow
all instructions listed below, may result in electric
shock, fire, explosion and/or serious personal injury. It is
the responsibility of the owner to make sure all personnel
read this manual prior to using the device. It is also
the responsibility of the device owner to keep this
manual intact and in a convenient location for all to
see and read. If the manual or product labels are lost
or not legible, contact Sunex Tools®for replacements.
If the operator is not fluent in English, the product
and safety instructions shall be read and discussed
with the operator in the operator's native language by
the purchaser/owner or his designee, making sure that
the operator comprehends its contents.
• To safeguard torque accuracy avoid keeping tool set at
high loads for long periods of time. When finished reset
back to zero.
• Do not operate without eye and hand protection (users
and bystander).
• Keep body working stance balanced and firm. Do not
overreach when operating the tool.
• Keep fingers and hands away from pinch point region of
this tool at all times.
• Do not force tool beyond its rated capacity. Overtorqueing
can cause breakage.
• Use of a "cheater bar" or leverage multipliers will result
in an inaccurate reading and can possibly damage the
wrench. Use of unapproved accessories could push the
unit beyond its rated capacity and will void your warranty.
• Do not use torque wrench to loosen fasteners.
• The wrench should be sent in for calibration once every
year or every 5,000 cycles for re-calibration.
• The wrench should be cleaned and stored properly after
every use. Do not submerge this unit in any fluid.
• Wrenches should be re-calibrated if dropped or
accidentally mishandled.
• The torque wrench should be "exercised" a minimum of
three times at 100% of full scale before use.
• Do not remove any labels. Replace damaged labels.
• This product may contain one or more chemicals known
to the State of California to cause cancer and birth
defects or other reproductive harm. Wash hands
thoroughly after handling.
• Failure to heed these warnings may reuslt in personal injury
and/or property damage.
PARTS REFERENCE
1. Reversible Ratchet Head
2. Wrench Body
3. Major Scale
4. Minor Scale
5. Adjusting Ring
6. Ratchet Drive
7. Anti-slip Handle
1345
67
2
ft•lbs
ft•lbs
No internal parts are available to purchase due to the sensitivity of this professional model.
Please utilize the repair facility listed under the warranty statement for all repairs in and out of warranty.
11050/30250/31080/20250/40600 3
Make sure the ring table indicates
the expected torque number, release
the adjusting ring
OPERATIONS FEATURES NOTE
Pull down the adjusting ring
Adjusting Ring Grip the middle of the handle
Two Units Operate vertically
Keep the ring down and rotate the
ring to the expected torque number
according to the scale
Then operate the Torque Wrench properly
Dual-direction click-type Insert the driver firmly on
the socket before operating
IMPORTANT: ALWAYS reset the major scale torque measurement back to "ZERO" when you are finished using the wrench. This will ensure
the internal body spring maintains accurate tension which prolongs the life and accuracy of the product.
11050/30250/31080/20250/40600 4
MAINTENANCE
1. The internal mechanism of the torque wrench has been calibrated and lubricated before final assembly. DO NOT attempt to open the
wrench's internal mechanism for any reason. Doing so will void the warranty.
2. Do not submerge the torque wrench in water or any other liquids.
3. When not in use always store the torque wrench in its protective case. Be sure before storage that you have reset the torque setting
back to zero.
4. Re-calibration is necessary to maintain accuracy once a year or every 5000 cycles. Using a torque wrench that is not regularly
calibrated may cause damage to the tool and personal property.
Check out the collection of wrenches and sets we offer.