manuals.online logo
Brands
  1. Home
  2. •
  3. Brands
  4. •
  5. Sunlighten
  6. •
  7. Plumbing Product
  8. •
  9. Sunlighten Signature IV User manual

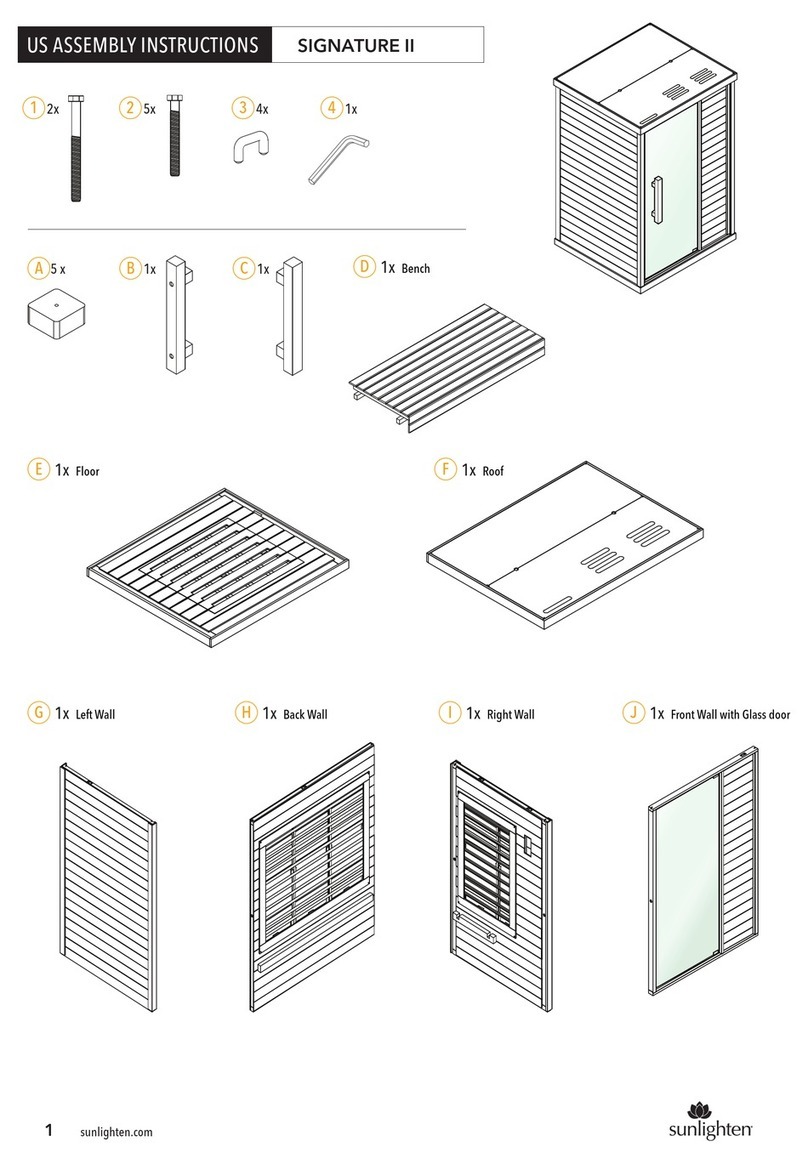
Sunlighten Signature IV User manual

G1x Floor
E F
I1x Left Wall with Glass Door J1x Back Wall K1x Right Wall L1x Front Wall with Glass door
H1x Roof
2x
113x
24x
3
6x
A1x
B1x
C
1x
4
D2x
secure plates before assembly -
see STEP 3.
ASSEMBLY INSTRUCTIONSASSEMBLY INSTRUCTIONS SIGNATURE IV
1sunlighten.com.au
1sunlighten.com.au
20072022
A
2
4
1.1
1.2
* Failure to do so will void your sauna's warranty
and customer will assume liability for any electrical
damages to the sauna itself or the residence/business
in which the sauna is installed.
See USER MANUAL
240V, 3031 watts. Dedicated 15A circuit and
15A power socket protected by a 16A RCBO
installed in the meter box.
Minimum 2.5mm cable required for circuit;
2.5m cord exists from back left of roof.*
•Attach the feet pegs with supplied Allen
wrench and bolts to the underside of floor G
(see illustration 1.1).
• Cut the zip ties holding the floor grate,
the fabric will adhere to the Velcro on the
underside of the grate (see illustration 1.2).
TIP: One side of the fabric adheres better
NOTE: Make sure the floor panel is on a surface
that is perfectly level & relatively smooth.
2 E
A
•Un-pack each wall segment from the shipping material.
•Stage each wall segment in the room you will be assembling the unit.
STEP 1
STEP 2
PRE-STEPS
• Place the back wall on the back of the floor panel .
• Be sure you have two people assisting with this step.
This is the side with the sauna information label
on the bottom edge.
LG
G
L
G
G
sunlighten.com.au
2sunlighten.com.au
STEP 3
•Secure plates to glass door (3.1) of left wall .
• Place left wall on the left side of floor panel. This
wall panel should sit flush once properly seated.
•Make sure no gaps are visible in the corner of the two
walls as you insert it. It should be inserted flush.
• As you insert each wall segment, you will insert the
U-clips in the pre-drilled holes in the corner. This will
keep the walls sealed together.
STEP 4
I
3.1
•The next wall to insert will be the back wall .
This wall will have three pre-drilled holes
underneath the heater frames to insert one of the
two bench supports .
• Using the labeled bolt and Allen wrench, insert
the support once the wall has been placed and
a U-clip installed in the top corner of the left and
back wall.
J
D
I
3
L
J
I
I
1sunlighten.com.au
3sunlighten.com.au
G
STEP 5
• The right wall will be the last to be inserted.
• Make sure it is flush and no gaps are showing in
the corners.
• Like STEP 4, one more bench support needs to be
installed using the pre-drilled holes on the right wall.
NOTE: If you ever have trouble getting a U-clip
to slide in, this can be resolved by tapping it with
a hammer.
STEP 6
K
33
Connect floor
heaters
• If you have not yet done so, the floor heaters
will need to be connected to the right wall wires.
The diagram to the left shows where the connection is made.
• You will need to remove the floor grate and
a small hatch covering the harness.
• Remove the roof cover panels (see illustration 6.1 below).
• Once all the U-clips have been inserted in the corners,
the next step will be to place the roof on top
without roof cover panels.
• Make sure the side the main powercord
receptacle faces the back.
H
6.1
3
K
H
1sunlighten.com.au
4sunlighten.com.au
C
B
1
4
Left Wall Heaters
Back Wall Heaters Right Wall Heaters
Control Panel
Front Heater
F
E
heater frame
CONGRATULATIONS your sauna is now ready to enjoy!
If you have any queries please call
Sunlighten Customer Support at 1800 786 544.
• Before the two parts of the corner bench
is placed, make sure the heater frames
are taken out to allow the bench to be
placed on its support.
• The large bench piece will be
inserted on the back wall, while the
smaller bench will be inserted last,
vvon the right wall support.
F
E
heater frame
STEP 7
• Please make all connections on the roof
of the sauna as illustrated
• Connect sauna to external power.
• Turn on the power to sauna (see illustration 7.1 below).
• Check all of the heaters are working by placing your
hand against the heater cover to feel the heat.
• Check the radio is operating by quickly tapping the SRC button.
• Check the lights turn on using the control panel
(see illustration 7.1 below).
• If all electronics are working, turn them off and
turn off the power to the sauna.
• Replace the roof panels.
• In the event a heater is not working, unplug the connection
and firmly plug back in. Then re-test with power on.
• If you require any support, please contact
our Technical Service team.
Power
Lights
°C
°F
7.1
on/off
STEP 8
• With the bench installed, the heater panel
frames can be inserted back into their
respectable walls.
• The door handles come with the hard-
ware and can easily be screwed right in.
• A second person should hold the handle
while the other screws the bolts in
with the Allen wrench.
• The dust cover should also be replaced.
1sunlighten.com.au
5sunlighten.com.au
Speakers & Lights

Other manuals for Signature IV

2

Other Sunlighten Plumbing Product manuals
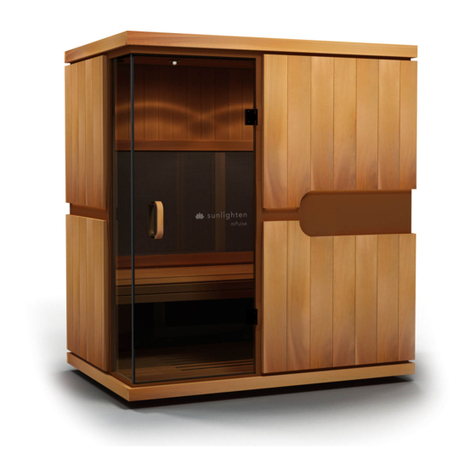
Sunlighten mPulse Discover User manual

Sunlighten

Sunlighten mPulse Discover User manual

Sunlighten mPulse cONQUER User manual

Sunlighten

Sunlighten mPulse cONQUER User manual

Sunlighten mPulse Aspire User manual

Sunlighten

Sunlighten mPulse Aspire User manual

Sunlighten mPulse eMPOWER User manual

Sunlighten

Sunlighten mPulse eMPOWER User manual

Sunlighten SIGNATURE EURO 1 User manual

Sunlighten

Sunlighten SIGNATURE EURO 1 User manual

Sunlighten mPulse Aspire User manual

Sunlighten

Sunlighten mPulse Aspire User manual

Sunlighten Signature I User manual

Sunlighten

Sunlighten Signature I User manual

Sunlighten SoloCarbon FAR User manual

Sunlighten

Sunlighten SoloCarbon FAR User manual

Sunlighten Signature Series User manual

Sunlighten

Sunlighten Signature Series User manual

Sunlighten Signature III User manual

Sunlighten

Sunlighten Signature III User manual

Sunlighten ADA User manual

Sunlighten

Sunlighten ADA User manual

Sunlighten Amplify II User manual

Sunlighten

Sunlighten Amplify II User manual

Sunlighten Signature III User manual

Sunlighten

Sunlighten Signature III User manual

Sunlighten mPulse 3-in-1 Series User manual

Sunlighten

Sunlighten mPulse 3-in-1 Series User manual

Sunlighten mPulse Discover User manual

Sunlighten

Sunlighten mPulse Discover User manual

Sunlighten Solo System User manual

Sunlighten

Sunlighten Solo System User manual

Sunlighten Solo System User manual

Sunlighten

Sunlighten Solo System User manual

Sunlighten Solo System User manual

Sunlighten

Sunlighten Solo System User manual

Sunlighten Signature I User manual

Sunlighten

Sunlighten Signature I User manual

Sunlighten Signature II User manual

Sunlighten

Sunlighten Signature II User manual

Sunlighten Signature IV User manual

Sunlighten

Sunlighten Signature IV User manual
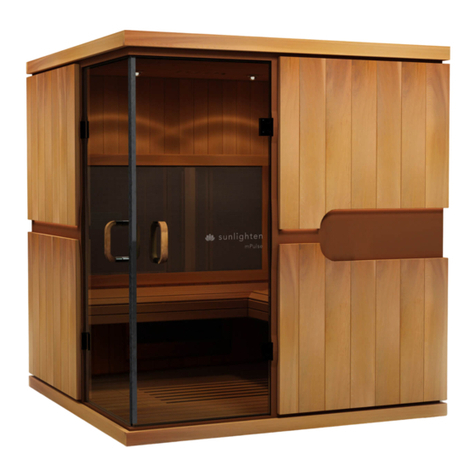
Sunlighten mPulse cONQUER User manual

Sunlighten

Sunlighten mPulse cONQUER User manual
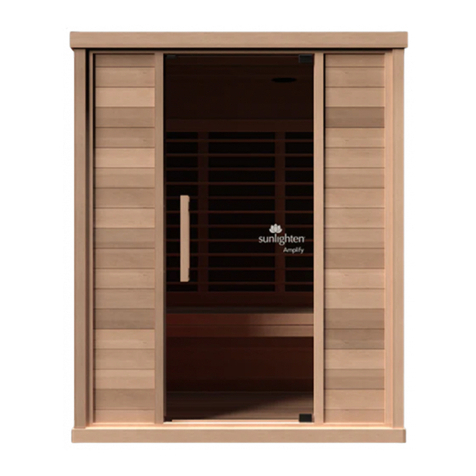
Sunlighten Amplify III User manual

Sunlighten

Sunlighten Amplify III User manual
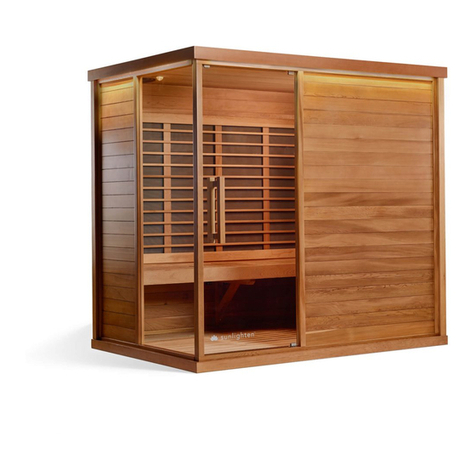
Sunlighten Solo System User manual

Sunlighten

Sunlighten Solo System User manual

Popular Plumbing Product manuals by other brands

Kohler K-8807 installation guide

Kohler

Kohler K-8807 installation guide

Hans Grohe PuraVida 15073 1 Series Installation/User Instructions/Warranty

Hans Grohe

Hans Grohe PuraVida 15073 1 Series Installation/User Instructions/Warranty

Anzzi L-AZ 901 Series Installation & operation manual

Anzzi

Anzzi L-AZ 901 Series Installation & operation manual

Hans Grohe Axor Starck 10402001 Installation instructions / warranty

Hans Grohe

Hans Grohe Axor Starck 10402001 Installation instructions / warranty

Danze D304036 installation instructions

Danze

Danze D304036 installation instructions

Kohler K-1844 Installation and care guide

Kohler

Kohler K-1844 Installation and care guide

Moen Classic Brushed Nickel 84439CBN Illustrate parts list

Moen

Moen Classic Brushed Nickel 84439CBN Illustrate parts list

Avanity FW0CC001CP manual

Avanity

Avanity FW0CC001CP manual

American Standard PORTSMOUTH 4285.410 installation instructions

American Standard

American Standard PORTSMOUTH 4285.410 installation instructions

V Starck 10751007 Installation

V

V Starck 10751007 Installation

Signature Hardware HIBISCUS 948558 quick start guide

Signature Hardware

Signature Hardware HIBISCUS 948558 quick start guide

Spectrum Brands Pfister Park Avenue 016-FE0 Quick installation guide

Spectrum Brands

Spectrum Brands Pfister Park Avenue 016-FE0 Quick installation guide

Peerless Faucet P99201 quick start guide

Peerless Faucet

Peerless Faucet P99201 quick start guide

Kohler REVIVAL K-T16119 installation instructions

Kohler

Kohler REVIVAL K-T16119 installation instructions

Dolphin Torino 48 installation instructions

Dolphin

Dolphin Torino 48 installation instructions

Axor Allegro 14801XX1 Specification sheet

Axor

Axor Allegro 14801XX1 Specification sheet

Bradley Express SS-3N/TT/STD Installation

Bradley

Bradley Express SS-3N/TT/STD Installation

Brizo Quiessence 67114 manual

Brizo

Brizo Quiessence 67114 manual

manuals.online logo
manuals.online logoBrands
  • About & Mission
  • Contact us
  • Privacy Policy
  • Terms and Conditions

Copyright 2025 Manuals.Online. All Rights Reserved.