Sureshotgps 200x User manual

User Manual
VERSION 1.0

Introduction
Congratulations!
Thank you for purchasing the sureshotgps™ 200X.
For your convenience the Sureshotgps™ 200X
is preloaded with 35,000 world maps and is ready
for immediate use. It is highly recommended that
you register the device for warranty purposes at:
www.sureshotgps.com
Contents
1. Charging 4
2. Register 4
3. Main Menu 4
4. Settings Menu 4
5. Playing Golf 5
6. Measuring Any
Shot Distance 5
7. Hole Advance 6
8. Acquiring Satellite Signals 6
9. Hardware 6
10. Systems Requirements 6
11. Limited Warranty 6–7
User Manual
VERSION 1.0
2sureshotgps 200XUser Manual VERSION 1.0 User Manual VERSION 1.0 sureshotgps 200X3
Select / Exit
Button
Distance
to Centre
of Green
Scroll DOWN
Distance
to Back
of Green
Distance
to Front
of Green
Scroll UP
Battery Strength
PAR
Power
ON / OFF
HOLE

1. Charging
To turn on your 200X On or Off, press and hold the
POWER/ BACKLIGHT button.
1. Gently pull back the rubber cover located on the
back of the 200X to gain access to the Mini-USB
Port. Use the cable that is included in the box and
insert the Mini-USB connector into the open port.
2. Make sure your computer is powered on.
3. Insert the other end of the cable into an open USB
port on your computer.
NOTE: It is recommended that the battery is recharged
after every round of Golf. A full charge should provide
up to 8 hours.
2. Register
It is recommended that you register your sureshotgps
200X for warranty purposes. Follow the easy steps at
www.sureshotgps.com
3. Main Menu
PLAY GOLF
Front, centre and back of green yardages*, measure
shot distances* and track your score.
HISTORY
Keep track of your scoring history.
DEMO
Demonstrates the GOLF features without being on a
course.
SETTINGS
Adjust various settings for your 200X.
5. Playing Golf
Make sure you are outside and near the course
you are going to play.
1. Press and hold the POWER button to turn
On your 200X.
2. Highlight PLAY GOLF using the UP/DOWN buttons
and press the MENU/ENTER button to confirm.
3. The 200X will activate the GPS and auto-search
for nearby courses. It may take a few minutes for
the 200X to acquire a GPS signal. When the search
is completed, a list of nearby courses will display.
4. Highlight the correct course using the UP/DOWN
buttons and press the MENU/ENTER button
to open the highlighted course.
With your 200X you can view real-time, distances
to the front, center and back of the green including
hazards, plus Tee shot fairway targets and Layup
targets. Enter and track your score as you play your
round and measure how far you hit each of your clubs,
view how far you’ve walked, and track the elapsed
time since beginning your round.
The GREEN View will show you distances to the
Front, Centre and Back of the green.
The HAZARD View will show you distances
to hazards if available.
The STATS View displays how far you’ve walked
as well as the elapsed time since starting your round.
The SCORE View allows you to enter your score.
To adjust your score, press the UP/DOWN buttons.
To save your scorecard at the end of your round, hold
MENU/ENTER and select SAVE SCORE. Your score
will be automatically reset when you start a new round.
The MARK View allows you to measure how far you
hit each of your clubs.
4. Settings Menu
SET TIME
Adjust time zone and date/time formats.
UNITS
Select Standard Meters or Yards.
LANGUAGE
Set the Language displayed on your 200X.
BACKLIGHT
Adjust when the backlight turns off.
SOUND
Turn the Sound On or Off.
DST
Daylight Savings Time – on or off
AUTO HOLE
Turn the Auto Hole Advance feature On or Off.
6. Measure Any Shot
Distance
Mark the location from where you hit your ball:
1. From any GOLF View, press the MENU/ENTER
button until the MARK View appears.
2. Press the UP button to mark your location.
3. Press MENU/ENTER again to change
to a different View.
At the place where your ball landed:
1. From any GOLF View, press the MENU/ENTER
button until the MARK View appears.
2. The MARK View will display the distance
from your last mark.
3. If you want to mark again, press the UP button again.
4. Press MENU/ENTER again to change
to a different View.
User Manual
VERSION 1.0
4sureshotgps 200XUser Manual VERSION 1.0 User Manual VERSION 1.0 sureshotgps 200X5
GREEN SCORE STATS
HOLE
PAR
BACK RELATIVE
TO PAR
TOTAL
SCORE
CENTRE
FRONT TIME
PLAYED
DISTANCE
WALKED

7. Hole Advance
As a default setting, Auto-Hole Advance on your
200X is set to ON. Unless you change this setting
to OFF, you will not need to press any buttons
to go to the next hole. If you prefer to manually
advance to each hole in play, change the setting
to OFF. When on the GREEN View, press the
UP/DOWN buttons to advance to a different hole
than the one displayed.
8. Acquiring Satellite
Signals
In order to accurately navigate or measure distances
with GPS, you need to have a good line of sight
to an open sky. Be sure to go outside to an open
area away from tall buildings and trees to start this
process, which may take a few minutes.
9. Hardware
Size and Weight
Height: 3” (7.62 cm)
Width: 2” (5.08 cm)
Depth: 1” (2.54 cm)
Weight: 2.4 oz (68.04 g)
10. System Requirements
Microsoft Windows Vista/7/8/10
or higher. (32-bit or 64-bit)
512 MB RAM (1 GB recommended)
200 MB of available hard disk space
Available USB 1.1 or 2.0 port
Internet access (High-speed recommended)
In no event whatsoever shall SS be liable for any
incidental, special or consequential loss or damage
resulting from the purchase and/or use of its products
howsoever caused and howsoever claimed. Any liability
on SS under this warranty in respect of any repair
and /or replacement and/or any action involving any
of its products shall be limited to and not exceed the
purchase price of the product in question. The terms of
this warranty are subject to relevant provisions of any
Federal, State or Municipal law. Any dispute or action in
relation to this warranty or the construction of it shall be
subject to and conducted in accordance with the laws
of Victoria, Australia.
Before returning any product, contact the SS Customer
Support Group and obtain an RA number. Visit the
Sureshotgps™ web site www.sureshotgps.com for
support contact details. If the Customer Support Group
verifies that the product is likely to be defective they will
issue an RA number to place on the outer package in
which the product will be shipped. SS cannot accept
any product without an RA number on the package.
Warranty returns must also be accompanied by a copy
of the dated proof of purchase. Deliver the product
along with the RA number to SS. If you ship the product
you must assume the risk of damage or loss in transit.
You must use the original container (or the equivalent)
and pay the shipping charge. SS may replace or repair
the product with either a new or reconditioned product
and the returned product becomes SS’s property. SS
warrants the repaired or replaced product to be free
from material defects for a period of the greater of (i)
ninety (90) days from the return shipping date; or (ii)
the period of time remaining on the original one (1)
year warranty. If there is any inconsistency between
this Limited Warranty and any Warranty included in the
packaging of the Sureshotgps, the provisions of this
Limited Warranty shall apply.
11. Limited Warranty
Limited Warranty Sureshotgps™ Pty Ltd (“SS”) warrants
that product delivered in this package will be free from
material defects for one (1) year following the date of
purchase from SS or its authorised reseller. For the
purpose of this warranty, “material defect” means
any defect in a SS product that can be reproduced
by SS and is a substantial nonconformity from the
published specifications for such product. SS shall
not be responsible for any loss or damage whatsoever
resulting from any defect in or associated with its
products which occur or are notified by the purchaser
to SS or its authorised repairer more than one year form
said date of purchase. This Limited Warranty does not
apply to normal wear and tear or if any component of
the Sureshotgps hardware is opened or repaired by an
unauthorised person or company, and does not cover
repair or replacement of any Sureshotgps hardware
damaged by: MISUSE, MOISTURE OR LIQUIDS,
EXPOSURE TO HEAT, ACCIDENT, ABUSE OR
NEGLECT. Dropping your Sureshotgps can permanently
damage the GPS antenna and receiver, which is not
covered under the terms of the Limited Warranty. This
Limited Warranty does not cover physical damage to
the surface of the SS, including cracks or scratches on
the LCD screen. Neither the manufacturer or distributor
or reseller shall be responsible for data that may be
damaged or lost at any time. As the SS may gain
information either through USB or wireless technology,
we cannot guarantee the successful transmission of
information. This Limited Warranty does not extend to
any defects which have been caused or contributed by
neglect, misuse or accident, nor in respect of product
which has been altered by other than authorised SS
personnel or its authorised repairers. The determination
as to whether the terms of this warranty are to apply to
returned products is within the sole discretion of SS or
its authorised repairer. Provided any returned product
is determined to be covered by this warranty, SS or its
authorised repairers shall at SS’s sole discretion, repair
or replace, free of charge, any products or parts thereof.
User Manual
VERSION 1.0
6sureshotgps 200XUser Manual VERSION 1.0 User Manual VERSION 1.0 sureshotgps 200X7

POWERED BY
sureshotgps Pty Ltd
11 Maurice Court Nunawading Victoria Australia 3131
1300 644 523 or +61 3 9873 4433
Sureshotgps is a division of MGI. Made in China.
www.sureshotgps.com
Table of contents
Other Sureshotgps GPS manuals
Sureshotgps
Sureshotgps 8800 User manual
Sureshotgps
Sureshotgps Micro User manual
Sureshotgps
Sureshotgps Hero 750x User manual
Sureshotgps
Sureshotgps SS9000X V2.0 User manual
Sureshotgps
Sureshotgps Micro 700X User manual
Sureshotgps
Sureshotgps Micro v2 User manual
Sureshotgps
Sureshotgps Hero 350x User manual
Sureshotgps
Sureshotgps Micro 300X User manual
Sureshotgps
Sureshotgps 8850 User manual
Sureshotgps
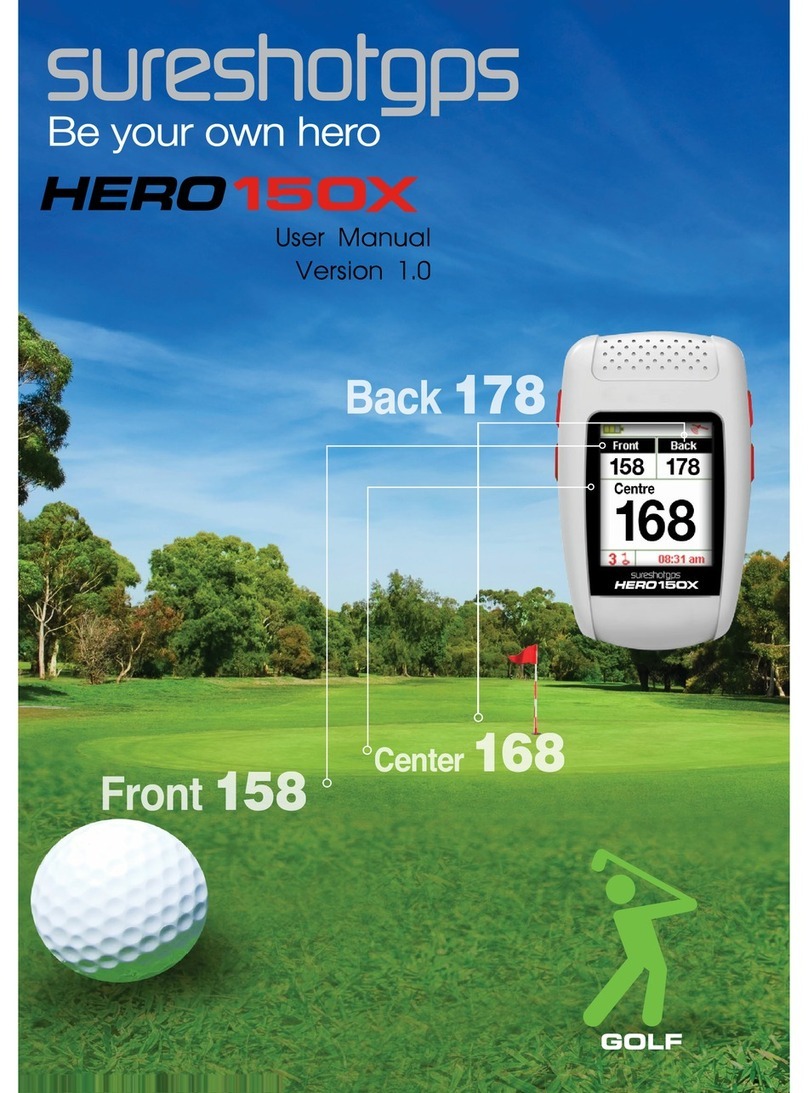
Sureshotgps HERO 150X User manual
