2.1 Multimedia Speaker System
ENG
Fig. 4. Connection diagram
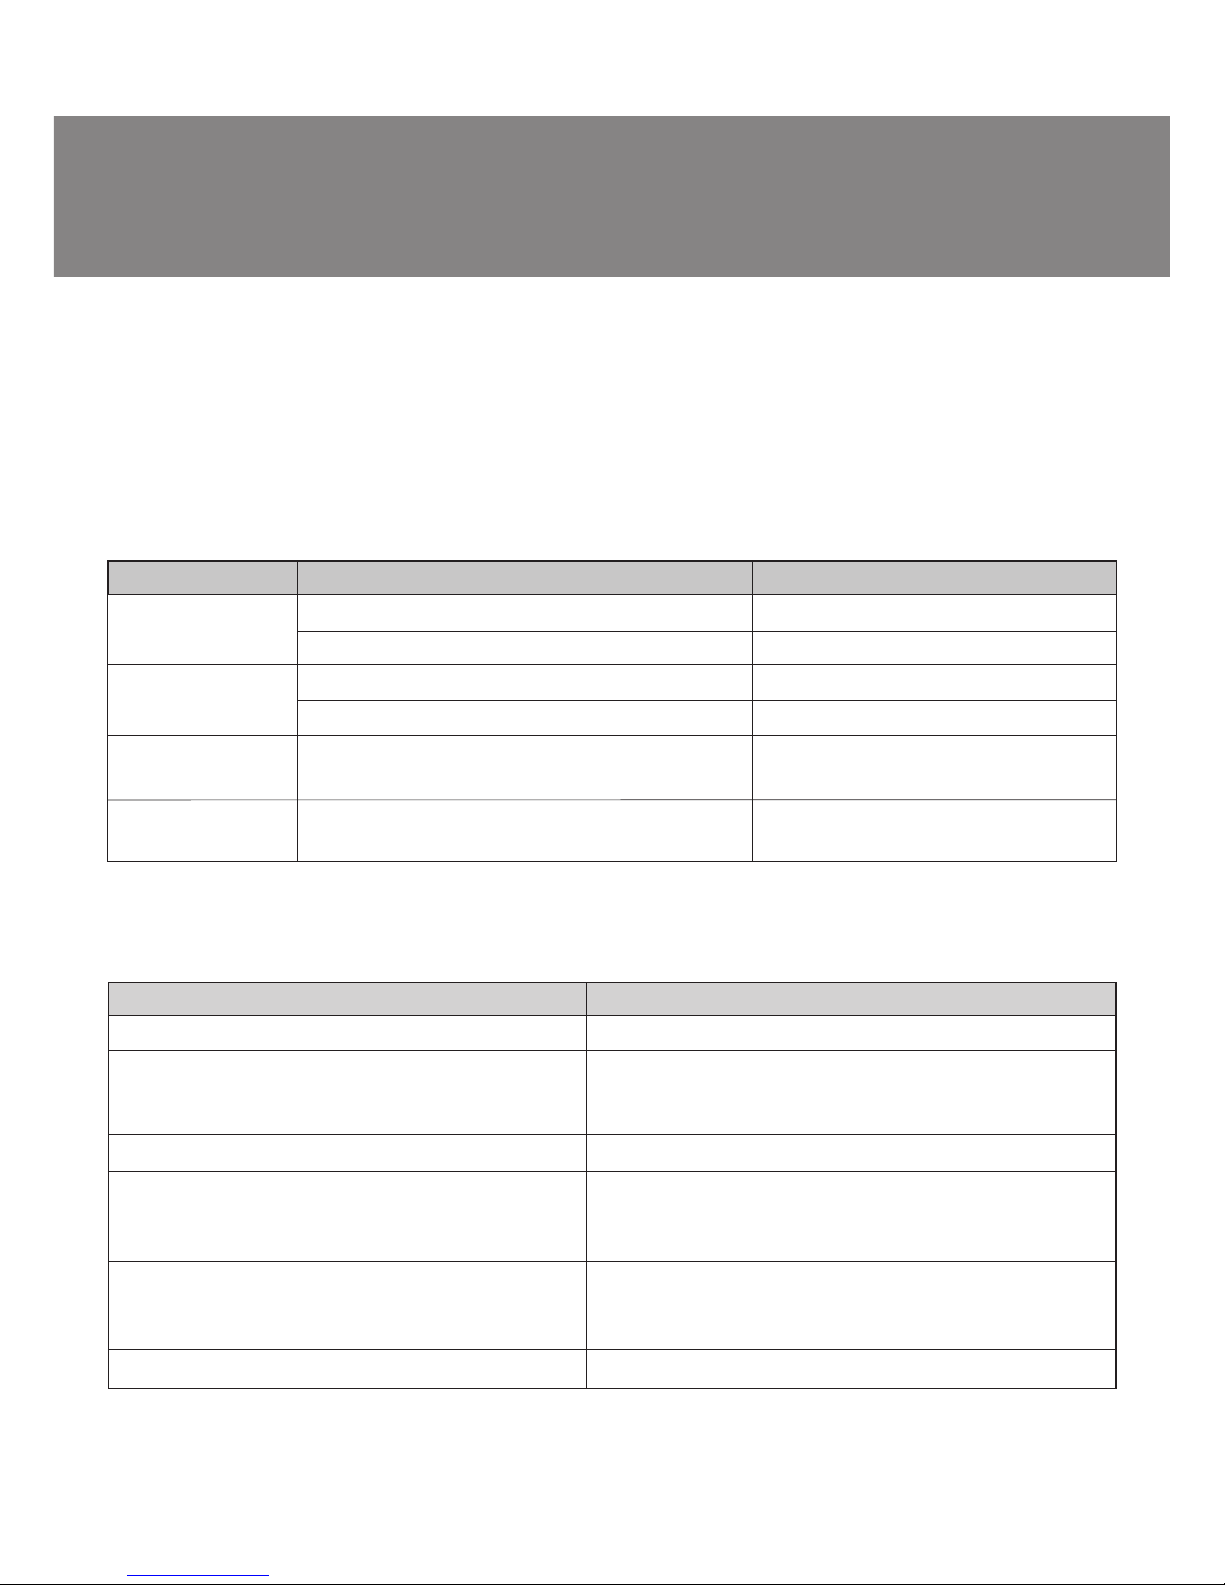
Remote control
a STANDBY button
b MUTE button
c TRE +/–: treble volume control buttons
d SW +/–: subwoofer volume control buttons
e VOL +/–: master volume control buttons
Notes:
• If the remote control does not work, please check the
batteries or replace the discharged batteries with new ones.
• Use the remote control at an angle of no more than 30°
within 7 meters from the system.
5. PREPARATION AND OPERATION
Speaker placement
• Place the satellites symmetrically to the listener at the distance not less
than one meter.
• Place MSS far away from monitors and TV sets, as insignificant image
distortion in these super-sensitive devices is possible. We recommend that
the subwoofer should be placed on the table.
Installation and operation guide
• All the components should be switched off before connection.
• Conect the subwoofer and the satellites (see Fig.4).
• Plug the mini-jack of thesignalcable (green) into the line output of the sound
card of your PC or MP3 player, and the mini-jack of the microphone cable (pink)
into the microphone input of the sound card.
• Plug the power cordbinto a mains socket.
• Switch the power on with ON/OFF switch aon the subwoofer rear panel.
• Adjustthe volume on the remote
control to the necessary level.
• To improve sound quality, use the
sound card Line-Out port.
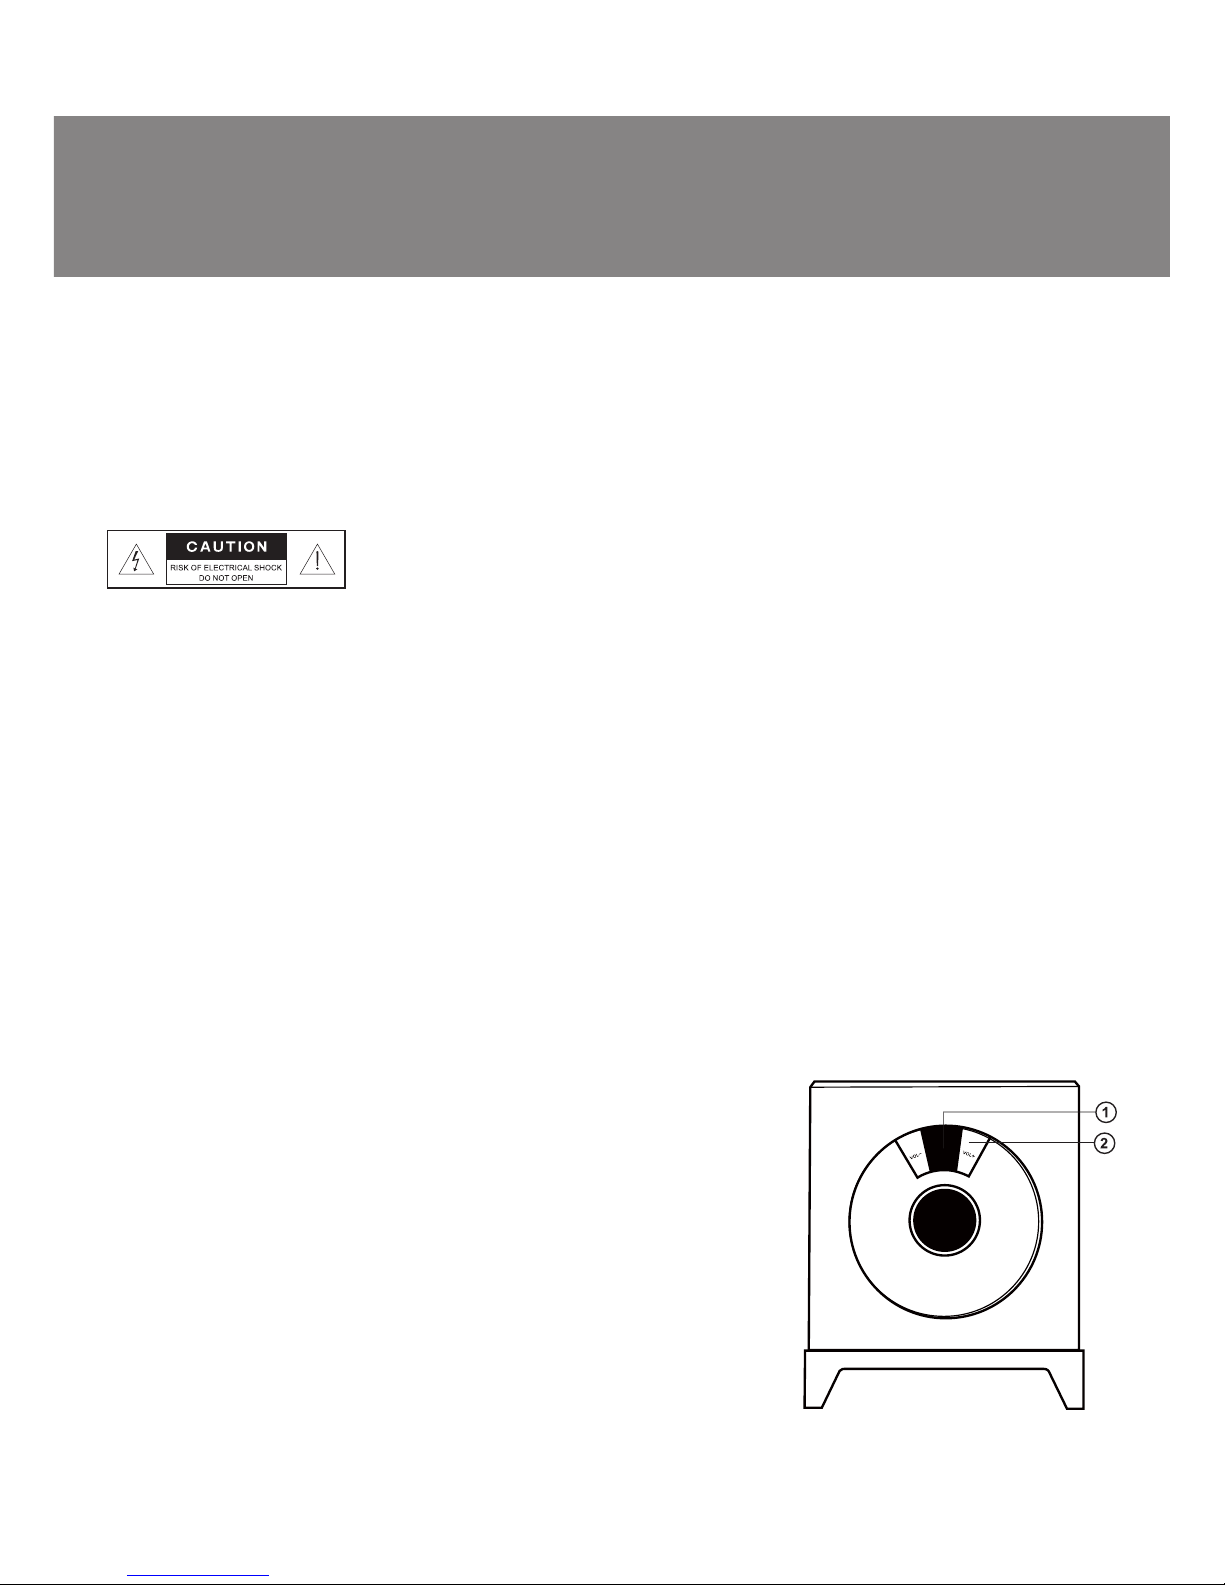
• To switch the speaker system on, use
the power switch a on the subwoofer
rear panel. The system will be on in
STANDBY mode and the LED display on
the on the front panel will indicate “- -”.
To put the system into operation mode,
press the STANDBY button a on the
remote control or one of the volume
control buttons b on the subwoofer
front panel. The LED display shows the
volume level (40 by default).
Fig. 3. Remote control
4
TRE
SW
VOL
Fig. 2. Rear control panel
Mic cable
Input cable