Swecoin TTP 101 User manual

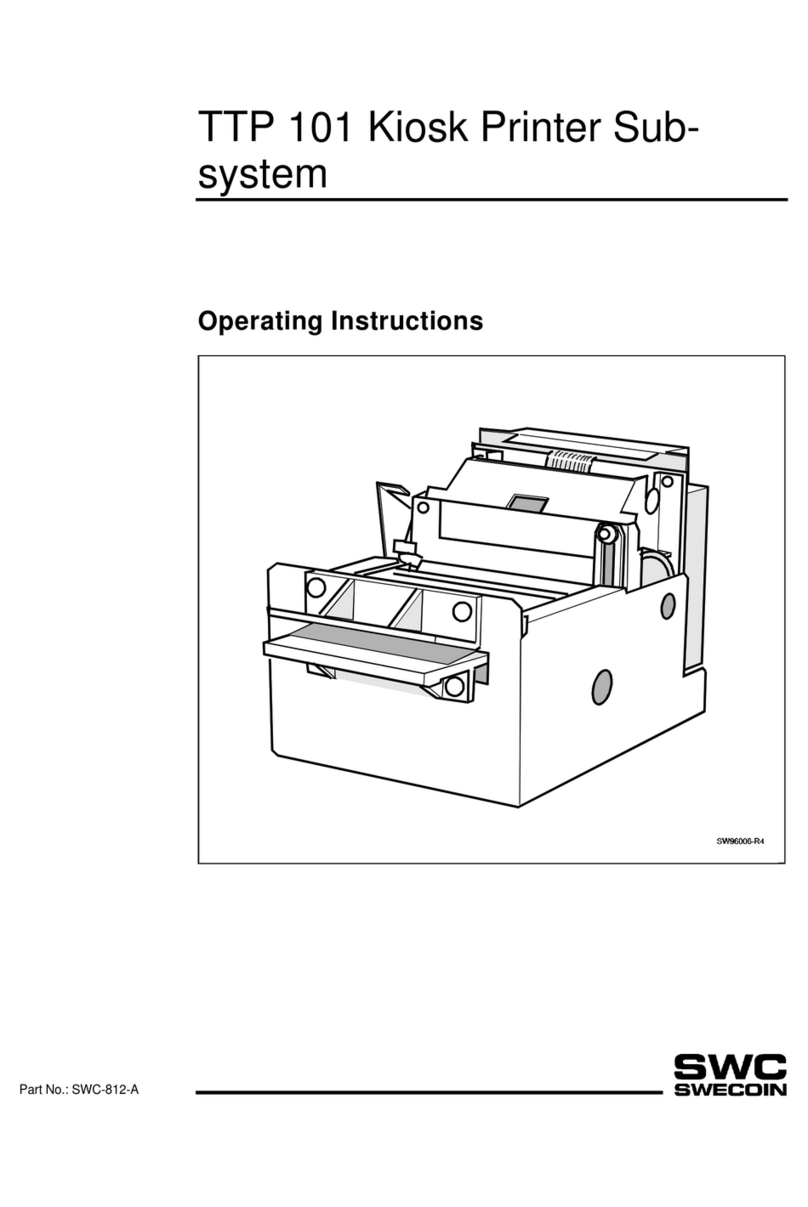
TTP 101 Kiosk Printer
Evaluation Kit
Getting Started
Part No.: SWC-870A

SWECOIN TTP 101 Kiosk Printer Evaluation Kit – Getting Started 9610
Related manuals
•• Operating Instructions SWC-812
•• Installation Manual SWC-810
•• Technical Specification SWC-872
Acknowledgments
Microsoft Windows® is a registered trademarks of Microsoft
Corporation
This is a publication of SWECOIN PROMAKON AB
Box 132, SE-191 22 Sollentuna, Sweden
Phone int.+46 8 92 00 80
nat. 08 92 00 80
Fax int.+46 8 96 50 54
nat. 08 96 50 54
BBS int.+46 8 92 00 88
nat. 08 92 00 88
© SWECOIN PROMAKON AB, 1996
SWECOIN US Inc.
1741, Main Rd
Tiverton, RI 02878
Phone (401) 624 2790
Fax (401) 624 2850
e-mail [email protected]
All rights reserved. Reproduction in whole or in parts is
prohibited without written consent of the copyright owner. We
have taken great care to ensure that the information in this
manual is correct and complete. However, if you discover
any errors or omissions, or if you wish to make suggestions
for improvements, you are welcome to send your comments
to us. SWECOIN PROMAKON AB disclaims any liability re-
sulting from the use of this information and reserves the right
to make changes without notice.
First edition, October 1996
Printed in Sweden

9610 SWECOIN TTP 101 Kiosk Printer Evaluation Kit – Getting Started 1
CONTENTS
1 INTRODUCTION......................................................................................................... 2
2 UNPACKING............................................................................................................... 3
3 PRODUCT PRESENTATION...................................................................................... 4
4 PRINTER PREPARATION.......................................................................................... 5
4.1 Connect printer to control board ................................................................. 5
4.2 Connect a paper feed switch (optional) ...................................................... 5
4.3 Connect power cables................................................................................ 6
4.4 Running the TTP 101 without a metal cover .............................................. 7
4.4.1 Light shielding............................................................................... 7
4.4.2 ESD precautions ........................................................................... 7
4.5 Install paper roll ......................................................................................... 8
4.6 Test the printer .........................................................................................10
4.7 Connecting the TTP 101 to a host computer .............................................10
5 OPERATING THE PRINTER ON-LINE......................................................................11
5.1 Normal mode............................................................................................11
5.2 Hex dump mode .......................................................................................11
5.3 Using the TTP Editor ................................................................................11
6 FAULT FINDING........................................................................................................12
7 PAPER JAM REMOVAL............................................................................................12
2SWECOIN TTP 101 Kiosk Printer Evaluation Kit – Getting Started 9610
1 INTRODUCTION
This manual describes how to install and set up the equipment contained in the TTP 101
Kiosk Printer Evaluation Kit with part No. 83-0101-02.
If no host computer or application program is available, a number of printer features and
functions can still be tested by running a test printout function with the printer in off-line
mode.
If a host computer is at hand, all the printer commands described in the TTP 101
Installation Manual can be used to operate the printer. The TTP 101 can also be set in an
on-line hex dump mode to log the data transfer between the host and the printer.
An enclosed editor program serves as a guide line for programming.

9610 SWECOIN TTP 101 Kiosk Printer Evaluation Kit – Getting Started 3
2 UNPACKING
The TTP 101 Kiosk Printer Evaluation Kit contains the following items:
83-0101-00 TTP 101 Kiosk Printer (with control board SWC-842 and 50-pole
ribbon cable 90-0774-000)
38-9828-052 Power supply unit, 90—260V, 47—63 Hz, 1.25 A
38-8000-02 TTP Editor, one 3.5" diskette
94-0058-00 Paper roll (3 pcs)
SWC-870 TTP 101 Evaluation Kit — Getting Started manual (this manual)
SWC-872 TTP 101 Technical Specification (valid in all details from rev. B)
SWC-810 TTP 101 Installation Manual (valid in all details from rev. B)
SWC-812 TTP 101 Operating Instructions
SWC-811 TTP 101 Service Manual (valid in all details from rev. B)
NOTE! — Due to continuos product development, the related manuals included in the
evaluation kit may not fully correspond with the hardware design of the evaluation printer.

4SWECOIN TTP 101 Kiosk Printer Evaluation Kit – Getting Started 9610
3 PRODUCT PRESENTATION
Figure 1. Printer exterior
Figure 2. Power supply unit

9610 SWECOIN TTP 101 Kiosk Printer Evaluation Kit – Getting Started 5
4 PRINTER PREPARATION
4.1 Connect printer to control board
Connect the TTP 101 to the SWC 728-000 control board using the enclosed 50-pole
ribbon cable. See Figure 4.
4.2 Connect a paper feed switch(optional)
You may connect a paper-feed switch (not enclosed) to control board connector J6. This
switch is required in order to produce test printouts and to log the data transferred
between the printer and the host computer.
Alternatively, you may temporarily shorten the two pins of the J6 connector by means of
a jumper, a screwdriver, or similar.
Figure 3. Connect paper-feed switch to J6 (optional)

6SWECOIN TTP 101 Kiosk Printer Evaluation Kit – Getting Started 9610
4.3 Connect power cables
1. Connect the power supply unit at the back of the printer (see Figure 4).
Figure 4. Control board connectors
2. Connect the power supply unit to a live wall outlet.
IMPORTANT! — If you are going to run the printer on-line, connect the TTP 101 power
supply unit and the host computer to the same wall outlet or, at least, to the same mains
fuse box. This will eliminate any unwanted earth currents through the data cable which,
otherwise, might cause improper printer operation.

9610 SWECOIN TTP 101 Kiosk Printer Evaluation Kit – Getting Started 7
4.4 Running the TTP 101 without a metal cover
4.4.1 Light shielding
There is an opto sensor just inside the opening at the front of the printer.
Running the printer as a naked unit for testing or demonstration purposes means that
light from windows or indoor lamps might disturb the function of the sensor.
To ensure proper printer operation, prevent excessive light from reaching the opto
sensor through the opening at the front or from above.
Figure 5. Shielding the presenter sensor
4.4.2 ESD precautions
Running the TTP 101 without a metal cover exposes the printer to electrostatic
discharges from any person that touches the printer.
To ensure proper printer operation, connect the printer chassis to protective ground.

8SWECOIN TTP 101 Kiosk Printer Evaluation Kit – Getting Started 9610
4.5 Install paper roll
1. Turn the new paper roll as shown. The paper should be inserted into the printer with
the temperature-sensitive side up.
Figure 6. Turn the paper roll so that the paper leaves the roll from the top.
2. Tear off approximately 0.5 m from the new paper roll.
CAUTION!
This is important since the outer end of the paper is usually fixed to the roll with
some type of glue or self-adhesive substance that might otherwise cause paper jam
or even printhead damage.
Figure 7. Tear off 0.5 m from the new paper roll

9610 SWECOIN TTP 101 Kiosk Printer Evaluation Kit – Getting Started 9
3. Raise the paper release lever to upright position.
Figure 8. Raise the paper release lever
4. Insert the paper through the opening at the back of the printer and push the paper
until it becomes visible in the presenter module.
5. Lower the paper release lever.
Figure 9. Insert the new paper

10 SWECOIN TTP 101 Kiosk Printer Evaluation Kit – Getting Started 9610
4.6 Test the printer
1. Verify that the printer is switched OFF.
2. Press the paper feed switch (or shorten J6 poles on control board) and keep it
depressed.
3. Switch the power ON and keep the paper feed button depressed for at least 5
seconds. The printer enters a self-test mode and produces a printout showing some
technical data, and (repeatedly) all characters that can be produced by the printer.
NOTE! — The printer is off-line and cannot receive any data while in the self test
mode.
4. Release the paper feed button to stop the printing. The printer cuts and ejects the
document, but remains in the self test mode. Renewed actuation of the paper feed
button produces a demo test print-out followed by cut and eject.
5. Exit the self test mode by switching the power OFF.
6. Set the printer in normal operation mode by switching it ON again.
4.7 Connecting the TTP 101 to a host computer
If the printer is to be operated on-line from a host computer, verify that the printer is
switched off and connect the applicable printer cable at the back of the printer.
NOTE! — If the serial interface is used, the communication parameters in the host
computer should be set to:
9600 baud
8 data bits
1 stop bit
No parity
These parameters are fixed in the printer.

9610 SWECOIN TTP 101 Kiosk Printer Evaluation Kit – Getting Started 11
5 OPERATING THE PRINTER ON-LINE
Even though it is possible to see some of the printer's capabilities by running the off-line
test procedure described in Section 4.6, operating the printer on-line gives you the
possibility to test all printer functions in depth. See the Installation Manual for command
syntax and detailed descriptions of all available printer commands.
5.1 Normal mode
You can now operate the printer using the commands and ESC codes described in the
Installation Manual. Alternatively, use the TTP editor to select among a number of
command examples. See Section 5.3.
5.2 Hex dump mode
The printer can be set to a hex dump mode during on-line operation. This means that all
data transferred between the host and the printer will be printed in both HEX code and as
ASCII characters.
1. Verify that the power is switched OFF.
2. Raise the print head release lever to uprightposition.
3. Depress the paper feed button and keep it depressed.
4. Power ON the printer and release the paper feed button.
5. Lower the print head release lever to horizontalposition. The printer is now in the
HEX dump mode and all on-line communication is printed in both HEX format and
ASCII character format. If the last line contains fewer that 16 characters, this line
will not be printed until you execute the next step.
6. Depress the paper feed button temporarily. This ensures that the last transmitted
characters become printed. The printer cuts the paper and feeds it out.
7. Exit from the HEX dump mode by switching the printer OFF.
8. Switch the power ON again to resume normal on-line operation.
5.3 Using the TTP Editor
If a PC is used as host, you can install the TTP Editor (MS Windows program) from the
enclosed diskette and operate the printer using a number of command string examples
as a basis.
NOTE ! — Some of the commands in the TTP Editor are not applicable to the TTP 101.

12 SWECOIN TTP 101 Kiosk Printer Evaluation Kit – Getting Started 9610
6 FAULT FINDING
Refer to the enclosed Operating Instructions.
7 PAPER JAM REMOVAL
Refer to the enclosed Operating Instructions.
Other manuals for TTP 101
2
Table of contents
Other Swecoin Printer manuals

Swecoin
Swecoin TTPM2 Manual

Swecoin
Swecoin TTP 5000 User manual

Swecoin
Swecoin TTP 2000 User manual

Swecoin
Swecoin TTP 2000 User manual

Swecoin
Swecoin TTPM2 Assembly instructions

Swecoin
Swecoin TTP 5250 User manual

Swecoin
Swecoin TTP 5250 User manual

Swecoin
Swecoin TTPM2 User manual

Swecoin
Swecoin TTPM3 User manual

Swecoin
Swecoin TTP 5000 User manual