SAMBA.220818
Oikeus muutoksiin pidätetään. | Rätt till ändringar förbehålles. 3www.swegonhomesolutions.fi
SE
1. Ta spiskåpan ur kartongen och
kontrollera att den inte har några
skador. En felaktig produkt får
inte installeras och inte tas i bruk.
Skydda spisen medan installatio-
nen pågår och hantera spiskåpan
varsamt.
Med de medföljande fästdetaljer-
na kan spiskåpan Samba installe-
ras intill kökets överskåp.
2. Förbered spiskåpan för mon-
tering. Fäst de fyra kantjärnen ur
materielpåsen enligt bild 2.
3. Installation av spiskåpan.
Säkerhetsavståndet mellan spis-
hällen och spiskåpan ska vara
minst 400 mm. Ovanför en gas-
häll ska säkerhetsavståndet vara
minst 650 mm.
a) Montering mellan skåp. Fäst
spiskåpan i väggen och i angräns-
ande överskåp. Se till att spiskå-
pan placeras vågrätt.
b) Montering inuti skåp. Borra
hål för spiskåpan i skåpets bot-
ten. Fäst spiskåpan i väggen och i
angränsande överskåp. Se till att
spiskåpan placeras vågrätt.
4. Slutför installationen. Anslut
ventilationsröret från utloppskana-
len till spiskåpans utgångskrage.
Kanalen ska vara uppstödd och
får inte tynga spiskåpan.
Anslut matningskabeln (A) till
spiskåpans anslutningskontakt
och stick in effektkällan i väggut-
taget.
Samba Smart: Anslut spiskå-
pan med modularkabeln (B) till
ventilationsaggregatet.
NO
1. Ta kjøkkenhetten ut av karton-
gen og kontroller at den er fri for
skader. Et produkt med feil må
ikke installeres og ikke tas i bruk.
Beskytt komfyren under monte-
ringen og håndter kjøkkenhetten
forsiktig.
Kjøkkenhetten Samba kan mon-
teres inntil kjøkkeninnredningens
overskap.
2. Klargjør kjøkkenhetten for
montering. Fest de fire besla-
gene fra materialposen som vist i
illustrasjon 2.
3. Montering av kjøkkenhetten.
Av sikkerhetsmessige årsaker skal
det være minst 400 mm avstand
mellom komfyren og kjøkken-
hetten. Over gasskomfyrer skal
avstanden være minst 650 mm.
a) Montering mellom skap.
Fest kjøkkenhetten i veggen og i
tilgrensende overskap. Sørg for å
plassere kjøkkenhetten vannrett.
b) Montering inni skap. Bor hull
for kjøkkenhetten i skapets bunn.
Fest kjøkkenhetten i veggen og i
tilgrensende overskap. Sørg for å
plassere kjøkkenhetten vannrett.
4. Fullfør installasjonen. Koble til
ventilasjonsrøret fra utløpskanalen
på kjøkkenhettens utgangskrage.
Kanalen skal ha understøttelse og
må ikke hvile på kjøkkenhetten.
Koble matekabelen (A) til kjøkken-
hettens tilkoblingskontakt og sett
effektkilden inn i stikkontakten.
Samba Smart: Koble til kjøkken-
hetten med modulærkabelen (B)
til ventilasjonsaggregatet.
EN
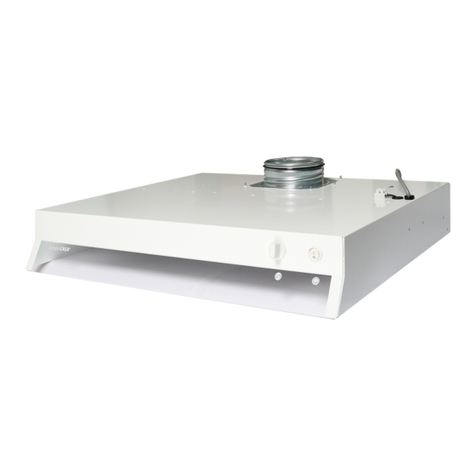
1. Take the cooker hood out of
the carton and check that it is
not damaged. A defective product
must not be installed and must
not be put into operation.
Protect the cooker during installa-
tion and handle the cooker hood
carefully.
The Samba cooker hood can
be installed in an upper kitchen
cupboard using the fasteners
supplied.
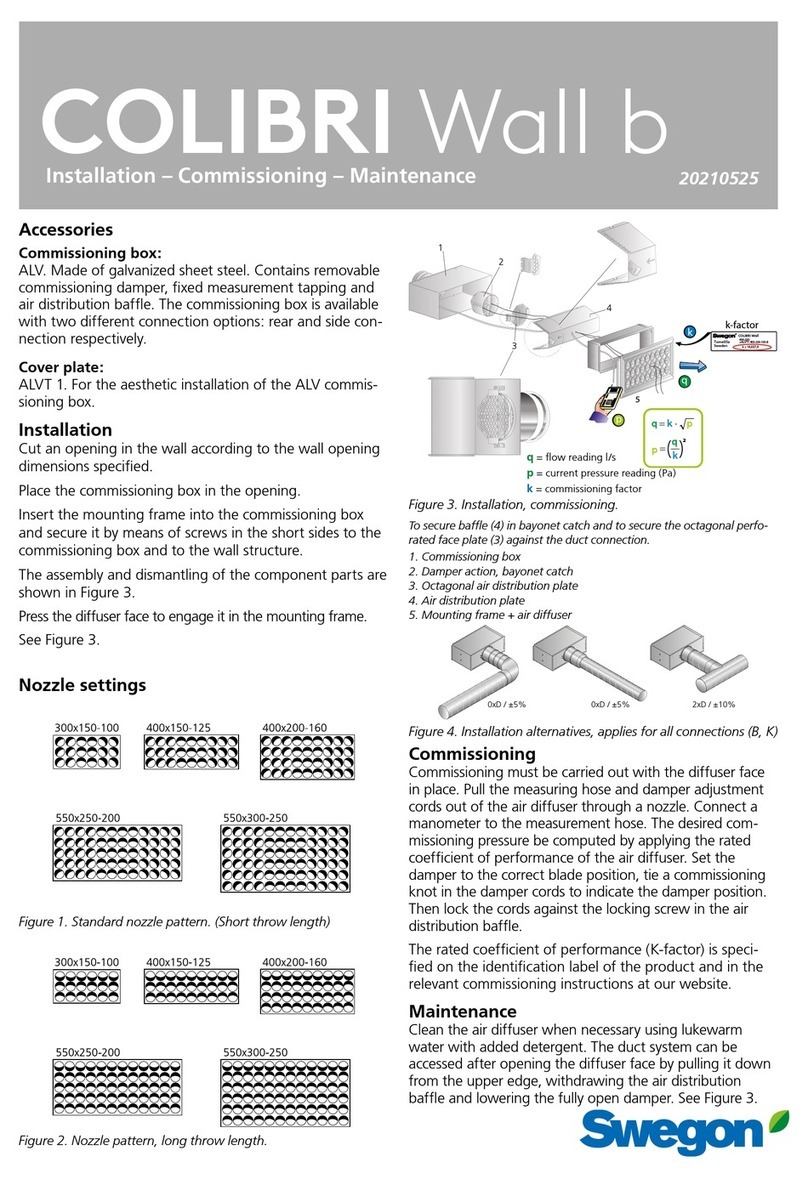
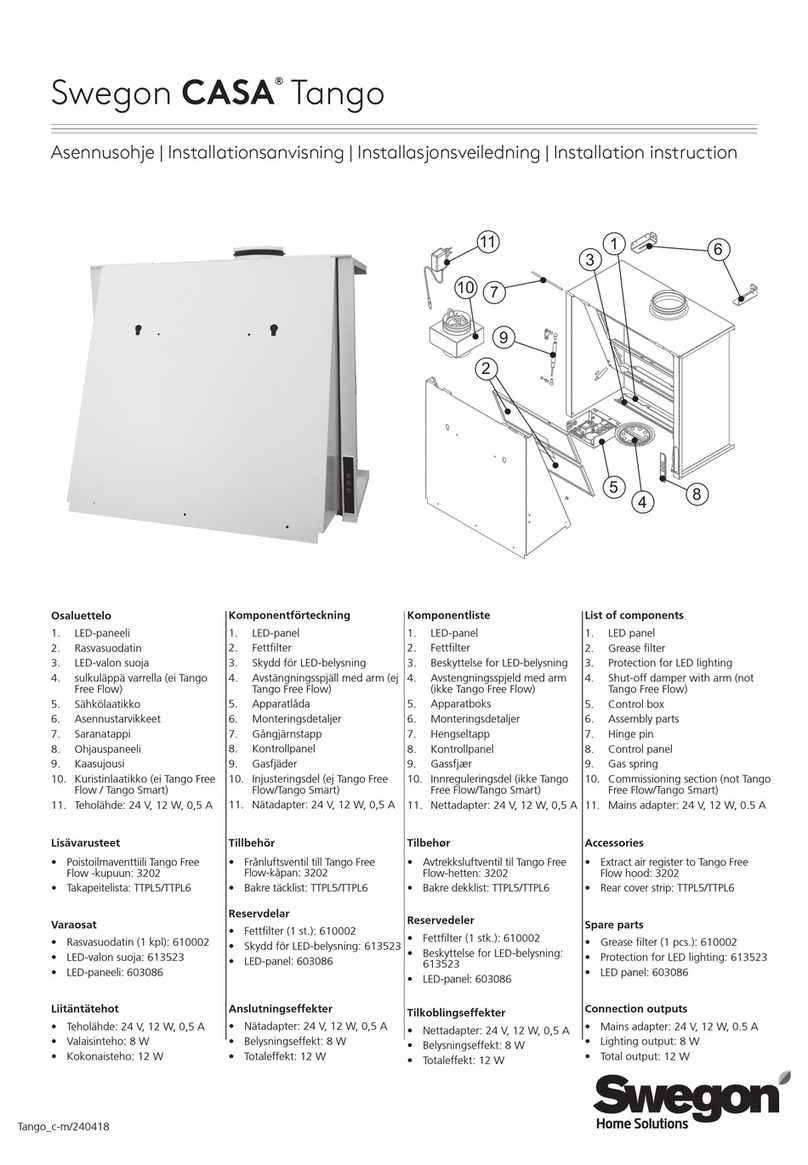
2. Prepare the cooker hood for in-
stallation. Secure the four edge
pieces from the material bag as
shown in the figure 2.
3. Installation of the cooker
hood. The safety clearance
between cooker hob and cooker
hood should be at least 500 mm.
Above a gas hob, the safety clear-
ance should be at least 650 mm.
a) Assembly between cup-
boards. Secure the cooker hood
to the wall and to the adjacent
upper cupboard. Be sure to posi-
tion the cooker hood horizontally.
b) Assembly inside a cupboard.
Drill holes for the cooker hood
in the bottom of the cupboard.
Secure the cooker hood to the
wall and to the adjacent upper
cupboard. Be sure to position the
cooker hood horizontally.
4. Complete the installation.
Connect the ventilation duct from
the outlet duct to the outlet collar
on the cooker hood. The duct
must be supported and not weigh
down the cooker hood.
Connect the power supply
cable (A) to the cooker hood’s
connector and insert the power
source in the wall socket.
Samba Smart: Connect the
cooker hood with the modular
cable (B) to the ventilation unit.


