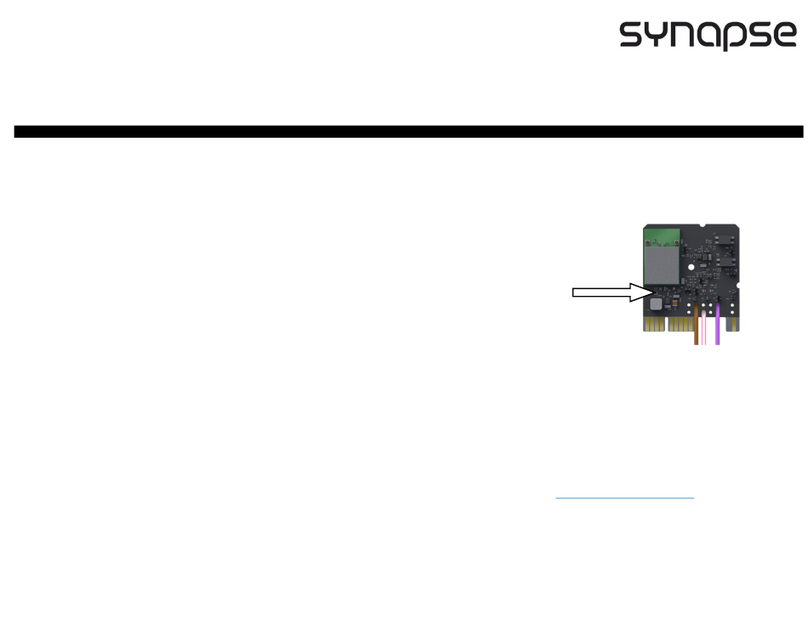
Synapse SimplySNAP SS420 User manual

Call Dave Medinis 239 841 3283
©2008-2015 Synapse, All Rights Reserved. All Synapse products are patent pending. Synapse, the Synapse logo,
SNAP, and Portal are all registered trademarks of Synapse Wireless, Inc. 116-071514-003-C000
SimplySNAP
Quick Install Guide
The instructions within this section will help you set up and configure a SimplySNAP lighting solution.
For later maintenance tasks, individual sections later in this guide will also have the information
needed to perform these edits.
System Requirements
•Synapse SimplySNAP SS420 Site Controller
•Synapse light controllers
•Laptop or tablet running Chrome browser
•(Optional) Sensors and switches
Lighting System Configuration Overview
A SimplySNAP lighting solution
consists of a Synapse SS420 site
controller and some number of
lights equipped with Synapse light
controllers and sensors.
The SS420 site controller
serves as the hub of control and
communications for managing the
lights that make up the lighting
solution.
Hardware Installation
The first step in installing a SimplySNAPlighting solution is to connect the physical hardware of
the system, followed by configuration of the system within the SimplySNAPuser interface. These
instructions assume that you have already installed Synapse Lighting Controllers for the lights that will
make up your SimplySNAPlighting solution and you are now ready to connect the site controller.
For more detailed instructions, including usage and configuration information, please
download the SimplySNAP User Guide from www.synapse-wireless.com/SImplySNAP.

SimplySNAP Continued
Page 2 SimplySNAP Quick Install Guide
To install the SimplySNAPsite controller:
1. Unpack the SS420 site controller.
2. Attach the two antennas included to the site controller as shown
in the figure below. When looking at the top of the site controller
(with the mounting bracket on the back side), the longest antenna
(SNAP antenna) attaches to the top antenna connector on the left
side and the shorter antenna (WiFi antenna) attaches to the top
antenna connector on the right side as shown below. The middle
antenna jack is for cell modem use and is not included in this
configuration of the site controller.
3. Plug the provided power supply into the barrel connector and
then into an 110VAC outlet. When the SS420 site controller
powers up, orange and blue LEDs will light up for approximately
30 seconds while the site controller software starts up. Once this
is complete, the orange LEDs will turn o. The site controller is
now ready to use.
Software Configuration
The SimplySNAP site controller comes preconfigured with the
SimplySNAP software so there is no user installation of software required.
SimplySNAP Version 1.0 currently only supports the Google Chrome
browser. Other browsers will be supported in future releases. If you
don’t have the Google Chrome browser installed on your device,
please download and install it from this location:
http://www.google.com/chrome
Connecting to the Site Controller
The SSID that is broadcast from the SS420 should be visible from the network connections panel
of your computer or tablet. It will appear in your network connections list as simplySnap_XXXXXX
where XXXXXX is the specific address
of the site controller. This address
is unique to each SS420 and is the
last 6 alphanumeric characters of the
Ethernet MAC address.
The Wi-Fi connection to the site
controller is secure. Once you select the SSID and your computer attempts to connect to the Wi-Fi
connection of your site controller, it will prompt you for a password to complete the connection. Enter
the password synapse!wireless to establish the connection.

SimplySNAP Continued
SimplySNAP Quick Install Guide Page 3
When this password is entered a connection is established and will appear in your network settings
similar to what is shown below. This may appear as an “Unidentified network” with no Internet
access. Now launch the Chrome browser and enter
HTTPS://192.168.55.1 in the address bar. Make sure it is
entered exactly as shown. (This is a secure connection to
a specific IP address that is the factory default within the
site controller). This connection mimics a connection to
an internet access point.
If you receive a warning as shown at right, click the Advanced
link at the bottom, then click the Proceed to 192.165.55.1
(unsafe)” link. (This warning is displayed because the site
controller is using an unsigned security certificate.)
The SimplySNAP dashboard should now appear in your
browser presenting you with the login screen to log in to the
SimplySNAP server.
Enter the following username and password:
Username: snap
Password: qwerty
When you log in, the dashboard of SimplySNAP will
be displayed as shown at right.
The SS420 site controller may also be connected
to a wired LAN network and accessed via the LAN.
The LAN must be configured with a DHCP server to
provide an IP address to the site controller when it
is connected. To use this method of connection, you
must retrieve the IP address that the DHCP server provided to the site controller.

SimplySNAP Continued
Page 4 SimplySNAP Quick Install Guide
To retrieve a DHCPassigned IPaddress:
1. Connect to the site controller via WiFi as
described above and log in.
2. Click the Config menu item in the left menu
bar, then click the System Info tab near the
top of the screen.
3. The site controller IPaddress is shown in
the field labeled Ethernet IP Address. This
address may be entered into a web browser’s
address bar and used to connect to the site
controller across a wired LAN.
NOTE: A network administrator can configure the DHCP server to always provide the same IP
address to the site controller and ensure connectivity can always be established via the LAN.
Basic Site Configuration
After establishing connectivity to the site controller, the following steps should be taken to initially
configure the system for controlling lights.
Configure the site controller’s location and time:
The location of the site controller may be entered by
navigating to the Config page, clicking the Location &
Time tab, and entering the correct longitude and latitude.
The system time and time zone may also be entered in the
Location & Time tab.
After entering this information, click Save Changes at the
bottom of the page.
If the site controller is connected to the internet via a LAN
connection, the Map page will display the correct location of
the site controller on a map overlay.

SimplySNAP Continued
SimplySNAP Quick Install Guide Page 5
Change the Login information for the site controller:
You should next change the default username and password to a custom username and password.
Click Config in the left menu bar, then click the Change Login tab. You can change the username and
password by following the on-screen instructions.
Enter Zones, Sensors and Lights:
Now that basic setup is complete, you can begin adding lights, sensors, and switches, and group them
into zones.
Adding Zones
A zone is a grouping of related devices. They provide an easy way to group lights that you want to
control in a similar fashion. If you plan to use sensors to control light behavior, the sensors will issue
commands to specified zones. For example, you may want to group all security lights into a separate
zone from the parking lot lights. These groupings allow behaviors to be applied across multiple lights
at once.
To add a new zone:
1. Click the Devices & Zones menu choice in
the left menu panel, then click the Add Zone
icon near the top of the page.
2. Enter the desired Zone Name and Zone
Description in the provided fields.
3. The Behavior field represents the state for
the zone when it is invoked, and can be set
to O, On, or Dimmer, or to a sensor related
behavior. Zones can be reconfigured once
they’re created, so if you’re planning to use a
sensor for control, just select On for now.
Select the desired state, and if that state is
Dimmer, enter the light level in the Level field
as a percentage from 0 to 100%.
4. Click the Save Changes button to save, or the
Cancel button to exit without saving changes.
On a successful save, a blue zone panel
for the newly added zone will appear in the
content area of the Devices & Zones page.

SimplySNAP Continued
Page 6 SimplySNAP Quick Install Guide
Adding Lights
To add a light, access the SimplySNAP dashboard and then click the Devices & Zones menu choice in
the Left Menu Bar.
To add a new light:
1. Click the Add Light Icon near the top of the page.
2. Enter the desired name for the light, the
SNAP Address for the light controller and
the controller type into the provided fields.
This information is required as a minimum.
Other information may be entered as desired
including a description, the zones the light will
be included in, light location, etc. You can also
position a light using the map view by clicking
and dragging the light bulb icon to reposition
the light.
3. Click the Save Changes button to save, or the
Cancel button to exit without saving changes.
On a successful save, a green light panel for
the newly added light will appear in the content
area of the display.
Each light is added individually by invoking this
dialog to add additional lights. When all lights are
entered, SimplySNAP will be ready to control your
lighting system.
When a light is entered, it can be controlled from
the Lights and Zones page. All lights can be
controlled by clicking the On/O switch on the
blue “All” zone icon or dragging the slider to a specific illumination level.
Each individual light may be controlled similarly by clicking the On/O switch on the green icon for
each individual light or dragging the slider to create a specific brightness level for each light.

SimplySNAP Continued
SimplySNAP Quick Install Guide Page 7
Adding Sensors and Switches
Sensors and switches contribute to the “intelligence” of your Lighting system. With sensors in place
your system will be able to respond to events such as a person entering or leaving the area.
Switches can act as a manual way to activate lights without needing to log in to the SimplySNAP
interface.
To add a sensor or switch access the SimplySNAP dashboard and then click the Devices & Zones
menu choice in the Left Menu Bar.
To add a new sensor or switch:
1. Click the Add Sensor Icon near the top of the page.
2. Enter the desired name for the sensor or switch, the SNAP
Address for the lighting controller the sensor or switch is
attached to, and the controller type into the provided fields.
You’ll also need to select a sensor type from the Sensor
Type drop-down list.
3. In the Zone field, enter the zone that the sensor will aect.
NOTE: A zone can only have one photocell sensor.
4. Steps 2 and 3 are required as a minimum. Other information may be entered as desired including
a description and location. The Threshold High and Threshold Low fields can be used to fine tune
the sensitivity of attached sensors, but this should only be
done in cases where sensor response is found to be weak.
Most sensors will work fine with the default settings.
5. Click the Save Changes button to save, or the Cancel button
to exit without saving changes.
6. On a successful save, an orange sensor panel for the
newly added sensor will appear in the content area of the
dashboard.
7. At this point you’ll need to configure how the sensor will
control your lighting. Click the Devices & Zones menu
choice in the left menu panel, then click the gear icon for the
zone where you placed your sensor.
8. Click the Behavior drop-down and select the Behavior that
corresponds to your desired control mode, then click the
Save Changes button to save, or the Cancel button to exit
without saving changes.
For more detailed instructions, including information on
scheduling and alarms, please consult the SimplySNAP Installer
This manual suits for next models
1
Table of contents
Other Synapse Controllers manuals

Synapse
Synapse DIM10-087-06 User manual

Synapse
Synapse ZhA-S1 User manual

Synapse
Synapse EMB-S2 User manual

Synapse
Synapse DIM10-087-06-FW User manual

Synapse
Synapse CONTROL-485-101 User manual

Synapse
Synapse DIM10-250-11 User manual

Synapse
Synapse DIM10-220 User manual

Synapse
Synapse DIM10-087-06-FW User manual

Synapse
Synapse DIM10-087-00 User manual

Synapse
Synapse SimplySNAP User manual