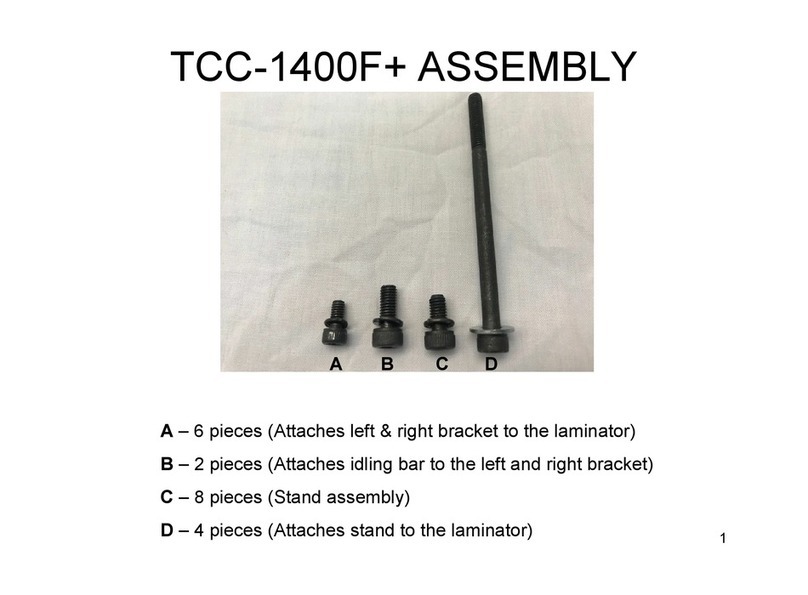
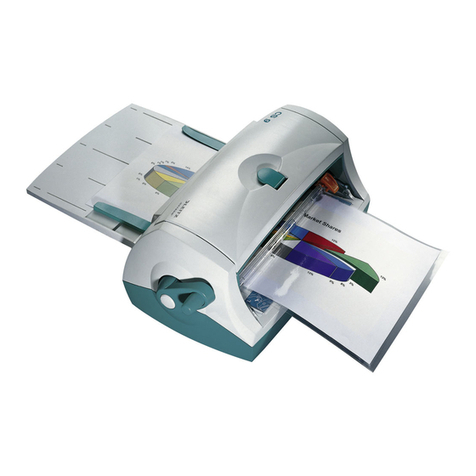
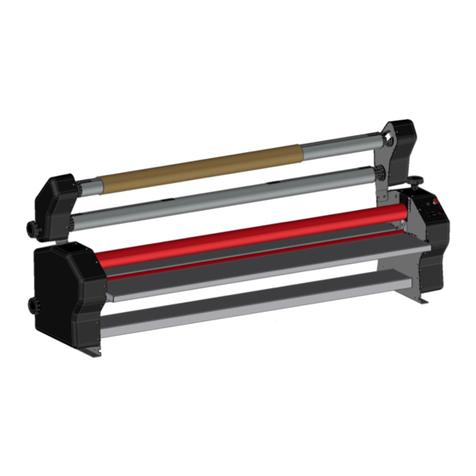
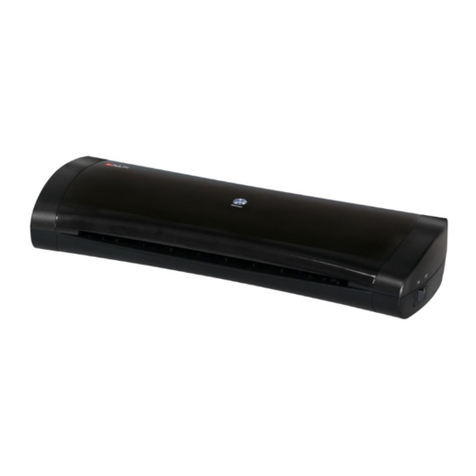
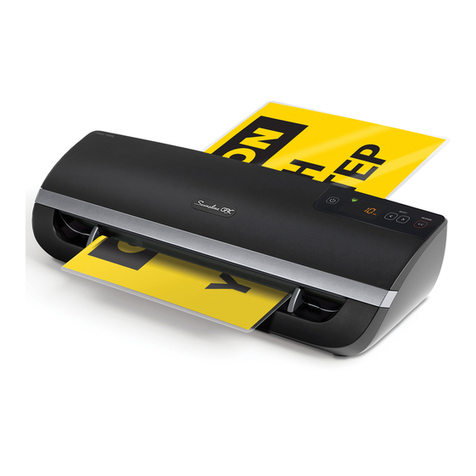
Tamerica TCC1400F+ User manual

Roll Laminator
Operating Manual
TCC1400F+

OPERATING INSTR CTIONS
TCC1400i
1 IMPORTANT SAFEG ARDS
When using electrical machines, basic precautions should always be followed to reduce the risk of
electric shock and injury to people, including the following:
1. Read all instructions.
2. Always unplug the machine when not in use or before cleaning.
. Do not use outdoors.
4. Extreme caution should be taken when the machine is used by or near children or disabled persons.
5. To protect against risk of electrical hazards, do not immerse cord, plugs, or the whole machine in
water or other liquids.
6. Do not operate the machine with a damaged cord or plug, or after the machine malfunctions, has
been dropped or is damaged in any manner. Return the machine to the nearest authorized service
facility for examination, repair, or adjustment.
7. Do not use accessory attachments not recommended or sold by the machine’s manufacturer.
8. Do not let the cord touch hot surfaces or hang over the edge of the work table.
9. Do not use the machine for other than its intended use. This machine is intended for Office or
Household use only.
10. The socket outlet shall be near the machine and shall be easily accessible.
11. Keep fingers and body parts away from all moving parts.
2 LOCATION
Please remove the laminator carefully from its packaging and place it on a flat work surface. Place the
machine in an area where it will normally be used, ensuring adequate room for the finished laminate
to flow or slide out at the back.

3 MACHINE OPERATION
A. LAMINATING F NCTION
(1) LAMINATION
LOADING THE FILM
Unpack the upper and lower rods. Remove the feed tray. Load the film onto the rods by turning the
top rod clockwise and the bottom rod counter- clockwise as you push the rods through. Make sure to
leave equal lengths of rod out of each end using the guide marks to correctly position the roll of film.
Use Load the rods on the laminator.
Note: you cannot interchange the upper and lower rods.
THREADING THE FILM
Read the threading card supplied with each roll of film carefully. Do not mistake the stabilizer bar for the
idler roller.
1. To thread the film through the “hot rollers” & “pull rollers”, please pull the handle to the “UP”
position to separate upper & lower hot rollers. User can slide down the lower idler bar along the slot
for easier installation.
2. Thread the film by the rollers and make sure the film is perfectly aligned at the top and bottom.
Note: Overlap will cause the top film to deposit adhesive on the hot rollers and pull rollers, so
this procedure is critical.
. Make sure the film is correctly threaded based on the threading guide. A threading diagram is also
located on the right side panel of the machine.
THREADING DIAGRAM

ADJUSTING THE FILM TENSION
The top and bottom supply rolls should have about the same tension. By turning the top roll with one
hand and the bottom roll with the other, it can be determined if one of the rolls is tighter than the other.
Also, if the tension is not equal between the top and bottom rolls, the laminated product will curl. If it
curls up when it comes out of the machine, the top roll is likely tighter than the bottom. If it curls
down, the bottom roll is likely tighter. To increase tension, turn the adjusting knob clockwise. To
decrease tension, turn the knob counter clockwise. Even tension on the top and bottom rolls ensures
flat lamination.
ADJUSTING THE TEMPERATURE & SPEED
1. After turning on the power switch, the digital screen display will show the previous temperature and
speed setting. Please adjust the temperature to the recommended setting based on the thickness of
film being used by pressing the “TEMP/SET” “
︿
” or “
﹀
” arrow keys. Said recommendations are
found in front of the machine’s left side panel. The lowest thermal temperature this machine can be
set is 80°C (176°F). The digital screen display will beep showing the set temperature for seconds
before showing the actual machine temperature.
2. Once the temperature is set, press the “HOT” key to start the heating process and the heater light
will turn on.
. The machine will start beeping once it reaches 80°C (176°F) for at least minutes. This is to alert
the user that the motor will reset itself to “0” before going to speed “1” at 80°C (176°F). The
beeping will stop as soon as the operator presses any of the “TEMP/SET” “
︿
” or “
﹀
” arrow
keys.
Note: If the machine is left unattended upon reaching 80°C (176°F) and the “TEMP/SET”
“
︿
︿︿
︿
” or “
﹀
﹀﹀
﹀
” arrow key is not pressed, the motor will not turn on and the temperature
will start dropping in approximately 3 minutes.
4. Once the set temperature is achieved and the roller temperature is stabilized, the machine will start
beeping again and the ready light will turn on. Once the ready light stays on, you can set the
recommended speed.
5. Press the “MOTOR” “
︿
” or “
﹀
” arrow keys to set the motor speed. The following table gives some
common temperature/speed setting for typical uses.
Film Thickness Temperature Speed
1.5 Mil ( 8 Micron)
Normal 120°C (248°F) 4
1.5 Mil ( 8 Micron)
Max. Output 1 5°C (275°F) 9
Mil (75 Micron)
Normal 120°C (248°F)
Mil (75 Micron)
Max. Output 1 0°C (266°F) 8
5 Mil (125 Micron)
1 5°C (275°F)
10 Mil (250 Micron)
140°C (284°F) 2

LAMINATING PROCEDURES
1. Push the handle to the “DOWN” position to engage the rollers and make sure the Run/Stop switch
is in “STOP” position. To start laminating, put the Run/Stop switch on “RUN” position.
2. To put the lamination temporarily on hold without turning off the machine, user can turn the motor
control switch to “STOP” position. This will cause the motor to stop running and the film will
stop feeding.
. To resume the lamination job, turn the switch to the “RUN” position again.
(2) HOT FOIL LAMINATION
LOADING THE FILM
Unpack the upper rods. Load the foil film onto the rods by turning the top rod clockwise as you push
the rods through. Make sure to leave equal lengths of rod out of each end using the guide marks to
correctly position the roll of film. Load the rods on the laminator.
Note: you cannot interchange the upper and lower rods.
THREADING THE FILM
Read the threading card supplied with this laminator. Do not mistake the stabilizer bar for the idler roller.
1. To thread the foil film through the “hot rollers” & “pull rollers”, please pull the handle to the “UP”
position to separate upper & lower hot rollers.
2. Push the film through the rollers by using the threading card provided.
. Make sure the film is correctly threaded based on the threading guide. A threading diagram is also
located on the right side panel of the machine.
HOW TO DO HOT FOIL STAMPING

ADJUSTING THE FILM TENSION
The top and bottom supply rolls should have about the same tension. By turning the top roll with one
hand and the bottom roll with the other, it can be determined if one of the rolls is tighter than the other.
Also, if the tension is not equal between the top and bottom rolls, the laminated product will curl. If it
curls up when it comes out of the machine, the top roll is likely tighter than the bottom. If it curls
down, the bottom roll is likely tighter. To increase tension, turn the adjusting knob clockwise. To
decrease tension, turn the knob counter clockwise. Even tension on the top rolls ensures flat
lamination.
ADJUSTING THE TEMPERATURE & SPEED
1. After turning on the power switch, the digital screen display will show the previous temperature and
speed setting. Please adjust the temperature to the recommended setting based on the thickness of
film being used by pressing the “TEMP/SET” “
︿
” or “
﹀
” arrow keys. Said recommendations are
found in front of the machine’s left side panel. The lowest thermal temperature this machine can be
set is 80°C (176°F). The digital screen display will beep showing the set temperature for seconds
before showing the actual machine temperature.
2. Once the temperature is set, press the “HOT” key to start the heating process and the heater light
will turn on.
. The machine will start beeping once it reaches 80°C (176°F) for at least minutes. This is to alert
the user that the motor will reset itself to “0” before going to speed “1” at 90°C (194°F). The
beeping will stop as soon as the operator presses any of the “TEMP/SET” “
︿
” or “
﹀
” arrow
keys.
Note: If the machine is left unattended upon reaching 80°C (176°F) and the “TEMP/SET”
“
︿
︿︿
︿
” or “
﹀
﹀﹀
﹀
” arrow key is not pressed, the motor will not turn on and the temperature
will start dropping in approximately 3 minutes.
4. Once the set temperature is achieved and the roller temperature is stabilized, the machine will start
beeping again and the ready light will turn on. Once the ready light stays on, you can set the
recommended speed.
5. Press the “MOTOR” “
︿
” or “
﹀
” arrow keys to set the motor speed. The following table gives some
common temperature/speed setting for typical uses.
Film Thickness Temperature Speed
Foil Film
90°C (194°F)
LAMINATING PROCEDURES
1. Push the handle to the “DOWN” position to engage the rollers and make sure the Run/Stop switch
is in “STOP” position. To start foiling, put the Run/Stop switch on “RUN” position.
2. To put the foil temporarily on hold without turning off the machine, user can turn the motor
control switch to “STOP” position. This will cause the motor to stop running and the film will
stop feeding.

. To resume the foil job, turn the switch to the “RUN” position again.
B. TEMPERAT RE CONVERSION
This machine can display temperatures in either Celsius or Fahrenheit. To change to either one, simply
press and hold the “TEMP/SET” arrow keys simultaneously.
C. G IDE PLATES
This machine is equipped with guide plates on the left and right sides of the feed tray for proper
alignment of materials to be laminated.
D. REVERSE F NCTION
The machine is equipped with a reverse function. By pressing the “REVERSE” key, the machine will
release the documents out from the front of the machine to prevent any jam or damage.
E. FILM SLITTER
This machine is equipped with a safety film slitter in the back of the machine for trimming film in
between sheets of laminated material. Simply slide the cutting edge across the film to remove the
finished material.
4
T RNING OFF THE LAMINATOR
Upon completion of the laminating job, please press the “COLD” key to turn off the heat and make
sure the Stop/Run Switch is on “STOP” position. We recommend turning off the machine only after
the roller temperature is lower than 80°C (176°F) to protect the heated rollers.
In case you need to turn the machine off while the roller temperature is higher than 80°C (176°F),
make sure the rollers are disengaged with the handle in the “UP” position before turning off the power
switch.
5
CARE AND CLEANING
This machine is for Office or Household use only. Any servicing, other than cleaning and user
maintenance, should be performed by an authorized service representative.
1. Do not immerse in water.
2. To reduce the risk of fire or electric shock, do not remove the machine’s 4 rubber foot pads.

. Keep your hands and cord away from hot parts of the machine during operation.
4. Never clean with scouring powders or hand implements.
5. Wipe clean with a soft cloth.
6
WARRANTY
This machine is guaranteed against defects in materials and workmanship by the Manufacturer for a
period of one (1) year from the date of original purchase from an authorized distributor of Tamerica
Products, Inc. If you perceive or experience any issue with the machine, kindly report it to the
distributor within 10 business days of said purchase to avail of free pickup and redelivery from
Tamerica’s Service Center. After the first 10 days, you will either receive service instructions and
parts via mail free of charge for the duration of the warranty.
Note that when returning the machine for warranty claims, the machine should be returned in its
complete original packaging to avoid incidental or consequential damages that may void the claim.
A copy of the invoice or other proof of purchase also needs to be sent with the machine.
Upon evaluation of the machine and the determination of the actual defect, the machine will be
restored to its regular working condition by the Service Center and shipped back to you free of charge.
If you change your mind and simply want to return the machine, a 20% restocking fee is charged even
within the 10-day grace period. Further, you will have to cover freight to return the machine and it
has to be in brand-new resalable condition, otherwise, you might incur more charges.
This warranty covers all defects incurred in the normal use of the equipment except in the
following cases:
1. Loss or damage to the equipment due to improper operation, abuse, mishandling or failure to
follow the operating instructions.
2. Removal or alteration of the serial number.
. The machine being serviced or modified by anyone other than a certified technician authorized
by TAMERICA.
This warranty expresses the entire obligation of the Manufacturer. Unless prohibited by law, neither
this warranty nor any other warranty expressed or implied, including implied warranties of
merchantability, shall extend this warranty period. Again, no responsibility is assured for incidental or
consequential damages.
This warranty is valid only within the United States, or its provinces and territories.
Other manuals for TCC1400F+
1
This manual suits for next models
1
Table of contents
Other Tamerica Laminator manuals

Tamerica
Tamerica TCC-1655HC User manual

Tamerica
Tamerica TSL2700 User manual

Tamerica
Tamerica TCC-2700 User manual

Tamerica
Tamerica Versalam-1300 User manual

Tamerica
Tamerica TCC-2700 User manual

Tamerica
Tamerica Versalam 2700-P User manual

Tamerica
Tamerica TCC-2700 User manual

Tamerica
Tamerica TCC-2700 User manual

Tamerica
Tamerica SM-330 User manual

Tamerica
Tamerica TCC1200 User manual