TCL Alcatel MARATHON Technical manual

L2 Repair Document TCLCommunication Ltd.
Rev.
2002D Level 2 Repair Document
Page
1.0
1/33
All rights reserved. Transfer, copy, use or communication of this file is prohibited without authorization.
MARATHON
2002D
Note: this manual can be modified without prior notice on the characteristics of described
equipment. Please download from Support website for the latest versions.

L2 Repair Document TCLCommunication Ltd.
Rev.
2002D Level 2 Repair Document
Page
1.0
2/33
All rights reserved. Transfer, copy, use or communication of this file is prohibited without authorization.
1.0
2017-03-20
Draft creation
Xiaolong Yang
James Huang
Rev.
Date
Modification description
Prepared By
Checked By
Approved By

L2 Repair Document TCLCommunication Ltd.
Rev.
2002D Level 2 Repair Document
Page
1.0
3/33
All rights reserved. Transfer, copy, use or communication of this file is prohibited without authorization.
Content
1Level 2 repair process ..............................................................................................4
2Warranty Check and Visual Inspection ...................................................................4
2.1 Warranty confirmation of L1.....................................................................................4
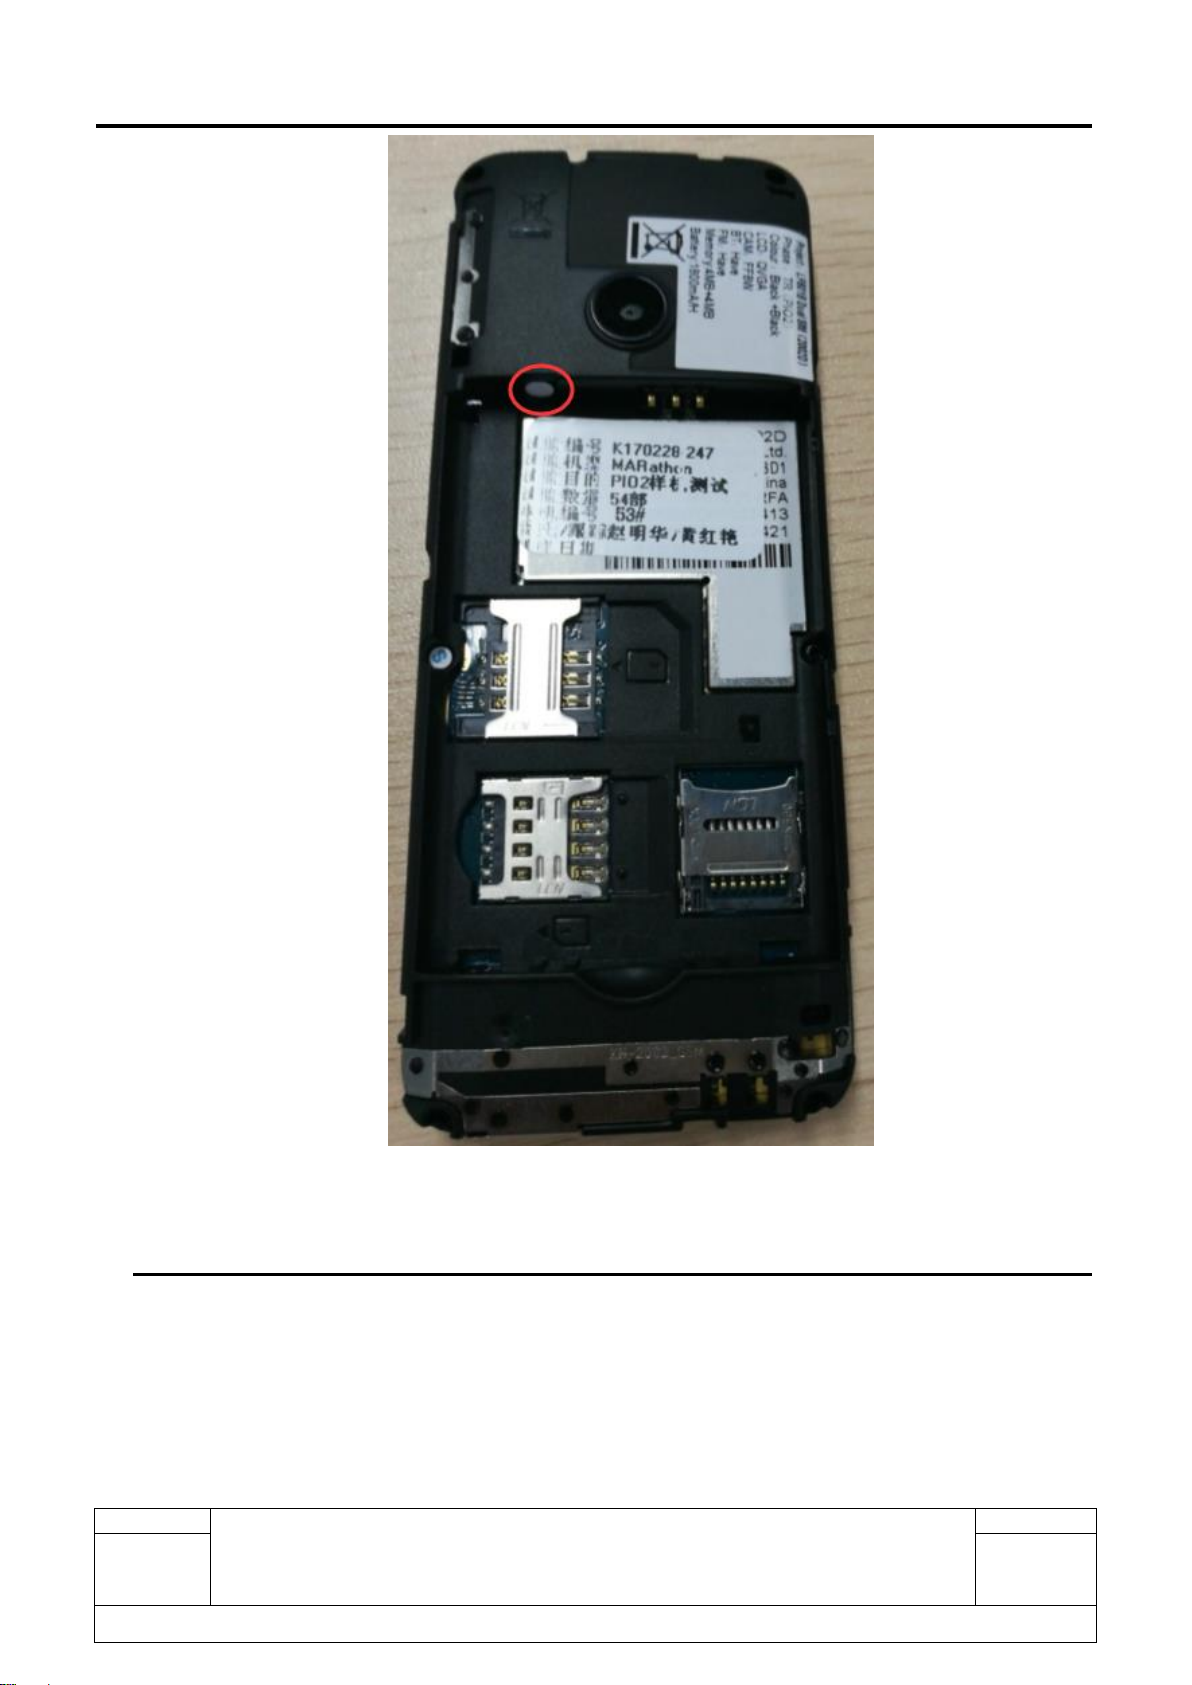
2.2 Visual mechanical check..........................................................................................5
2.3 Pretest........................................................................................................................6
3Software download ...................................................................................................8
3.1 Install driver................................................................................................................9
3.2 SW download process.............................................................................................11
3.3 Change CU................................................................................................................13
4Disassembly and assembly 2002D........................................................................16
4.1 ESD Safety...............................................................................................................16
4.2 Disassembly tool.....................................................................................................17
4.3 Disassembly process...............................................................................................18
4.4 Disassembly Notice: ................................................................................................25
4.5 Reassembly process................................................................................................26
4.6 Disassembly process evaluation............................................................................26
5Disassembly Complete...........................................................................................26
6Level 2 repair...........................................................................................................27
7PCBA exchange.......................................................................................................32
8NOTE for defective PCBAs.....................................................................................33
9Functional test.........................................................................................................33

L2 Repair Document TCLCommunication Ltd.
Rev.
2002D Level 2 Repair Document
Page
1.0
4/33
All rights reserved. Transfer, copy, use or communication of this file is prohibited without authorization.
1 Level 2 repair process
Please refer to <L2 repair process> in support (CSS/RSH) website for details.
2 Warranty Check and Visual Inspection
2.1 Warranty confirmation of L1
IMEI sticker check:
1) Power on the handset, enter *#06# at the dial mode.
2) Remove battery cover and battery, then you will see the IMEI sticker.
Please make sure that the IMEI number in the memory of the product is matching the IMEI on the
IMEI sticker; if not, please consider the product out of warranty.
Humidity sensitive label
If humidity sensitive label is not good, the cell phone will be considered as out of guarantee.
1). Liquid was detected by humidity sensitive label.
2). Position of humidity sensitive sticker.

L2 Repair Document TCLCommunication Ltd.
Rev.
2002D Level 2 Repair Document
Page
1.0
5/33
All rights reserved. Transfer, copy, use or communication of this file is prohibited without authorization.
2.2 Visual mechanical check
Please refer to <Visual mechanical check> in support (CSS/RSH) website for details.

L2 Repair Document TCLCommunication Ltd.
Rev.
2002D Level 2 Repair Document
Page
1.0
6/33
All rights reserved. Transfer, copy, use or communication of this file is prohibited without authorization.
2.3 Pretest
1) Check that the SIM card and SD card are inserted correctly.
2) Power on the Product.
3) If the product displays “input NCK code”, this means the software is Network locked or SIM locked,
and can only be used with dedicated SIM card hence use the relevant SIM card or enter the phone
code if available
4) Power on the product to launch the auto test:
Enter *#09#at home screen to enter auto test mode; you will see “MMI UI-TEST”displayed
on the screen.
Please select “Pass” to start auto test. Press left key when successed and press right key
when failed.
Version Info
I. You can get some information such as SW version, HW version, CU ref, etc;
II. Press “Pass” to continue;
III. You can get some information such as S/N, DOWNLOAD/BT/FT test result, etc;
IV. Press “Pass” to continue.
Keypad
I. Press the key displayed on the screen. The key on the screen will disappear when you
press it if it functions well;
II. Press “Pass” to continue;
LCD
I. You will see the LCD red/green/blue color if it functions well;

L2 Repair Document TCLCommunication Ltd.
Rev.
2002D Level 2 Repair Document
Page
1.0
7/33
All rights reserved. Transfer, copy, use or communication of this file is prohibited without authorization.
II. Press “Pass”to continue;
RTC
I. You will see the screen will be running a time if it functions well;
II. Press “Pass” to continue;
Vibrate
I. You can feel the phone’s vibrating if it functions well;
II. Press “Pass” to continue;
Backlight
I. LCD backlight will be flashing if it functions well;
II. Press “Pass”to continue;
Loopback
I. Blow at mic part (bottom right of the handset) and you will hear a noise from receiver if it
functions well;
II. Press “Pass”to continue;
Camera
I. The phone opens camera function if it functions well;
II. Press “Pass” to continue.
Bluetooth
I. Please press “Pass key”to turn on Bluetooth and the phone will run bluetooth searching
and it will show the result on screen if it functions well;
II. Press "Pass" to continue;
Headset
I. Insert the headset and it will say “Headset is in”if it functions well;
II. Press ”Pass”to continue;
Melody
I. You will hear a melody from speaker if it functions well;
II. Press “Pass” to continue;
SD Card
I. Insert SD card and the phone will detect it and say “Have SD card”if it functions well;

L2 Repair Document TCLCommunication Ltd.
Rev.
2002D Level 2 Repair Document
Page
1.0
8/33
All rights reserved. Transfer, copy, use or communication of this file is prohibited without authorization.
II. Press “Pass”to continue.
FM radio
I. Insert the headset and You will hear FM playing and FM frequency will be displayed on the
screen if it functions well;
II. Press ”Pass” to continue;
Charging Test
I. Insert charger and it will detect charger and show information such as Charging state,
Adaptor Type, Charging Current, Battery Voltage if it functions well;
II. Press “Pass”to continue;
Torch
I. Torch will turn on if it functions well;
II. Press "Pass" to continue;
SIM
I. Insert SIM card and the phone will detect it and say “SIM1 Exist”“SIM2 Exist”if it functions
well;
II. Press ‘Pass” to continue.
3 Software download
The minimum requirements to perform a software download are as follow:
1. Product with Fully charged battery
2. PC with below configurations
CPU: Pentium 1.6 GHz or above;
RAM: 2GB or above;
Operation system: Windows2000/XP/Vista/Windows 7/8/10
USB port
Internet connection with minimum internet speed of 8Mb/s
3. Downloading cable (USB cable)
Please use the dedicated software downloading tool (DL Tool) for this product. The version of this
tool at launched of the product is “Multi-port download tool v1.6”. Please always use the latest
version of the software downloading tool in order to take advantage of the latest improvements.
This DL tool can be downloaded from support website (CSS/RSH).

L2 Repair Document TCLCommunication Ltd.
Rev.
2002D Level 2 Repair Document
Page
1.0
9/33
All rights reserved. Transfer, copy, use or communication of this file is prohibited without authorization.
3.1 Install driver
I. Download the driver package from the CSS website: https://css.tclmobile.cn/.
II. Unzip it and double click “SprdNpiDriverInstall.exe”;
III. The below dialog will appear, click “Next”;

L2 Repair Document TCLCommunication Ltd.
Rev.
2002D Level 2 Repair Document
Page
1.0
10/33
All rights reserved. Transfer, copy, use or communication of this file is prohibited without authorization.
IV.Click “Finish” after the success of the installation;

L2 Repair Document TCLCommunication Ltd.
Rev.
2002D Level 2 Repair Document
Page
1.0
11/33
All rights reserved. Transfer, copy, use or communication of this file is prohibited without authorization.
3.2 SW download process
I. Download the software and tool from the CSS website: https://css.tclmobile.cn/ (you can get the
latest version from this website), then unzip them;
II. Double click the download tool “Multi-port download tool.exe”.
III. Click button ,choose “pac”file on the pop up page, Click “OK”:

L2 Repair Document TCLCommunication Ltd.
Rev.
2002D Level 2 Repair Document
Page
1.0
12/33
All rights reserved. Transfer, copy, use or communication of this file is prohibited without authorization.
IV.Click button, begin to upgrade.
V. Connect the handset (without battery and hold the dial key) to PC by USB cable, then insert battery,
download start, and then you can release the dial key.

L2 Repair Document TCLCommunication Ltd.
Rev.
2002D Level 2 Repair Document
Page
1.0
13/33
All rights reserved. Transfer, copy, use or communication of this file is prohibited without authorization.
VI.Upgrade finished:
3.3 Change CU
You can change the handset’s CU by using the Multi-port download tool.
(1) Make sure the drive is installed;

L2 Repair Document TCLCommunication Ltd.
Rev.
2002D Level 2 Repair Document
Page
1.0
14/33
All rights reserved. Transfer, copy, use or communication of this file is prohibited without authorization.
(2) Power on the handset and input *#1923# on the idle -> Para set -> USB Log -> Open -> OK;
(3) Connect the handset and PC with USB cable;
(4) Open the Multi-port download tool, click “Update CU Info”
(5) Select COM port and input the new CU;
(6) Click “write”.

L2 Repair Document TCLCommunication Ltd.
Rev.
2002D Level 2 Repair Document
Page
1.0
15/33
All rights reserved. Transfer, copy, use or communication of this file is prohibited without authorization.
(7) Write successes.

L2 Repair Document TCLCommunication Ltd.
Rev.
2002D Level 2 Repair Document
Page
1.0
16/33
All rights reserved. Transfer, copy, use or communication of this file is prohibited without authorization.
4 Disassembly and assembly 2002D
4.1 ESD Safety
a) Do not start the disassembly process if without ESD protection, suggest sticking a warning poster
on the wall in the work room
b) Below is the ESD set up for the workbench in the work room
c) Make sure the personal ESD protection is ready before entering the work room
No.
item
Picture of sample
1
ESD glove
2
ESD smock

L2 Repair Document TCLCommunication Ltd.
Rev.
2002D Level 2 Repair Document
Page
1.0
17/33
All rights reserved. Transfer, copy, use or communication of this file is prohibited without authorization.
3
ESD wrist strap
4
ESD shoes
d) Detect the wrist strap is working good by using ESD wrist trap tester, as below
Low:< R<800KQ
Normal: 800KQ≤R≤9MQ
High: R>9MQ
4.2 Disassembly tool
You may use the following tools during the disassembly and reassembly procedure:
No
Item
Picture
Required
or not
Remark
1
Plastic flake
2
Tweezers
Anti ESD
3
Pry Bar
4
Screws driver
5
Electric
screws driver
Set the torque
base one the
size of screw

L2 Repair Document TCLCommunication Ltd.
Rev.
2002D Level 2 Repair Document
Page
1.0
18/33
All rights reserved. Transfer, copy, use or communication of this file is prohibited without authorization.
6
SIM card pin
7
Suction cup
8
Solder iron
9
Hot wind gun
4.3 Disassembly process
The steps of disassembly 2002D are as below.
Step1: Take off the battery cover and
battery.

L2 Repair Document TCLCommunication Ltd.
Rev.
2002D Level 2 Repair Document
Page
1.0
19/33
All rights reserved. Transfer, copy, use or communication of this file is prohibited without authorization.

L2 Repair Document TCLCommunication Ltd.
Rev.
2002D Level 2 Repair Document
Page
1.0
20/33
All rights reserved. Transfer, copy, use or communication of this file is prohibited without authorization.
Step2: Take off the 7 screws with
screwdriver.
Step3: Remove the Furnished Frame.
This manual suits for next models
1
Table of contents
Other TCL Cell Phone manuals

TCL
TCL Flip User manual

TCL
TCL T218 User manual

TCL
TCL 10L User manual

TCL
TCL PIXI4-5 3G User manual

TCL
TCL A Series User manual

TCL
TCL 40R 5G User manual

TCL
TCL Alcatel Pixi4-5 4G User manual

TCL
TCL ELSA6 Series Technical manual

TCL
TCL Alcatel PIXI3-7 KD Technical manual

TCL
TCL Alcatel FLASH2 PLUS Technical manual